If you’ve ever lived (or even vacationed) with Matthew Newton, then you know he is king of the thermostat! So, obviously, quality climate control is a high priority in the Newton Nest.
True to form, we have completely removed all the old ductwork and reconfigured the HVAC system in our little nest. The most drastic change between new and old is the relocation of the furnace and a/c unit from the basement to the attic. Why, you say? Because the original ductwork – all running from the downstairs up – was not up to code (too small, weak and no real intake registers). So, to install new, updated ducts in the original layout required us to run large intake ducts through the laundry room and two of the downstairs bedroom closets. Losing all that storage space was a total deal breaker for us. So, cue the creative thinking caps!

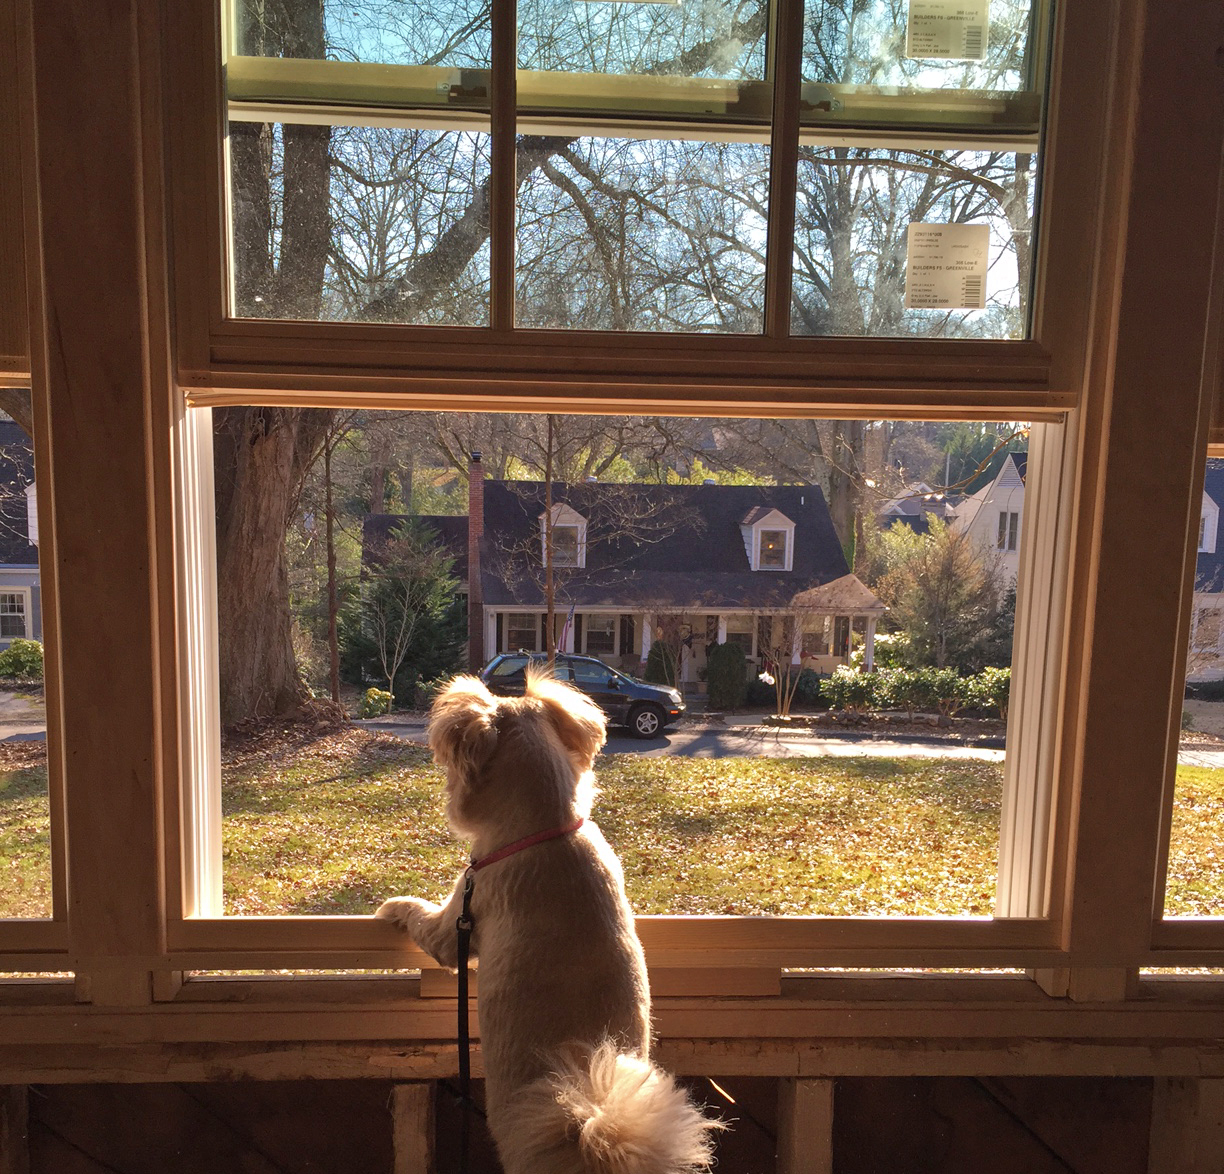
Miss Pepper’s creative cap also keeps her warm when her dad cranks up the air conditioning!
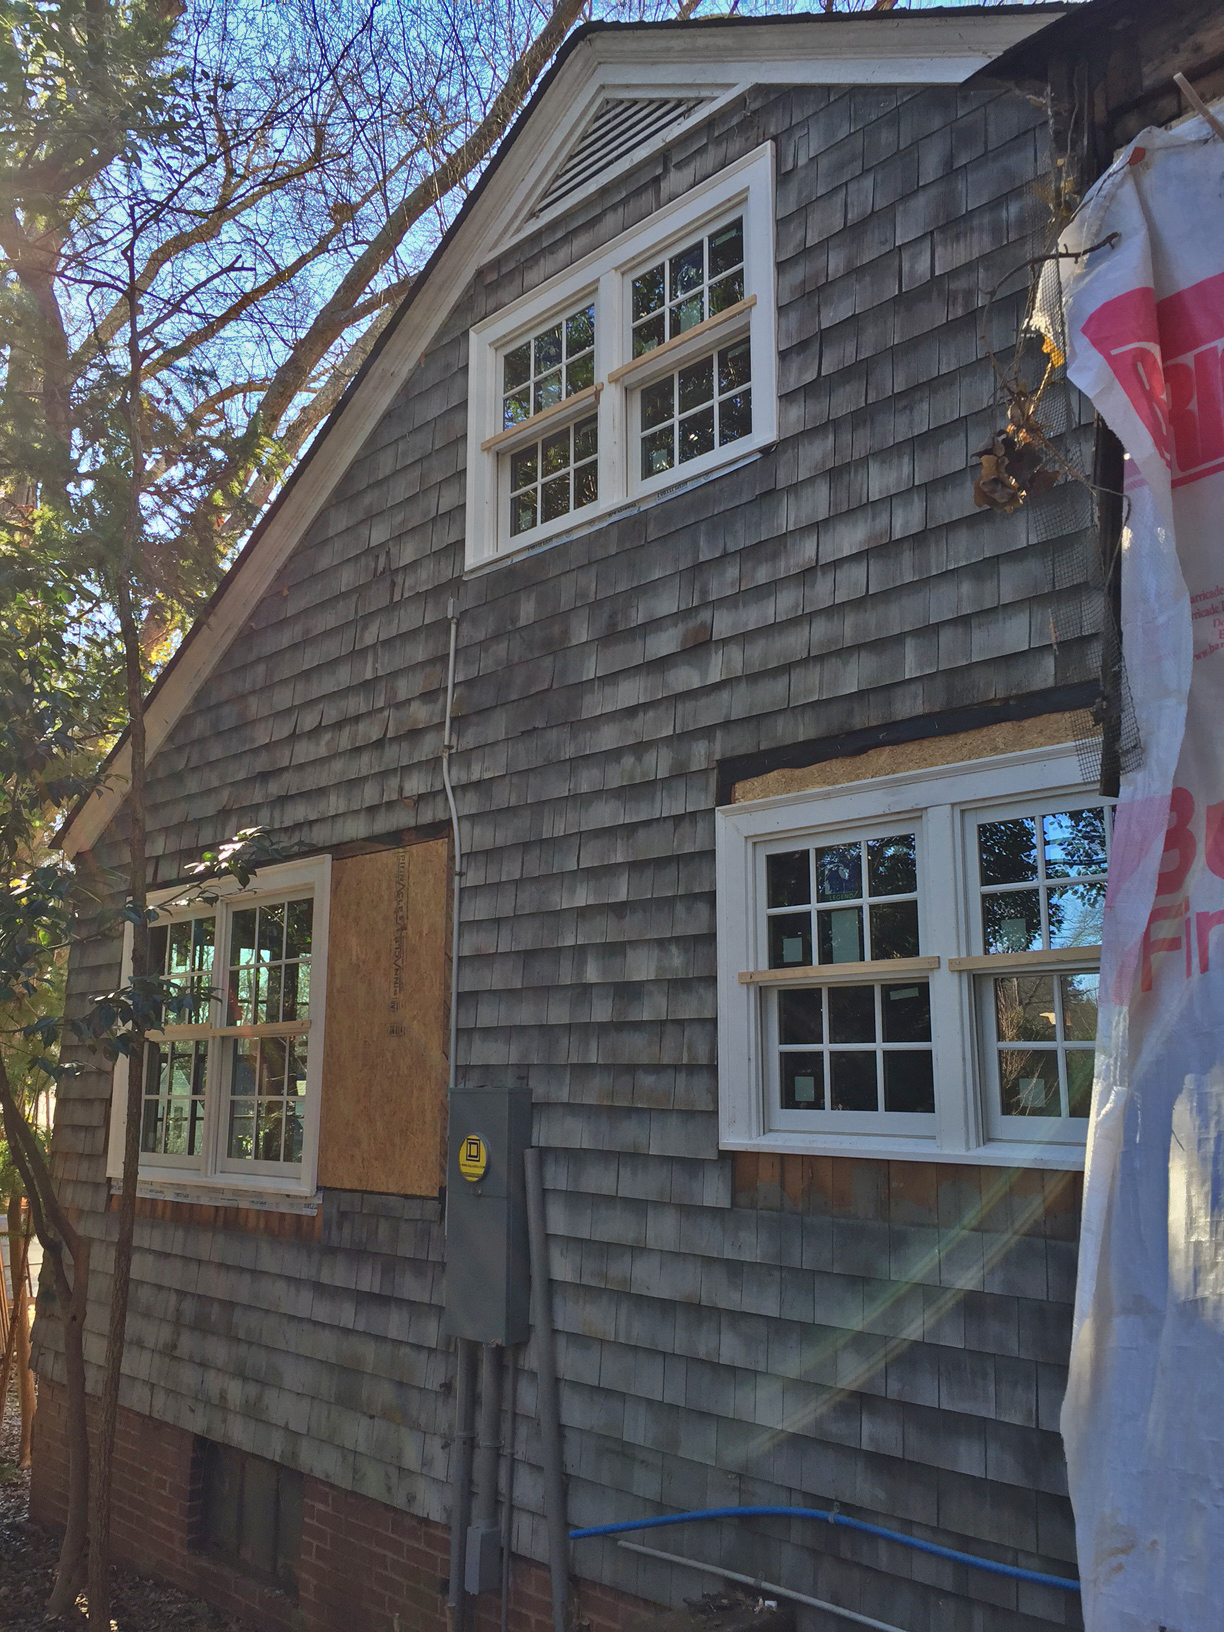
Our solution was to run all the new stuff from the upstairs down, so we could route all the ductwork through the attic, putting vents in the ceilings of the downstairs instead of along the baseboards. This setup is pretty unusual for our area, but it’s very common to have heating and cooling units in the attics of homes on the coast. The only concession we had to make to accommodate this arrangement was cutting through three out of the four dormers upstairs to allow for ductwork. Yes, this was less than ideal, but we decided it was much more appealing to sacrifice space in the upstairs bonus room rather than our main living areas downstairs – plus, we will gain some super cute window seats in these little nooks to conceal the ductwork. Not a bad trade, right??

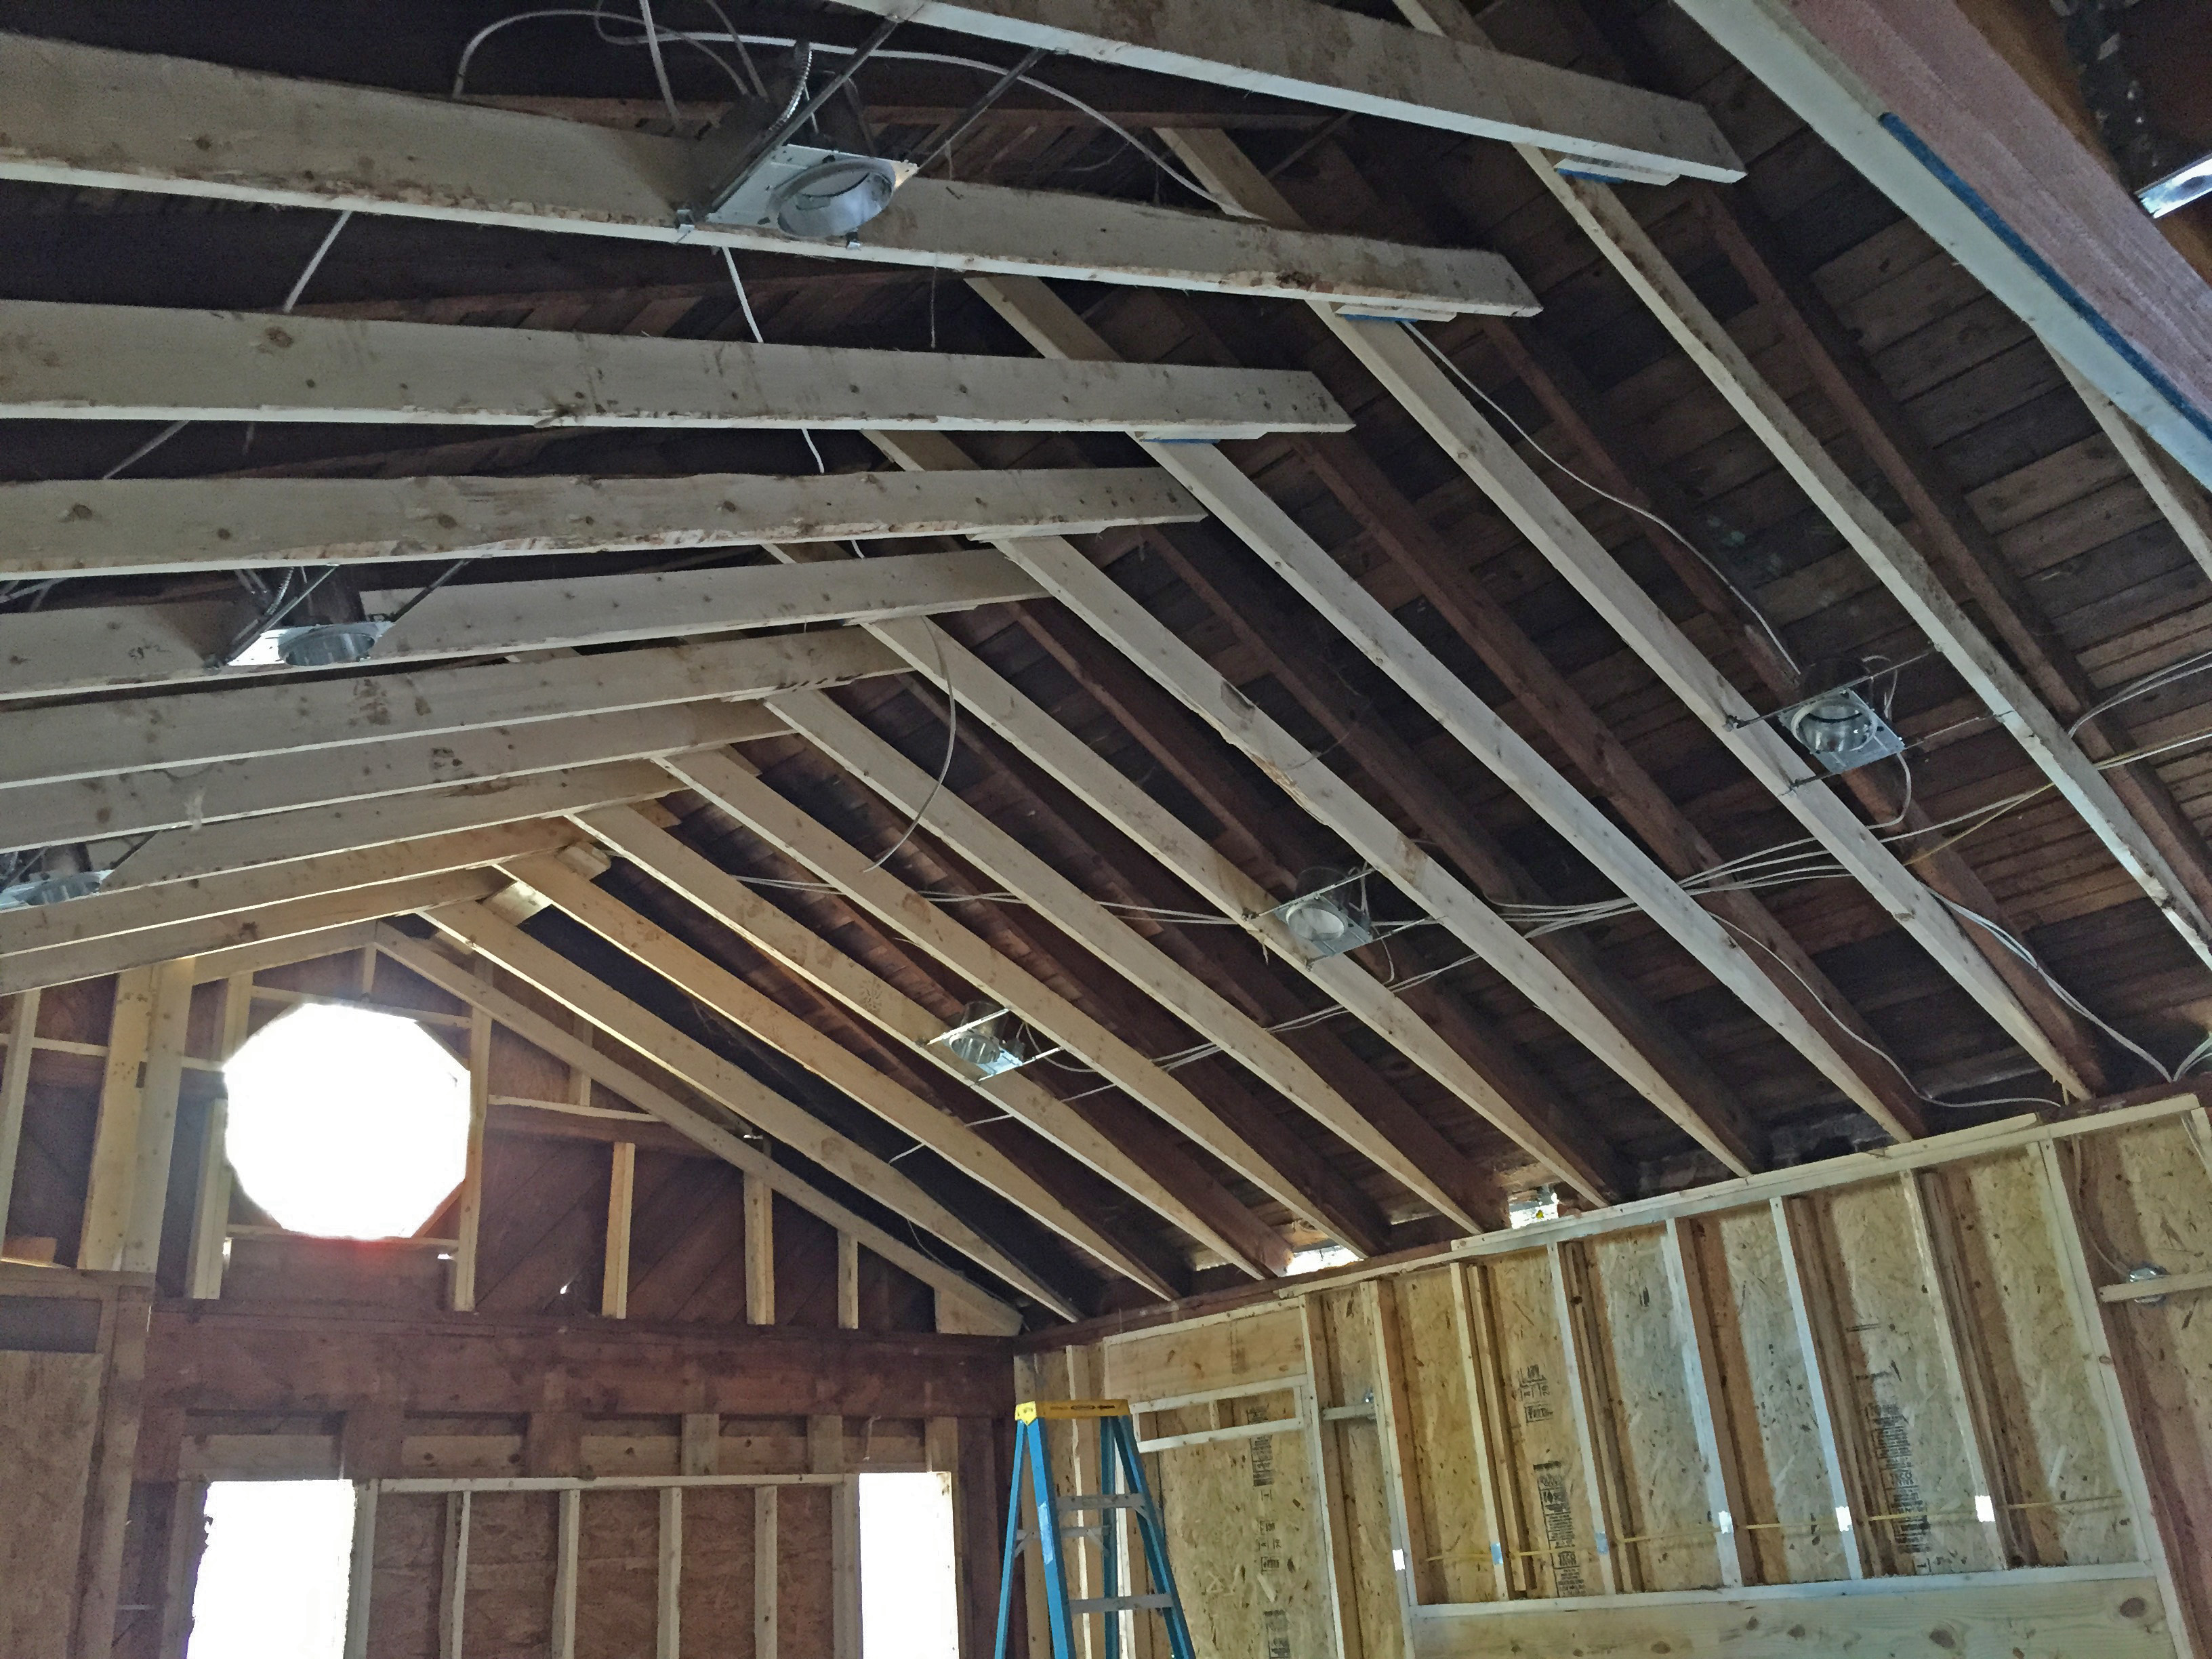
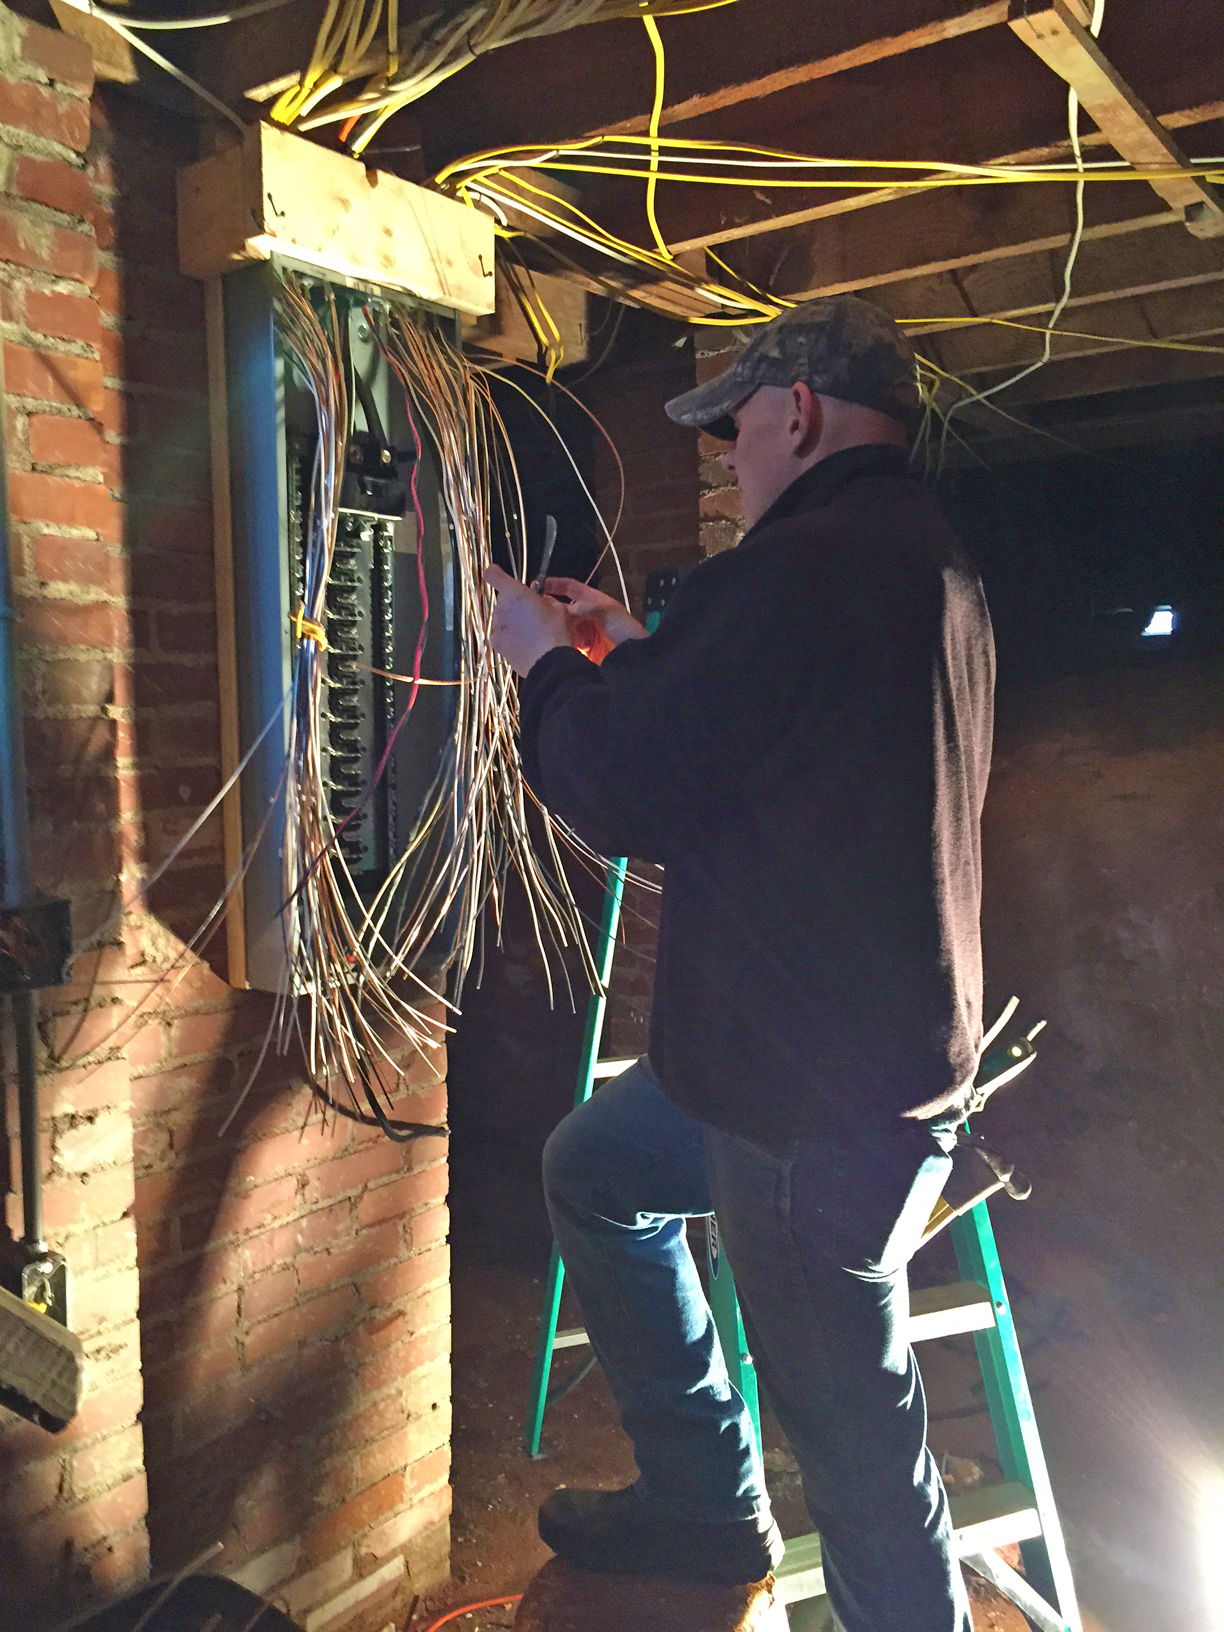
Here’s a look at the heart of our HVAC system tucked away in the attic. 🙂
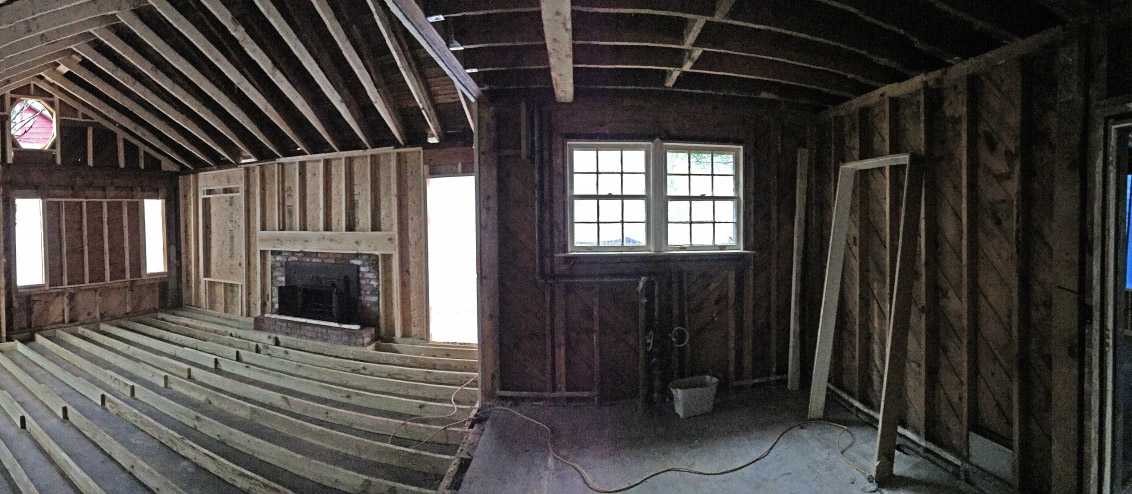
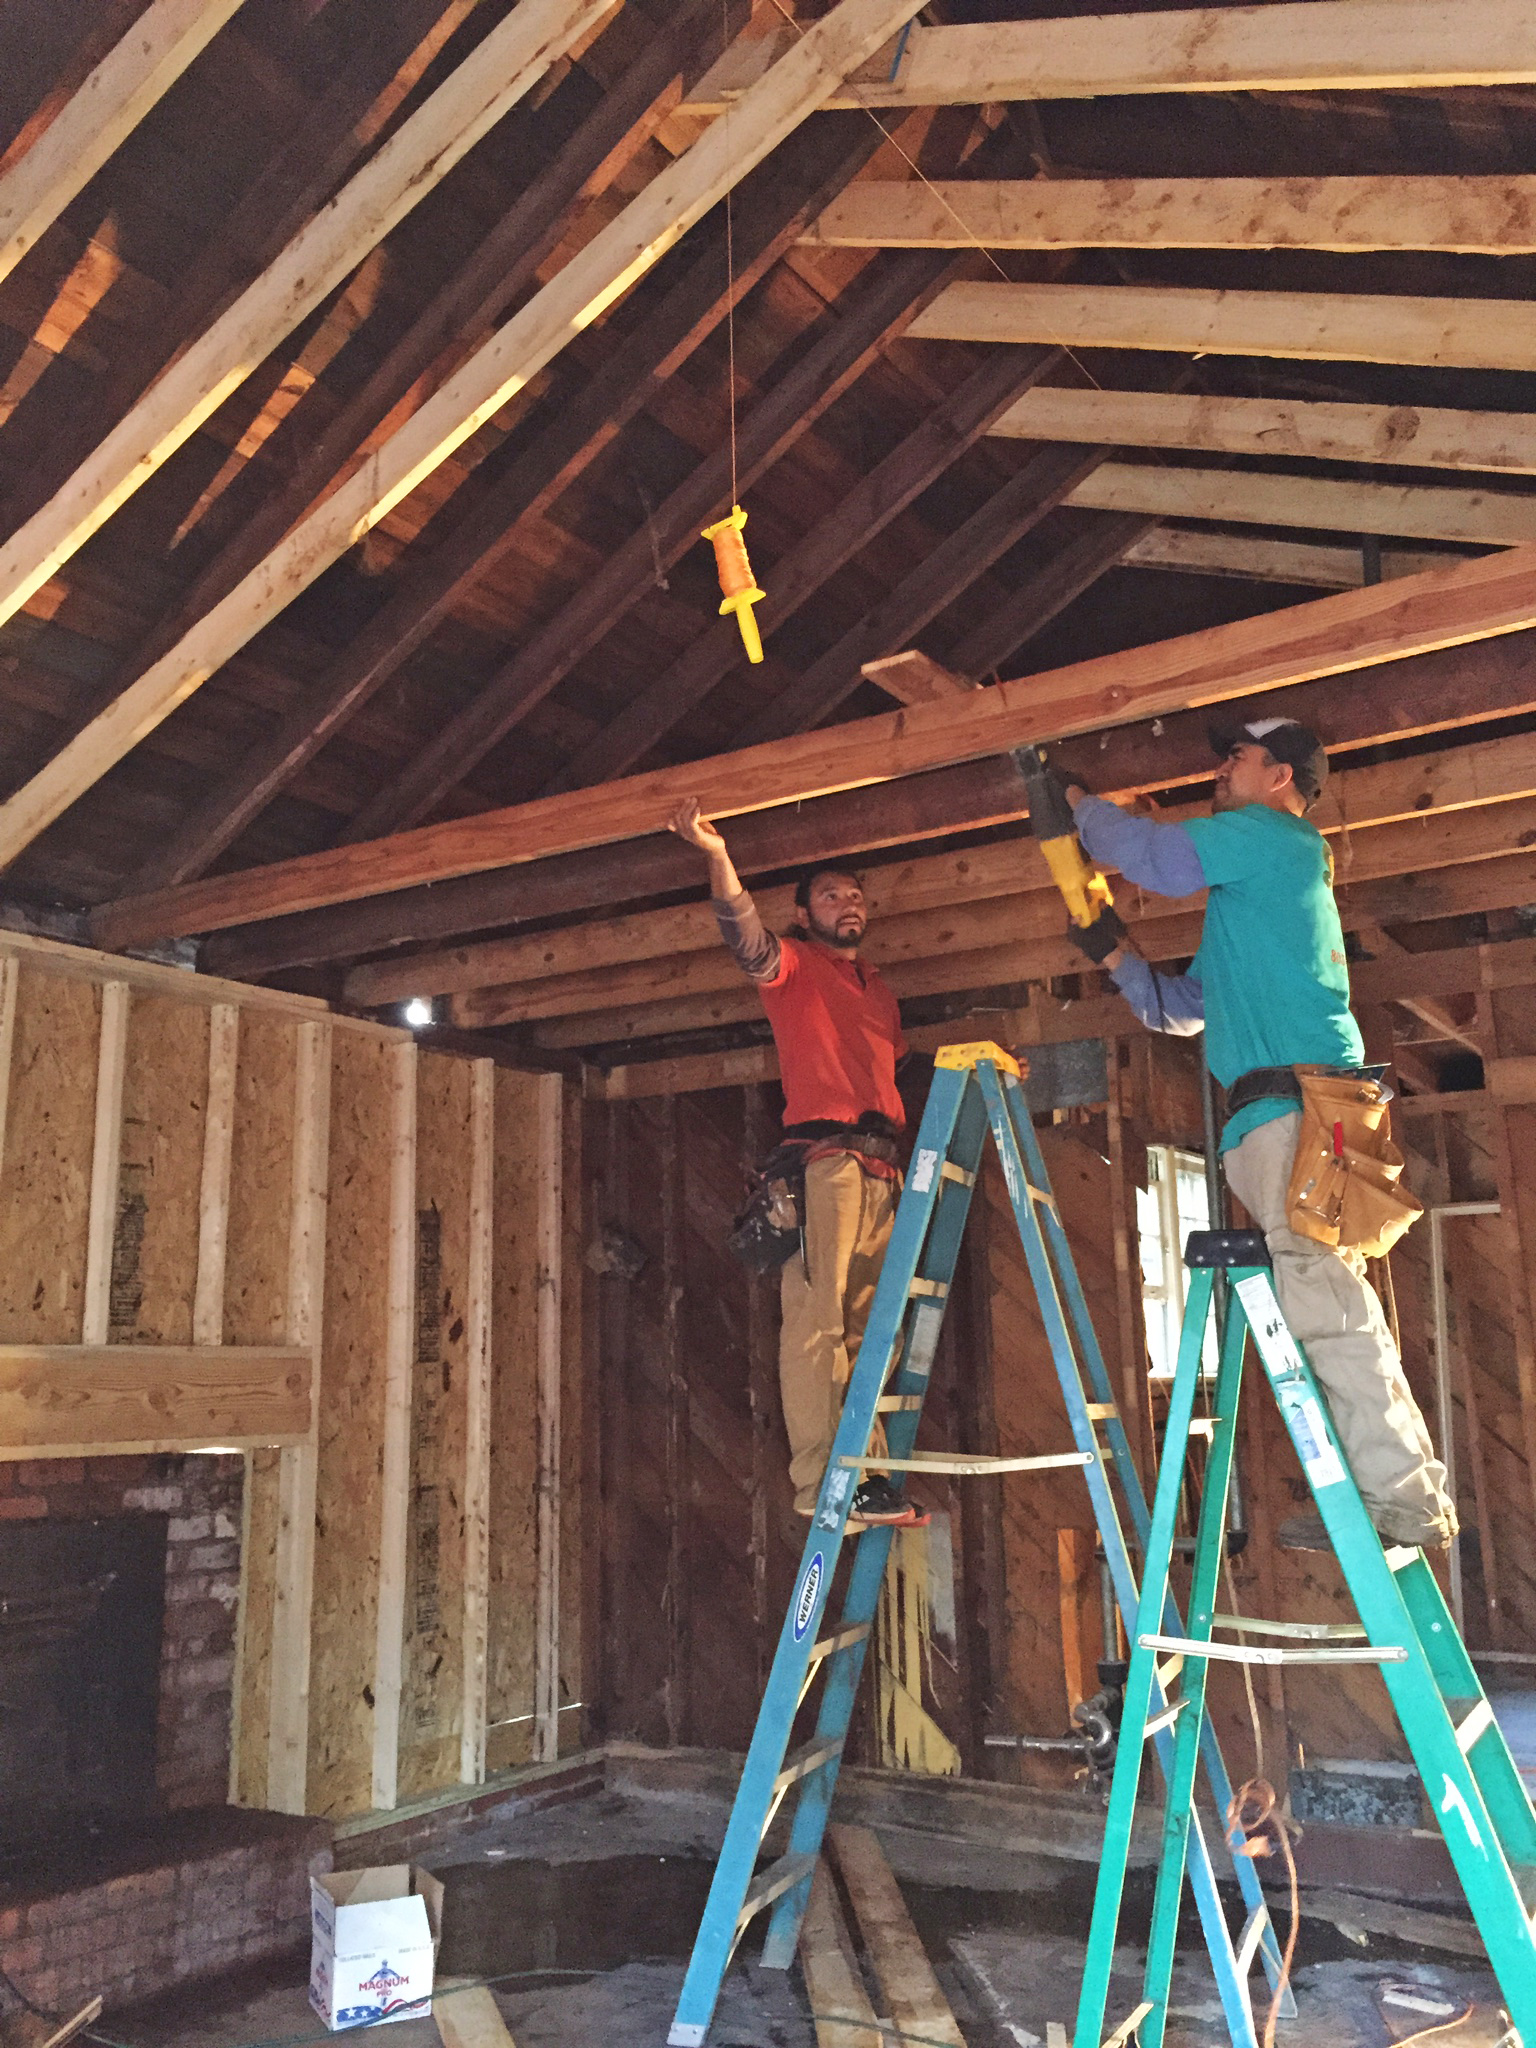
Ductwork going in!

It’s all hiding up there in the ceilings…
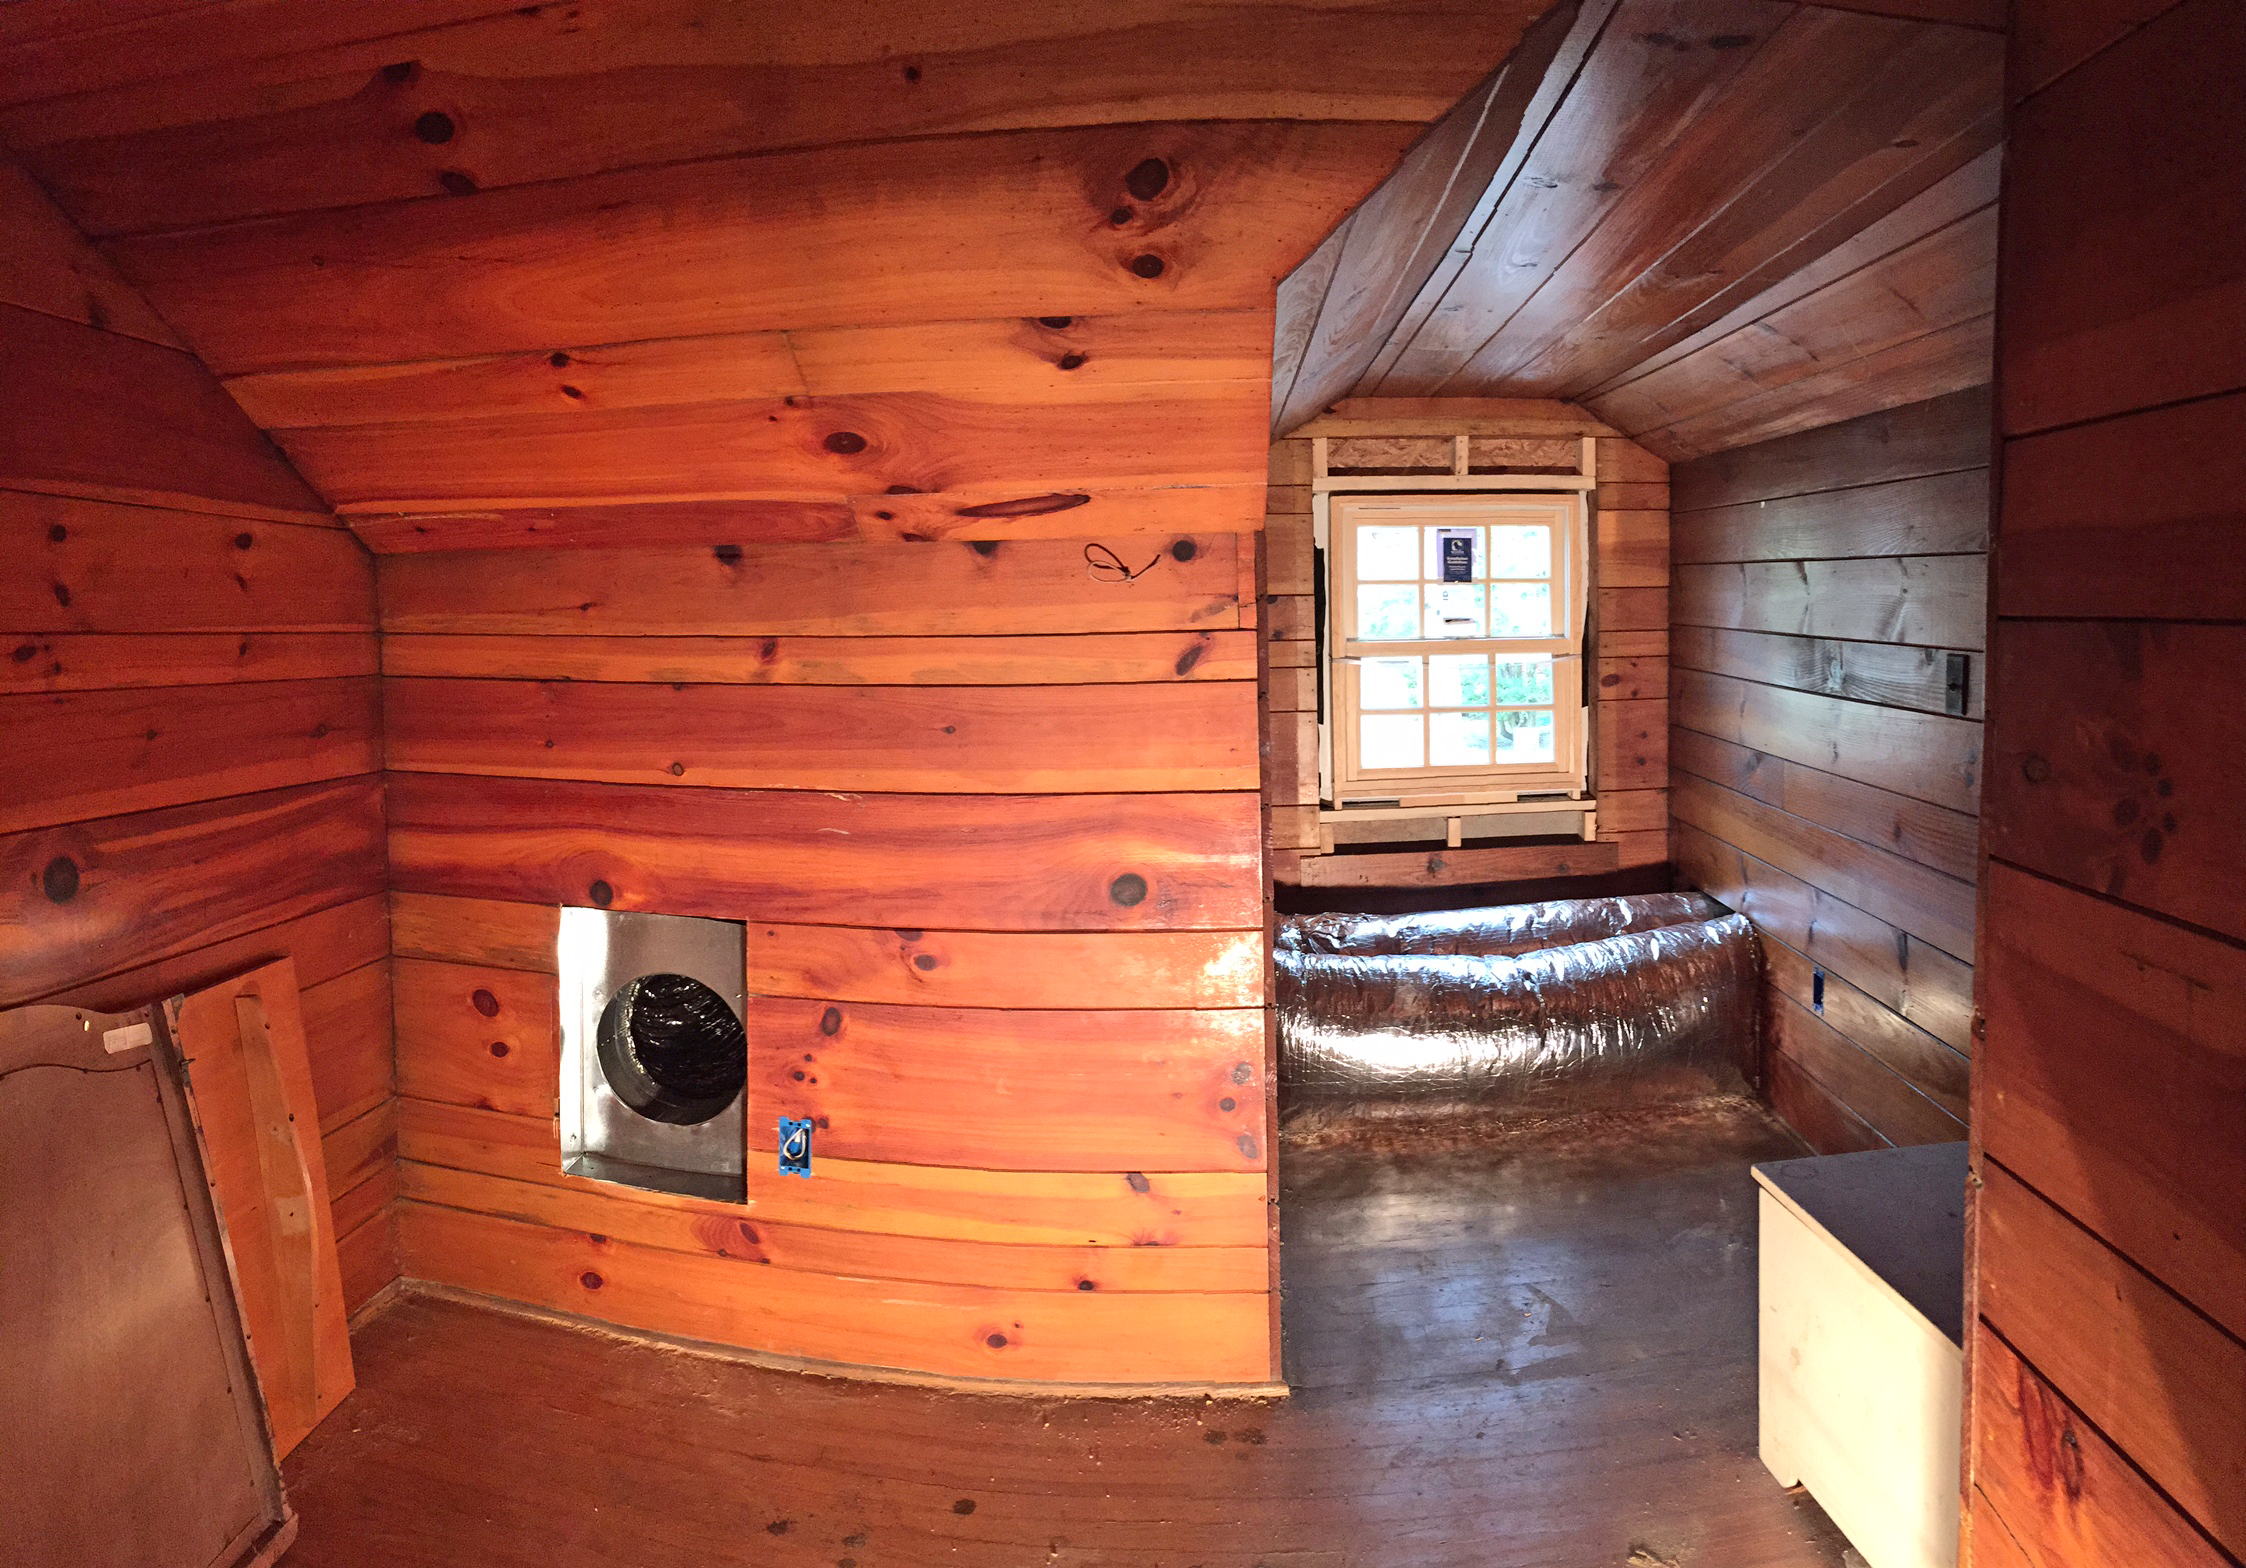
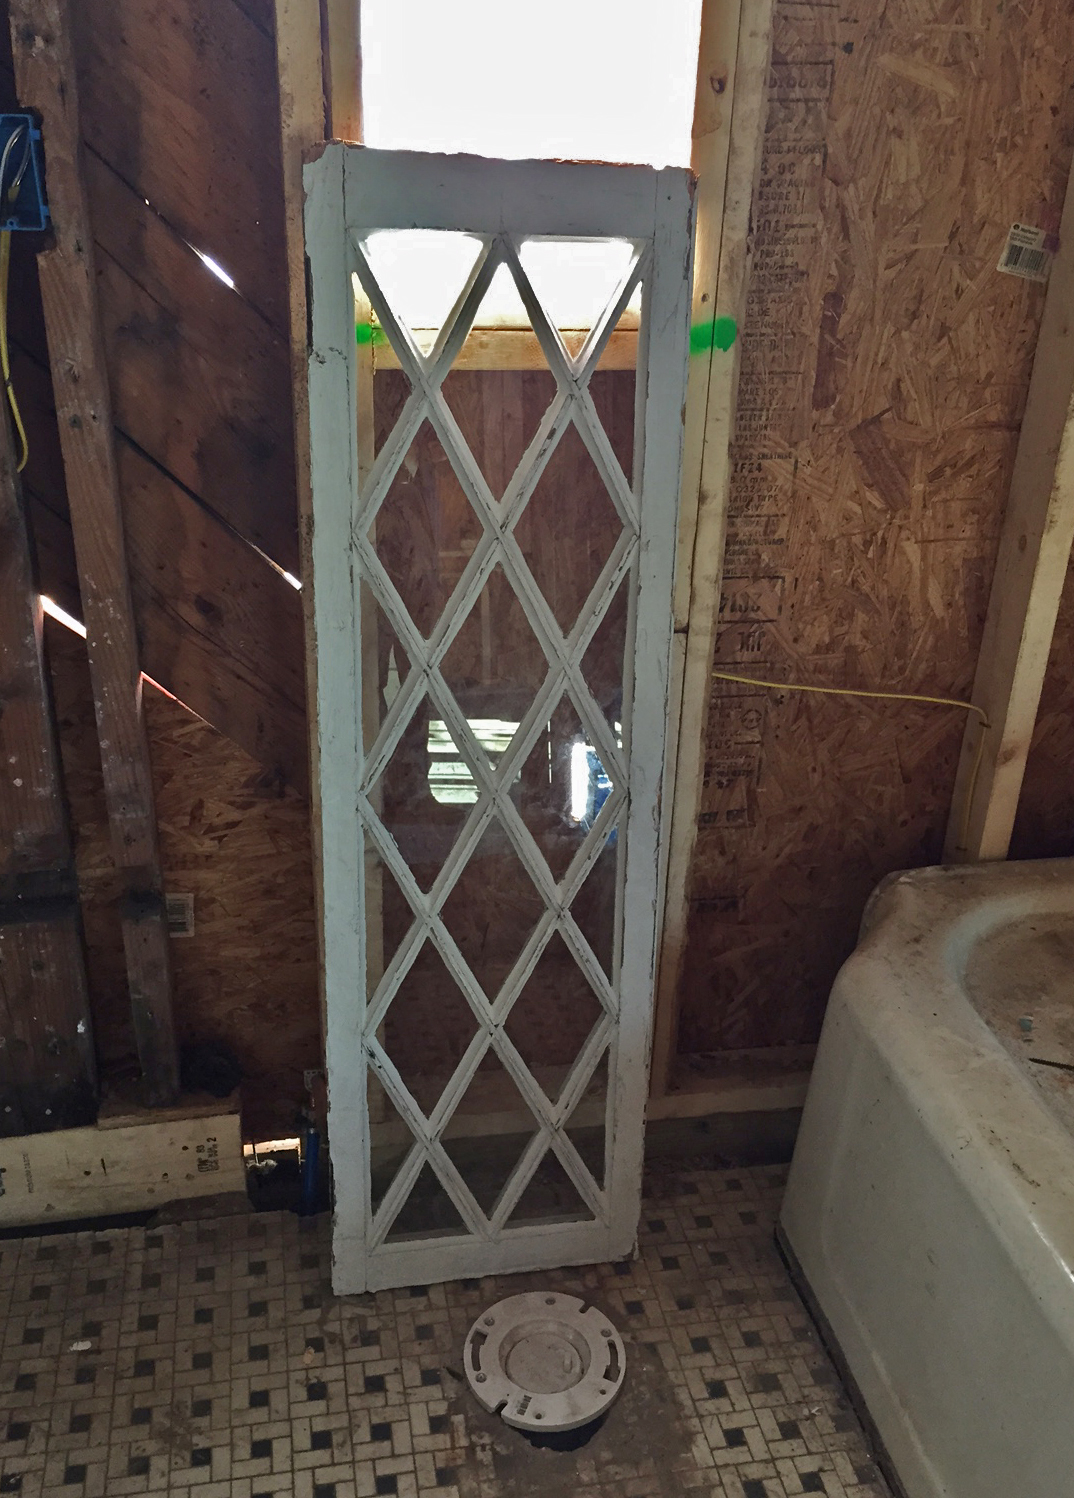
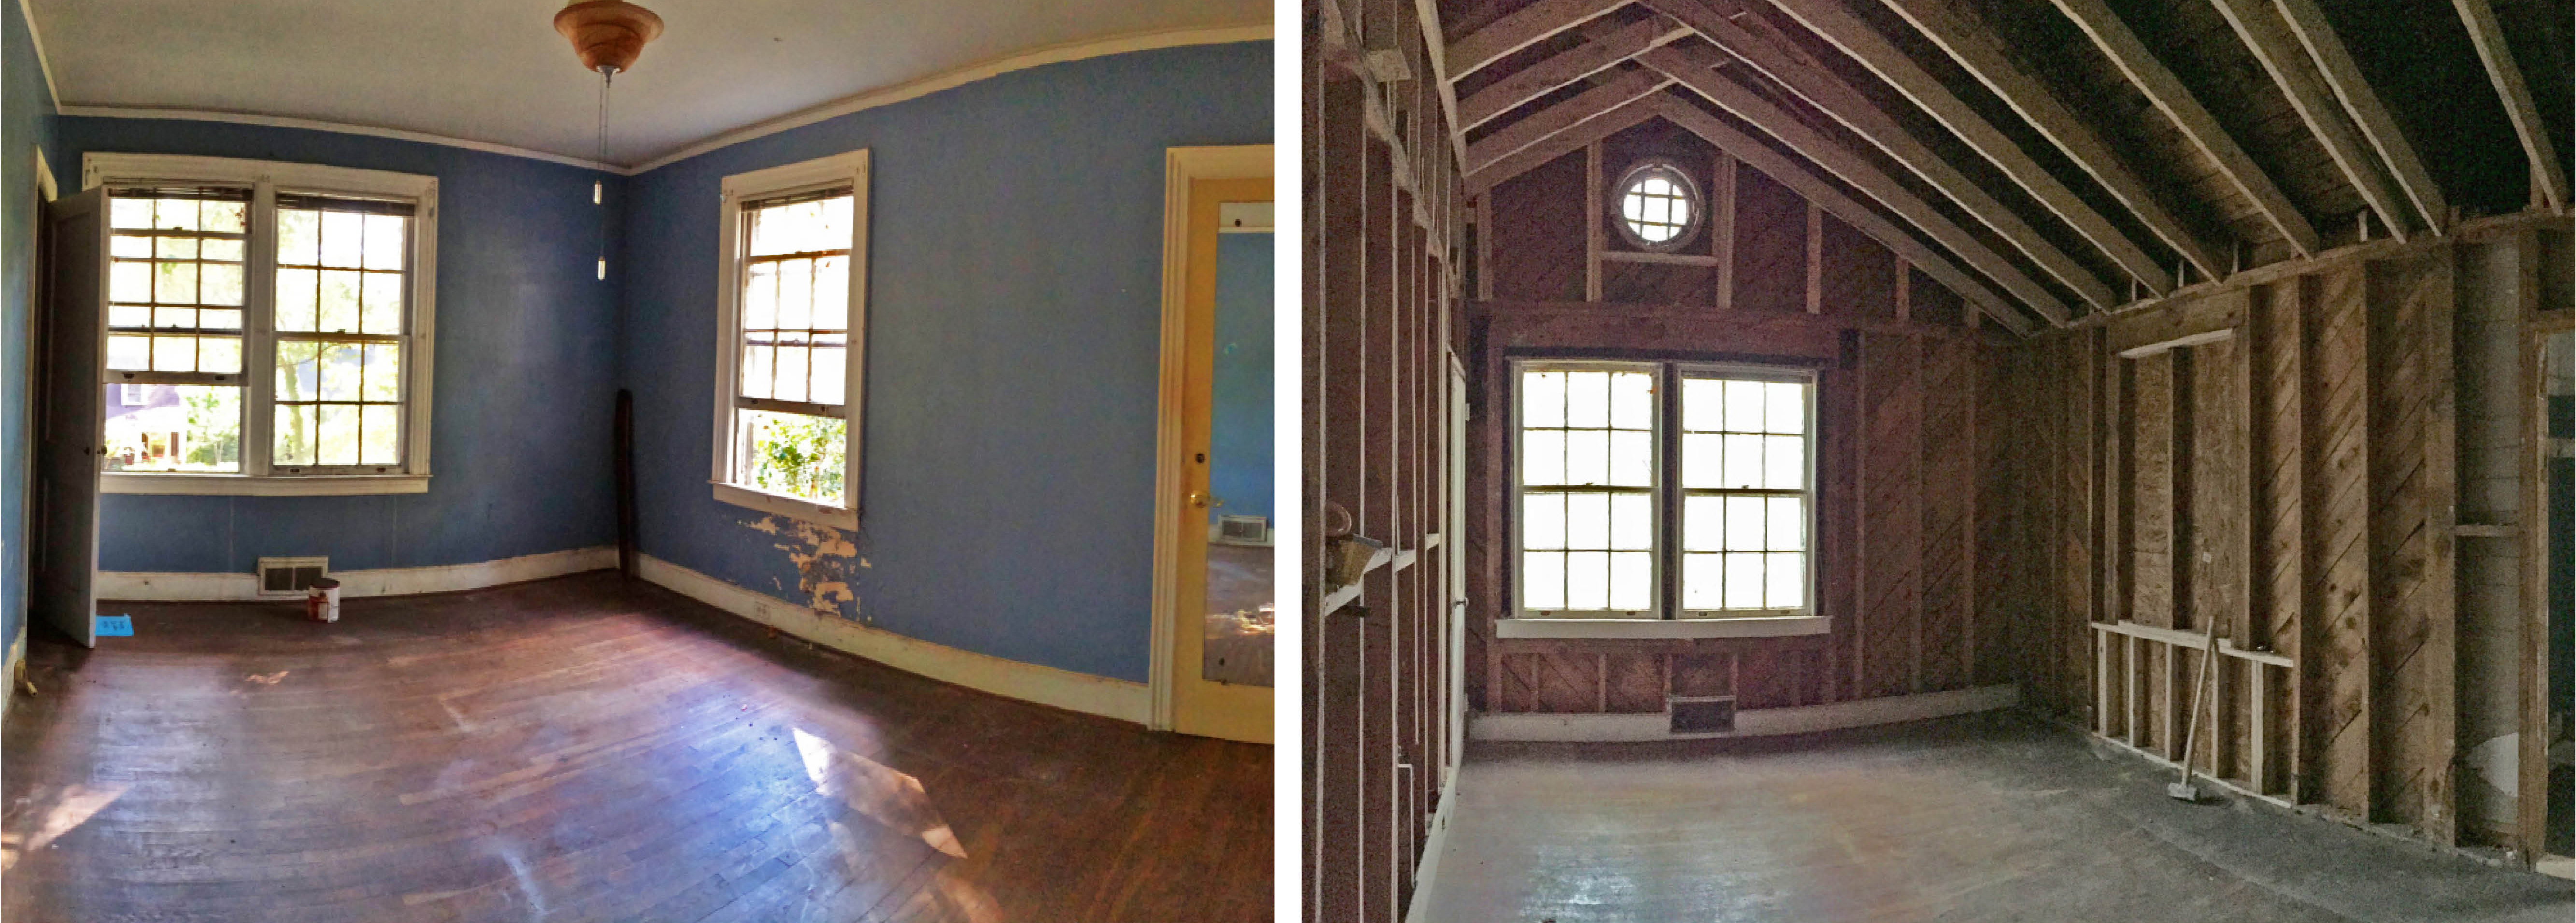
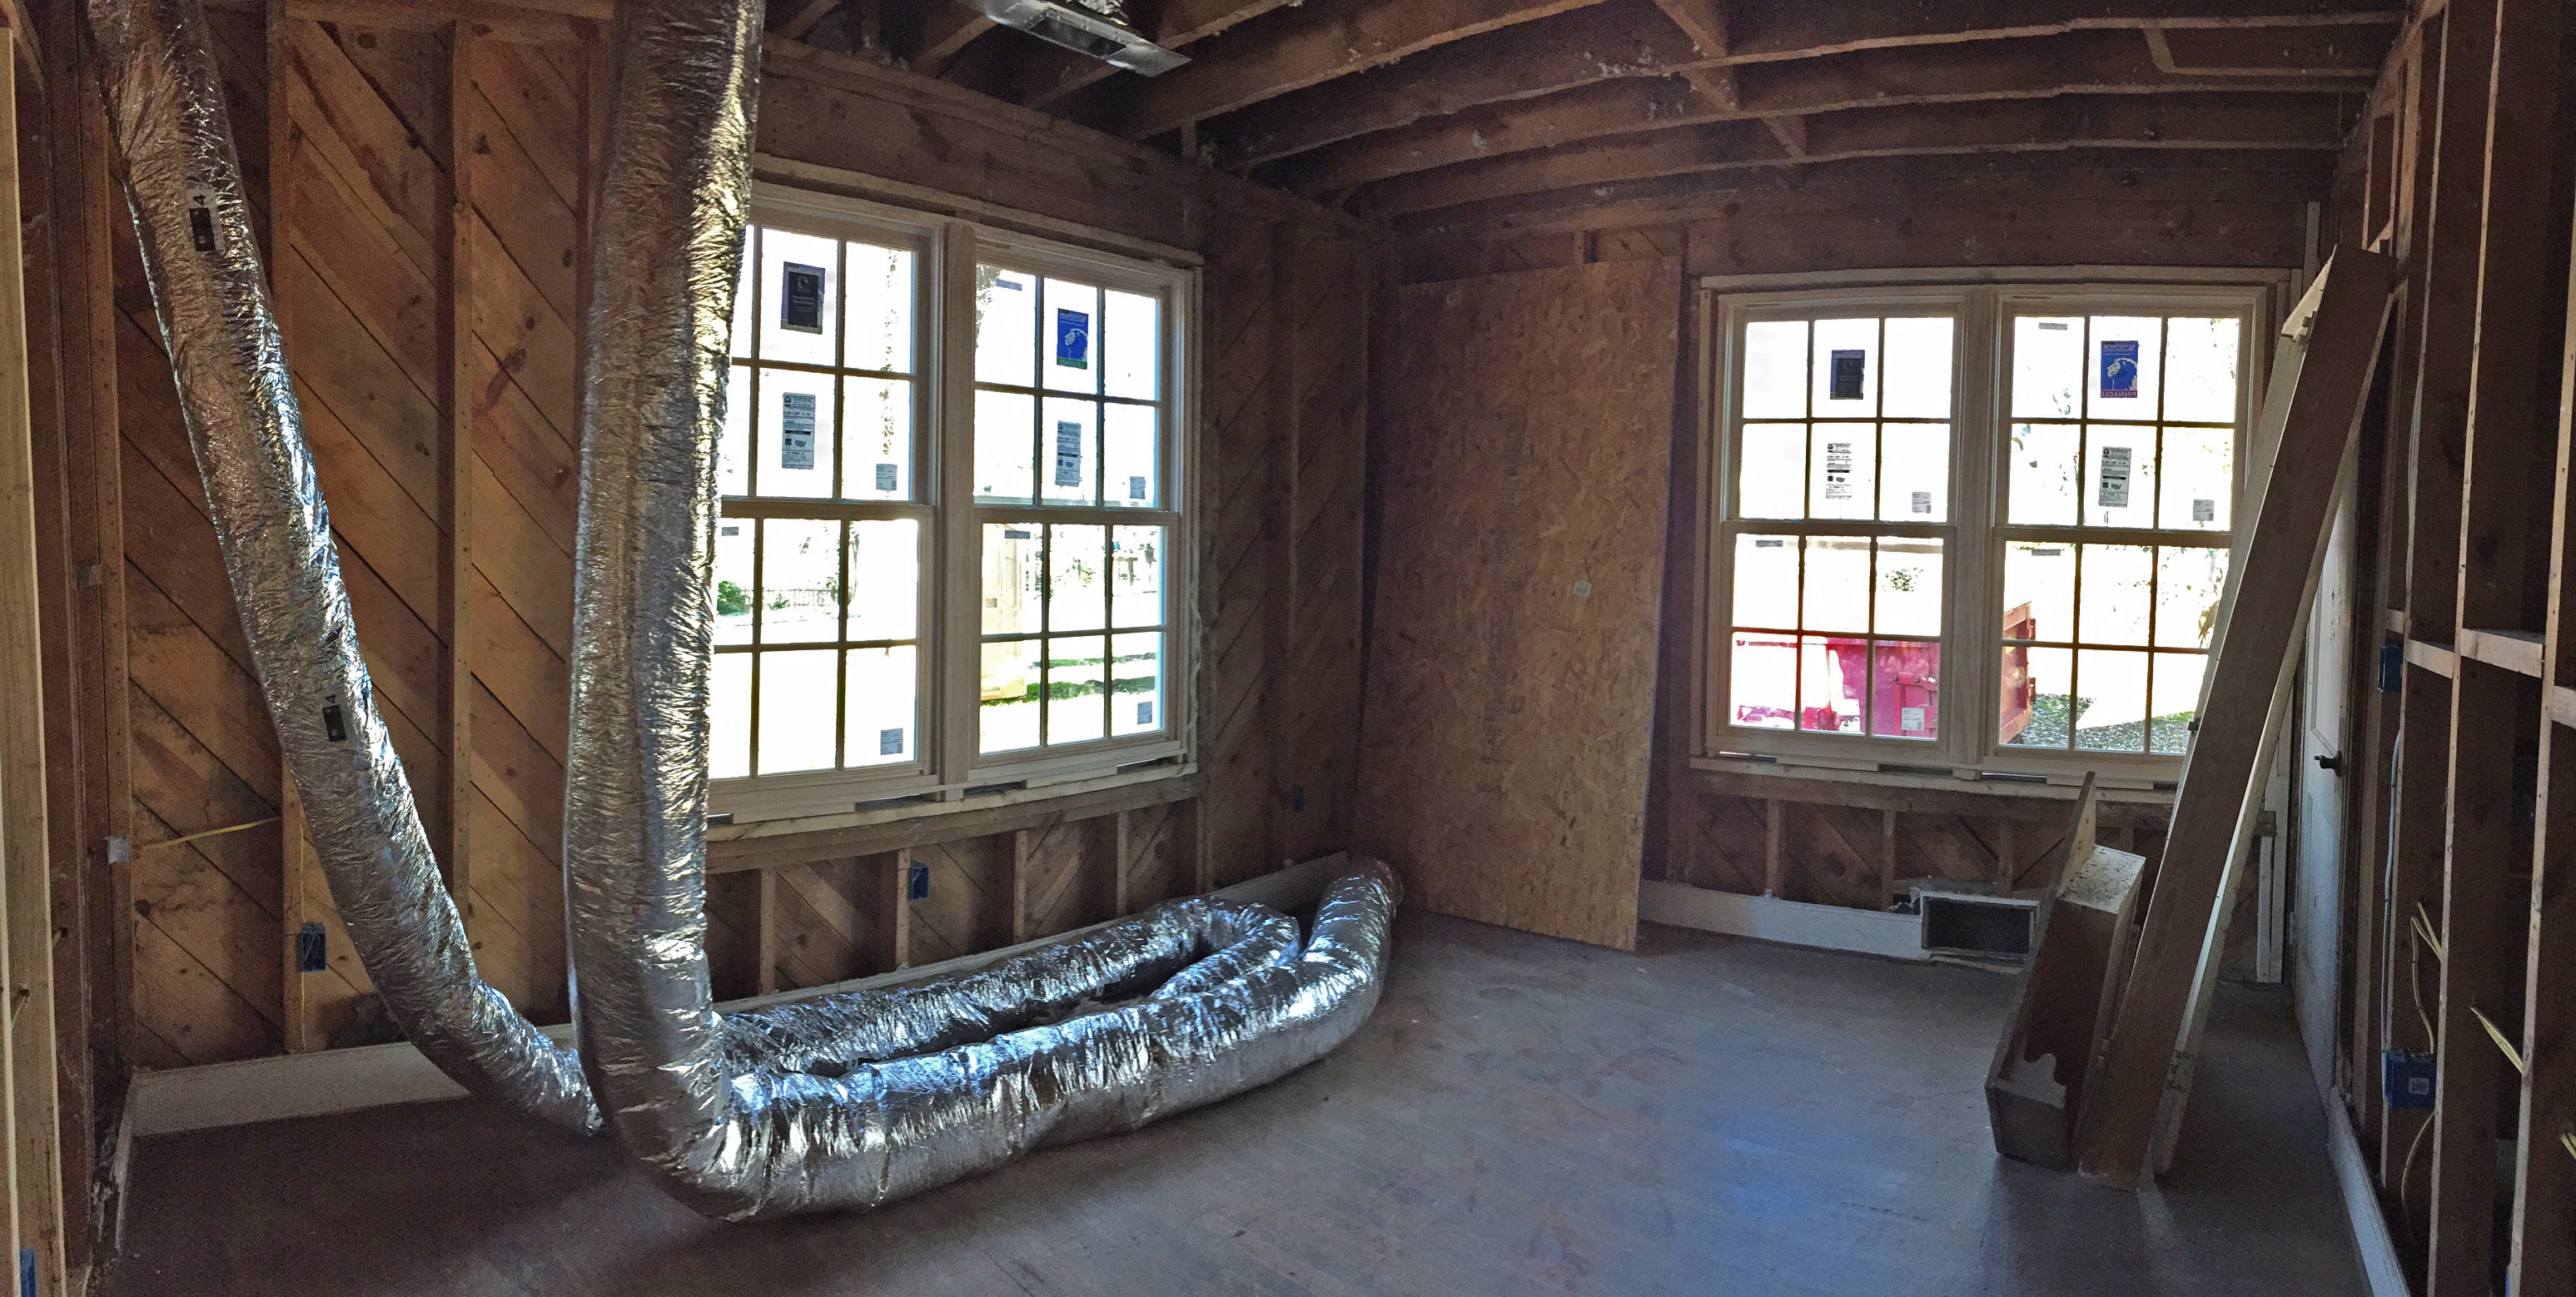
Ductwork running through the dormers.

Can you picture a cute little window seat here?

Vents installed in the ceilings.
Now we just need to pick out our thermostat!
We feel like this one might be calling our names….

It’s called “The Nest!” How could we resist? 😉