The Last-Minute Window

Our powder room may be small, but it’s got personality! There are so many things we love about this teeny little room, but one of its finest features almost didn’t happen! You may remember from the floorplan redesign that the Nest’s powder room is not an original feature of the house. We decided early on that it would be smart to add a bathroom to the side of the house where all the living spaces are located (duh!). So, we added two little walls (and two pretty doors!) in what we call the office and – voila! – a powder room was born.

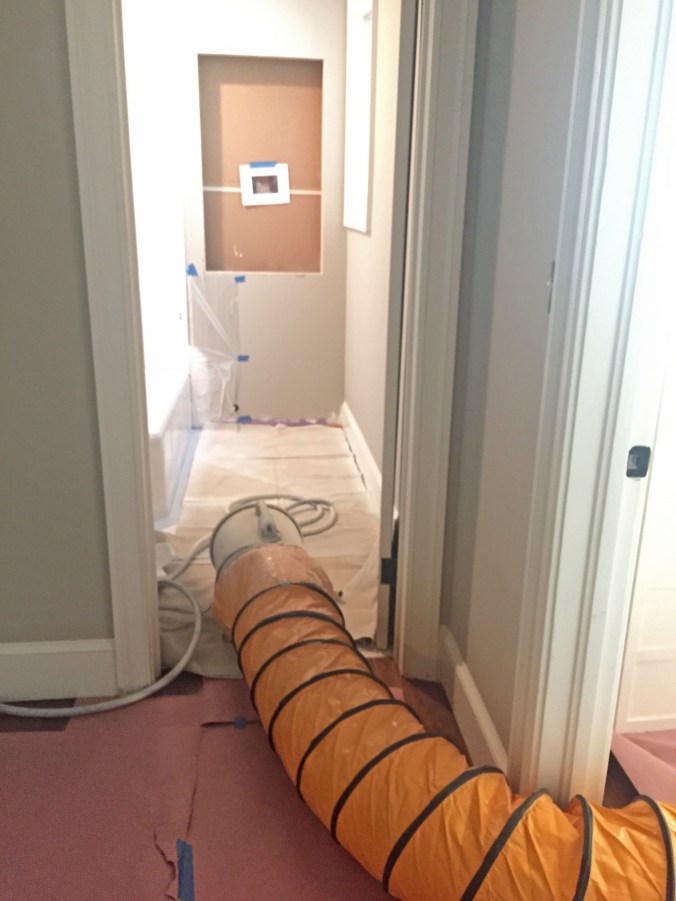
Because we re-plumbed the entire house, adding another sink and toilet was relatively easy. The challenge was making this little [water] closet not feel like an afterthought… so we decided to use the other half of the diamond-paned window that was originally in our master bathroom. Great idea, right?? Except: 1.) we only had one of the two window panels restored professionally (to keep in the master bathroom) and 2.) all the window openings had long been decided and windows installed months ago. Ugh! But Lauren we HAD to have this window! So, who did we call? My dad.

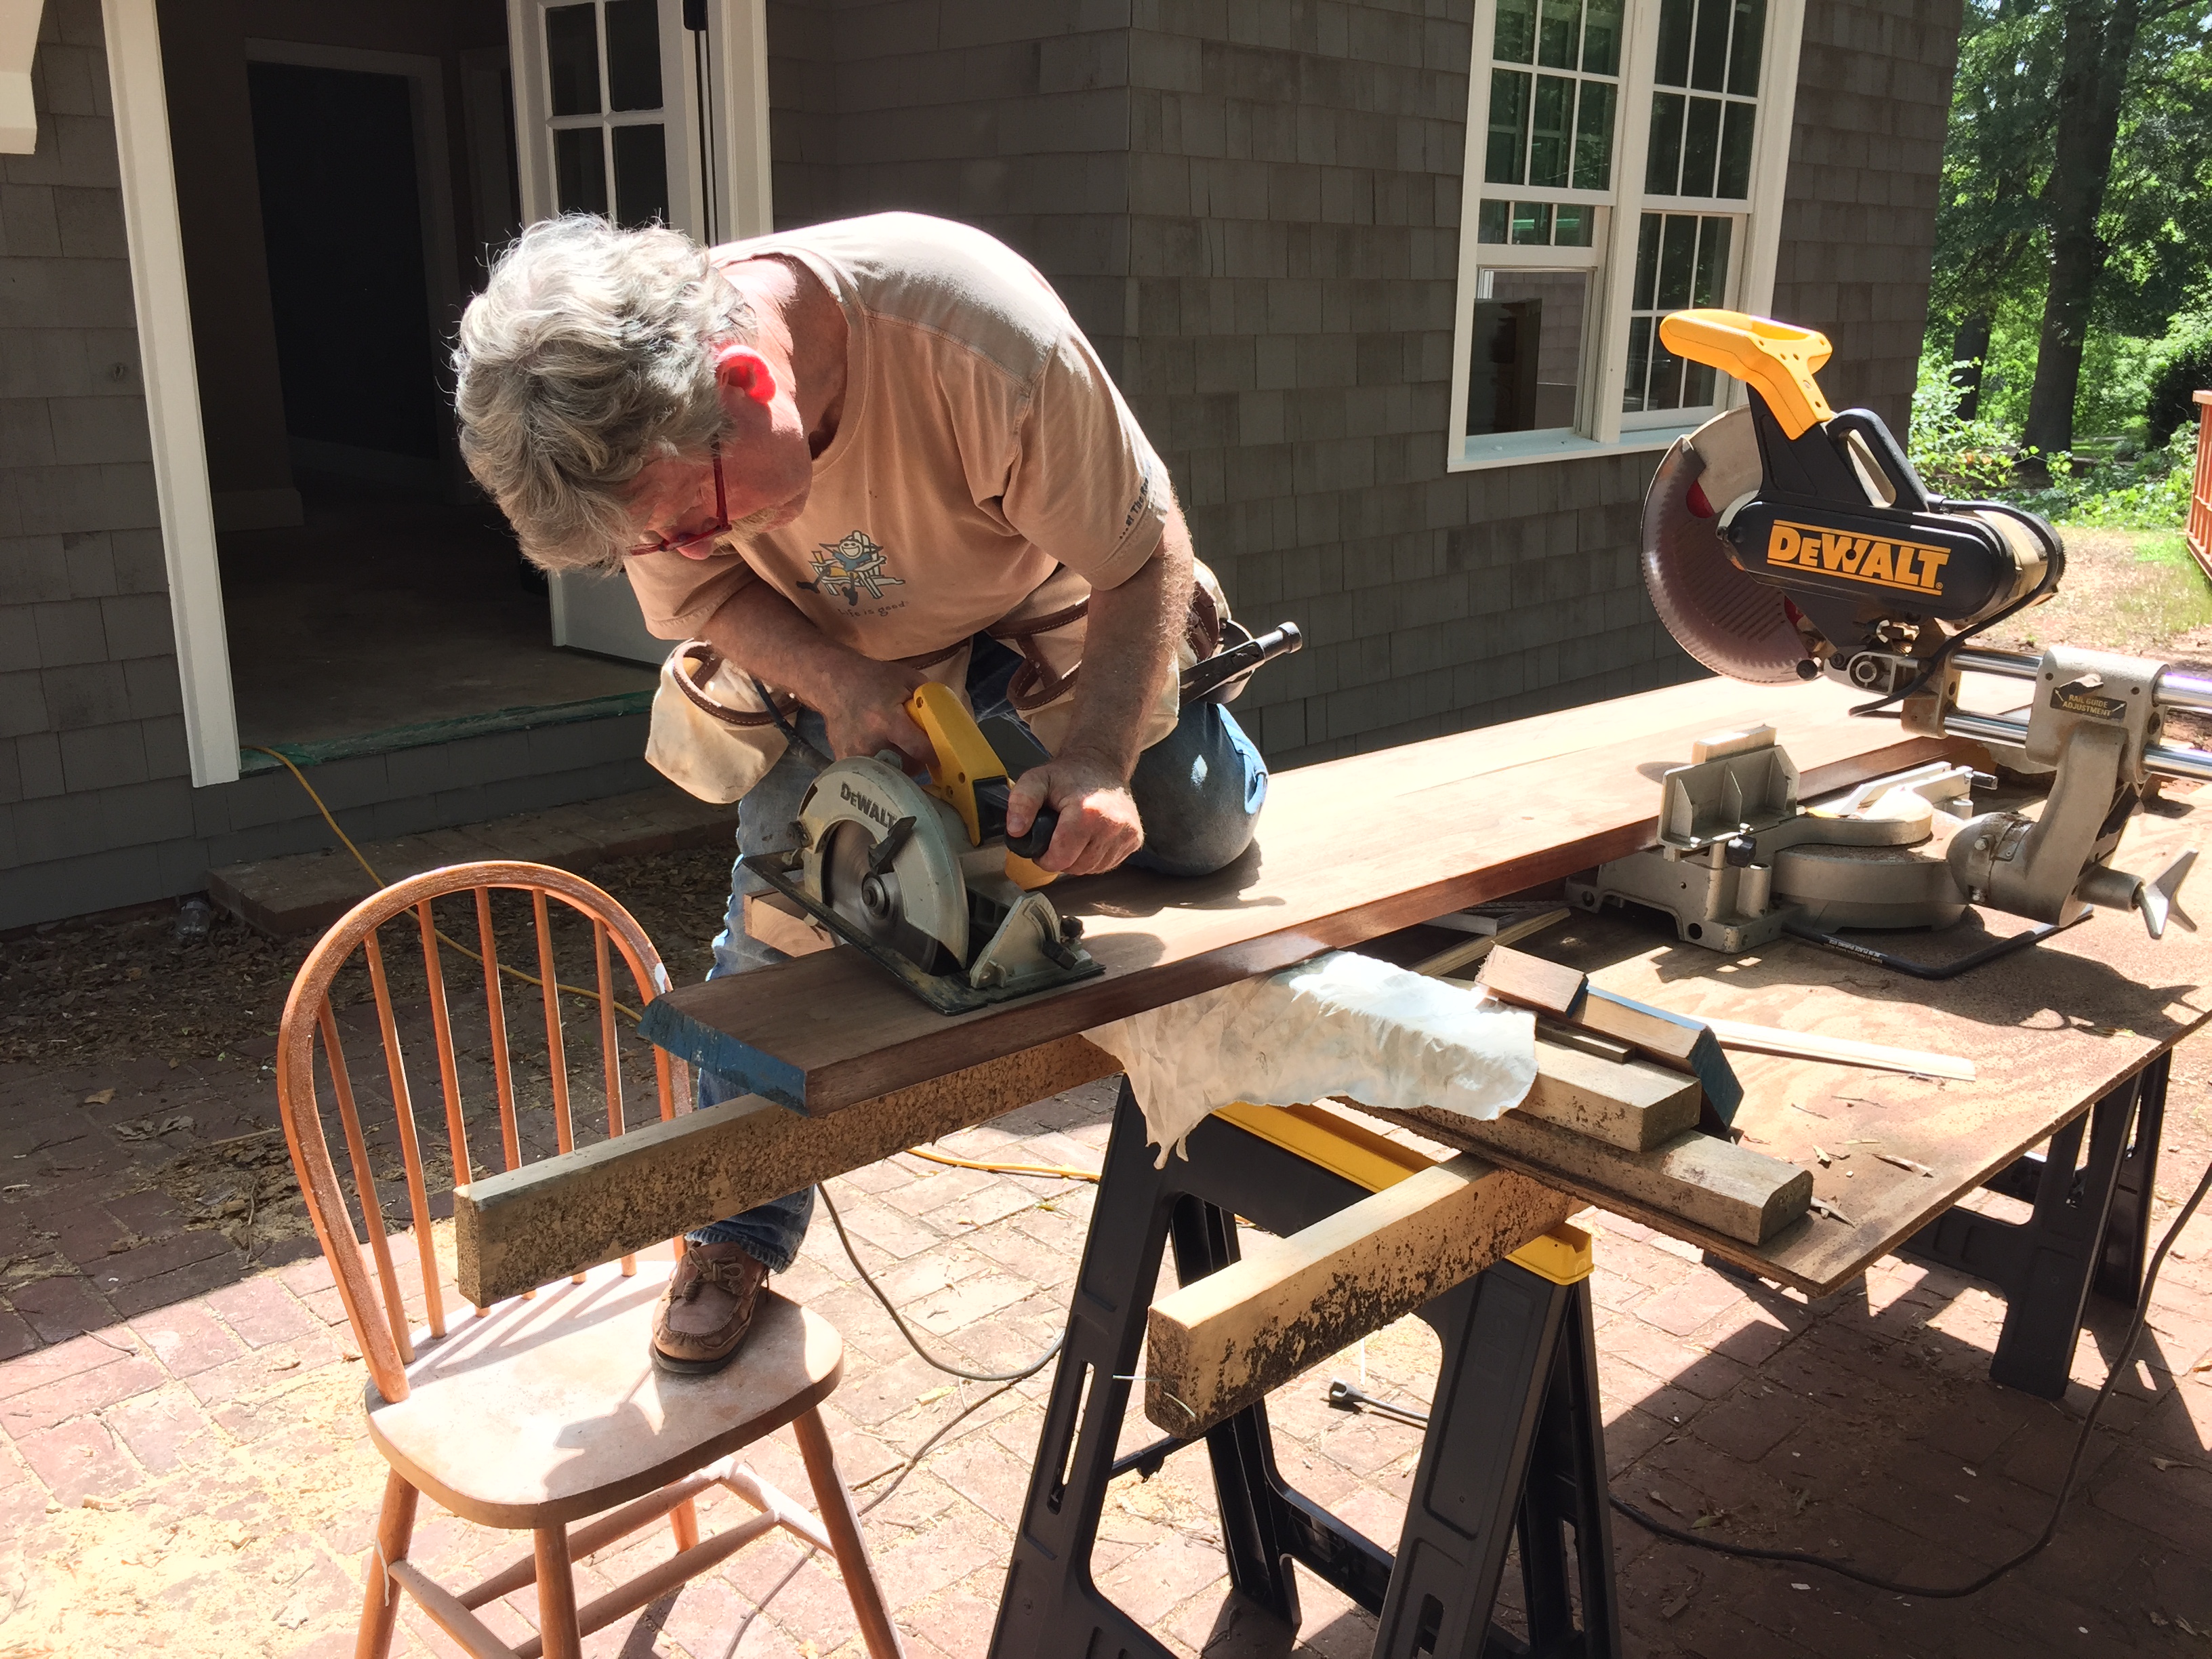
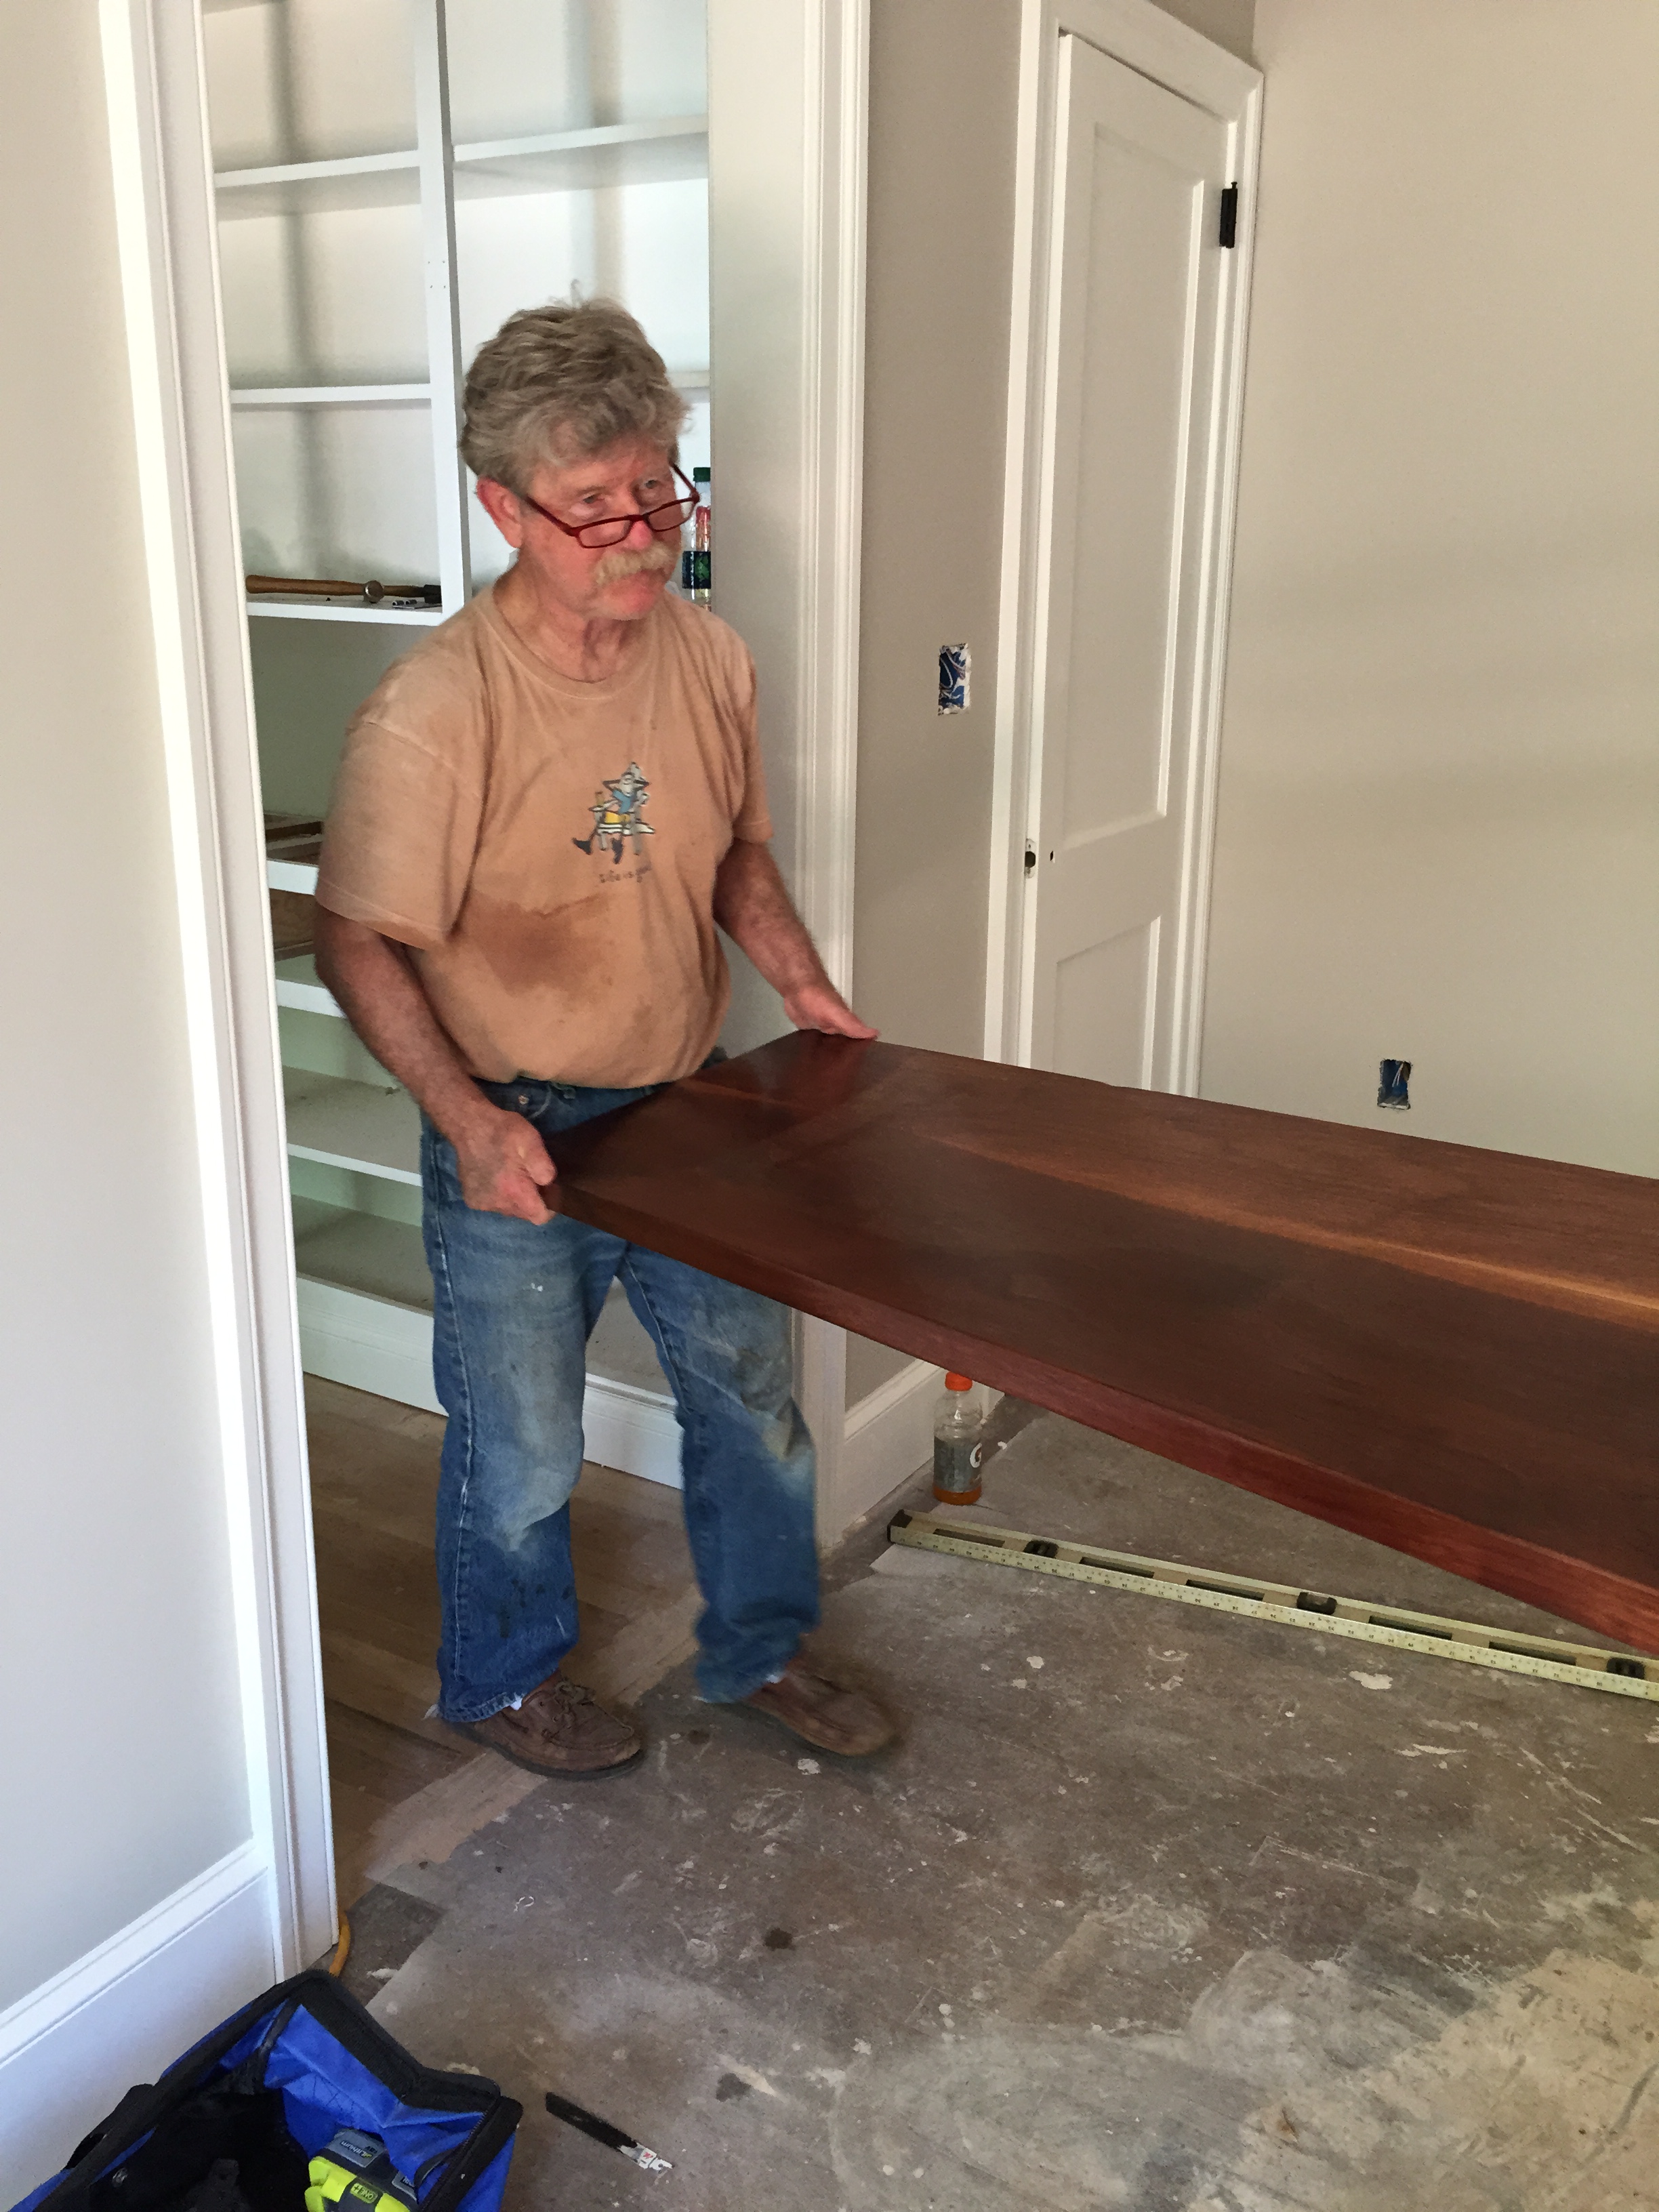
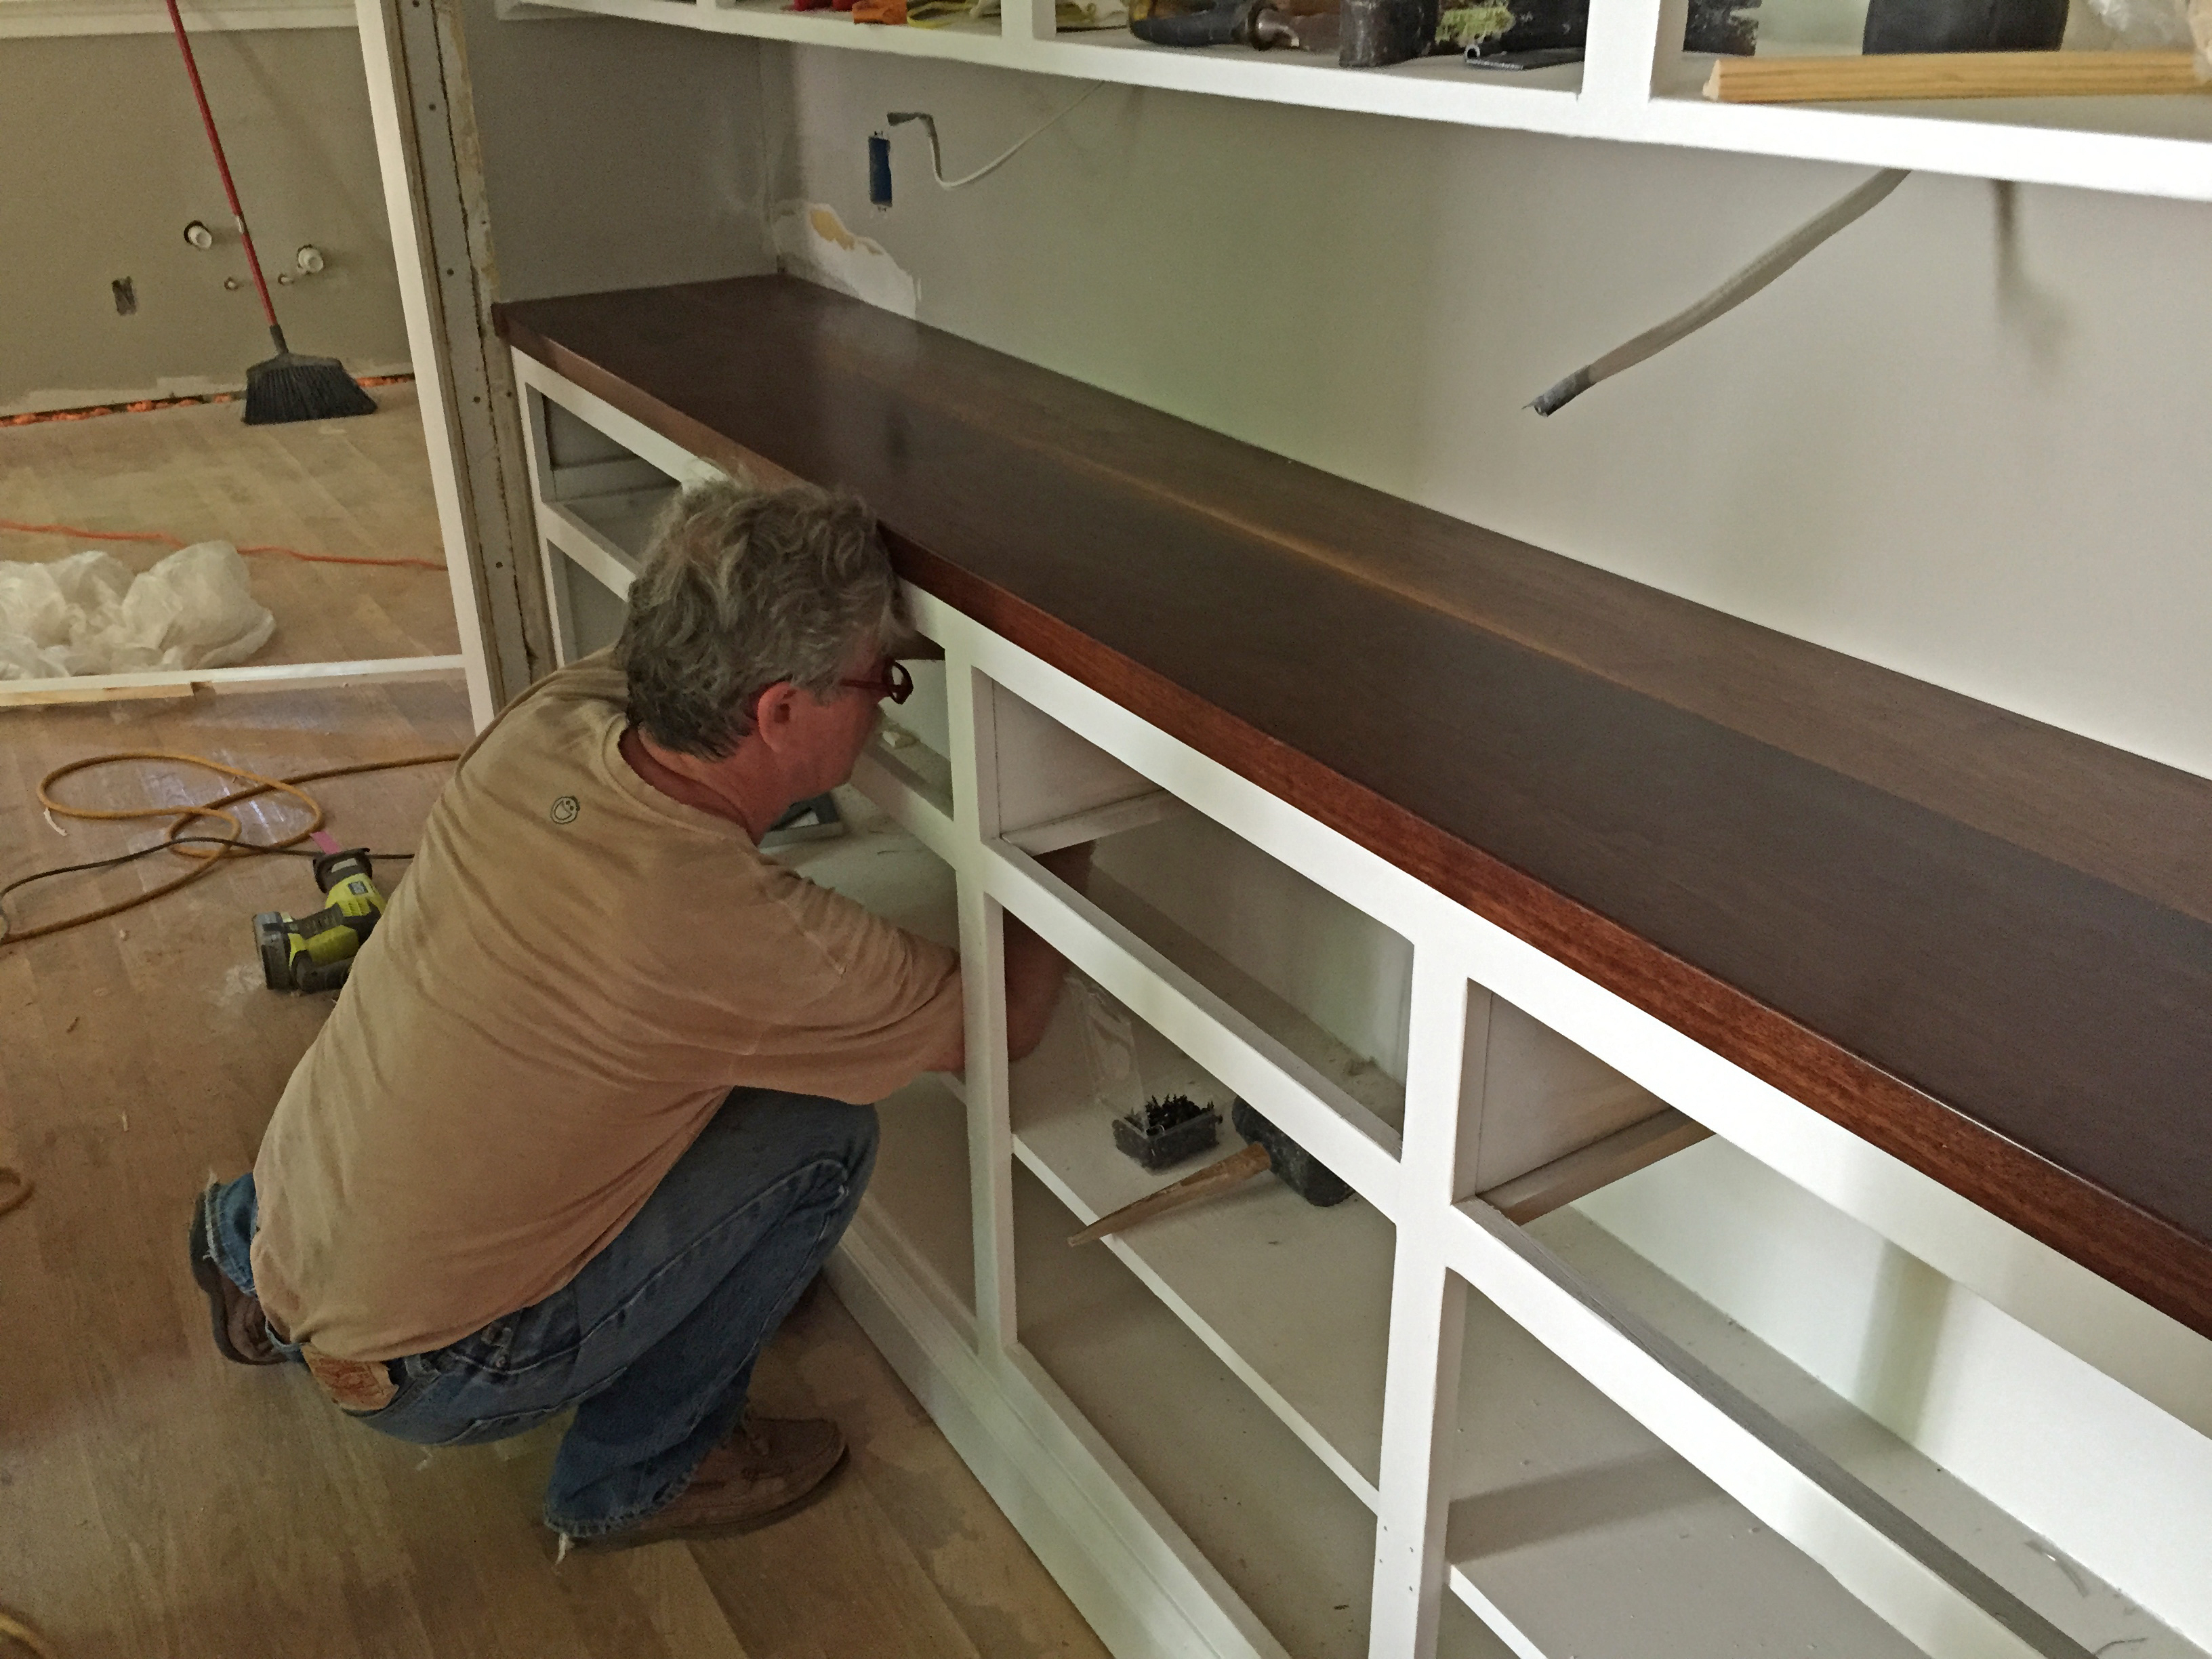
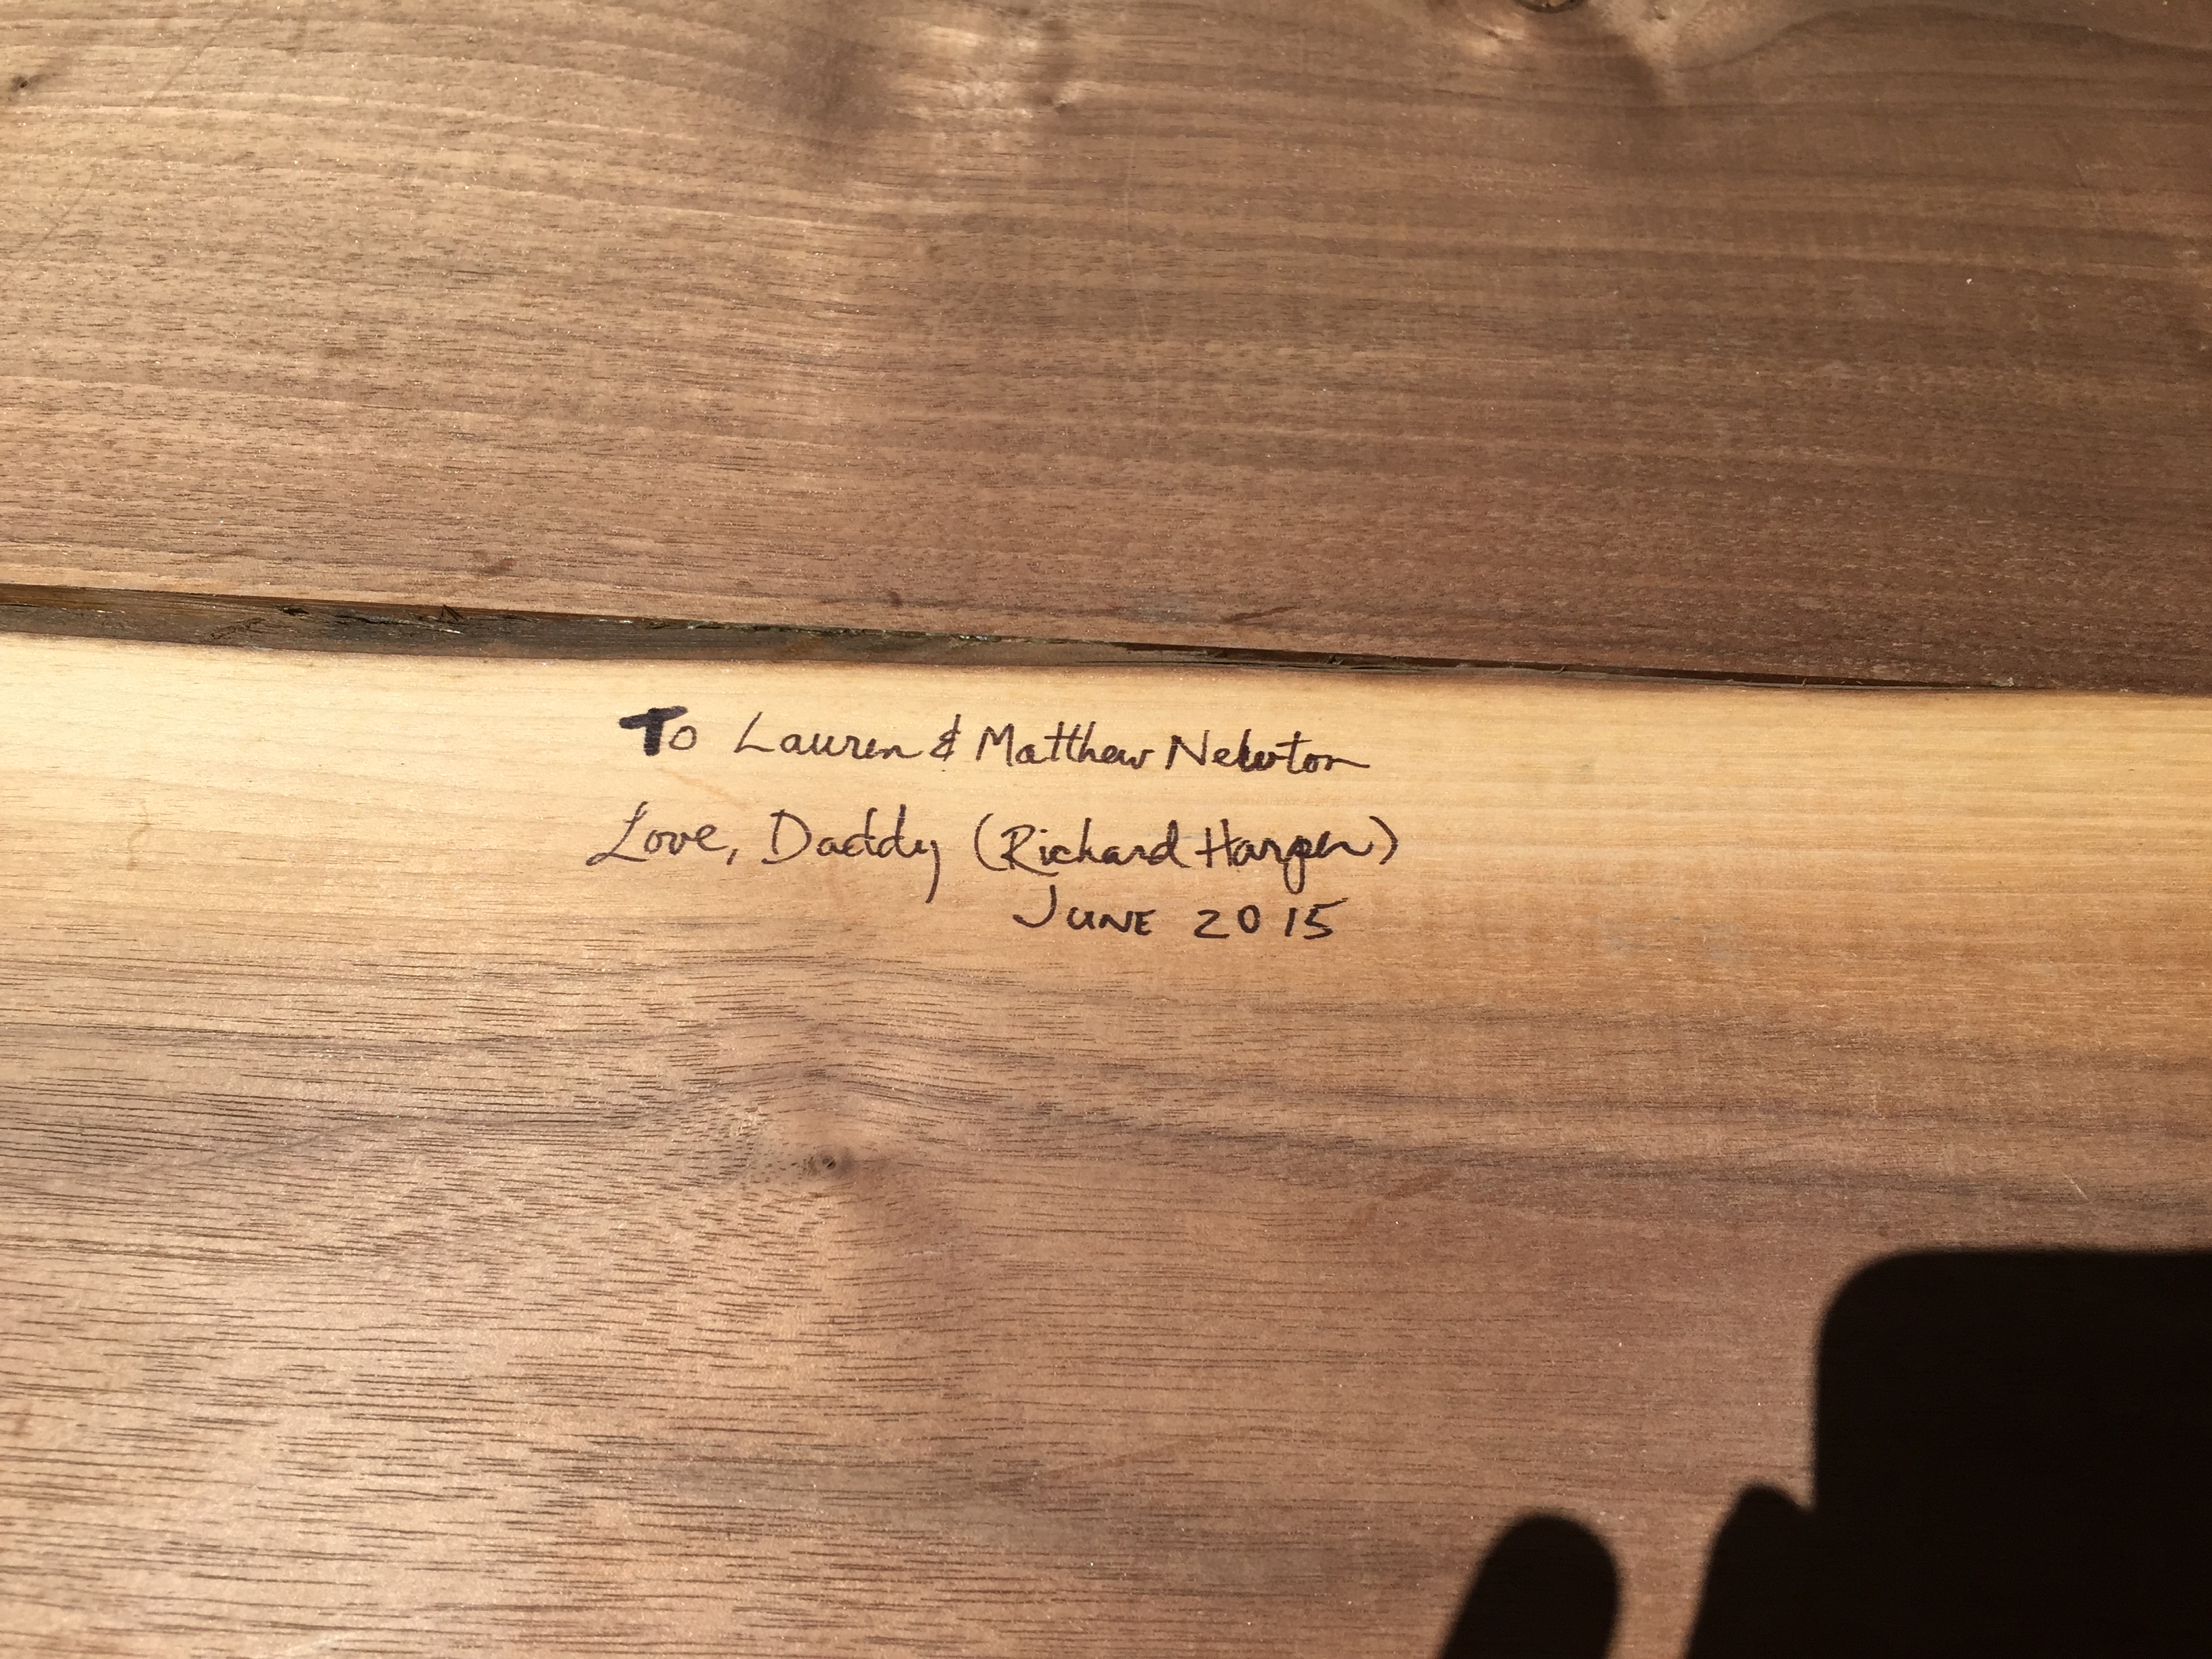
Good ol’ Richard Harper already has a recurring role in this story, so why not write one more chapter? Not only did he come to the rescue to restore the other half of the window for us, but he installed it, too! Here’s the proof:

The Newton Nest_Powder Room Window Install_IMG_8386

The master at work! Removing old glazing and stripping the wood.

The Newton Nest_Powder Room window reglazing

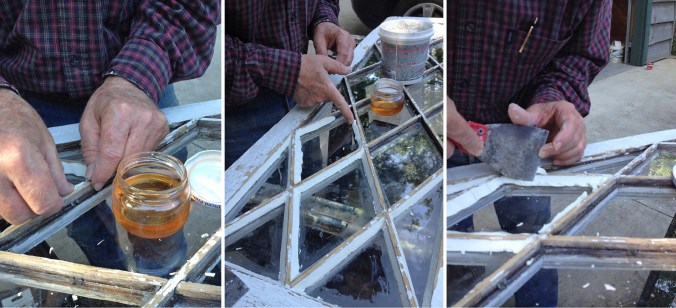
Adding new glaze to the window panes. Is there anything this guy can’t do? 🙂

The Newton Nest_Powder Room Window Install_IMG_7764

Making the first cut; no turning back!

The Newton Nest_Powder Room Window Install_IMG_7770

The Newton Nest_Powder Room Window Install_IMG_7802

The Newton Nest_Powder Room Window Install_IMG_7805

We see the light!!!

The Newton Nest_Powder Room Window Install_IMG_7809

Perfect cut!

The Newton Nest_Powder Room Window Install

Installed and trimmed.

I kid you not, adding this little window completely transformed our tiny powder room. Not only are we glad to have the natural light and a view of the Camelia tree in the side yard, but we saved and repurposed the other half of a very special original feature of our Nest. Win-win!

The Newton Nest_Powder Room Window Install_IMG_0311

I mean, can you even imagine this room without a window?

Advertisement

Subway Style

Q:  What’s shiny and white and mudded all over?
A:  Our bathroom tile!

Honk, Honk! The Nest’s bathrooms just got a little touch of subway flair…tile, that is. We chose a simple white, glossy subway tile for the showers because it suits our style and the era of our home. We punched it up a little by using pewter colored grout and adding a simple accent of “pencil tiles” around the perimeter of the shower walls about ¾ of the way up. We also opted to add little niches in each shower to hold shampoo bottles, etc.

The new stuff is fun and, as it turns out, MUCH easier than repairing and restoring the old… but we knew that already, didn’t we? (Cue my parents saying, “Nothing worth having comes easy.”)

The Saga of the Snaggletooth Tiles

Besides being absolutely filthy, the tile in our nest’s bathrooms was in relatively good shape and because we decided to keep the old cast iron bath tubs, too (taking those monsters out would have destroyed the tile around them), we decided that it was a no-brainer to save the original tile. However, there were a few “snaggletooth” holes to fill where we had relocated doorways and some patching needed around the edges of the rooms where we lost a few tiles during the plaster demo.

The only problem: it was impossible to find replacement tiles that would even come close to matching our original ones [insert “they don’t make things like the used to” comment here]. Our tile professional was too chicken to attempt concerned by the only option left: to “harvest” tiles from parts of the floor that would be covered by a vanity, so Matthew and I were forced to try our hand at chiseling out these precious tiles on our own. Thankfully, it was a DIY success not a disaster…although, it definitely tested our marriage a few times. Whew! Glad that’s over.

IMG_9103

Hard at work harvesting tiles.

IMG_9104

Mid-jigsaw puzzle.

IMG_9223

Grinding away at the space for a new marble threshold in the hall bathroom.

IMG_9386

Threshold installed! Not bad for a couple of newbies, right?? (Not as easy as it looks, though…we broke the first one trying to level it.)

IMG_9078

Finally starting to clean up the old tiles!

IMG_9079

Many hours of elbow grease later…good as new!

IMG_8908

Shower niche installed!

IMG_8907

This orange KERDI backing is a moisture-proof “wallpaper”that goes right over the sheetrock before tile installation.

IMG_8985

Tile selection! Classic white subway tiles and pewter grout (we went with the medium gray at bottom).

IMG_8937

Boxes and boxes of tile… here we go!

IMG_9076

Eeeeeeek! Major progress!

IMG_9389

Master shower’s tile is up!

IMG_9388

Hall bath, too!

Tub Transformation

Once the new tile was installed, that pristine white subway tile only accentuated the sad state of our bathtubs. We knew that refinishing them ourselves was not in our wheelhouse, so we called in the professionals. After some research, Matthew found a company called GlazePro in North Carolina that would travel down and – in just two days – completely transform our beat-up bathtubs by scouring, sanding, stripping, patching, and re-glazing. I don’t know much more about the process, but the results are nothing short of miraculous! Take a look-see for yourself:

IMG_9451

The miracle worker in action – scraping, sanding, and patching all the imperfections.

IMG_9456

Patching complete.

IMG_9453

Reglazing in progress… That orange contraption is a portable exhaust system to vent the paint fumes outside. Impressive!

IMG_9454

Can you believe how good this looks??? We were shocked by the transformation. It’s perfect. I think I heard angels singing when I laid eyes on our BRAND NEW old tubs!!


No sign of our butler yet…

… but we sure do like his pantry!

If Jeeves were here, I’d ask him if he liked the burnt sienna backsplash in his Butler’s Pantry… something tells me that his answer would be an enthusiastic “no ma’am.”

The "before" picture -- check out those lovely tiles ;)

The “before” picture — check out those lovely tiles 😉


Burnt Sienna! A perfect match.

Burnt Sienna! A perfect match.

Once upon a time, this delightful Crayola color may have been a popular choice, but not anymore! So, we had to bid farewell to all those little orange tiles and give the butler’s pantry a well-deserved makeover.

First things first, I easily chipped away the tiles with a hammer and chisel because the adhesive had lost a lot of its strength over time. Unfortunately, the adhesive kept a very strong bond with the plaster wall between the upper cabinets and the counter top. I tried to chip away at it with every tool I could find, but finally had to resort to our orbital sander and heavy grit sandpaper. It was a dusty, tedious, goggle-fogging job, but I finally got it down to the smooth plaster underneath with only a little damage that required simple patching.

No more tiles!

No more tiles!


Close-up of the stubborn glue left behind.

Close-up of the stubborn glue left behind.


I had to stop every few minutes to wipe out my goggles. Yuck!

I had to stop every few minutes to wipe out my goggles. Yuck!

Next, we discussed what to use for the new counter top that would complement and preserve the charm of the original cabinets. We landed on the idea of “up-cycling” some of the original ceiling joists we cut out to vault the ceilings in the family room and master bedroom. We took this idea to my dad, the forester and master craftsman, to request his expertise and ask for his help to bring the new counter top to life.

Naturally, he had an ever better idea! Our joists were certainly thick and sturdy enough to do the job, but they were made of pine. As mentioned in the floor refinishing post, pine does not stain well and our “vision” was of a darker, richer wood counter top, not raw pine. It just so happened that my father (the forester, master craftsman, AND wood hoarder 🙂 ) had a stash of beautiful walnut left over from when my parents built their kitchen island. Glory! It was just the thing. We are so fortunate that the Harpers were willing to part with such special materials and my dad created a handmade walnut counter top for our butler’s pantry by joining two large pieces together and lovingly applying coat after coat of tongue oil and polyurethane.

Special Delivery!

Special Delivery!


Cutting it down to size.

Cutting it down to size.


Daddy's favorite cutting stance. I believe we have seen this move before ;)

Daddy’s favorite cutting stance. I believe we have seen this move before 😉


Ready to install this beauty!

Ready to install this beauty!


Wrangling it into place.

Wrangling it into place.


Fastening it from underneath, so we don't mar the wood.

Fastening it from underneath, so we don’t mar the wood.


My guys admiring their work...

My guys admiring their work…


My dad also made a matching cove molding to give it the perfect finishing touch!

My dad also made a matching cove molding to give it the perfect finishing touch!

It came out better than I ever expected. In fact, it may just be my favorite part of our nest…

Ta-daaaaahhh! The finished product. Absolutely fantastic.

Ta-daaaaahhh! The finished product. Absolutely fantastic.


...and a very special message hidden on the underside. ;)

…and a very special message hidden on the underside. 😉