… but we sure do like his pantry!
If Jeeves were here, I’d ask him if he liked the burnt sienna backsplash in his Butler’s Pantry… something tells me that his answer would be an enthusiastic “no ma’am.”
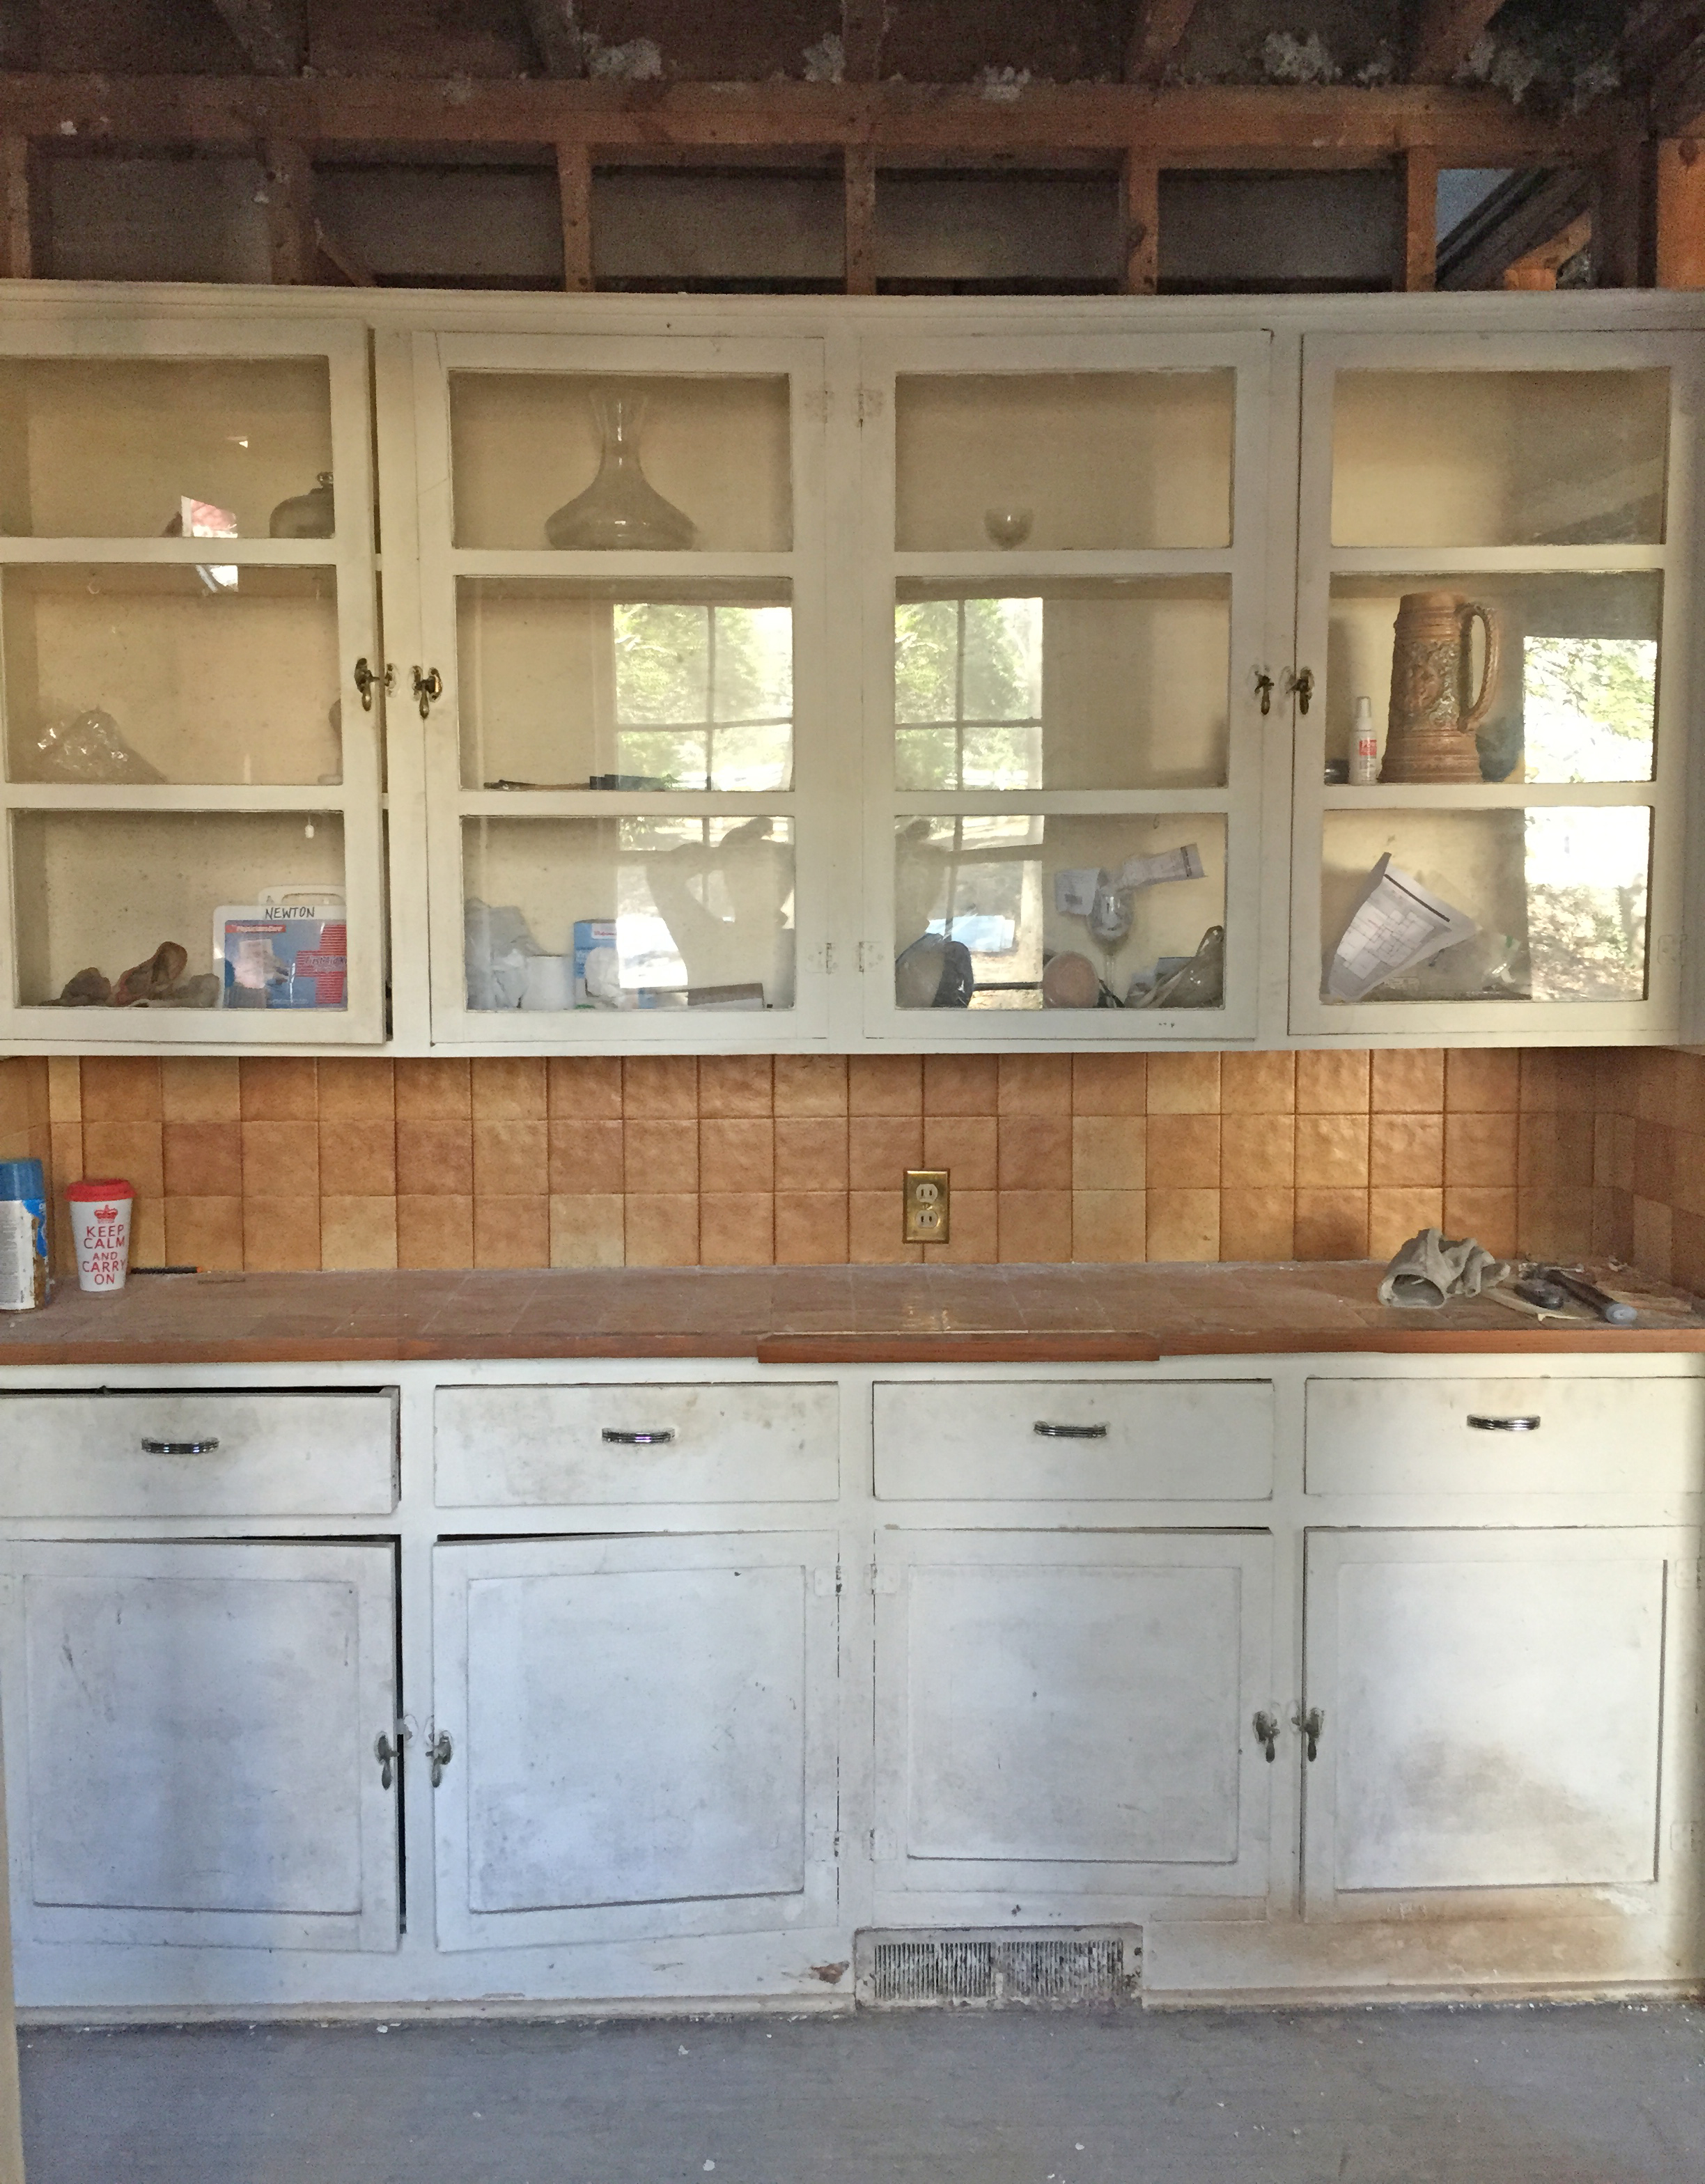
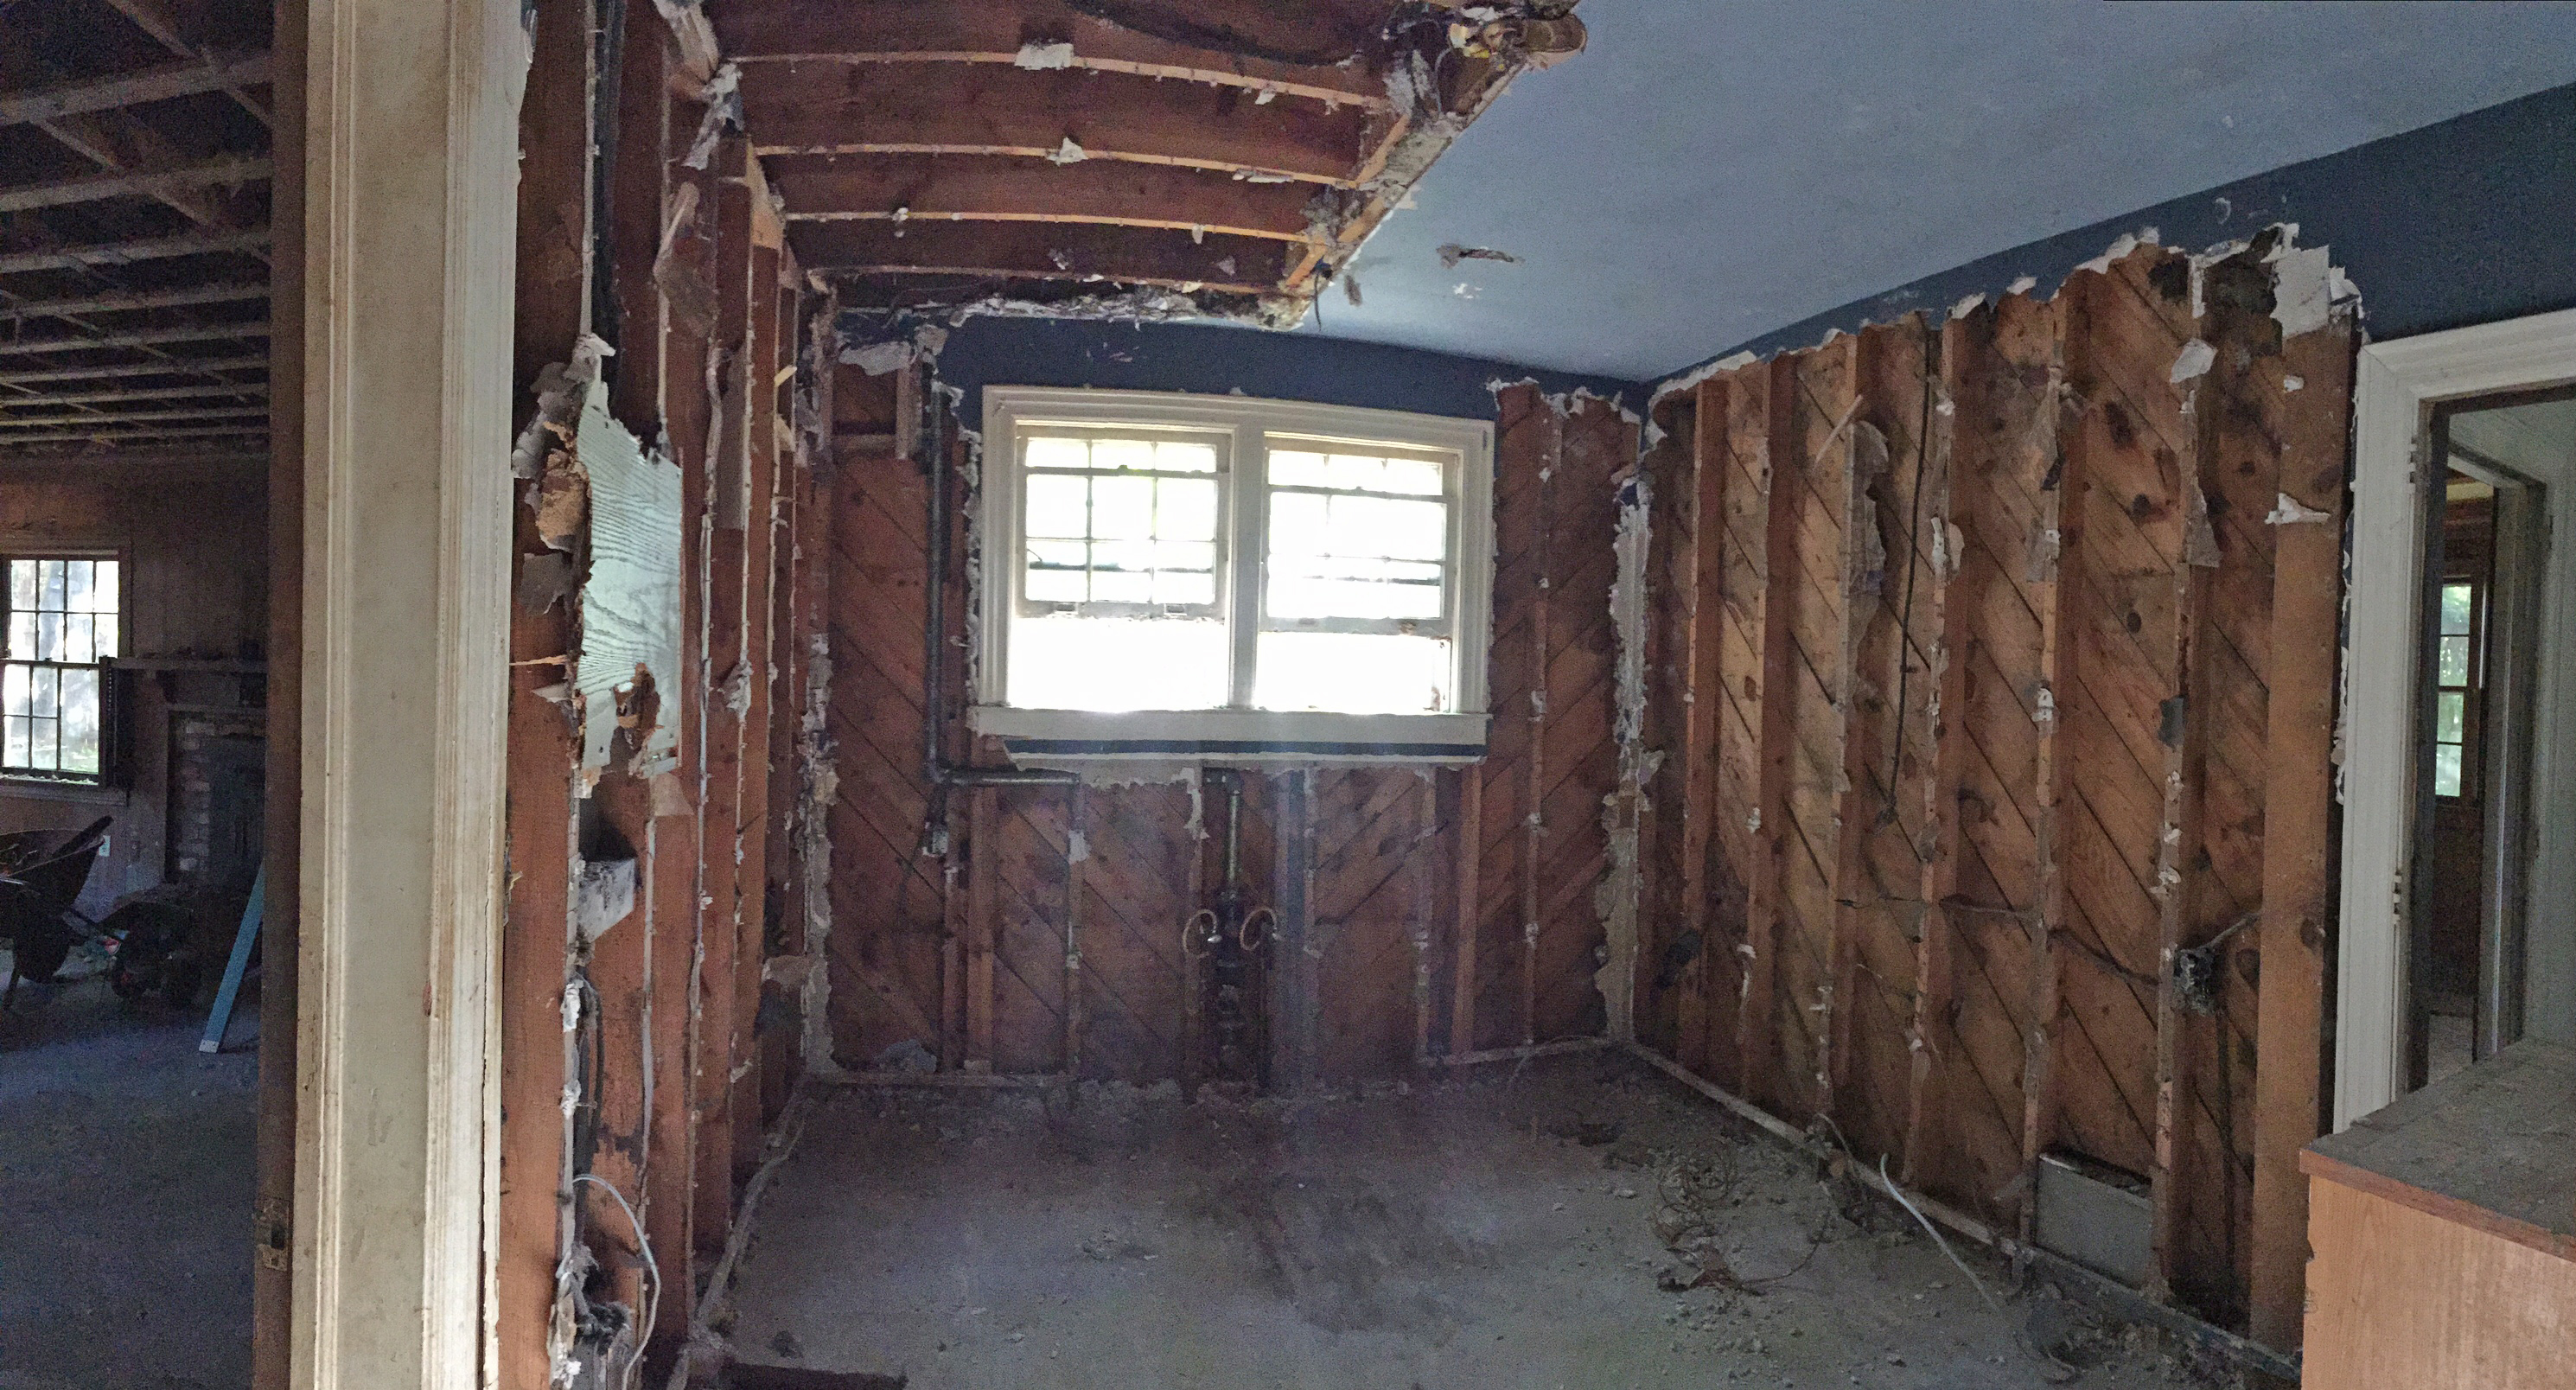
The “before” picture — check out those lovely tiles 😉

Burnt Sienna! A perfect match.
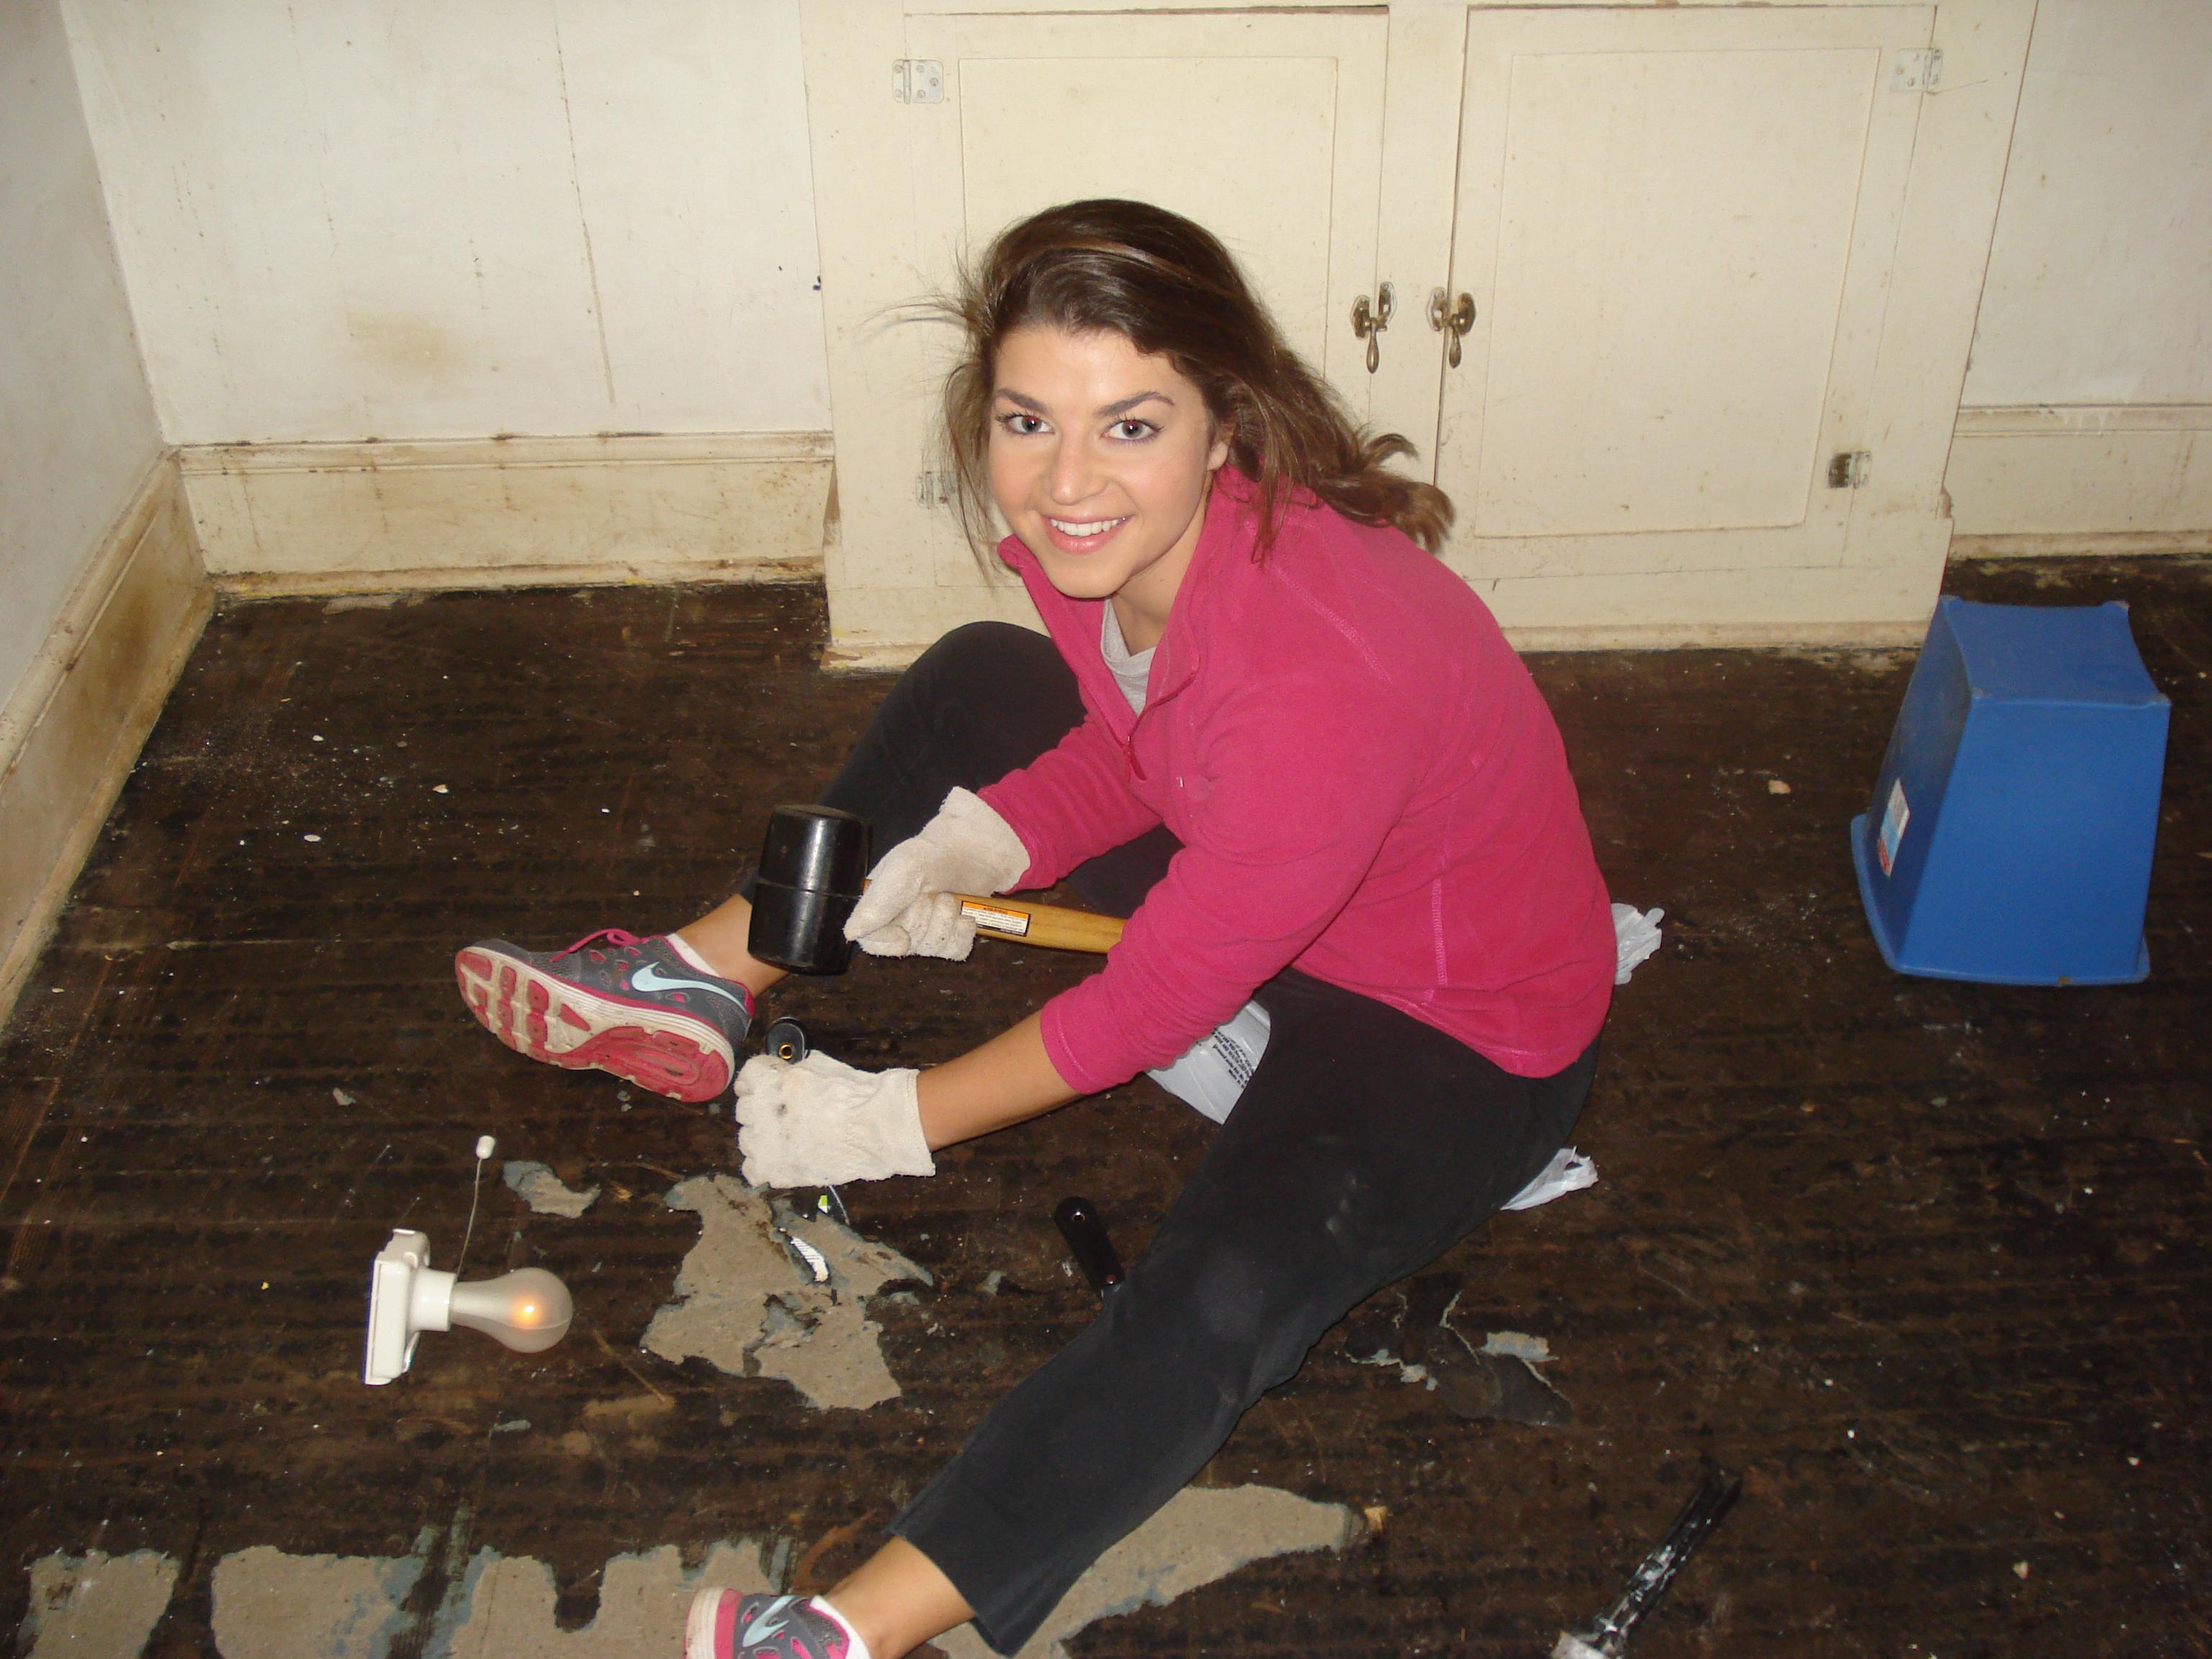
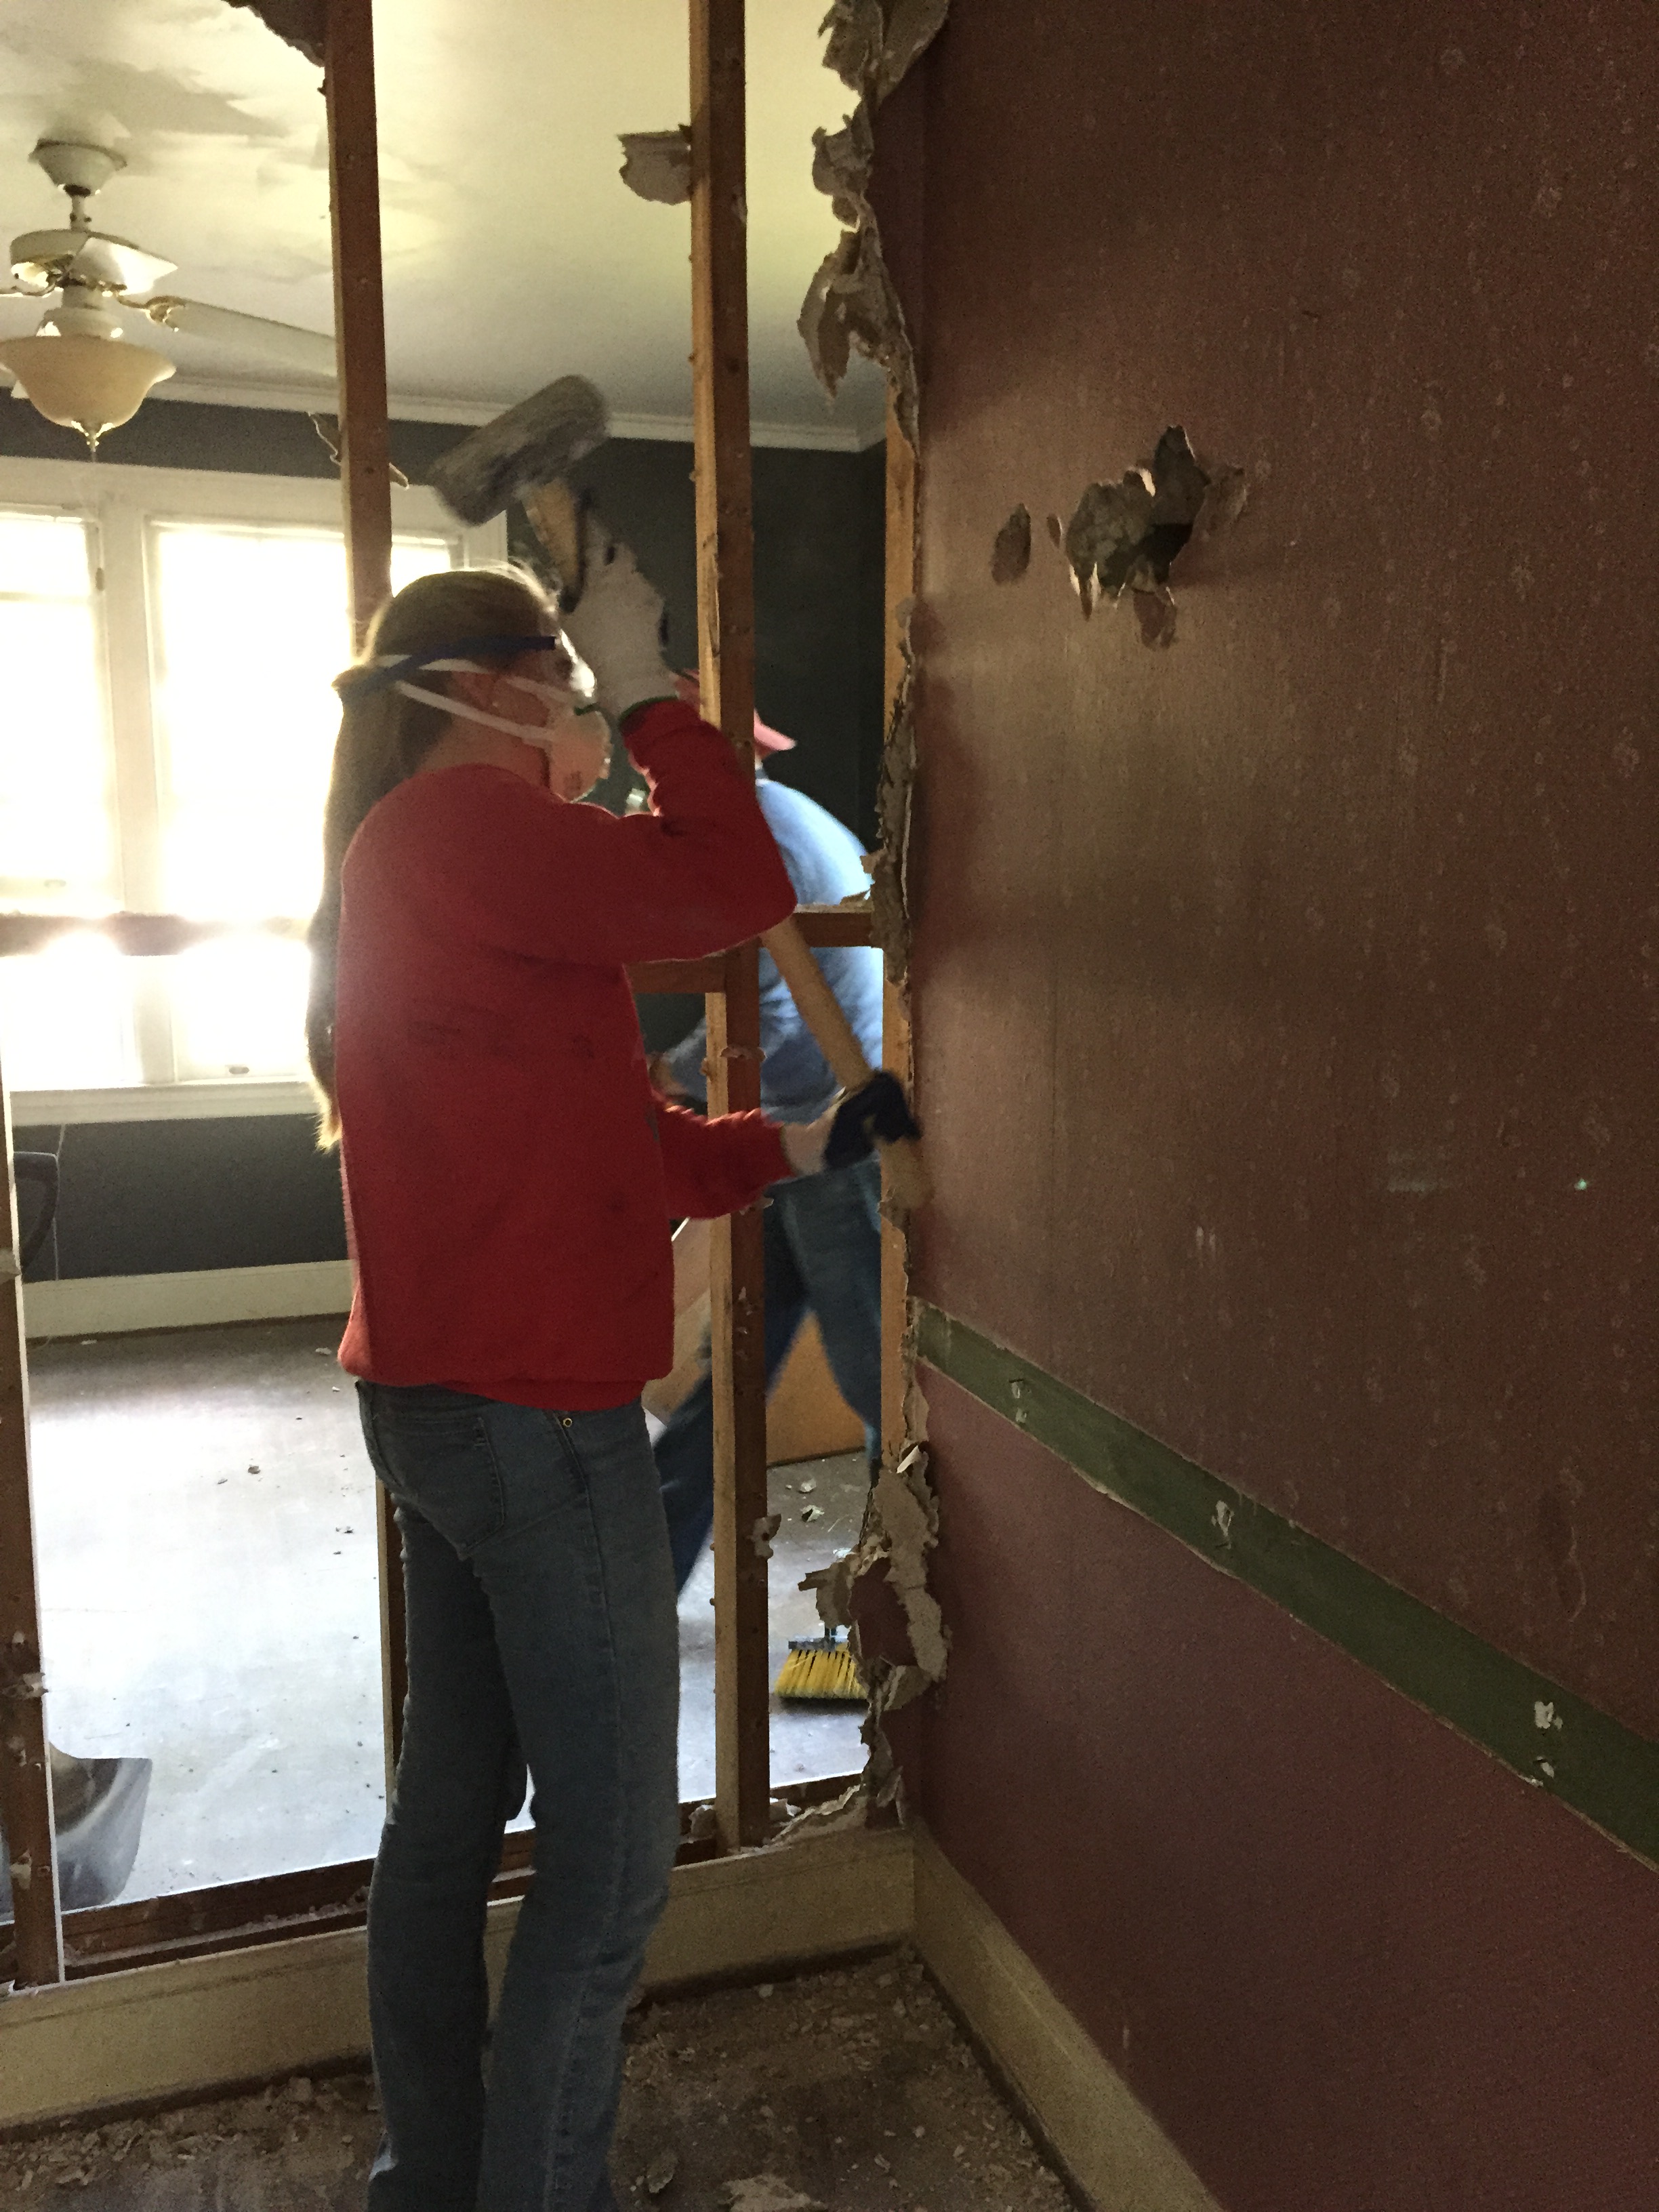
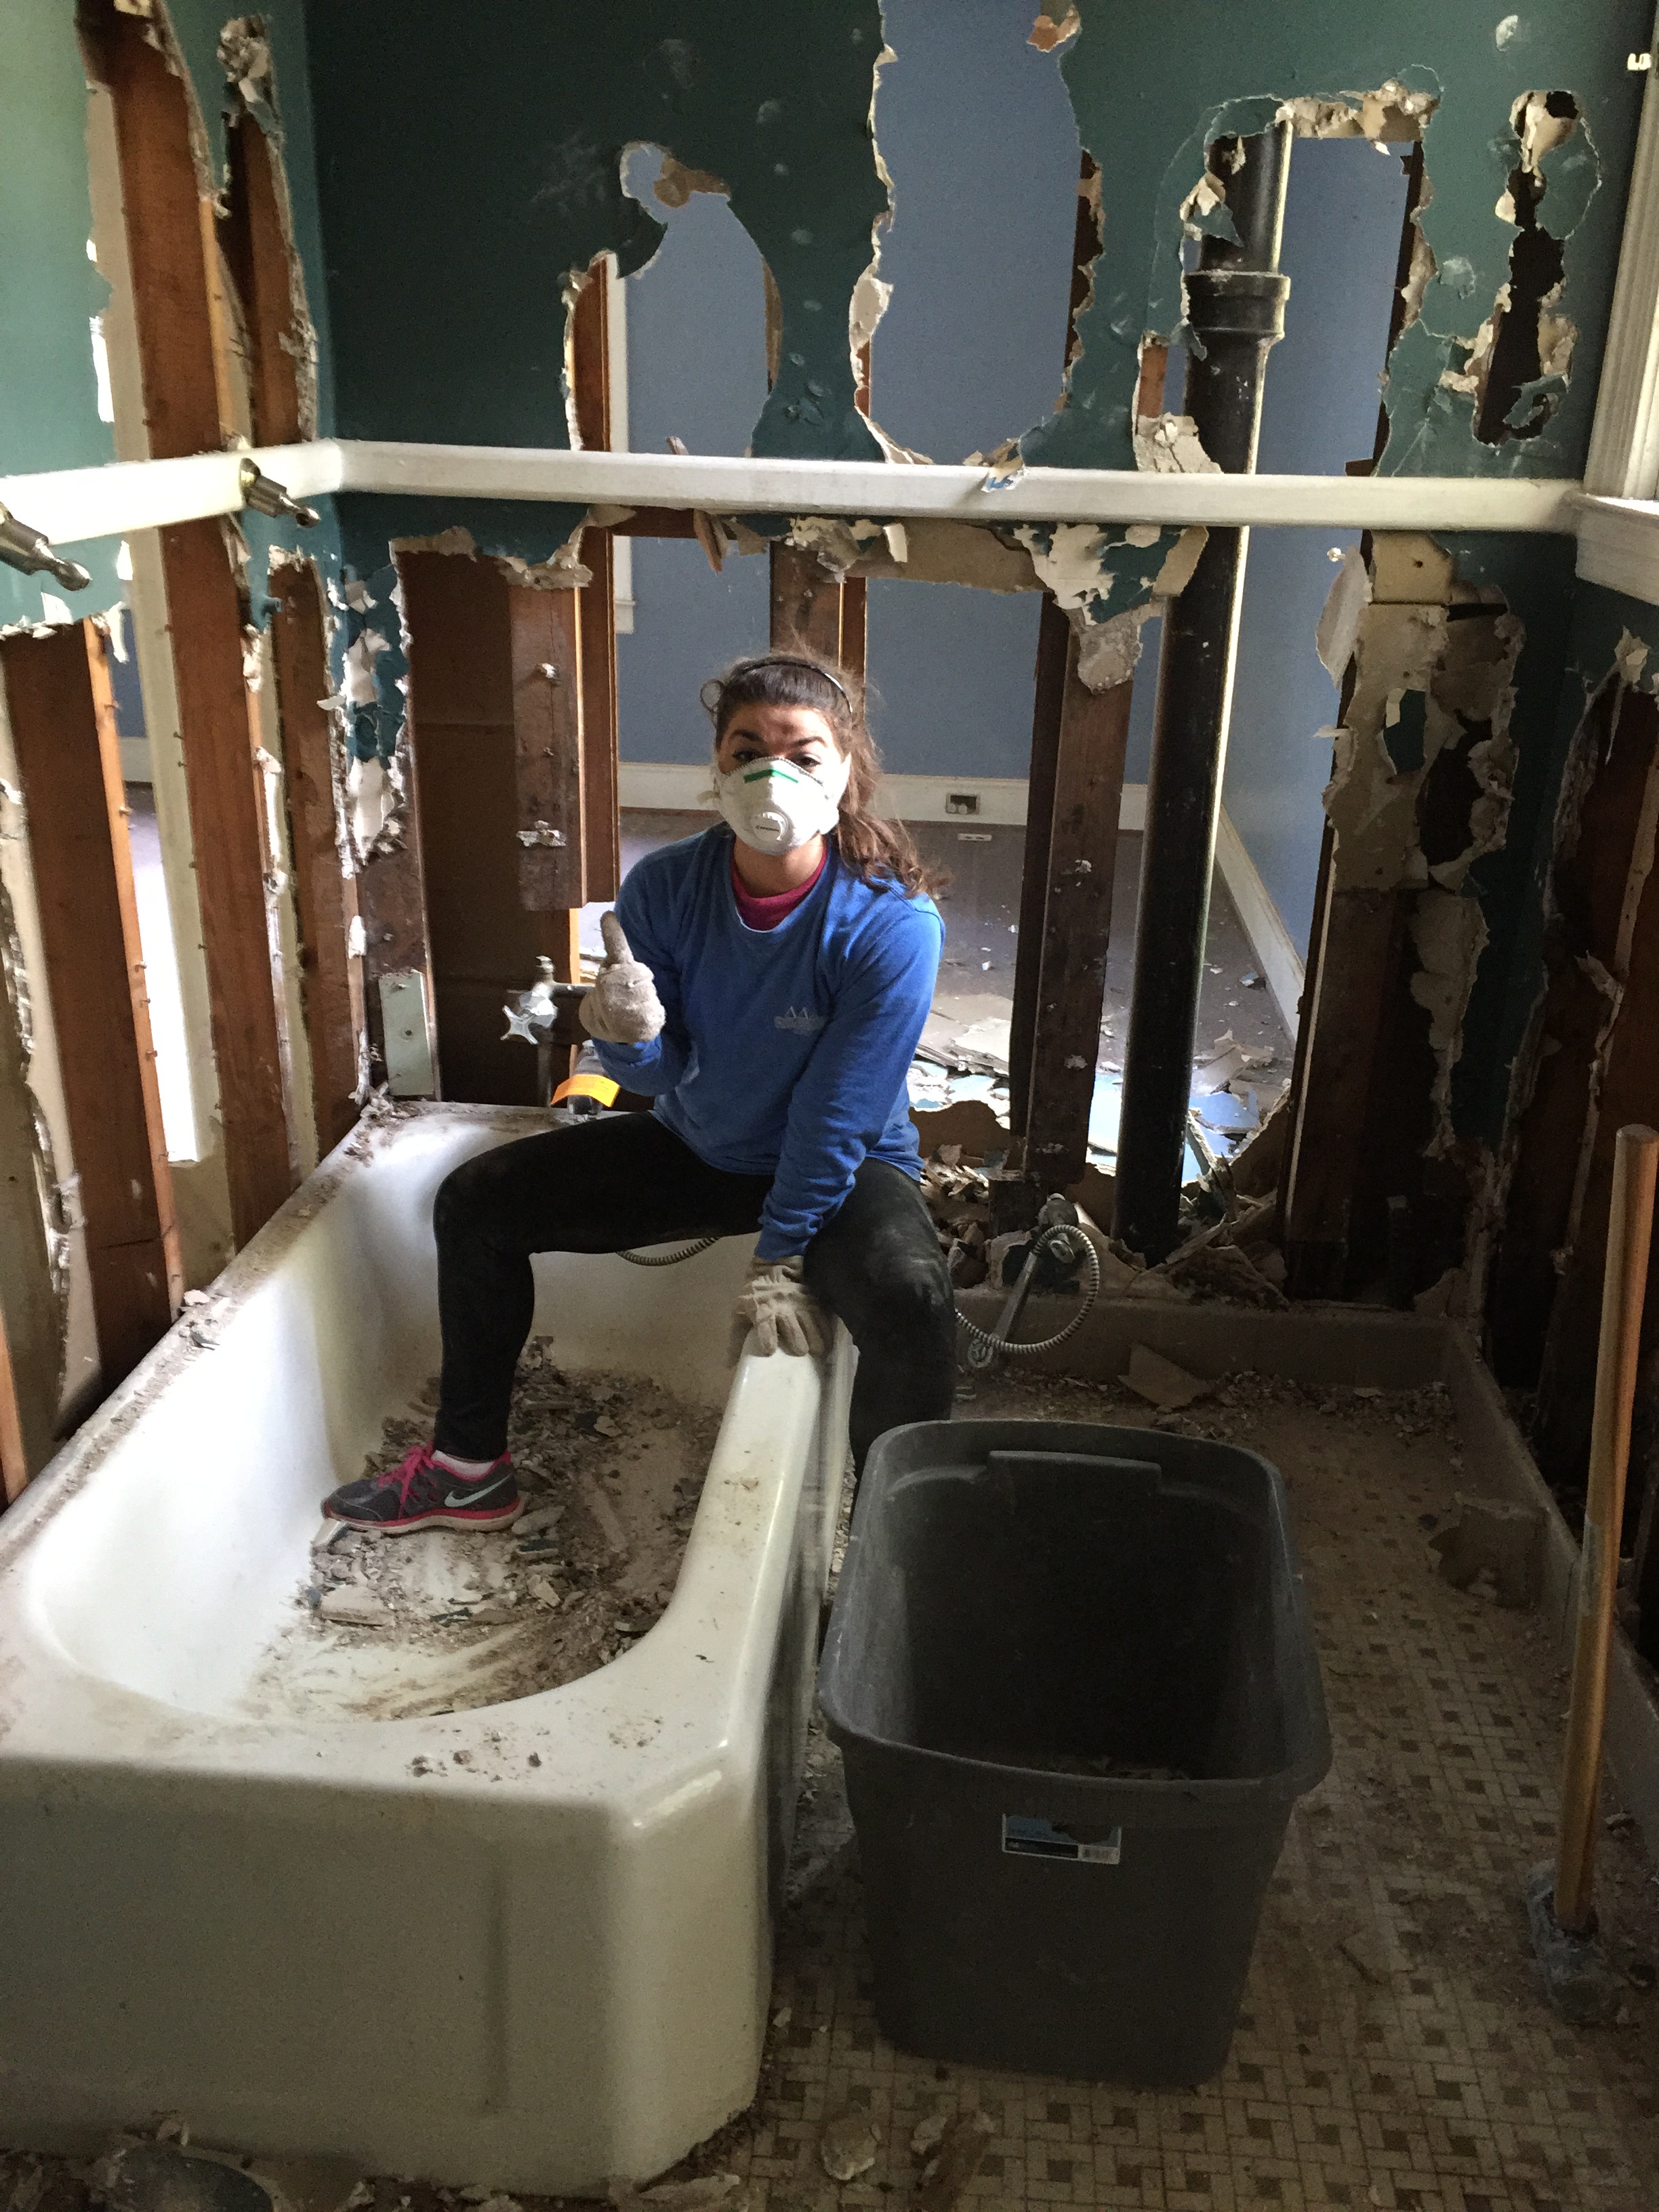
First things first, I easily chipped away the tiles with a hammer and chisel because the adhesive had lost a lot of its strength over time. Unfortunately, the adhesive kept a very strong bond with the plaster wall between the upper cabinets and the counter top. I tried to chip away at it with every tool I could find, but finally had to resort to our orbital sander and heavy grit sandpaper. It was a dusty, tedious, goggle-fogging job, but I finally got it down to the smooth plaster underneath with only a little damage that required simple patching.

No more tiles!

Close-up of the stubborn glue left behind.

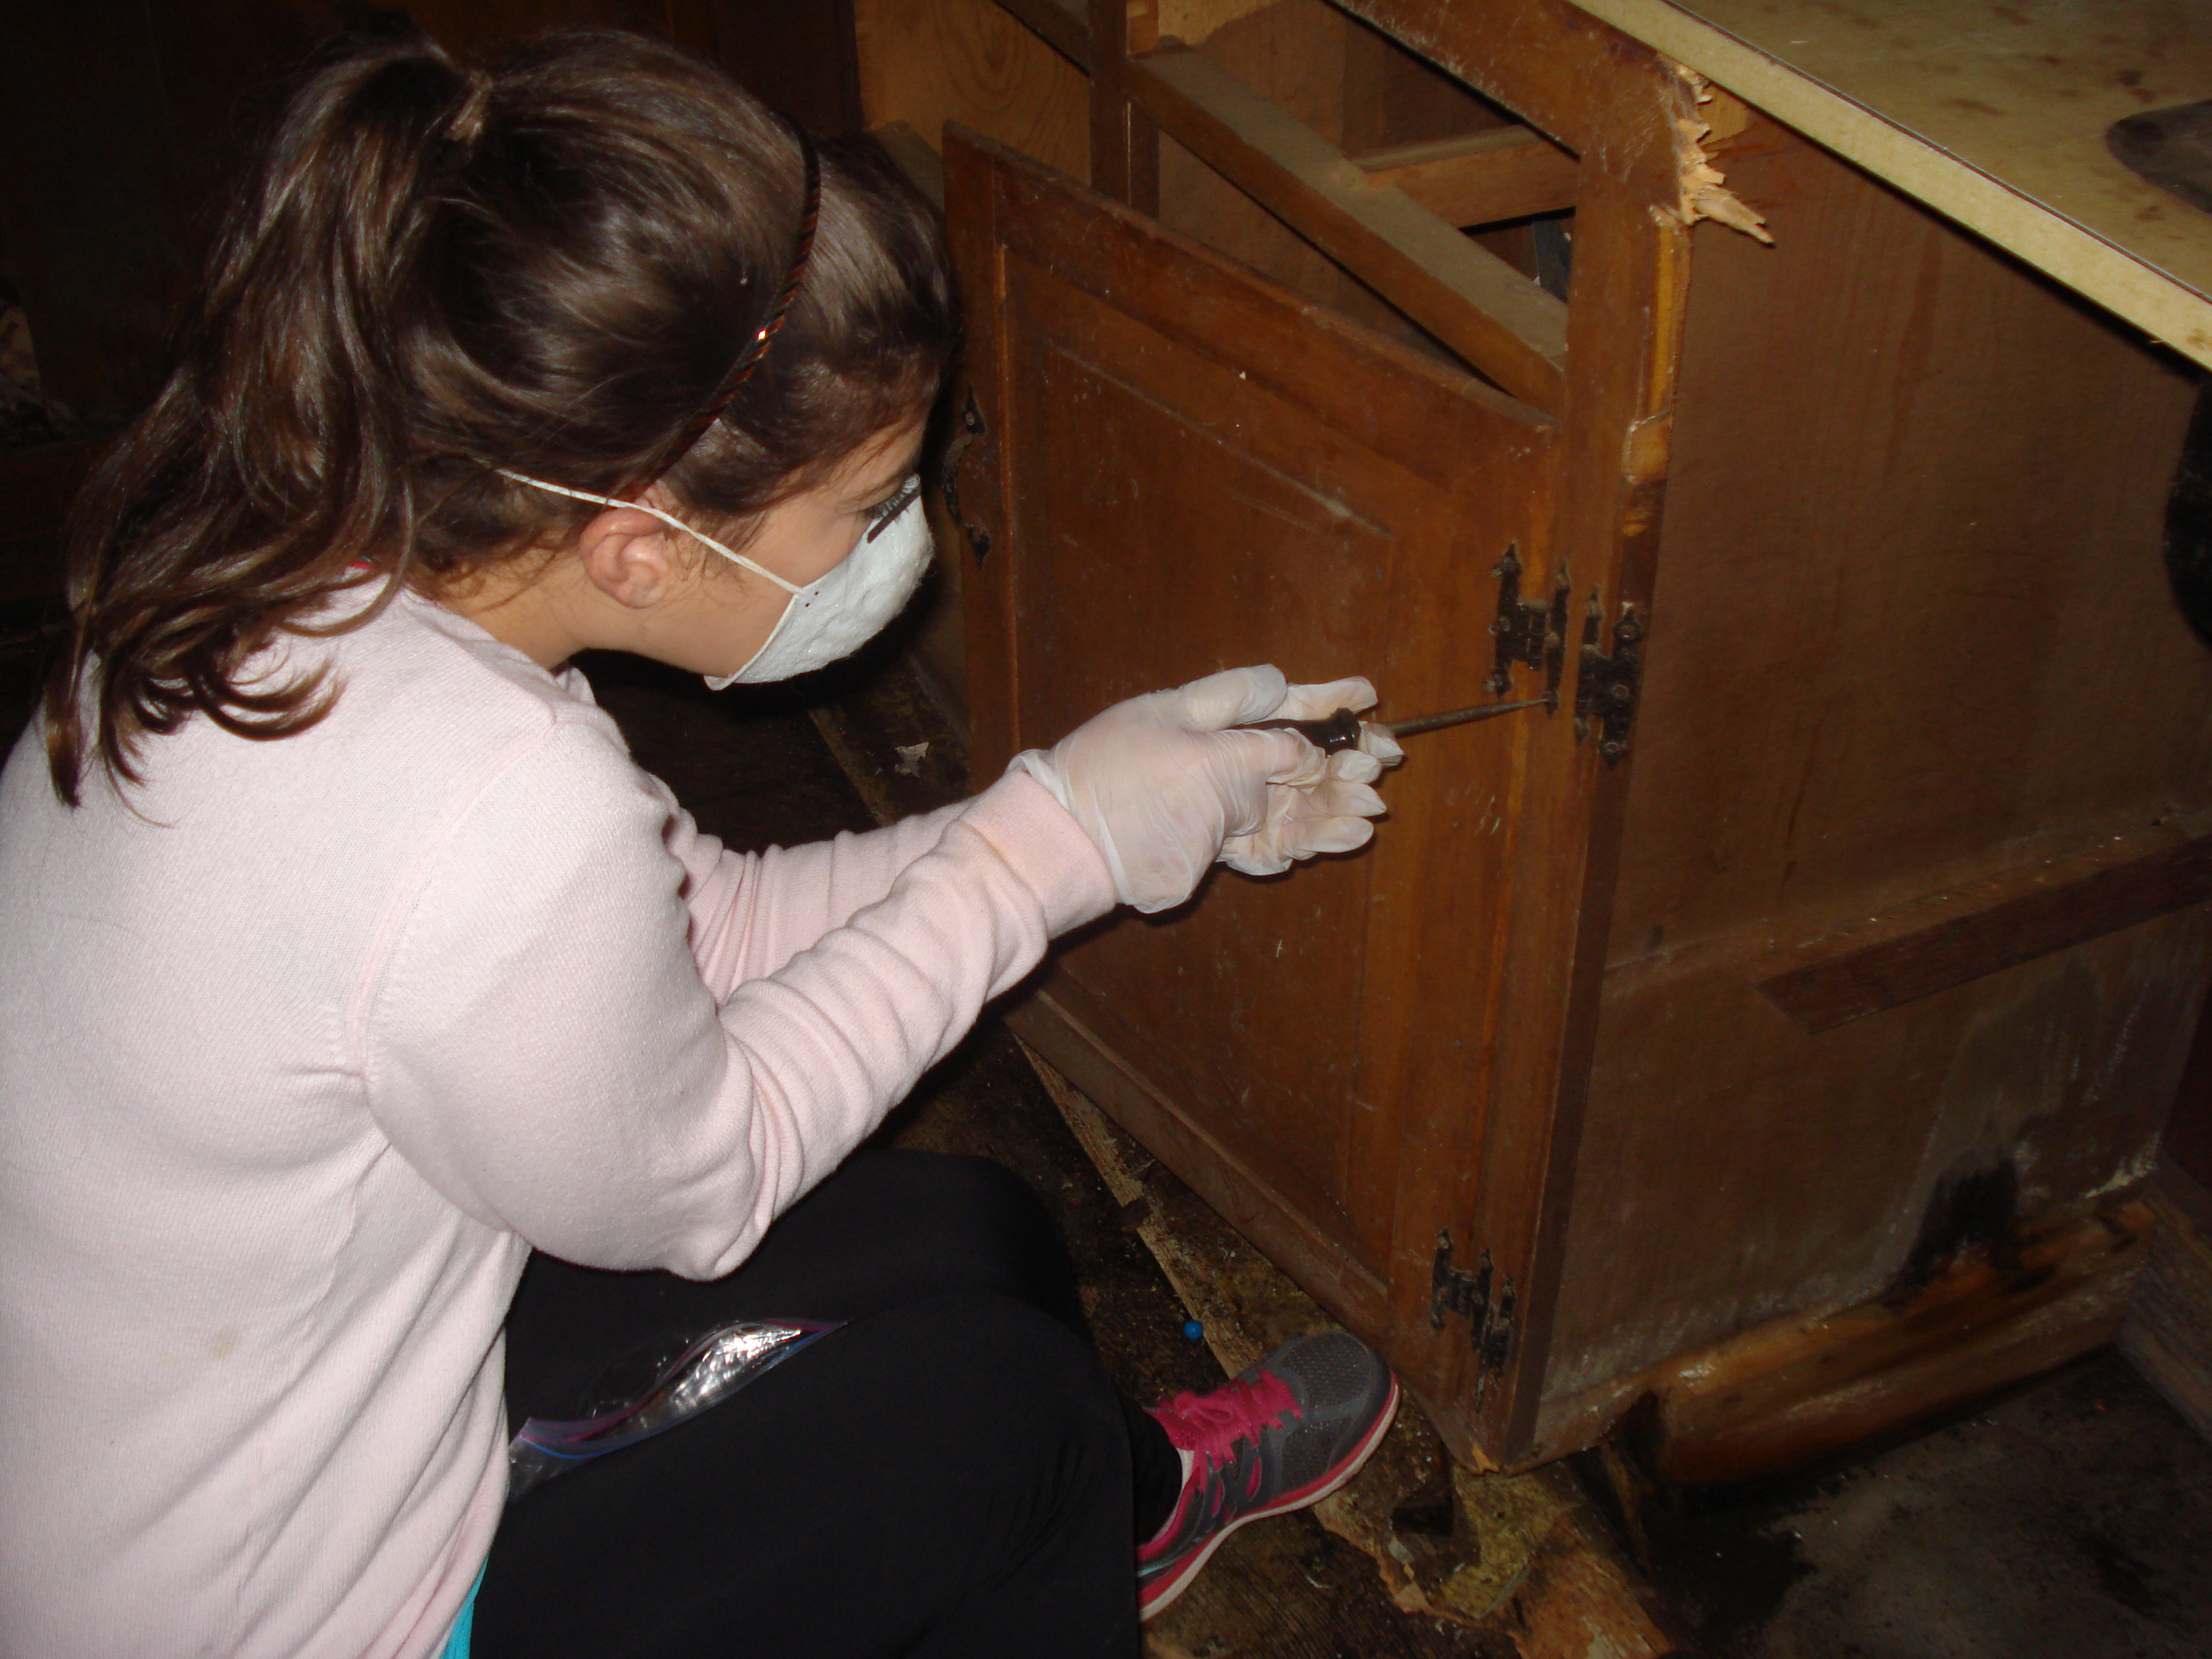
I had to stop every few minutes to wipe out my goggles. Yuck!
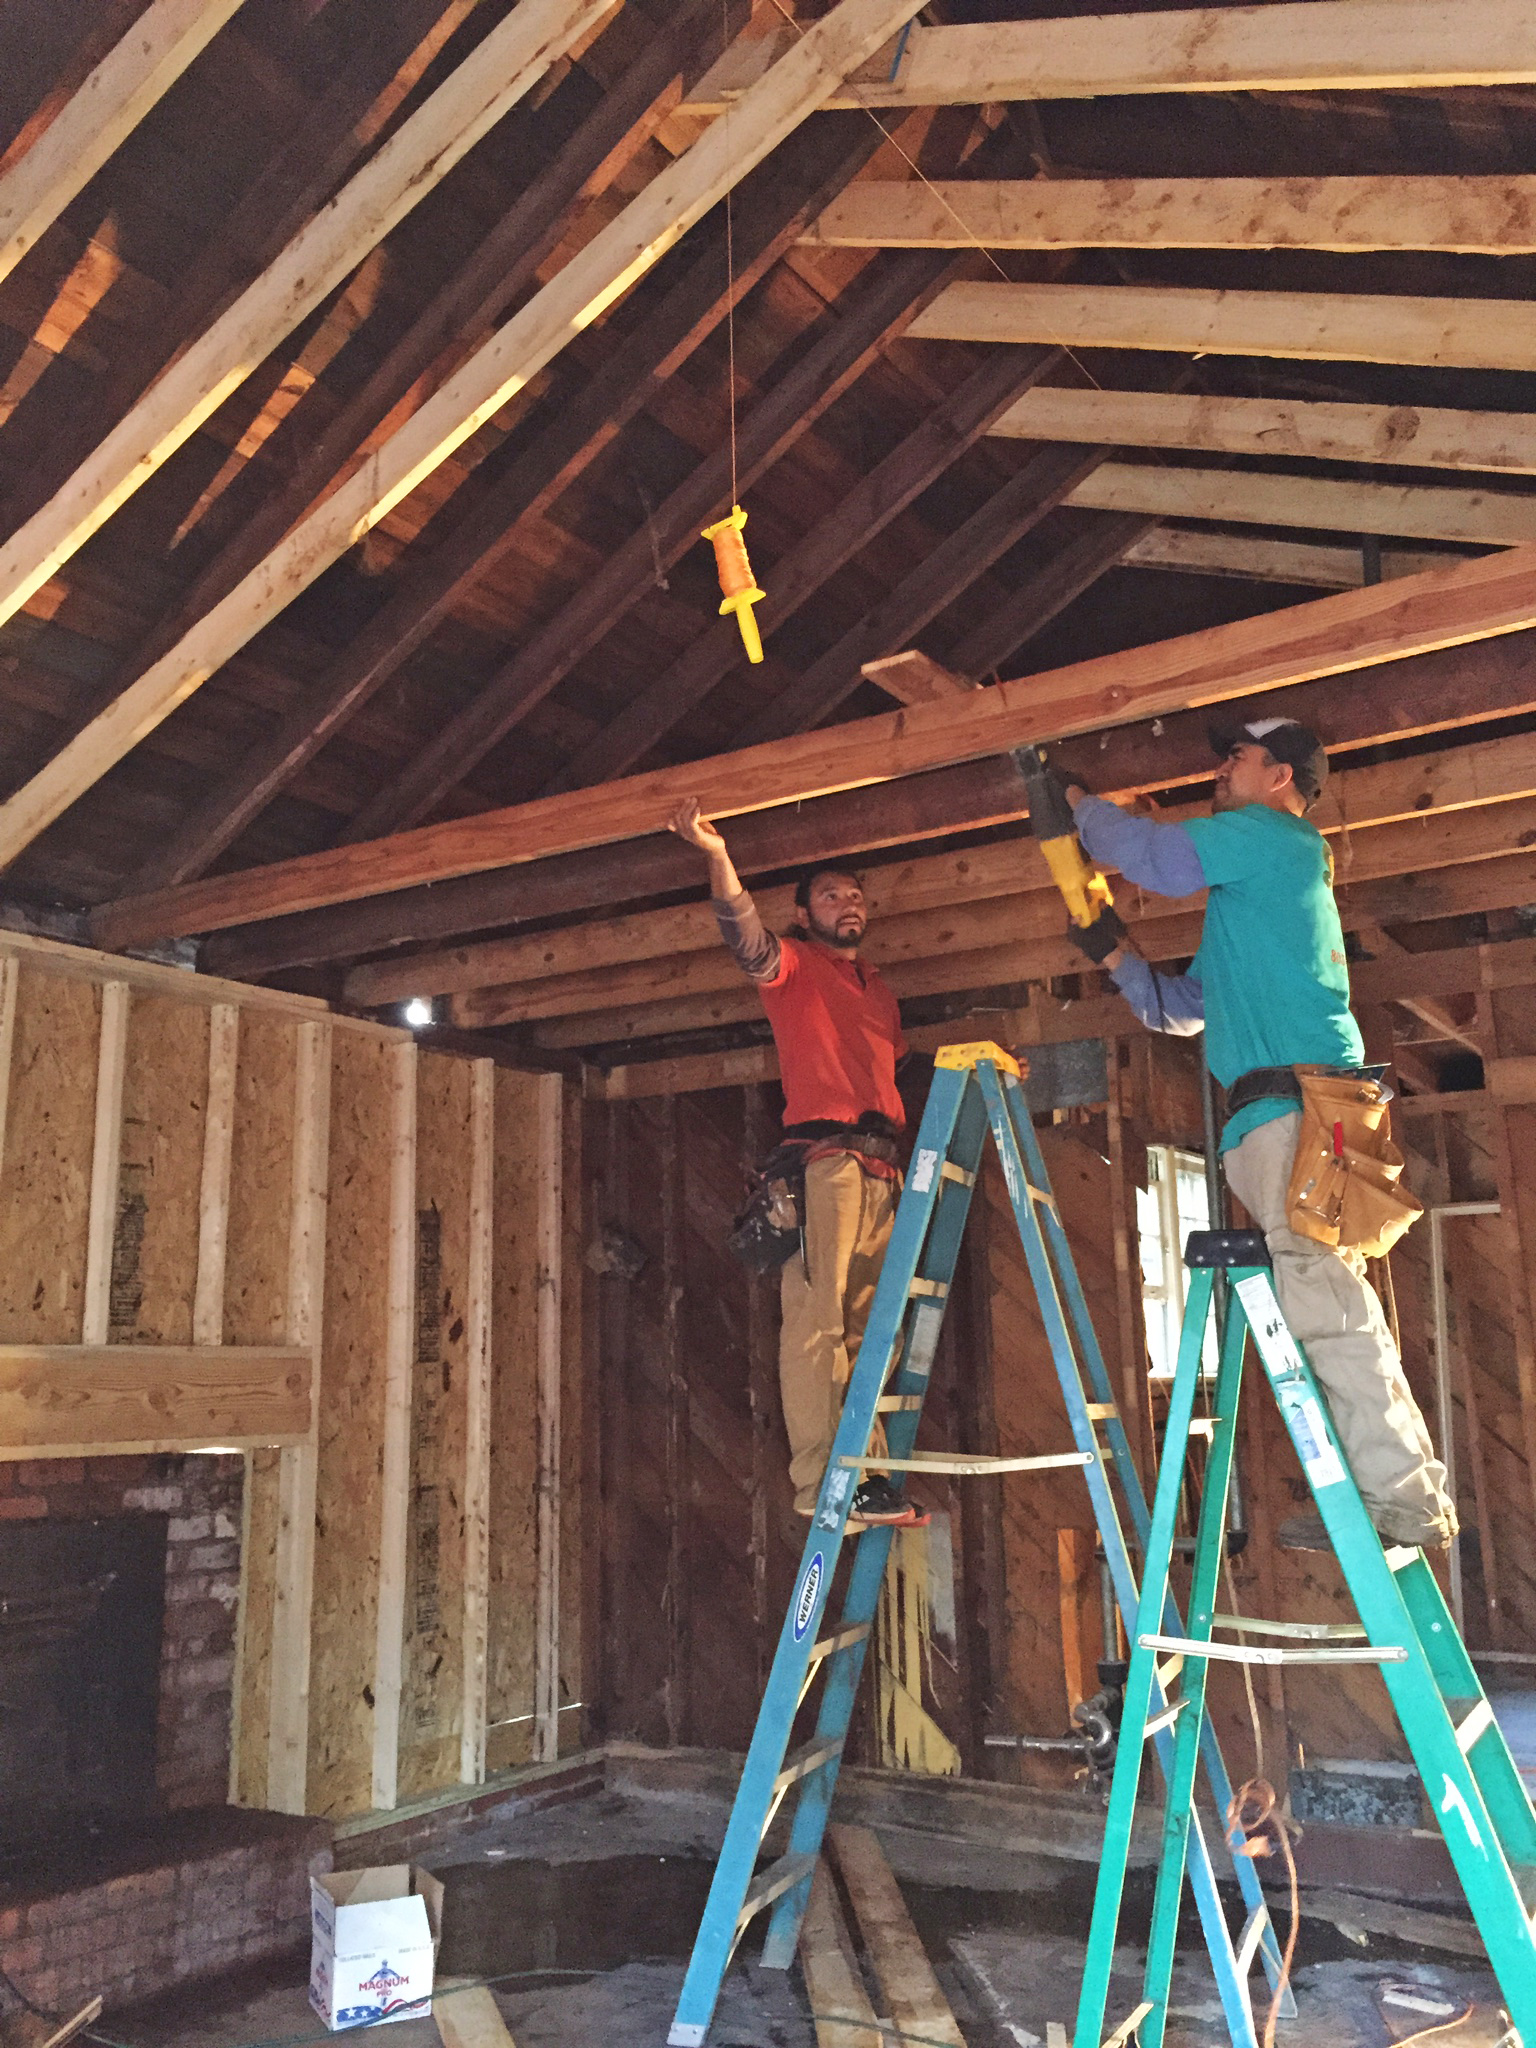
Naturally, he had an ever better idea! Our joists were certainly thick and sturdy enough to do the job, but they were made of pine. As mentioned in the floor refinishing post, pine does not stain well and our “vision” was of a darker, richer wood counter top, not raw pine. It just so happened that my father (the forester, master craftsman, AND wood hoarder 🙂 ) had a stash of beautiful walnut left over from when my parents built their kitchen island. Glory! It was just the thing. We are so fortunate that the Harpers were willing to part with such special materials and my dad created a handmade walnut counter top for our butler’s pantry by joining two large pieces together and lovingly applying coat after coat of tongue oil and polyurethane.
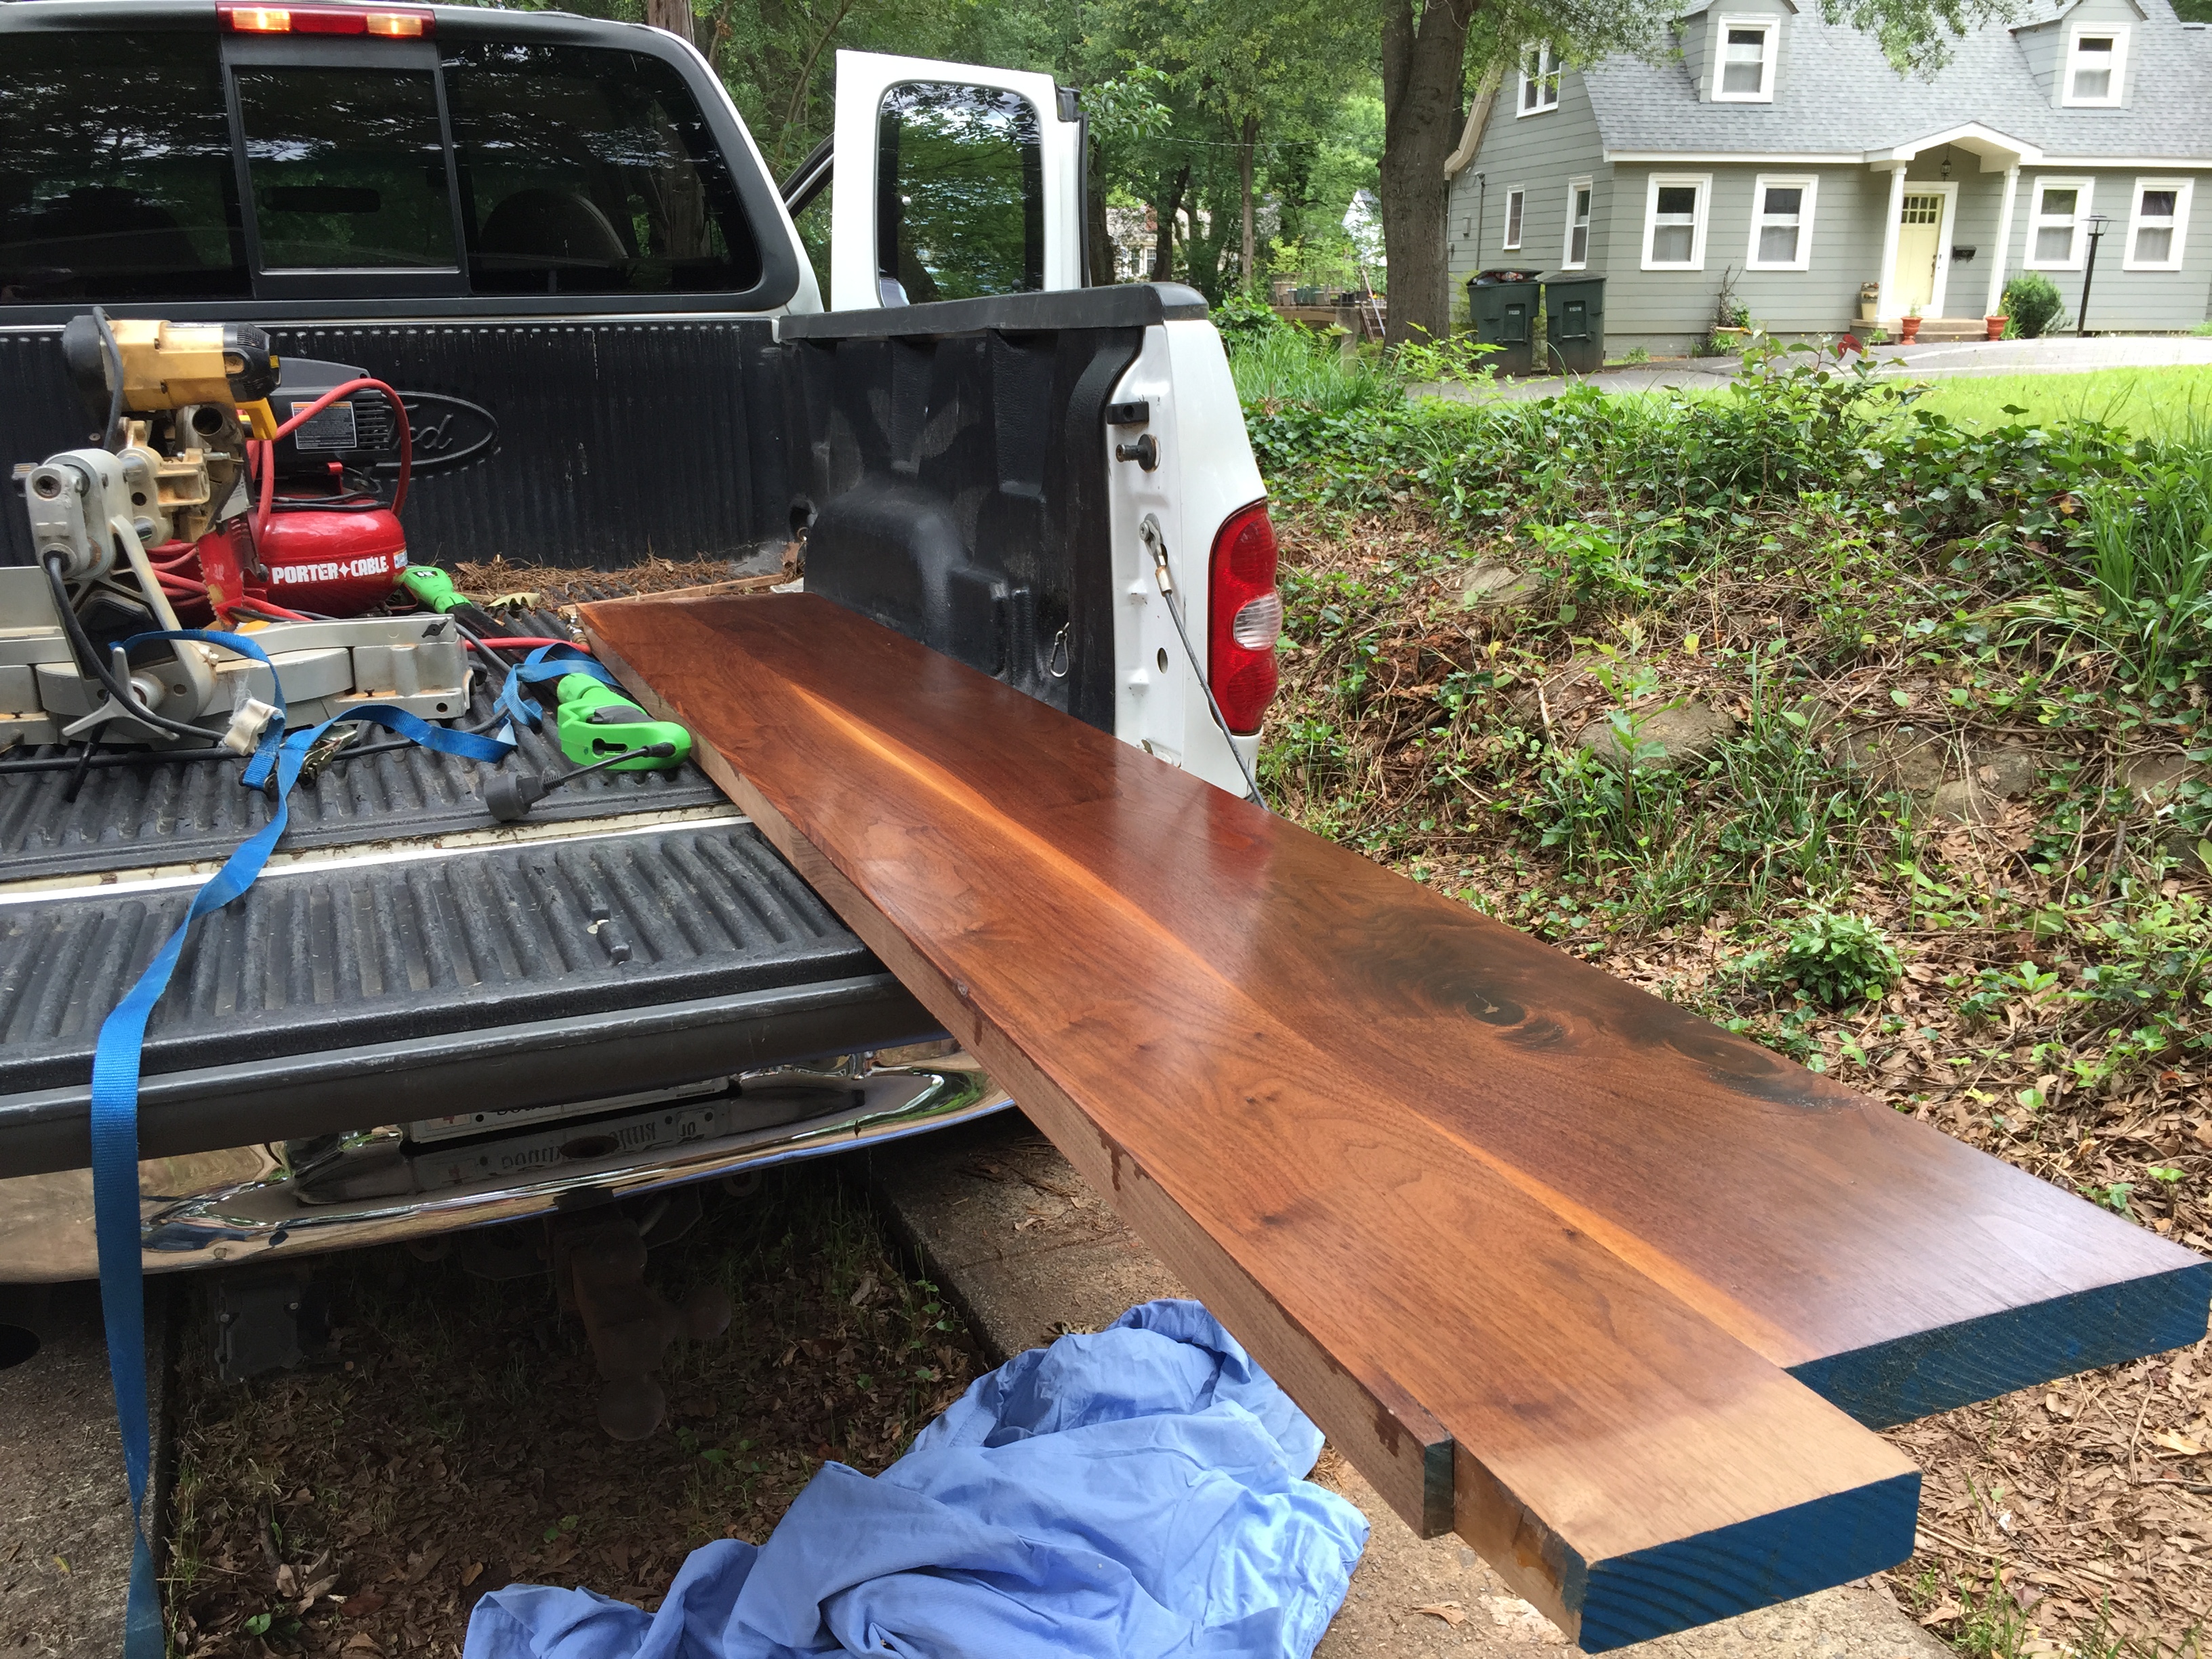
Special Delivery!

Cutting it down to size.
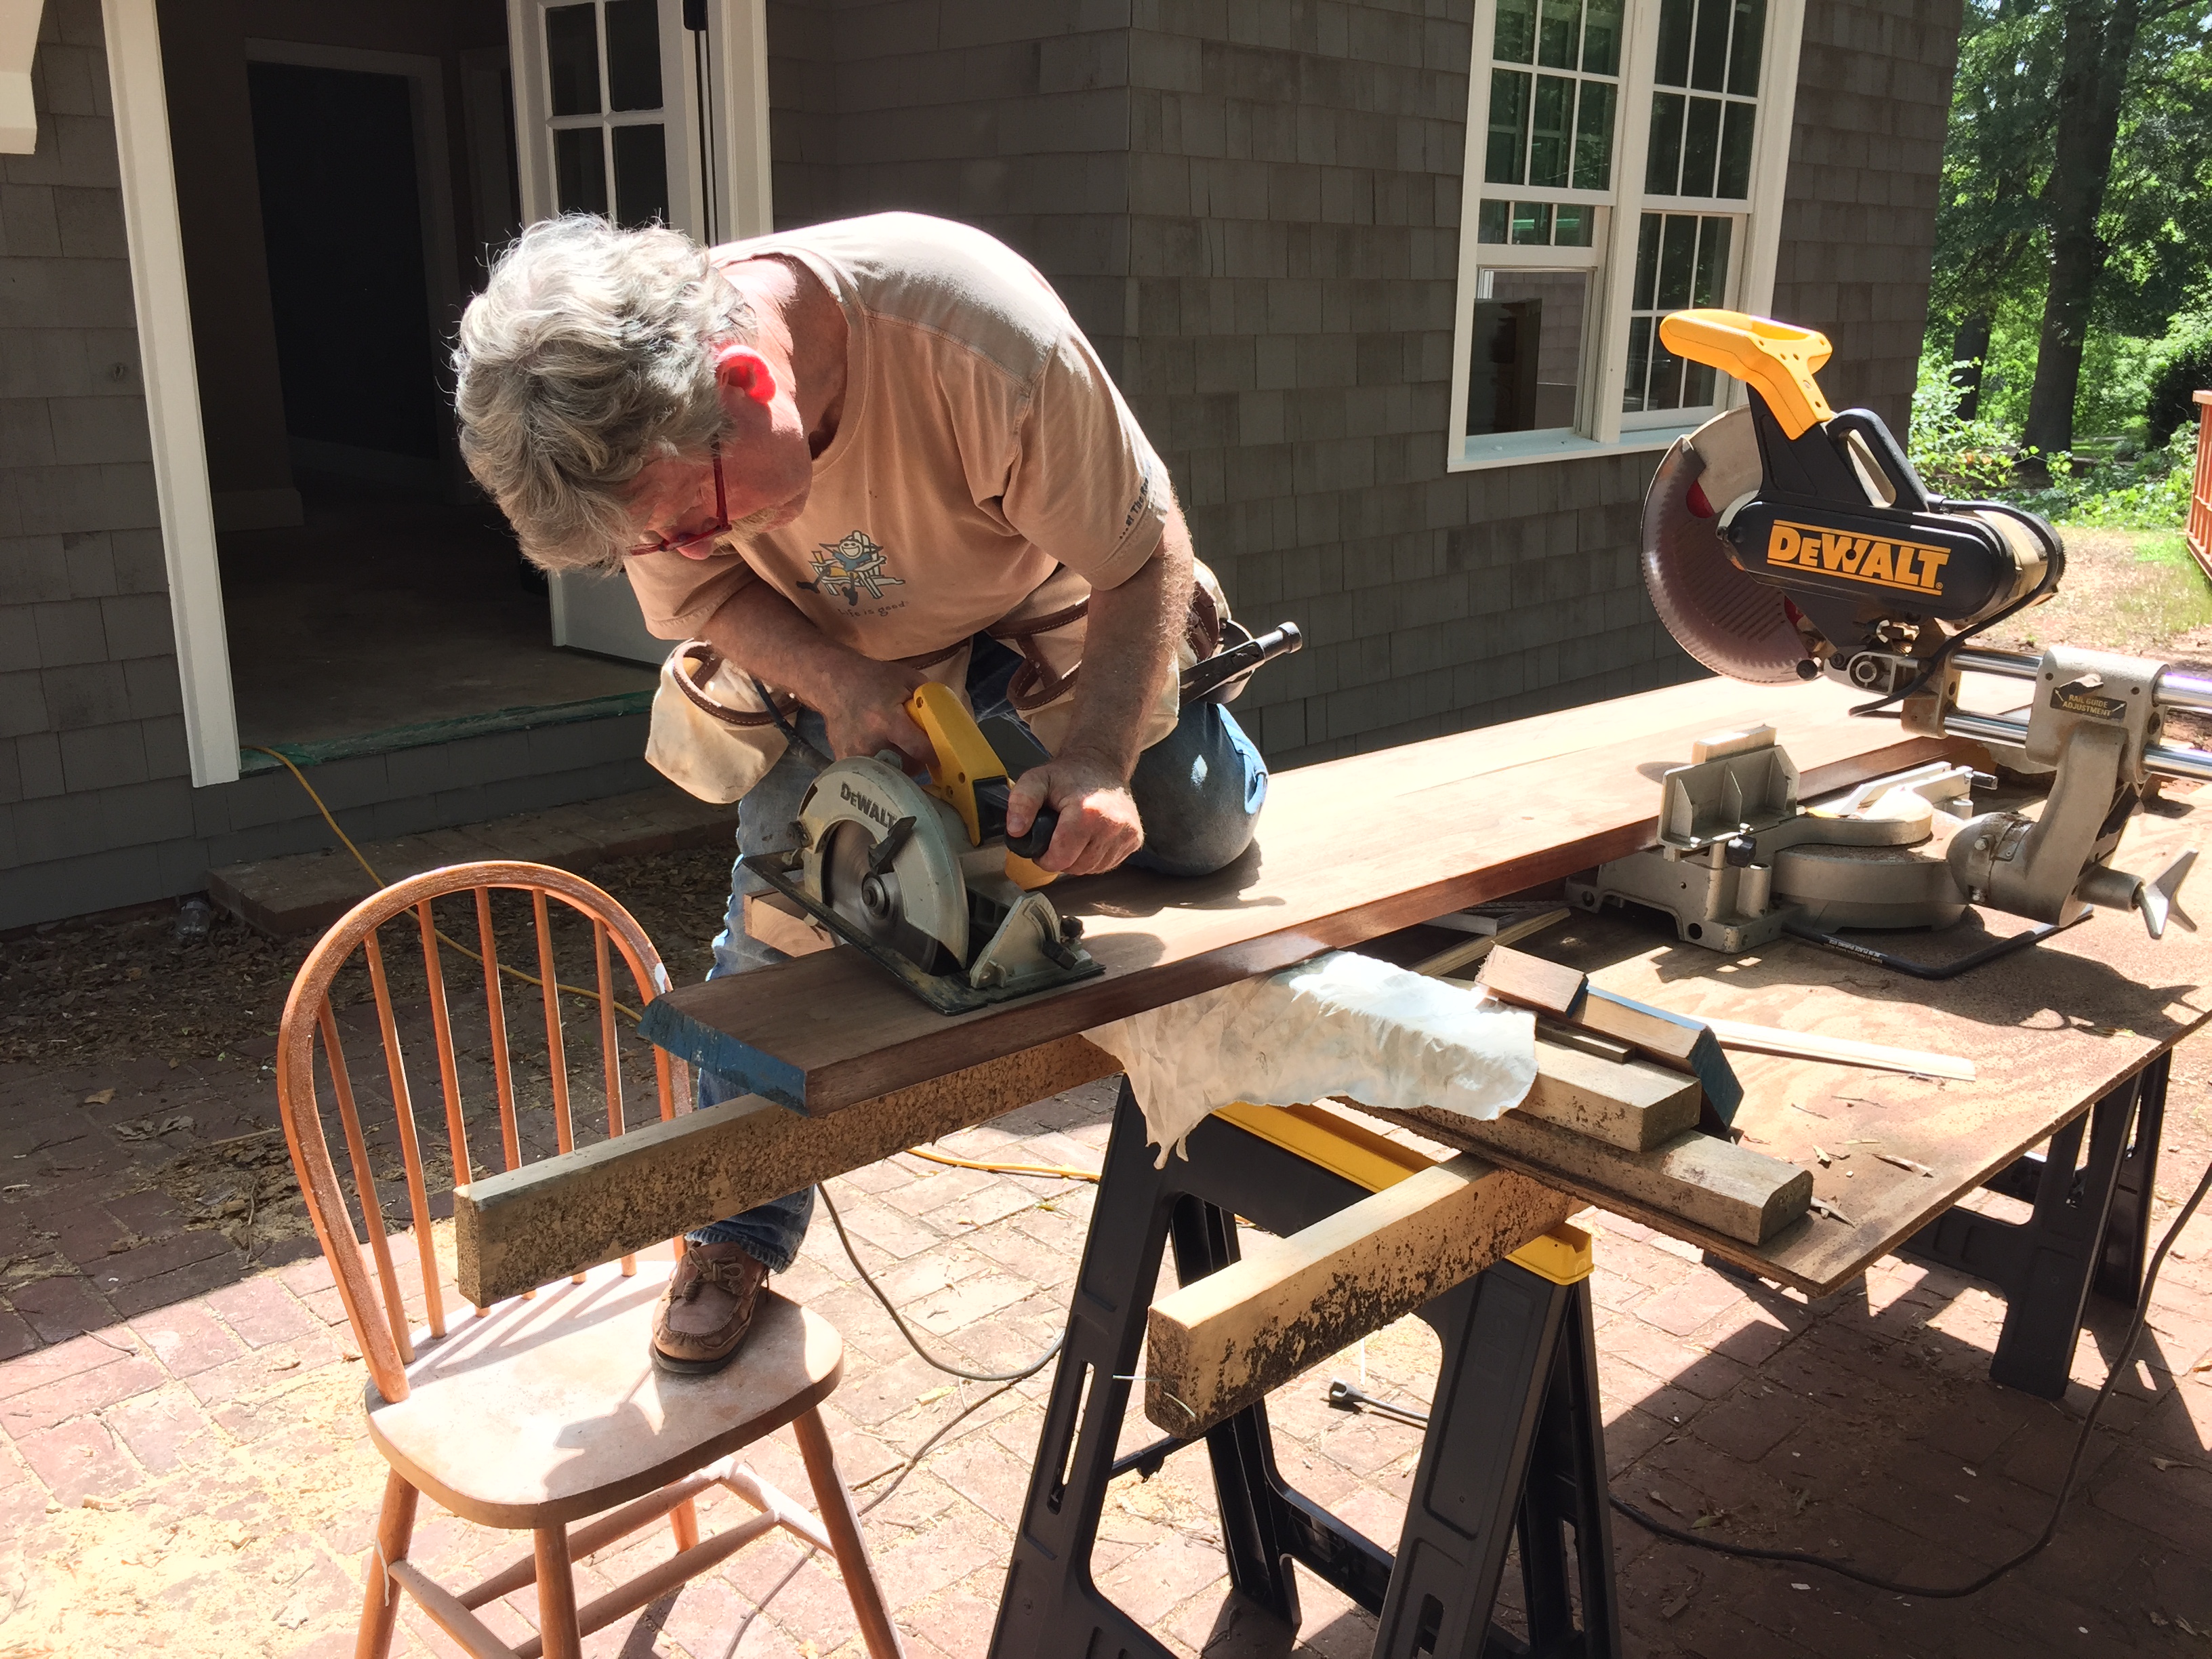
Daddy’s favorite cutting stance. I believe we have seen this move before 😉
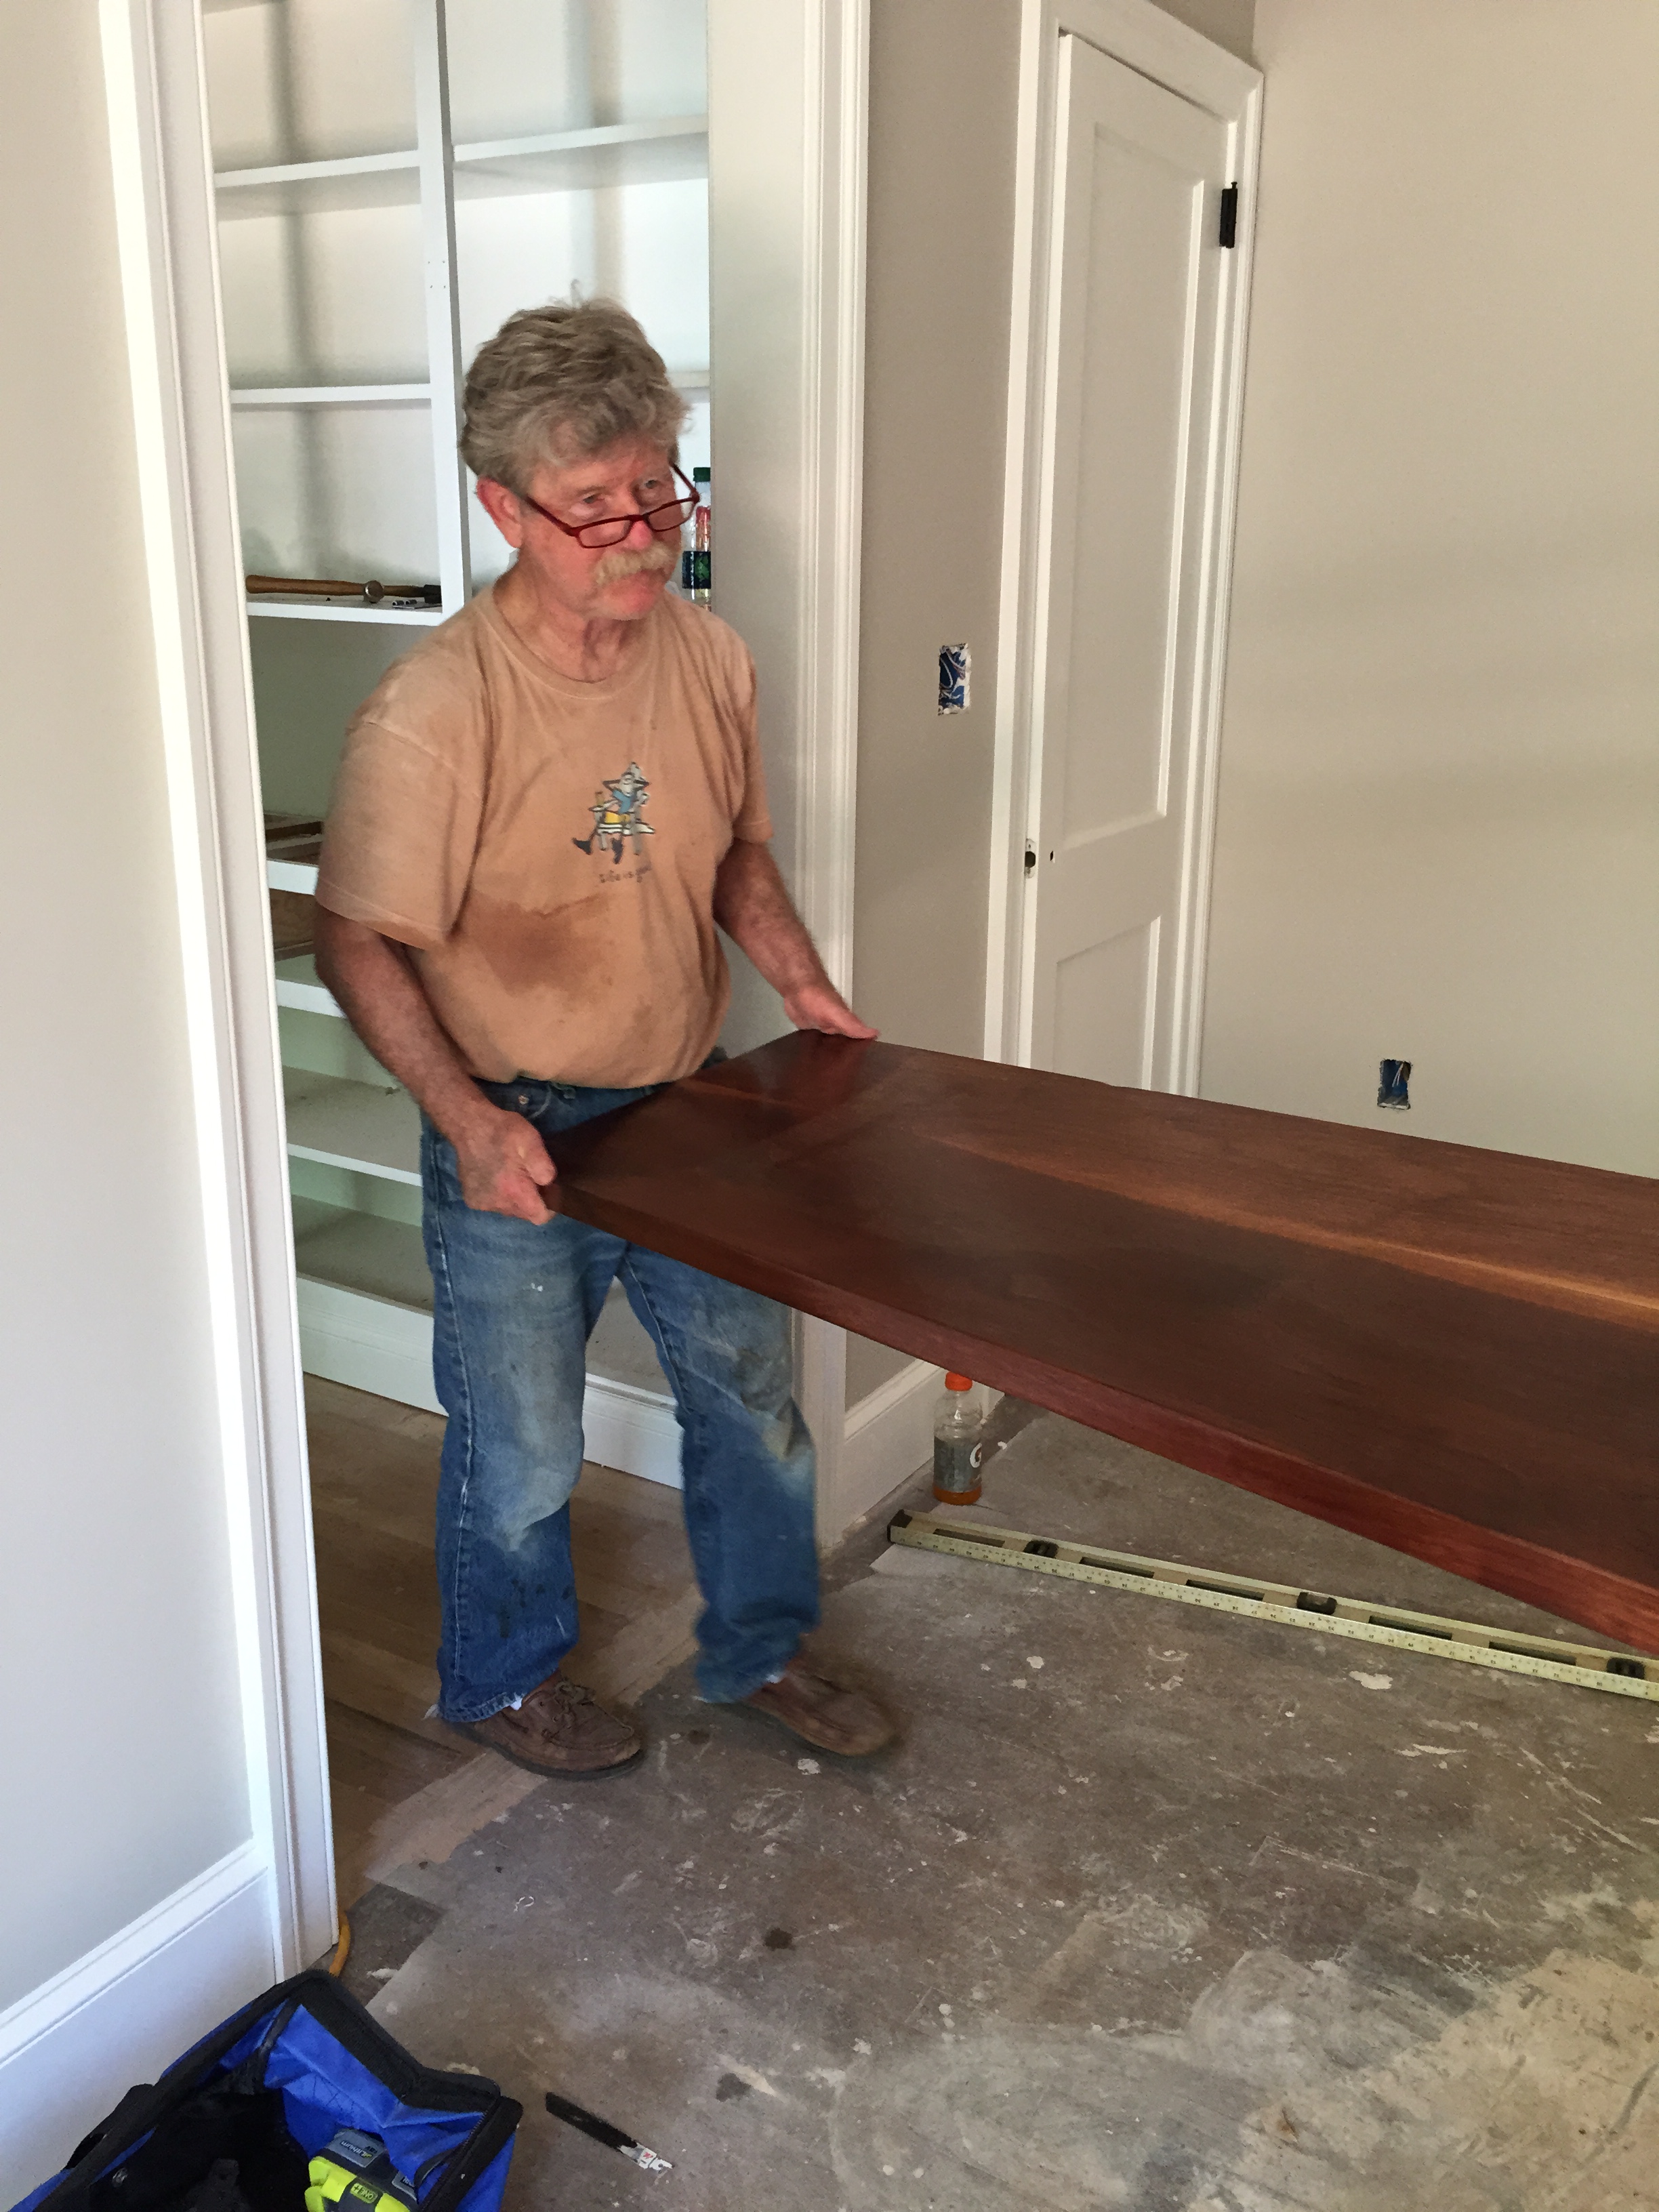
Ready to install this beauty!

Wrangling it into place.
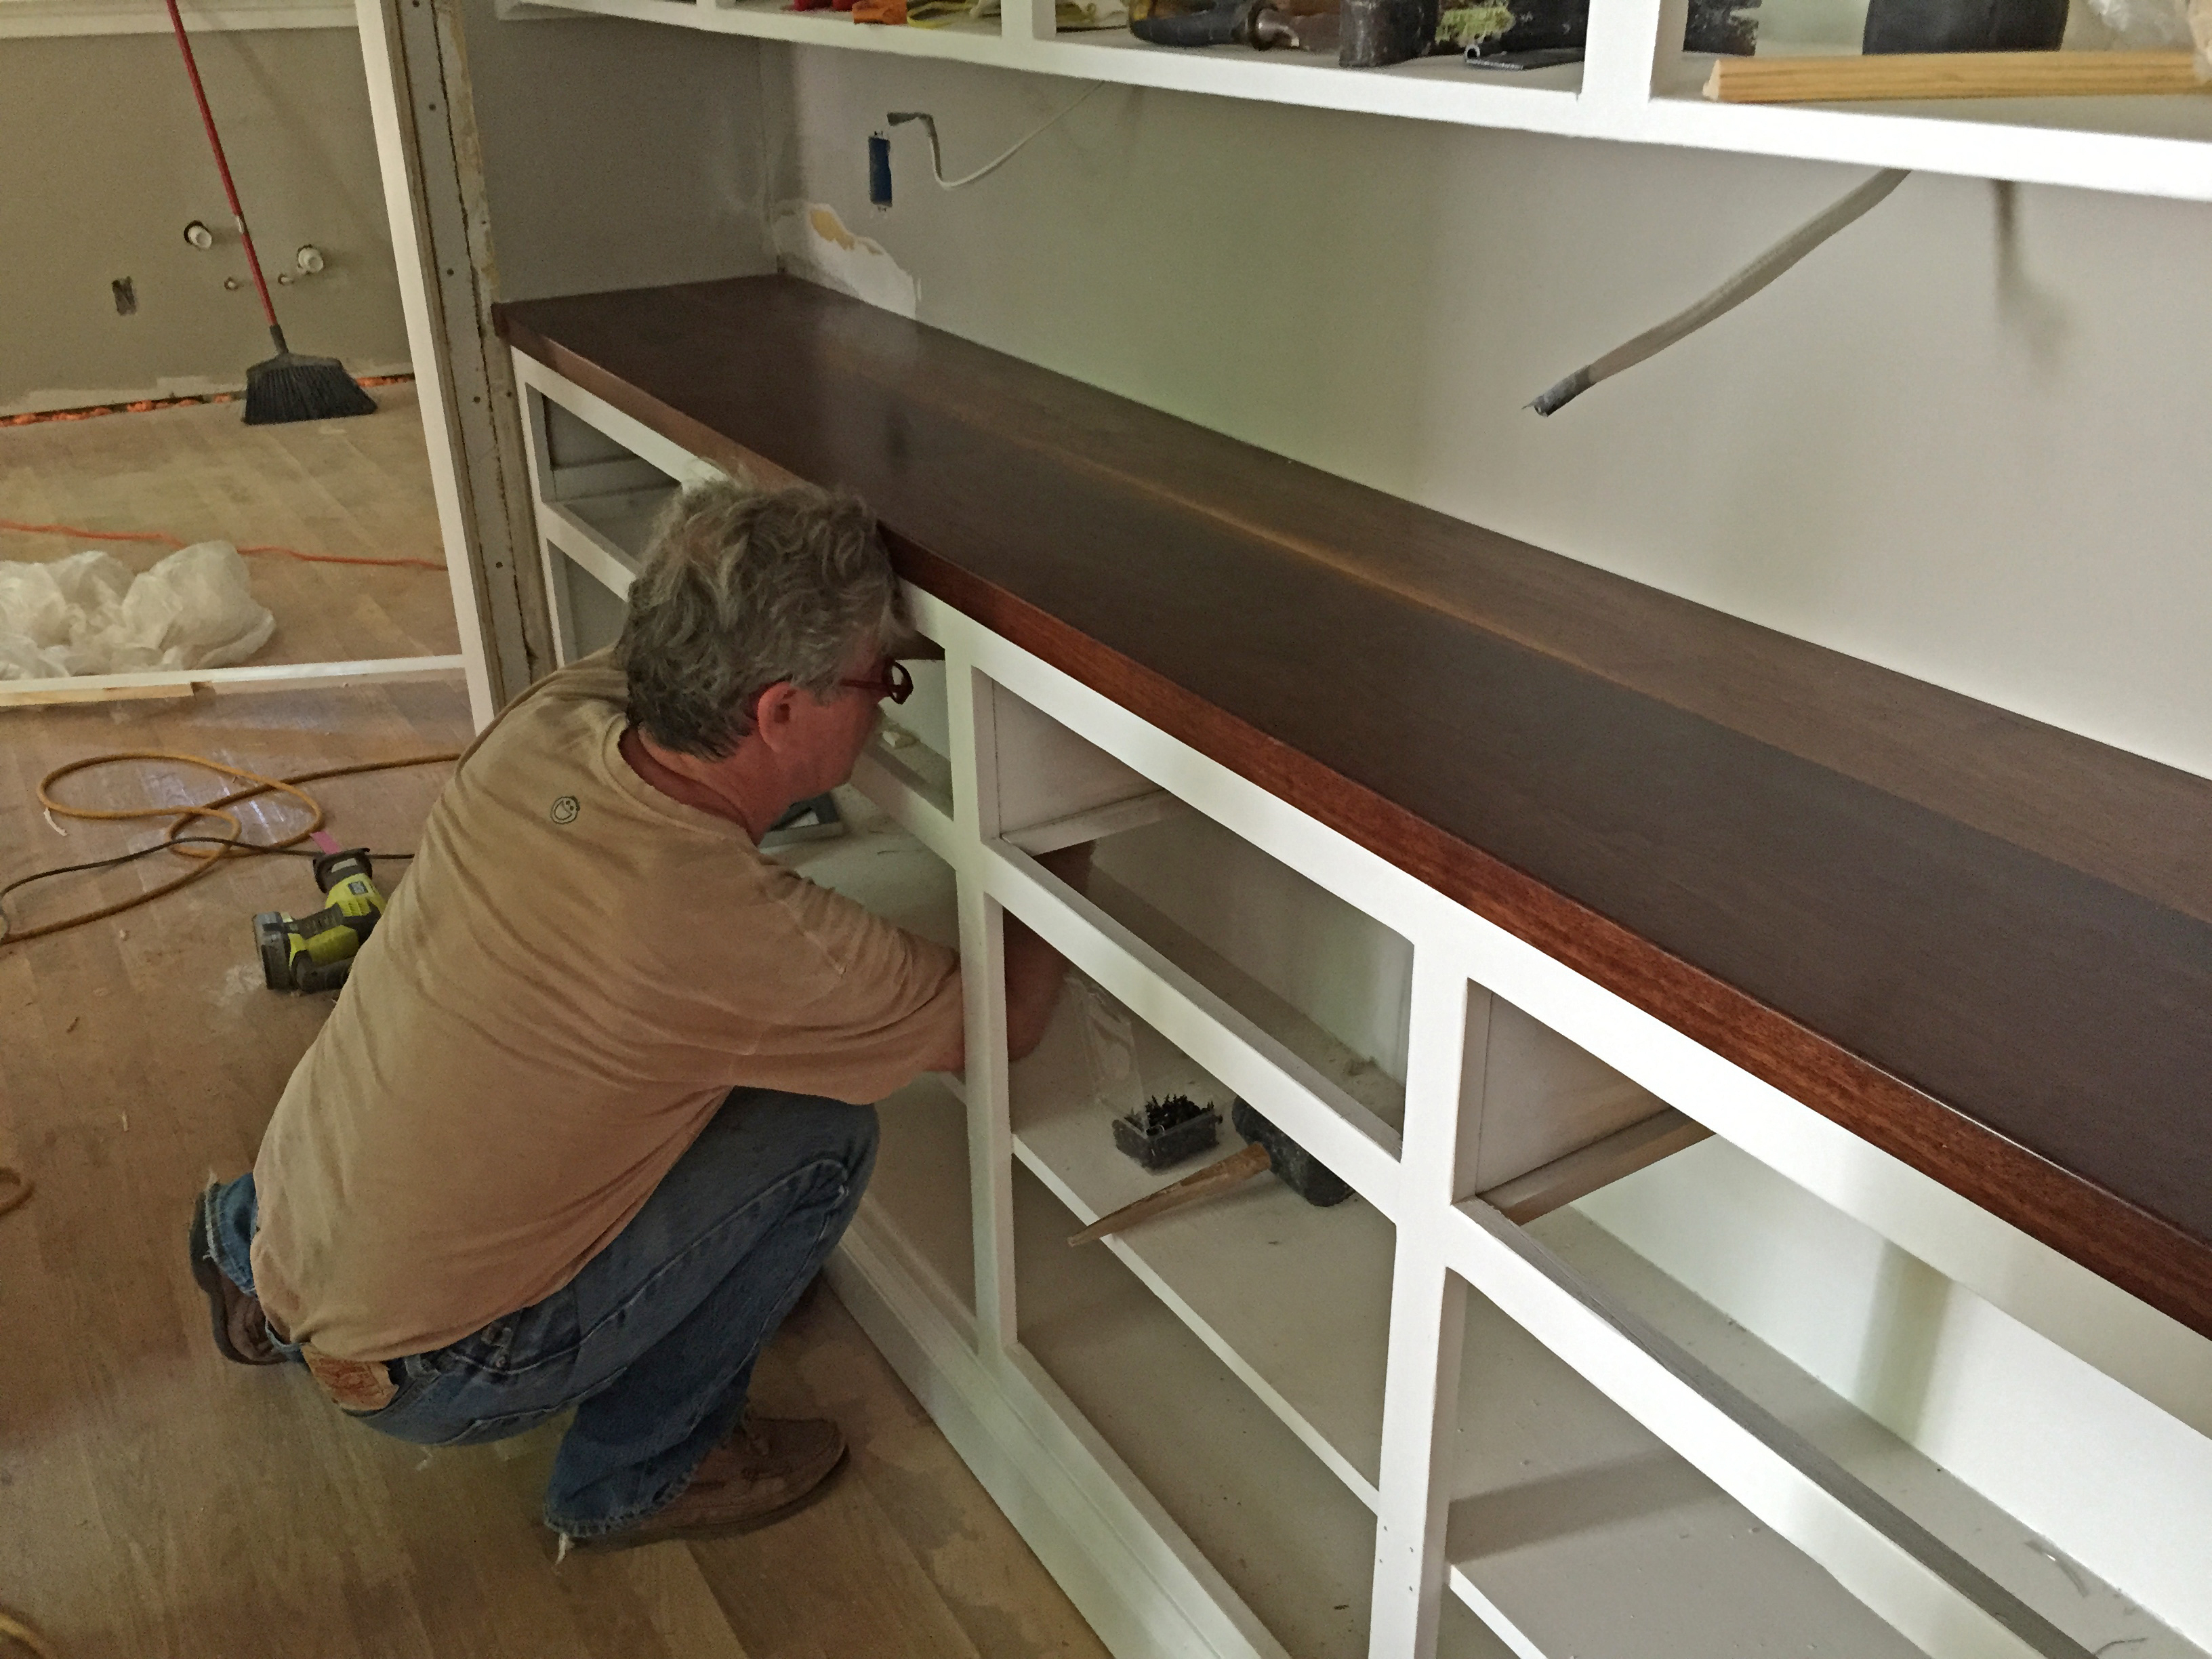
Fastening it from underneath, so we don’t mar the wood.

My guys admiring their work…

My dad also made a matching cove molding to give it the perfect finishing touch!

Ta-daaaaahhh! The finished product. Absolutely fantastic.
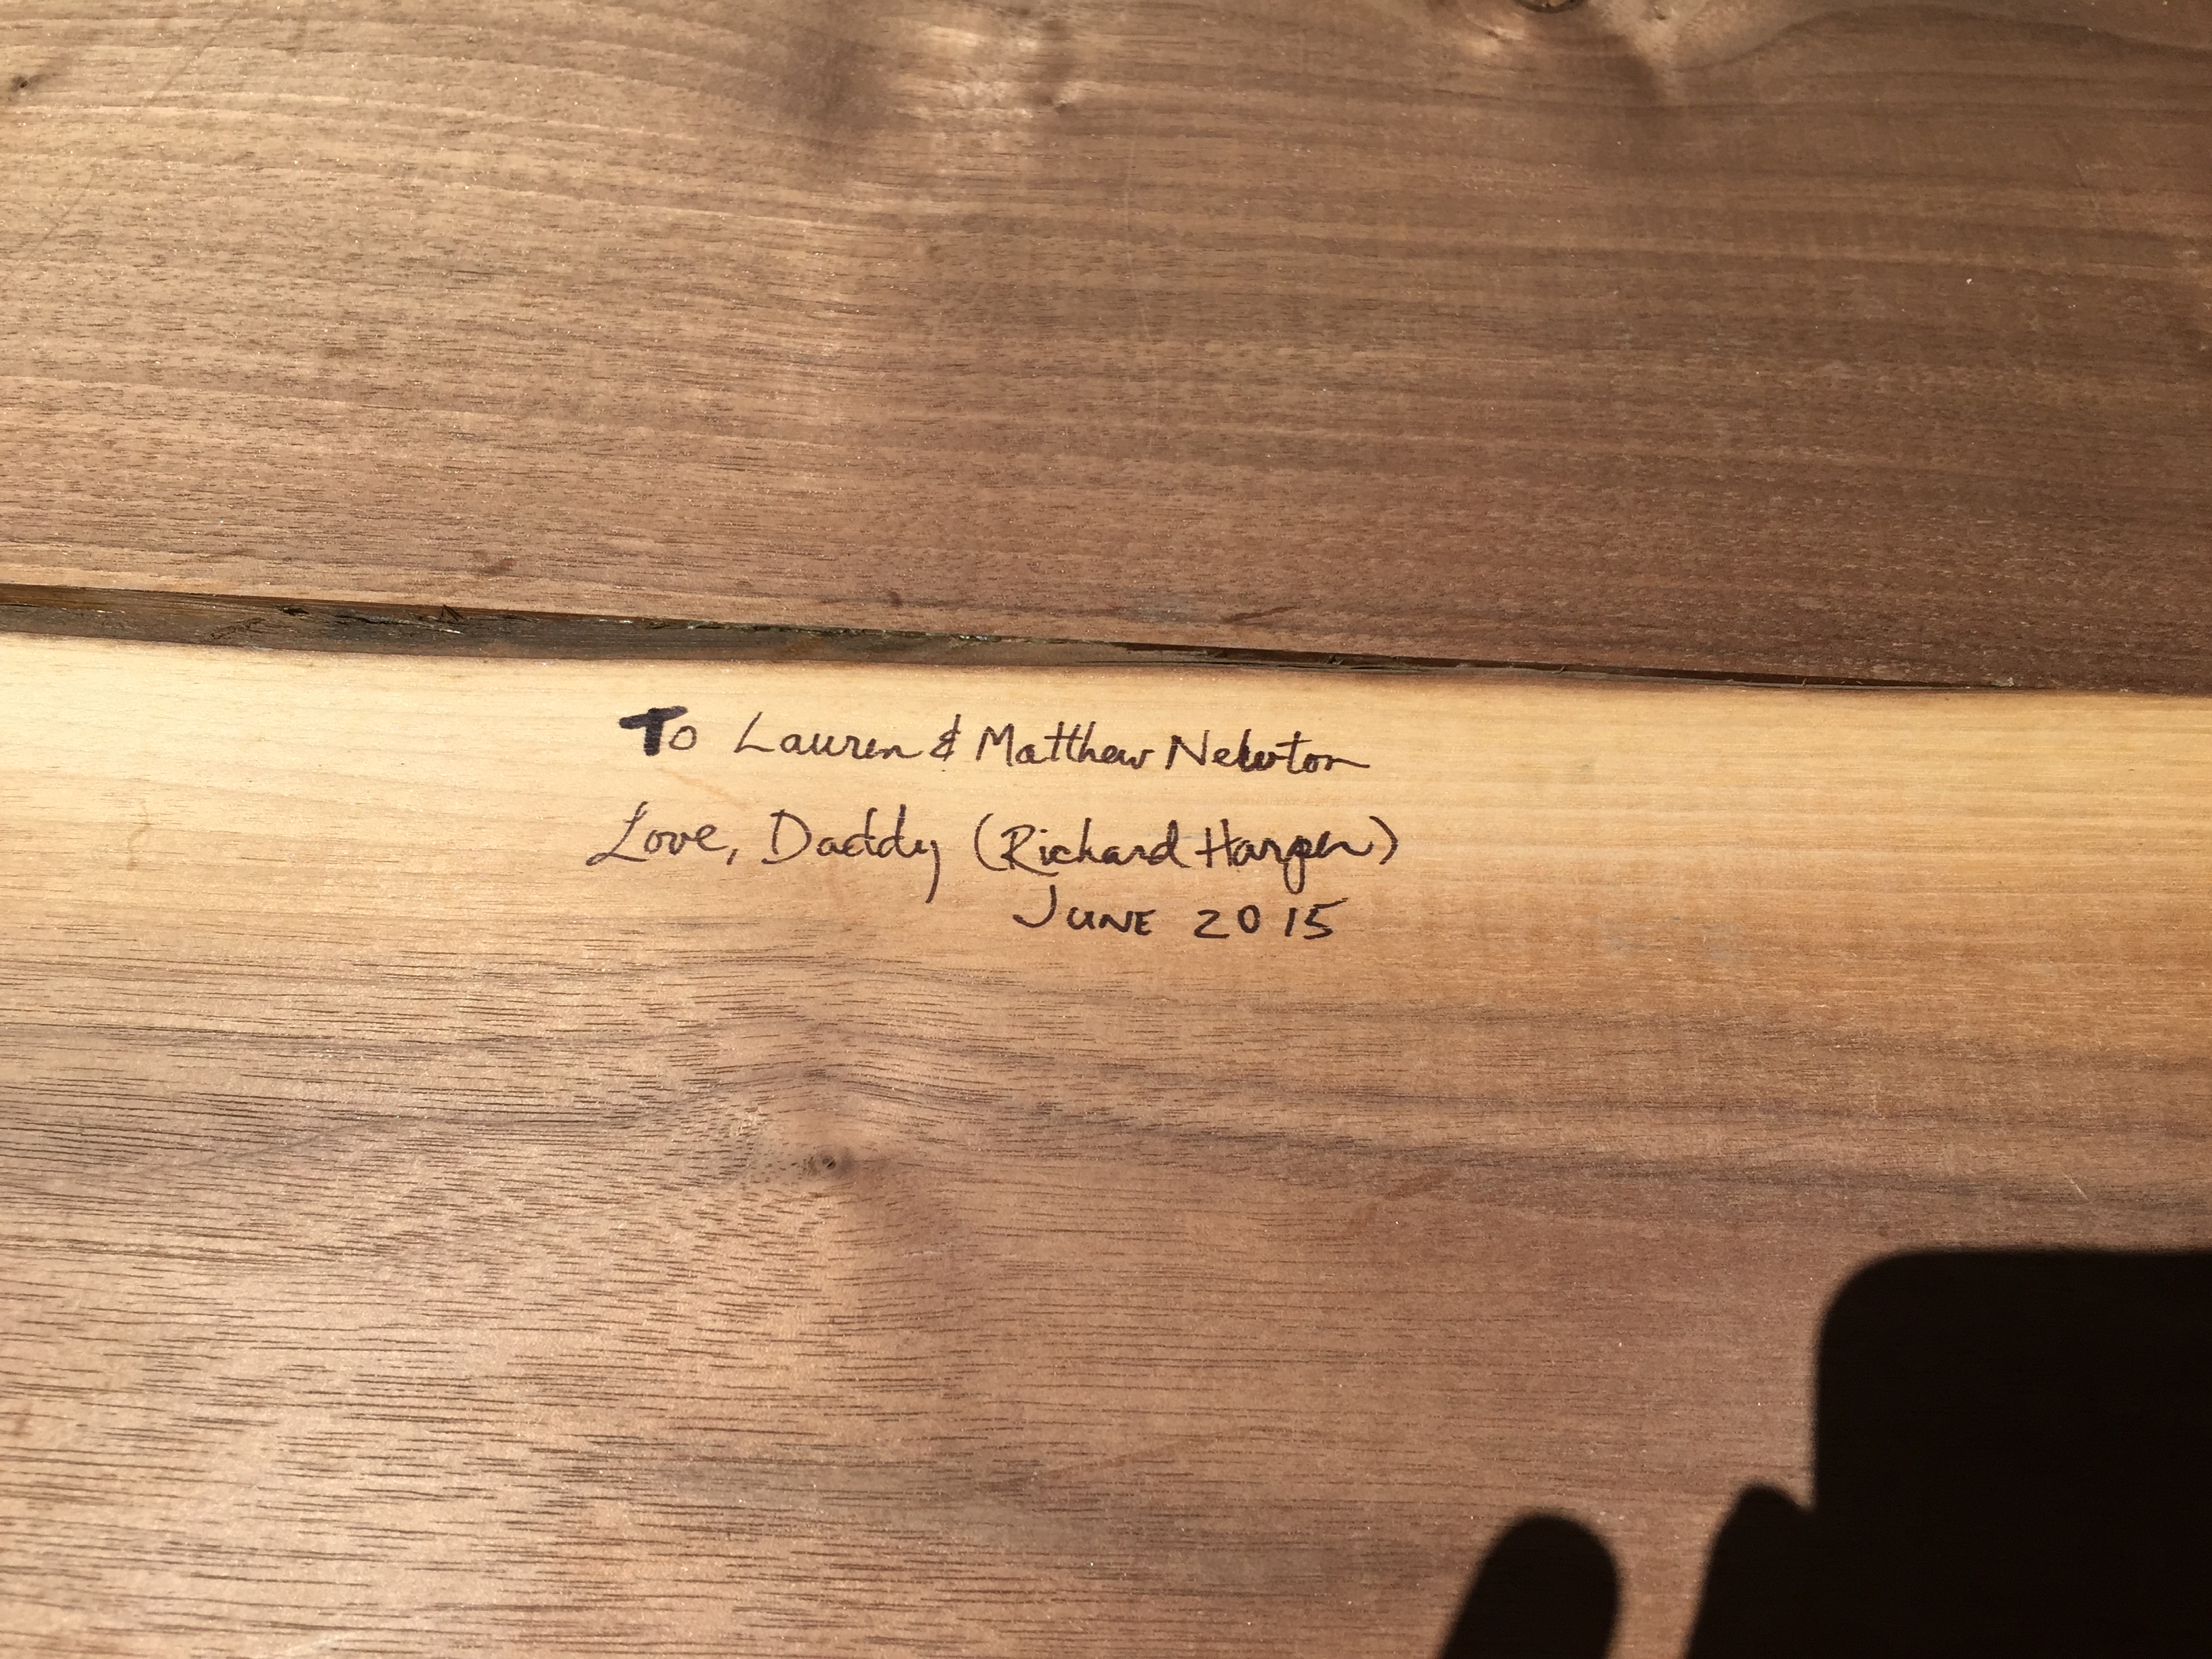
…and a very special message hidden on the underside. 😉