Nothing says, “Welcome, friends!” like a sweet little covered porch!
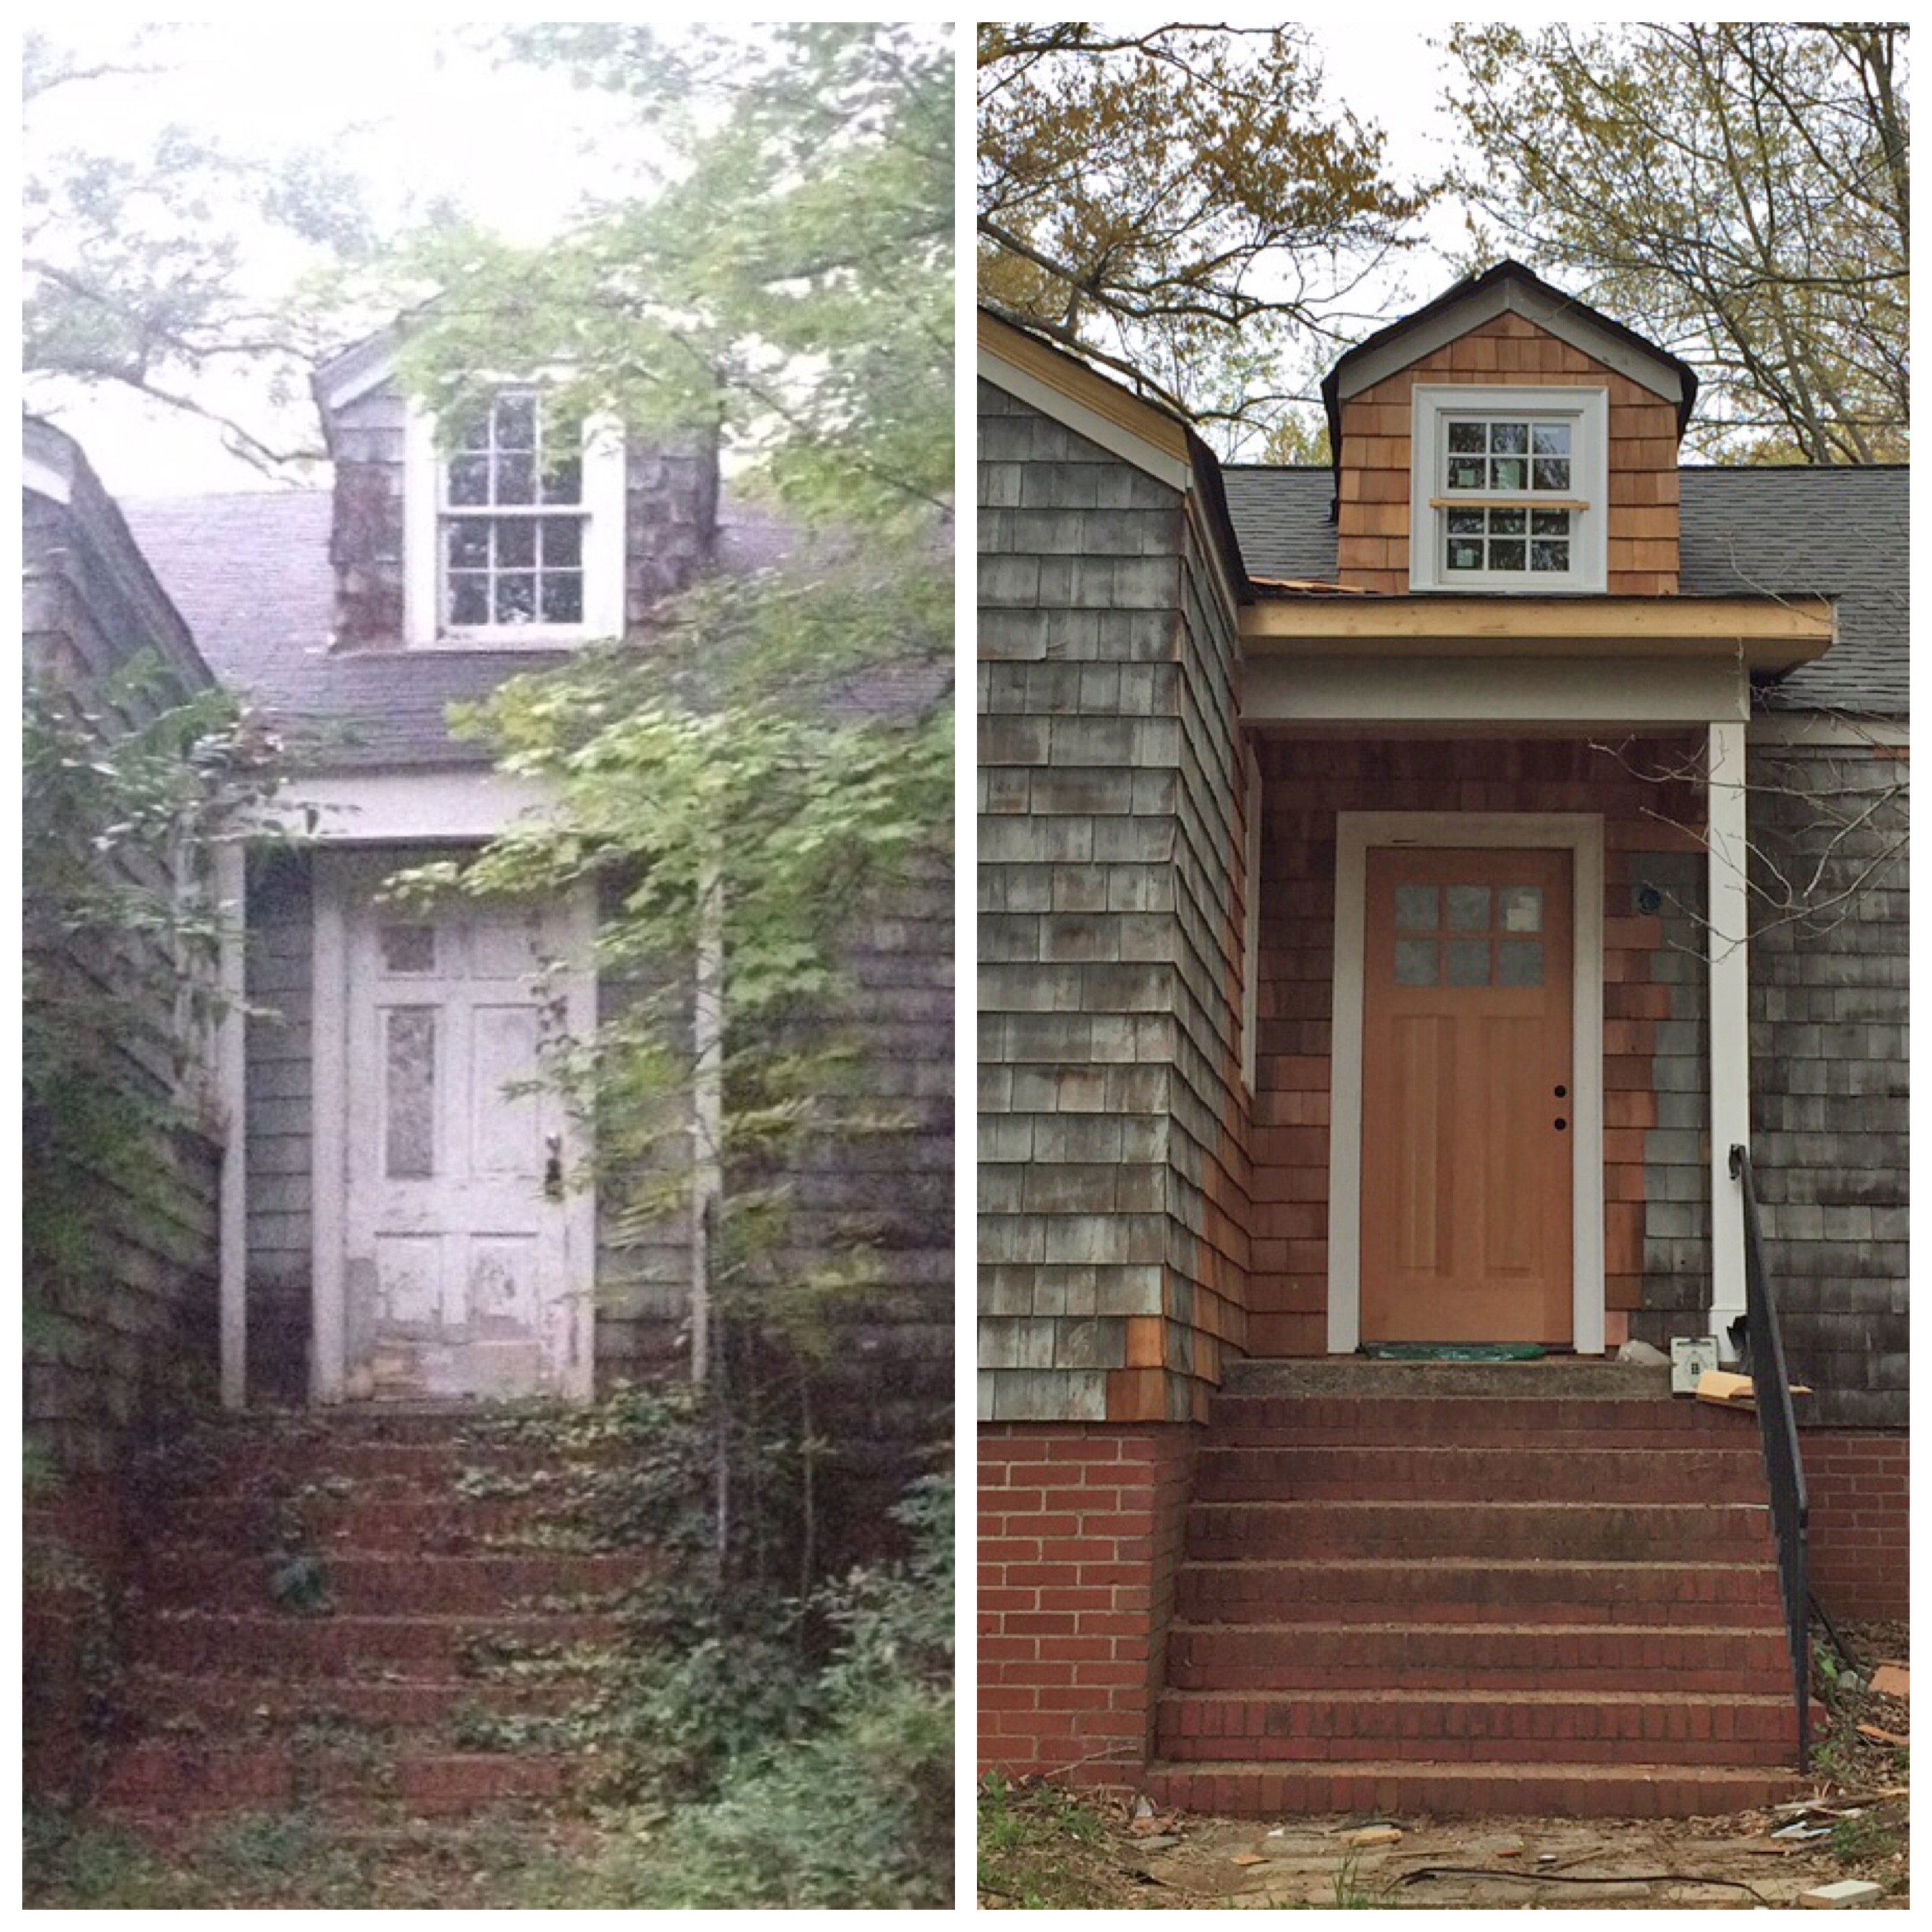
Truthfully, there wasn’t really anything wrong with our original front stoop; a sturdy set of stairs and a little landing leading right up to our front door. Totally functional? Yes. Something to remember? Ehhhh, not really.
Its lack-luster presence and barely-there overhang at the front door (hardly enough to keep a guest out of the rain as they ring the doorbell) just wasn’t exactly the warm welcome we wanted. So, with a few very simple changes/additions, our so-so stoop has become a precious porch!
We worked with our builder to design a simple, architecturally appropriate overhang that would shelter the entire front stoop and add a little extra curb appeal to the front. I could describe it all to you, but wouldn’t you rather see pictures? I thought so…
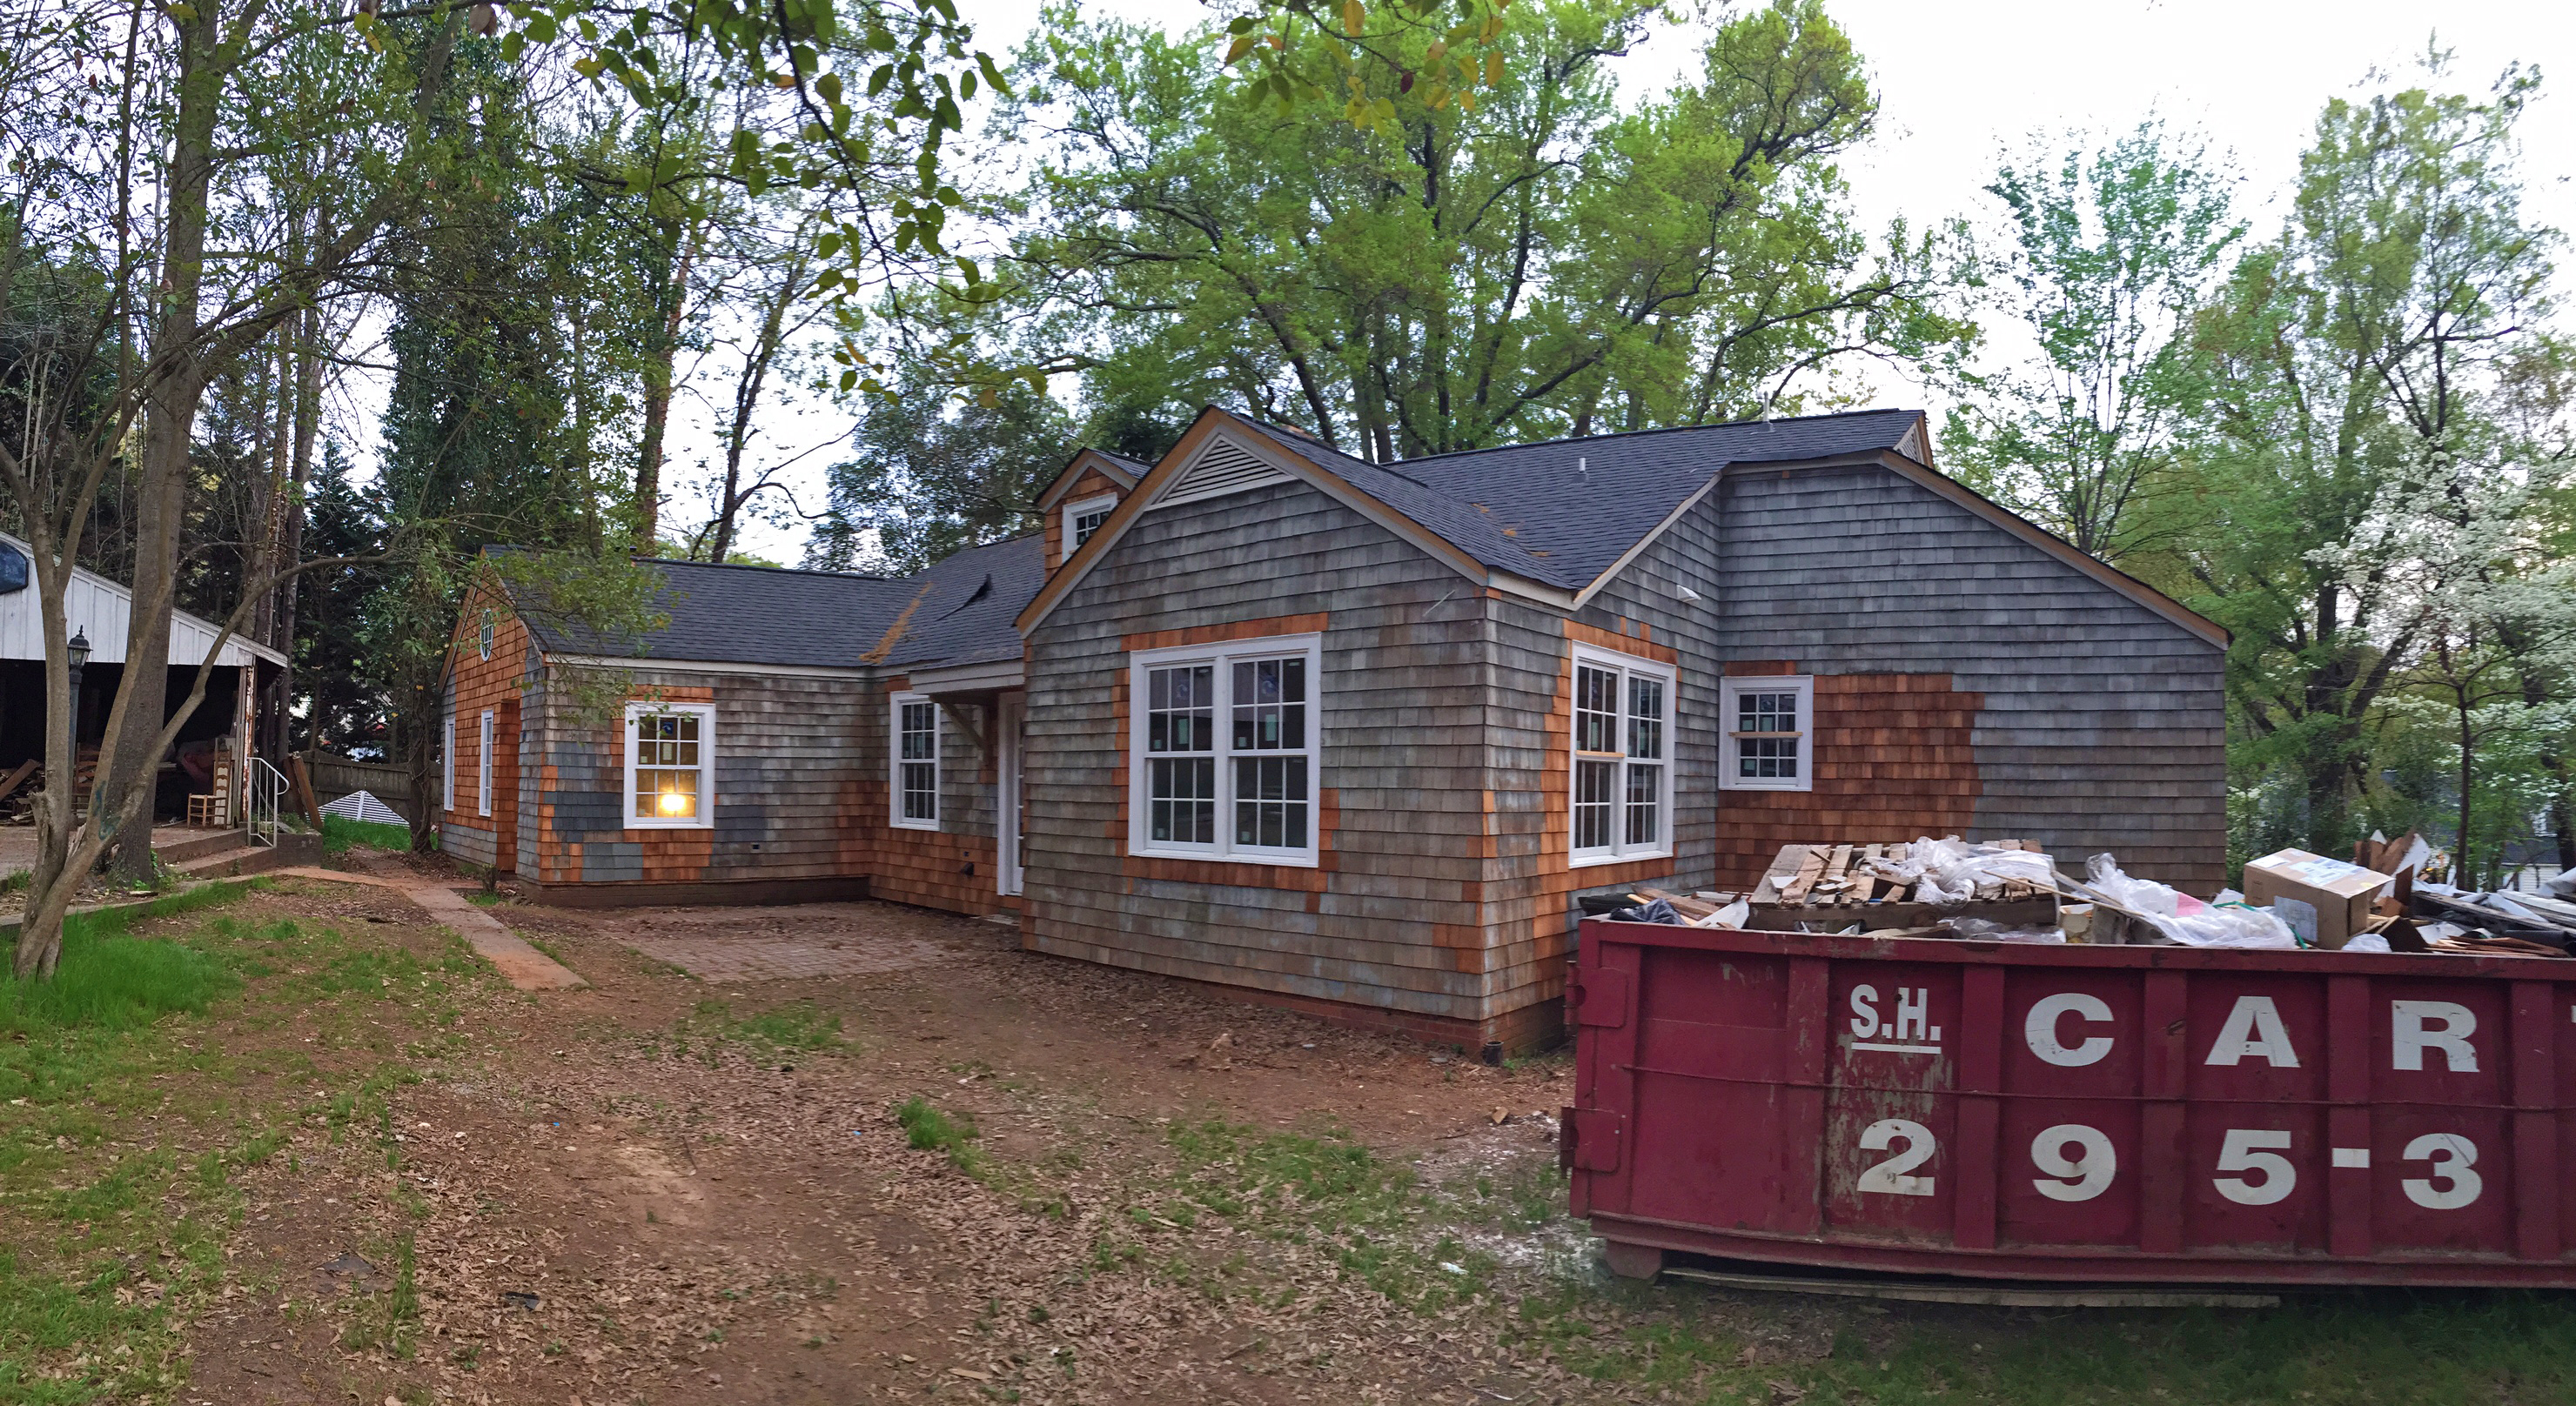
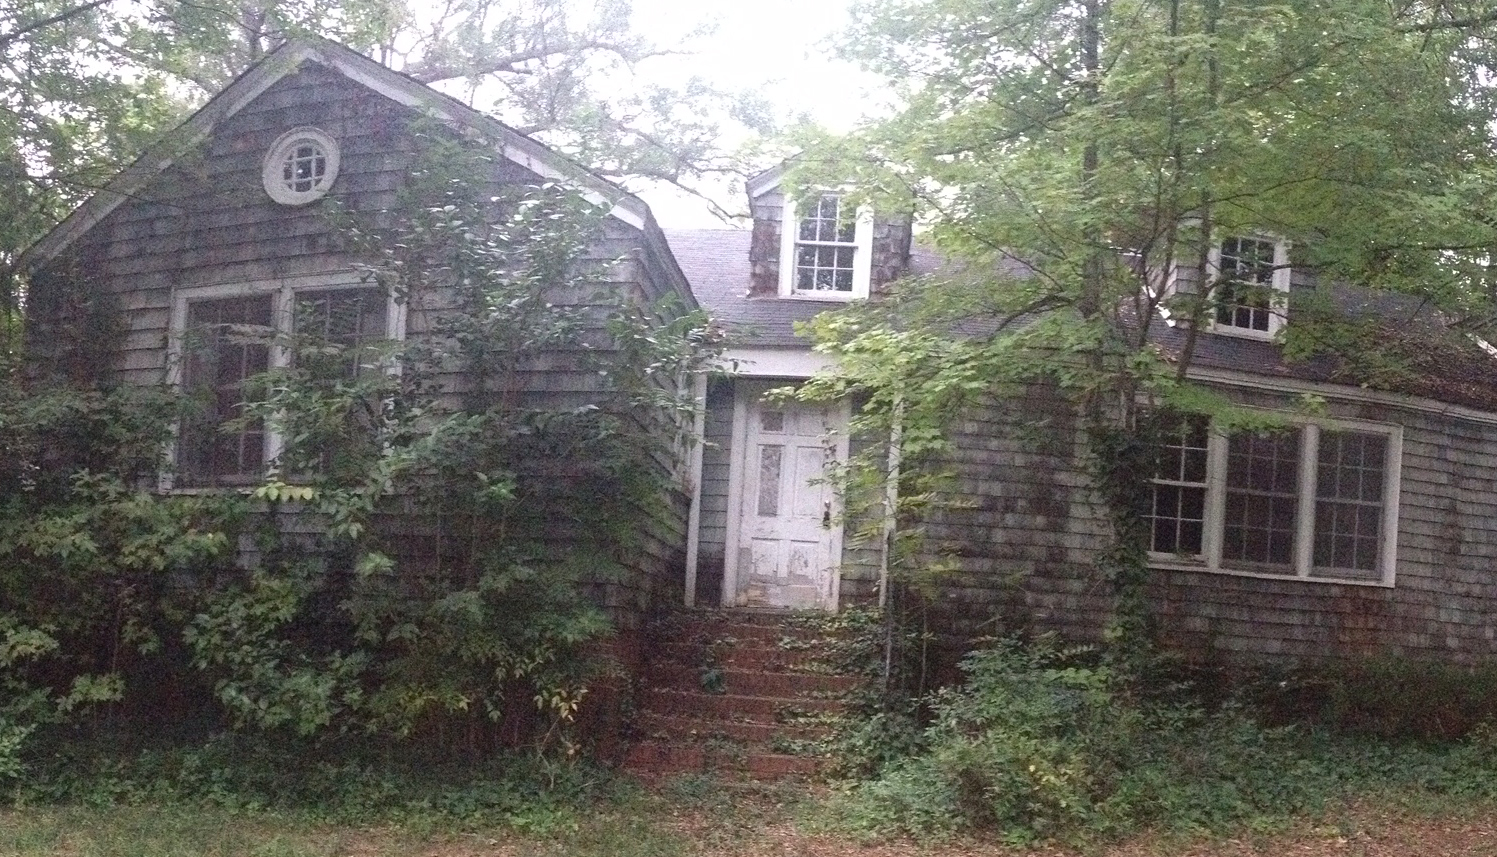
A few “before” pictures:
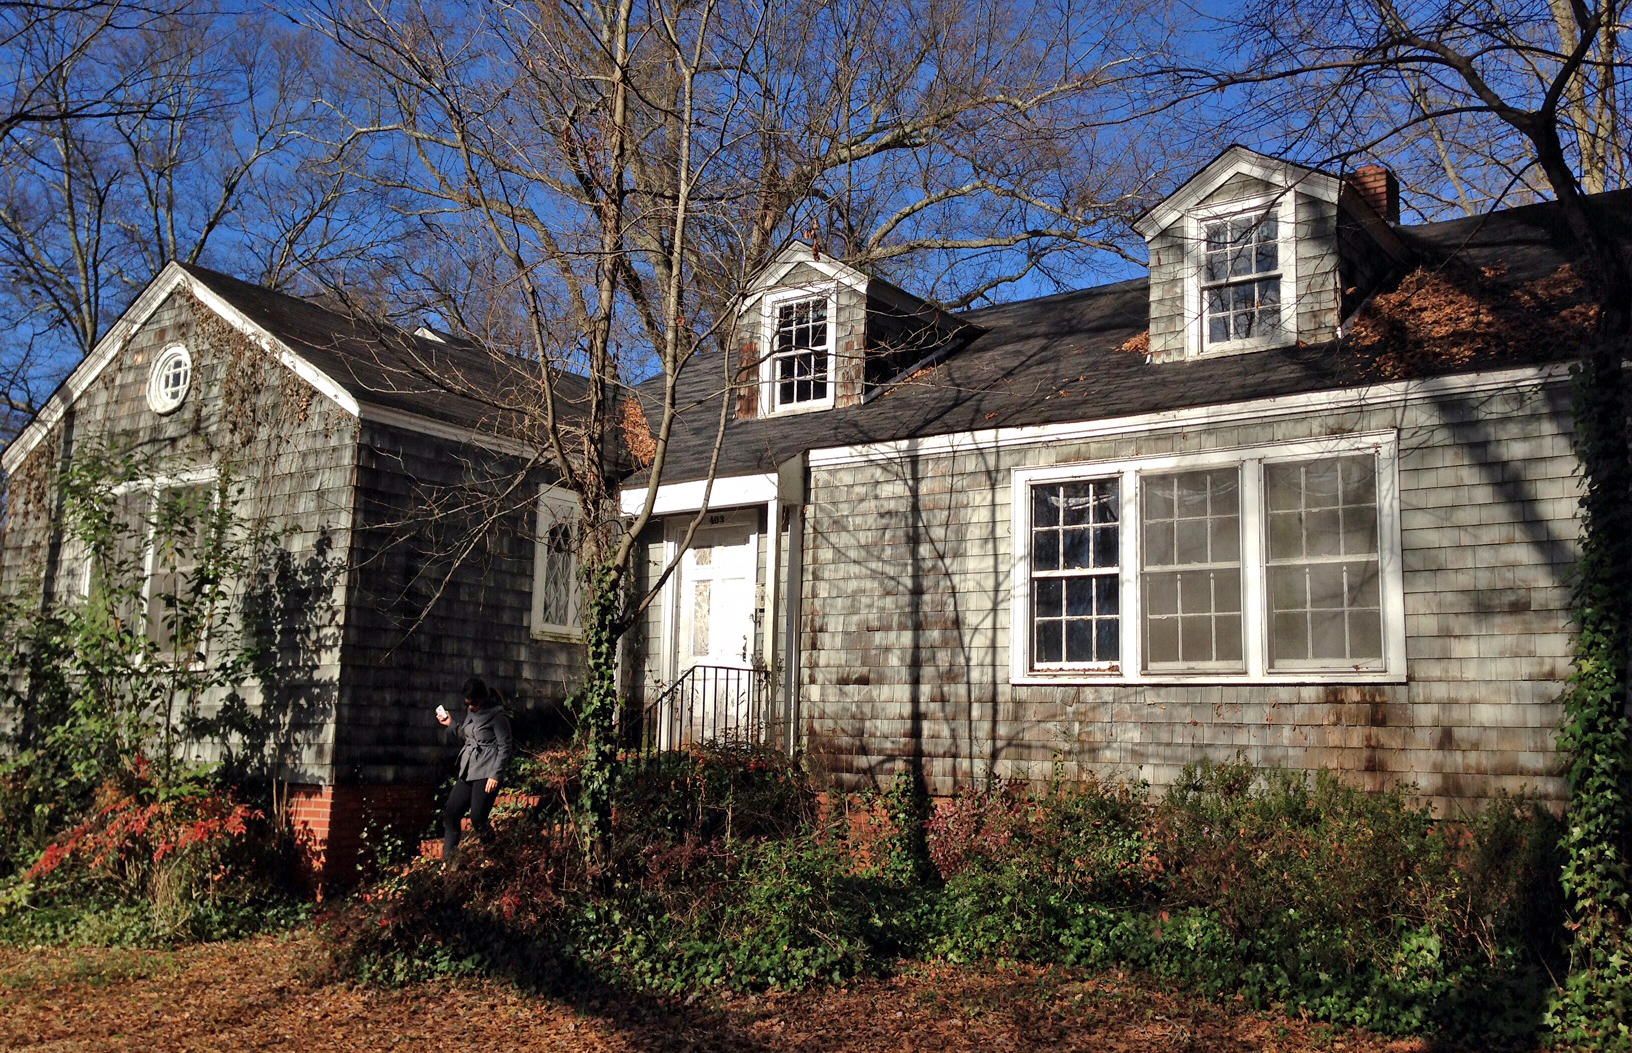
Before! In fact, this photo is so “before” that it is actually one of the very first photos we snapped way back when we were a couple of baby birds just beginning the journey to buy our Nest (taken September 15, 2014)… it was officially ours roughly one year later (we closed on September 25, 2015!).

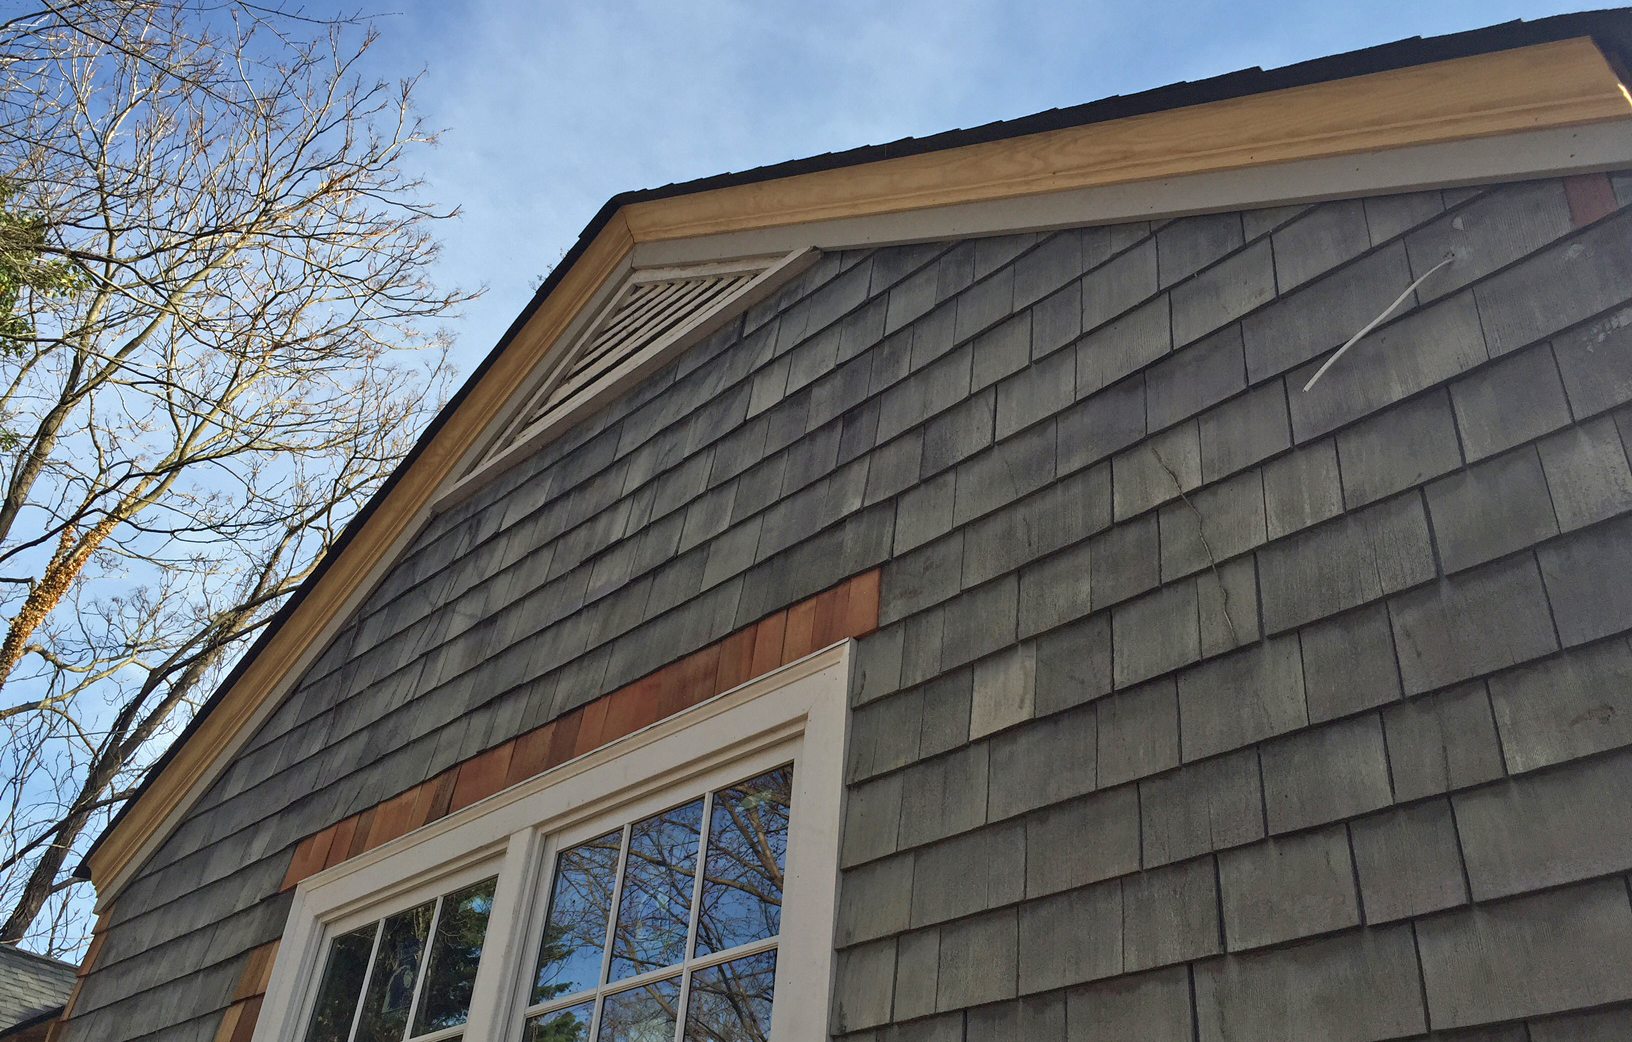
The “after” pictures:

Well hello, pretty porch!
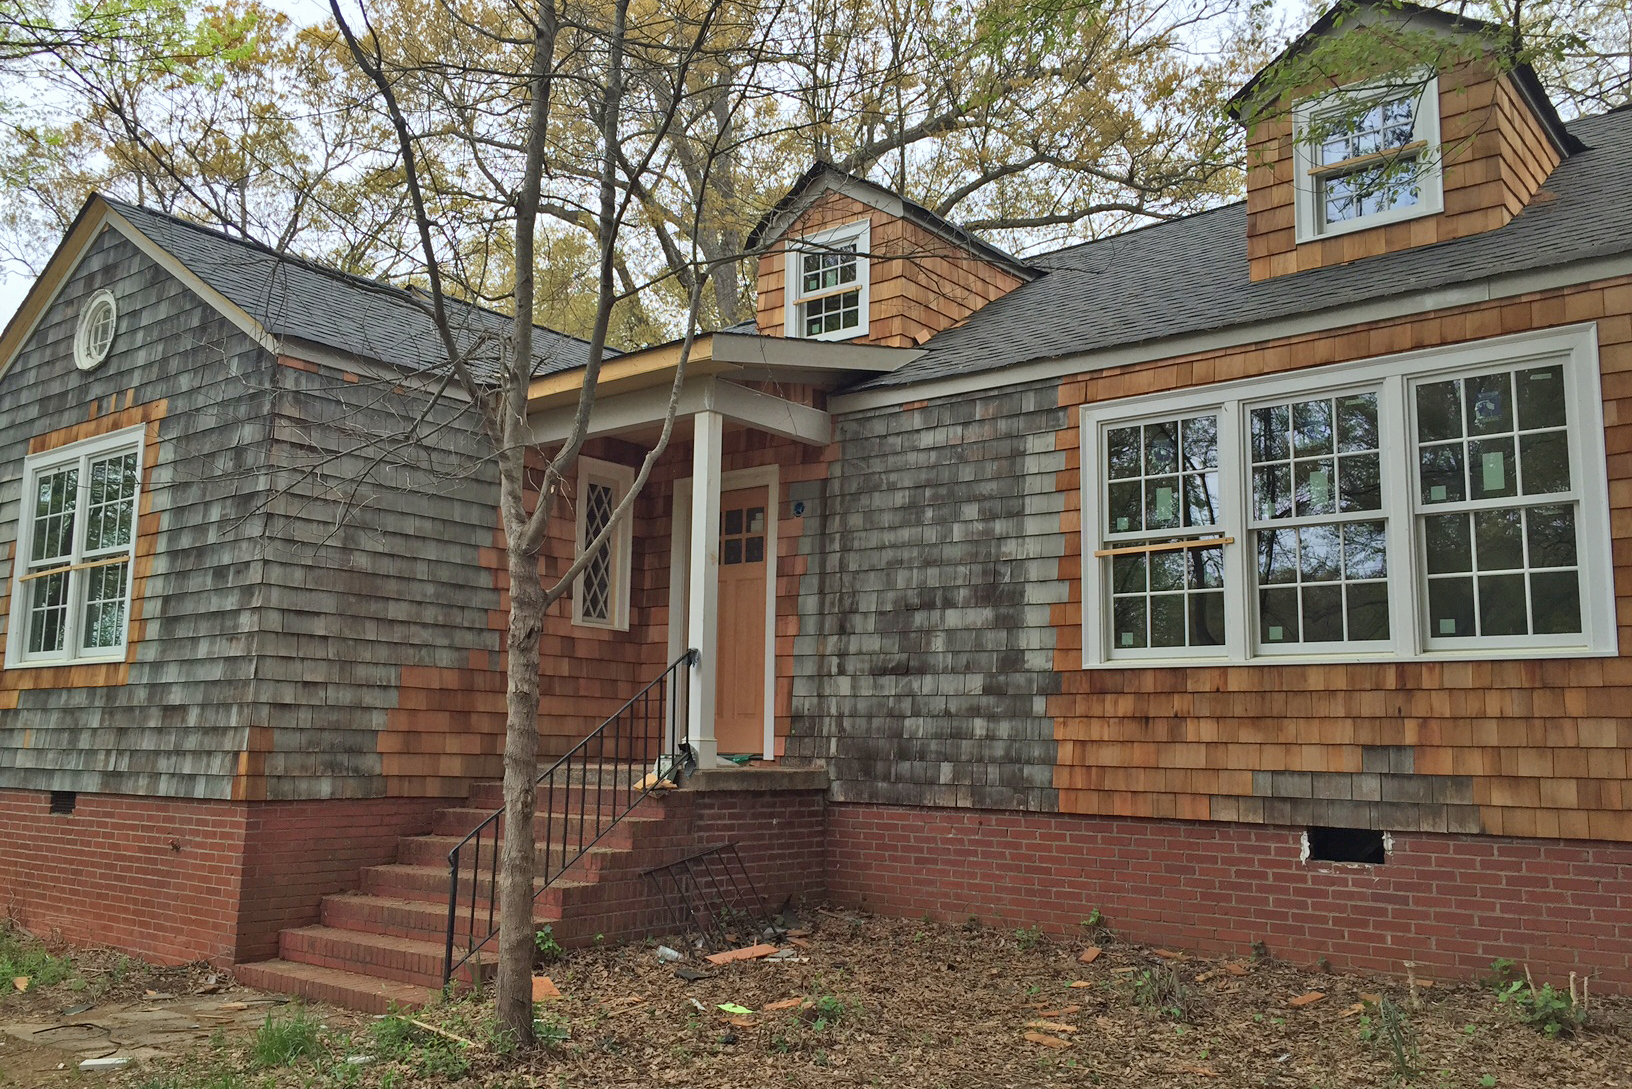
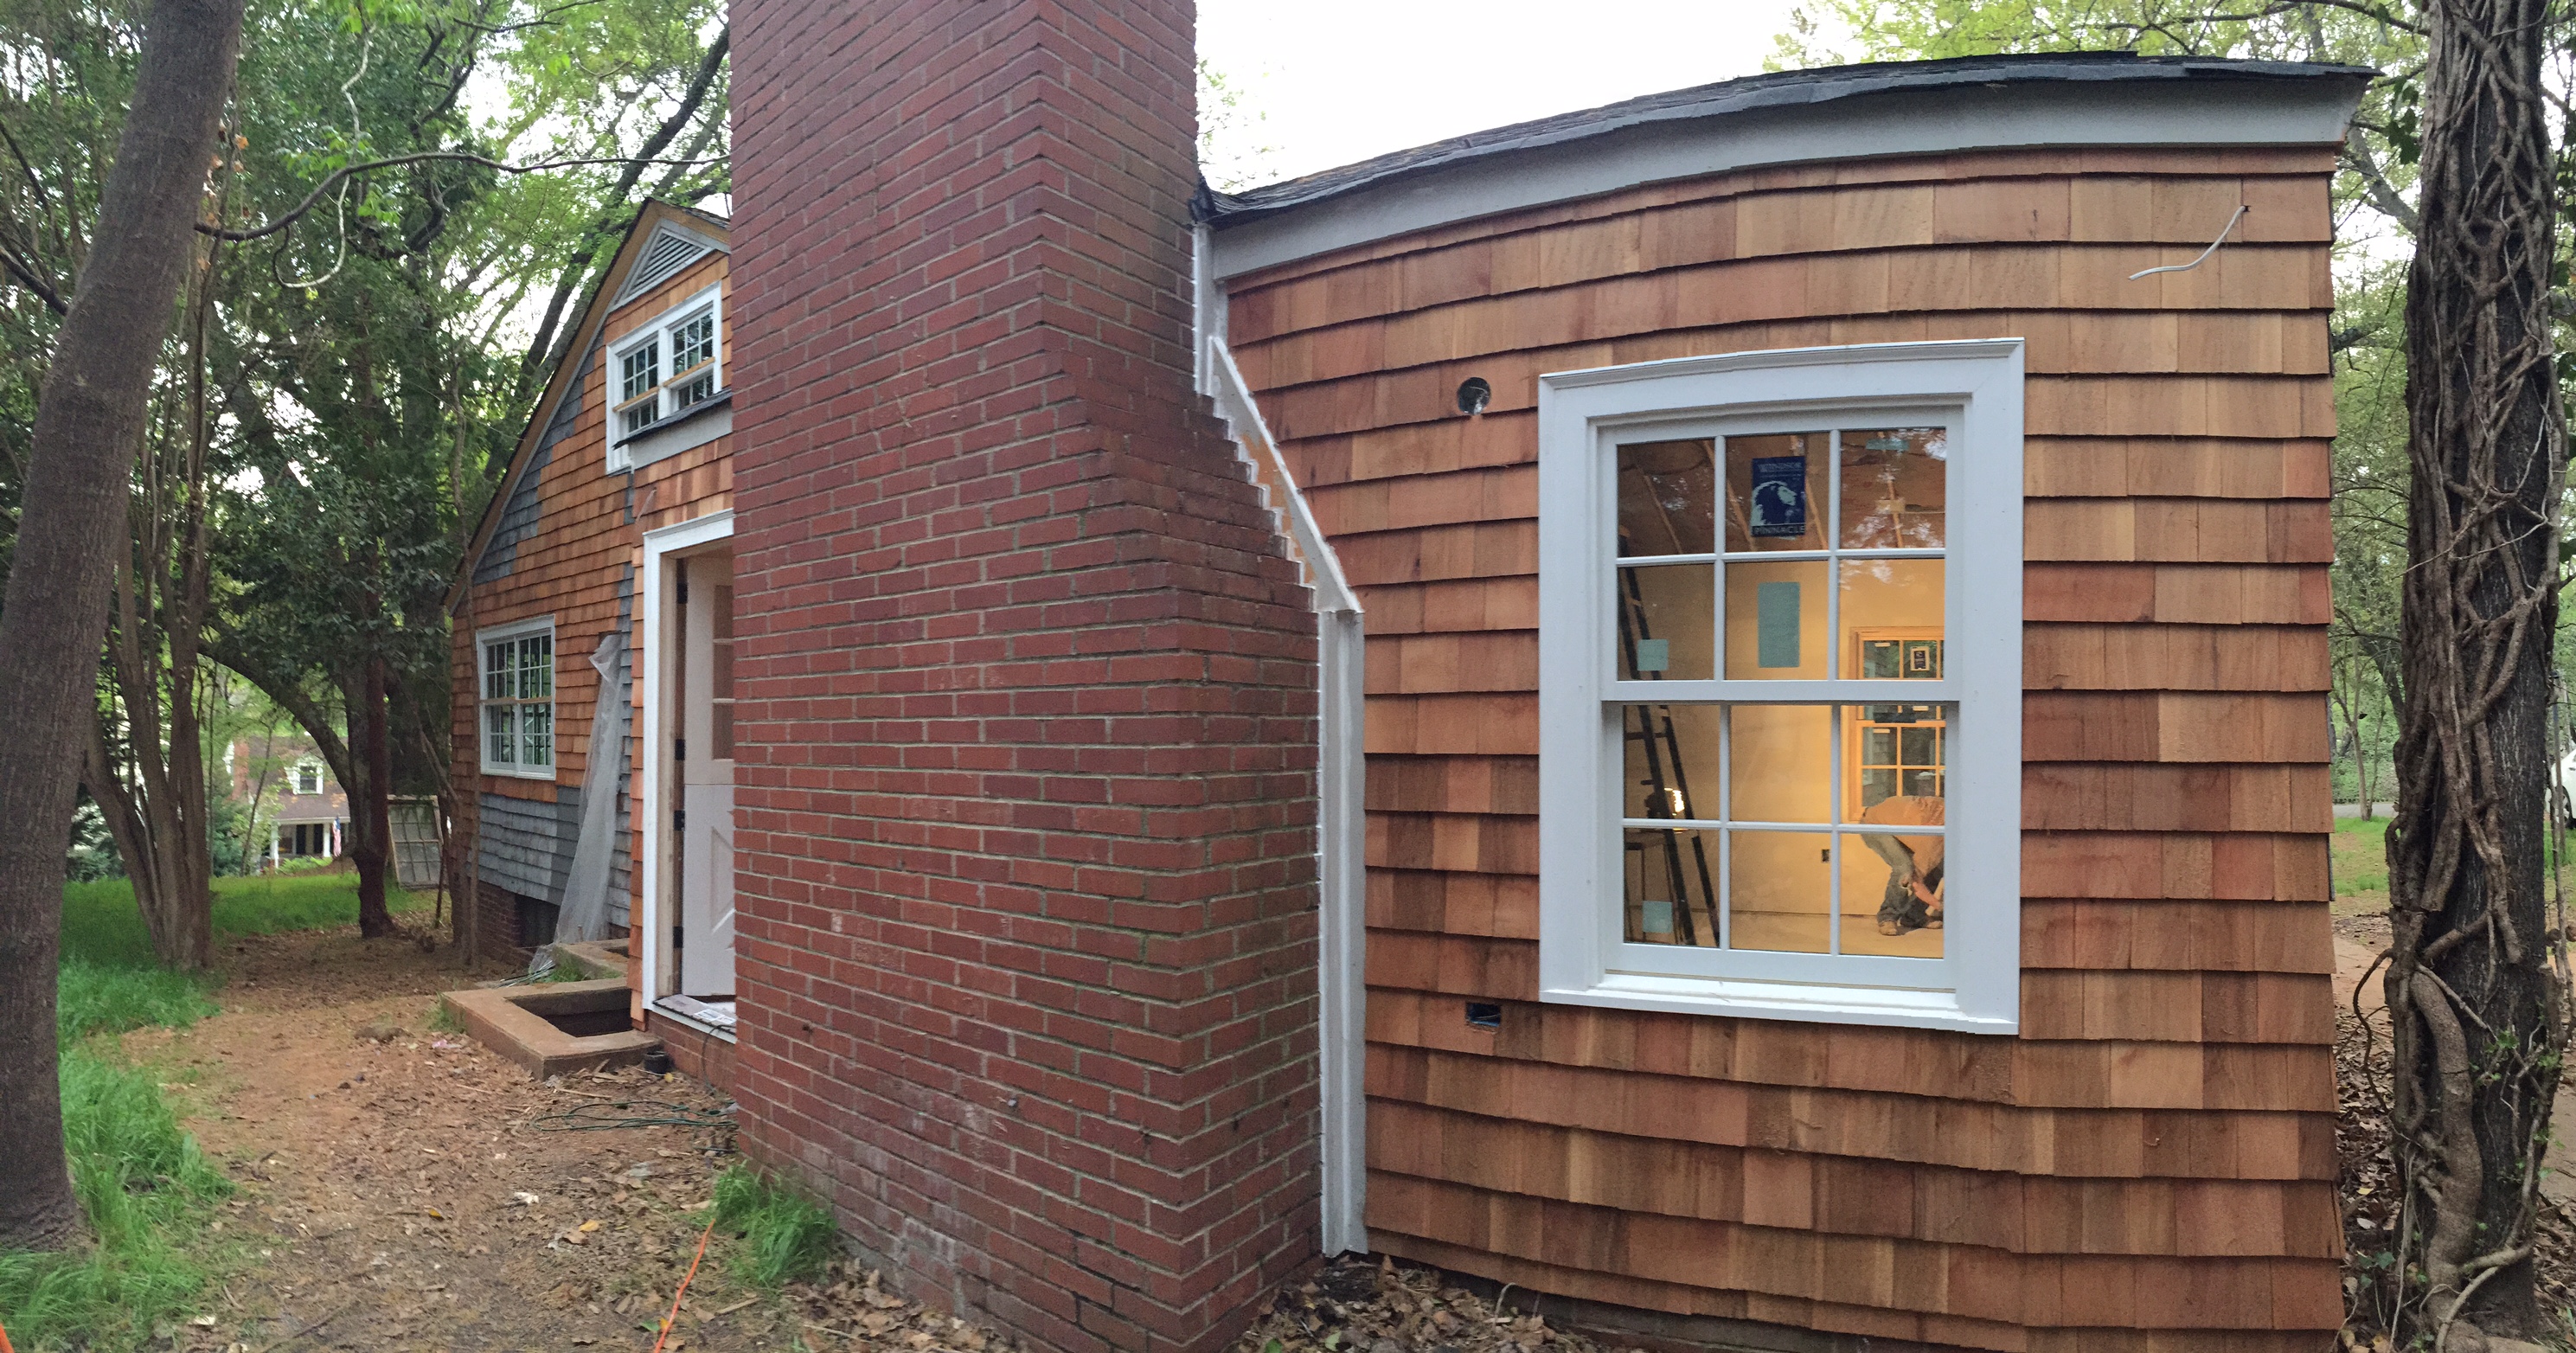
Side view! You can see here how much farther the porch roof extends from the house. It now shelters the entire landing.

New front door!

Close-up of the tongue and groove ceiling.
And just in case you didn’t quite get the picture… here are a couple of side-by-sides: