Materials are here and framing is underway. Big things are happening at The Newton Nest…stay tuned!
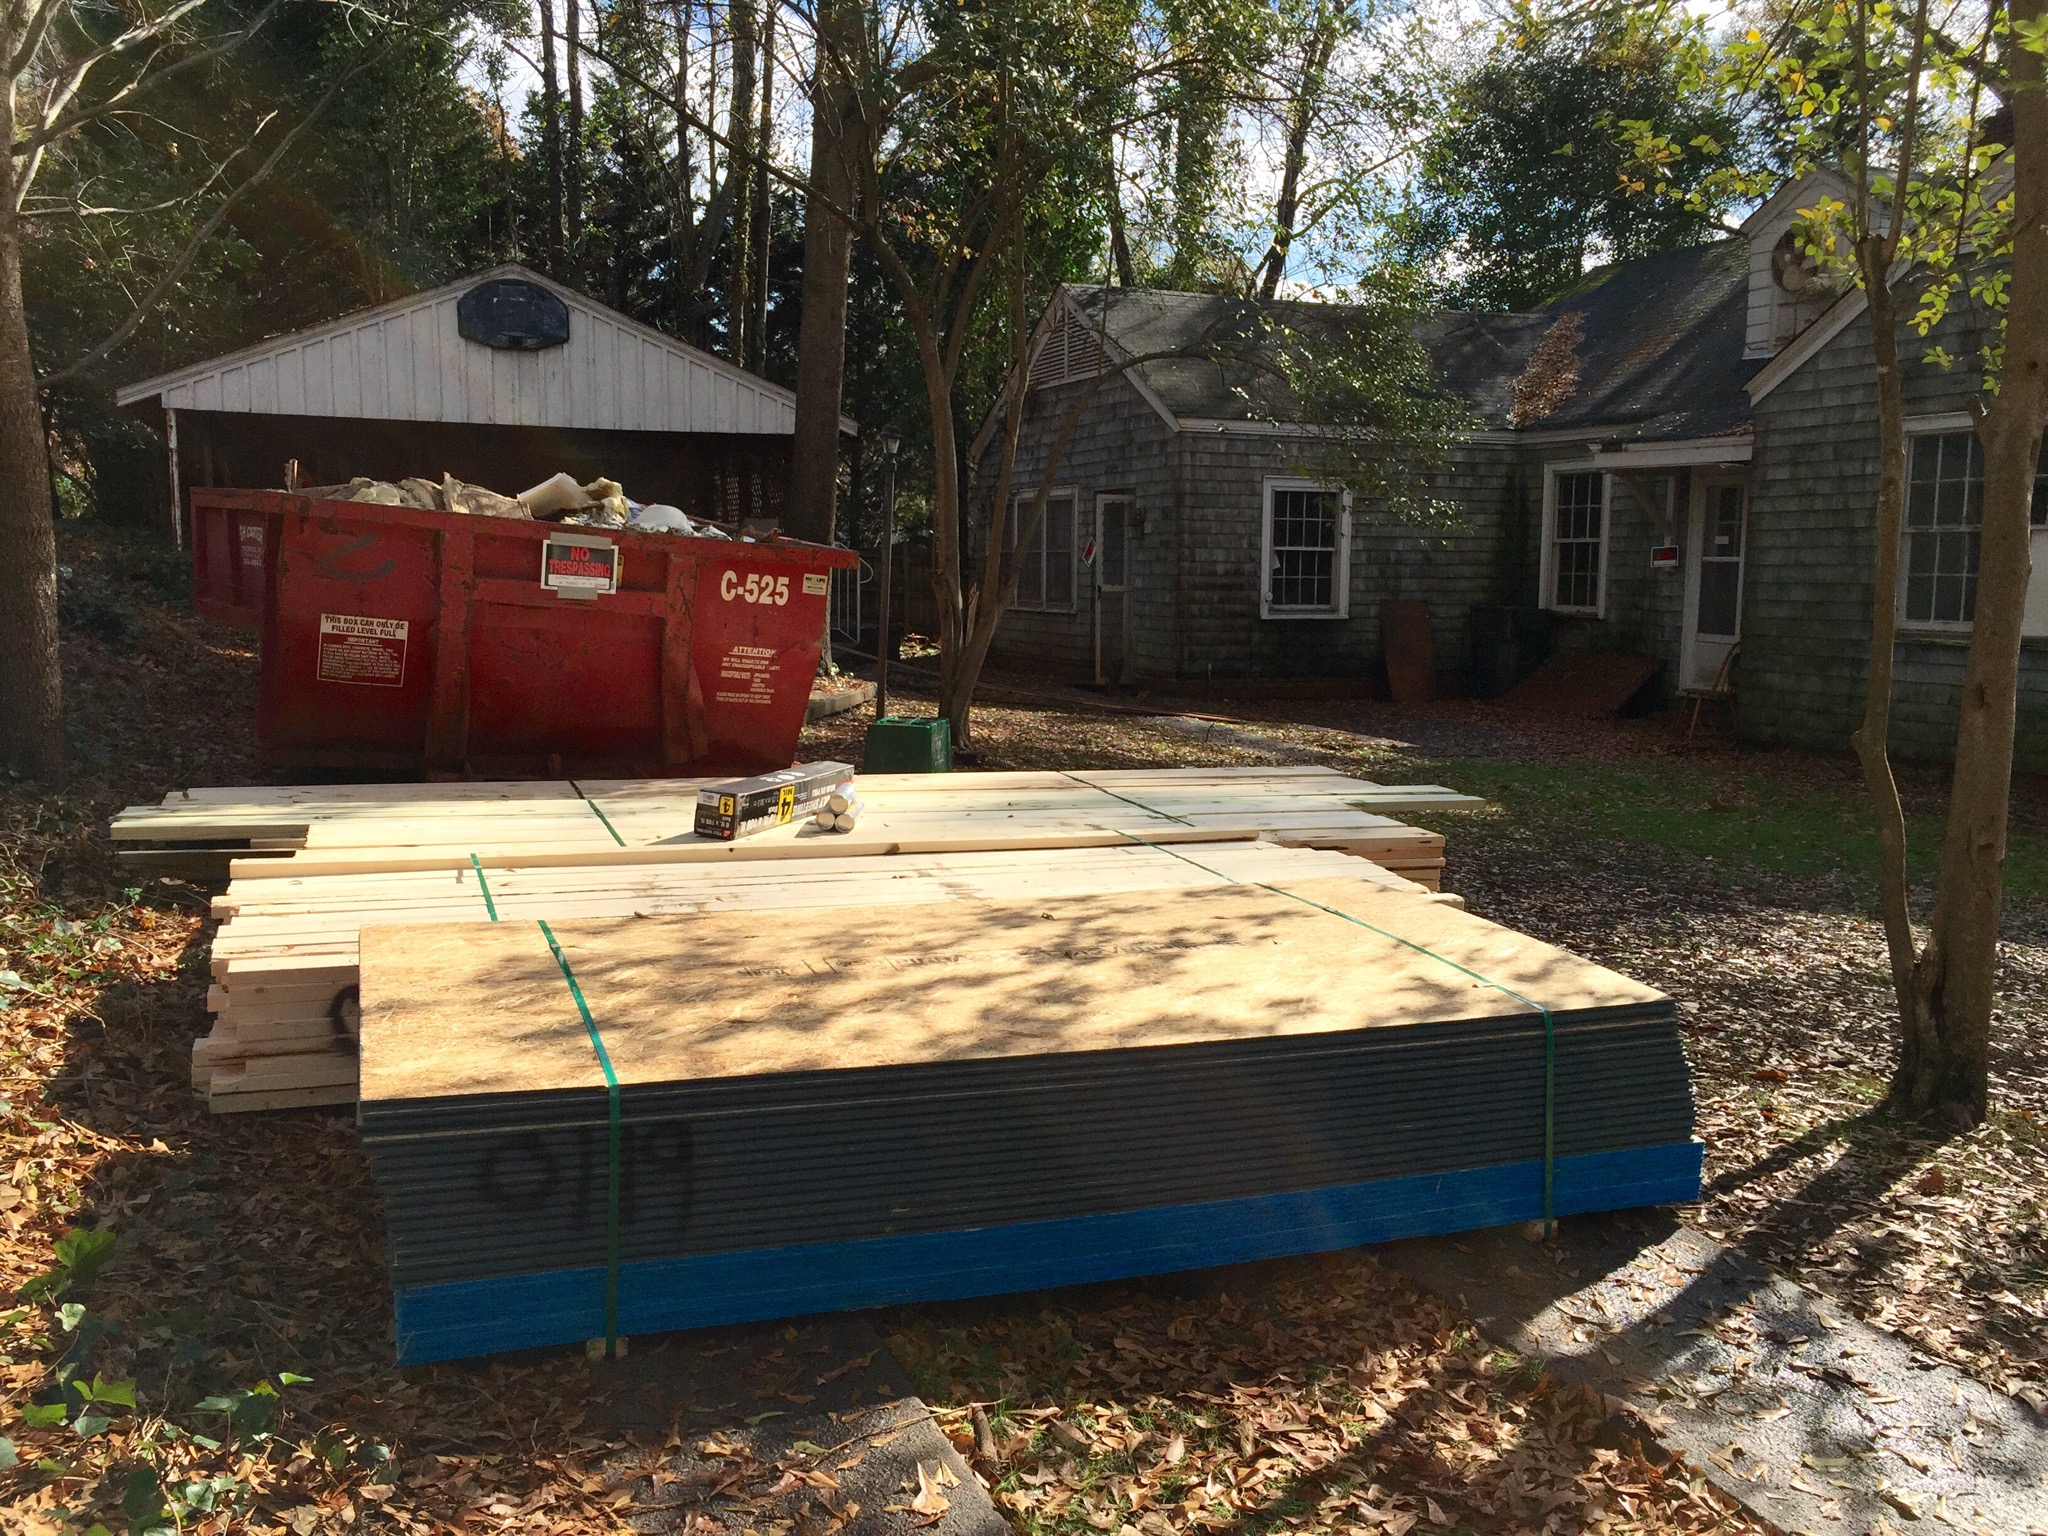
Materials are here and framing is underway. Big things are happening at The Newton Nest…stay tuned!
Ladies and gentlemen, we have POWER!
We made the decision early on not to have electricity turned on in the house until we have it completely rewired. We came to this conclusion because we felt like the luxury of immediate electricity was more of a hazard than a benefit considering that the house was wired more than 70 years ago AND it stood vacant for nearly 5 years. After tearing the walls down to the studs and seeing the wiring for ourselves, it’s obvious we made the right choice. The wiring was not only outdated, but in terrible shape with frayed, exposed wires and loads of dust waiting for a spark. The perfect storm for a fiery goodbye. Yikes!

This is what a fire hazard looks like. Just one example of the state of our electrical system… we found frayed, scary wires everywhere! Completely rewiring the nest? Good call, Newtons!
So, our solution is a temporary power source in the yard from which we will run extension cords to give us power for lights, tools, etc.
We owe a HUGE thanks to our brother-in-law, Jamie, for installing our temporary power pole! And an unenthusiastic thumbs up to Duke Power for taking more than three weeks to come out and give it the juice. Anyhoo, we’re ready to use some power tools!

Power central. This guy is lighting up our lives for the next few months.
Come and see how good she looks! I forced Matthew to help me run extension cords to every room on the front of the house so we could plug in lamps and see our nest aglow.

The recipe for instant curb appeal?
Grass seed, rain, sunshine, and a Newton with a green thumb!
Growing grass seems like it should be low on the totem pole considering the state of our abode, but we feel strongly about continuing to improve our curb appeal, for our sake and our neighbors’! Enter one bag of Winter Rye grass seed and a little help from Mother Nature. And, voila! Our lawn was born.

Spreading those little seeds and hoping for the best!

Blades of glory! Grow little grass seeds, grow.

Look at that lush lawn!


The first mow!
It’s a tedious job, but somebody’s gotta do it!
The sledgehammer swingin’ is over and now we are left with the nitty gritty detail work around “the edges” of each room. This is the last of the demo work that must be done before our builder can bring in the framer and really get the renovation phase going.
I suppose we brought this headache on ourselves by attempting to save the trim work, but we think it will be worth it to keep a few of the original details intact.
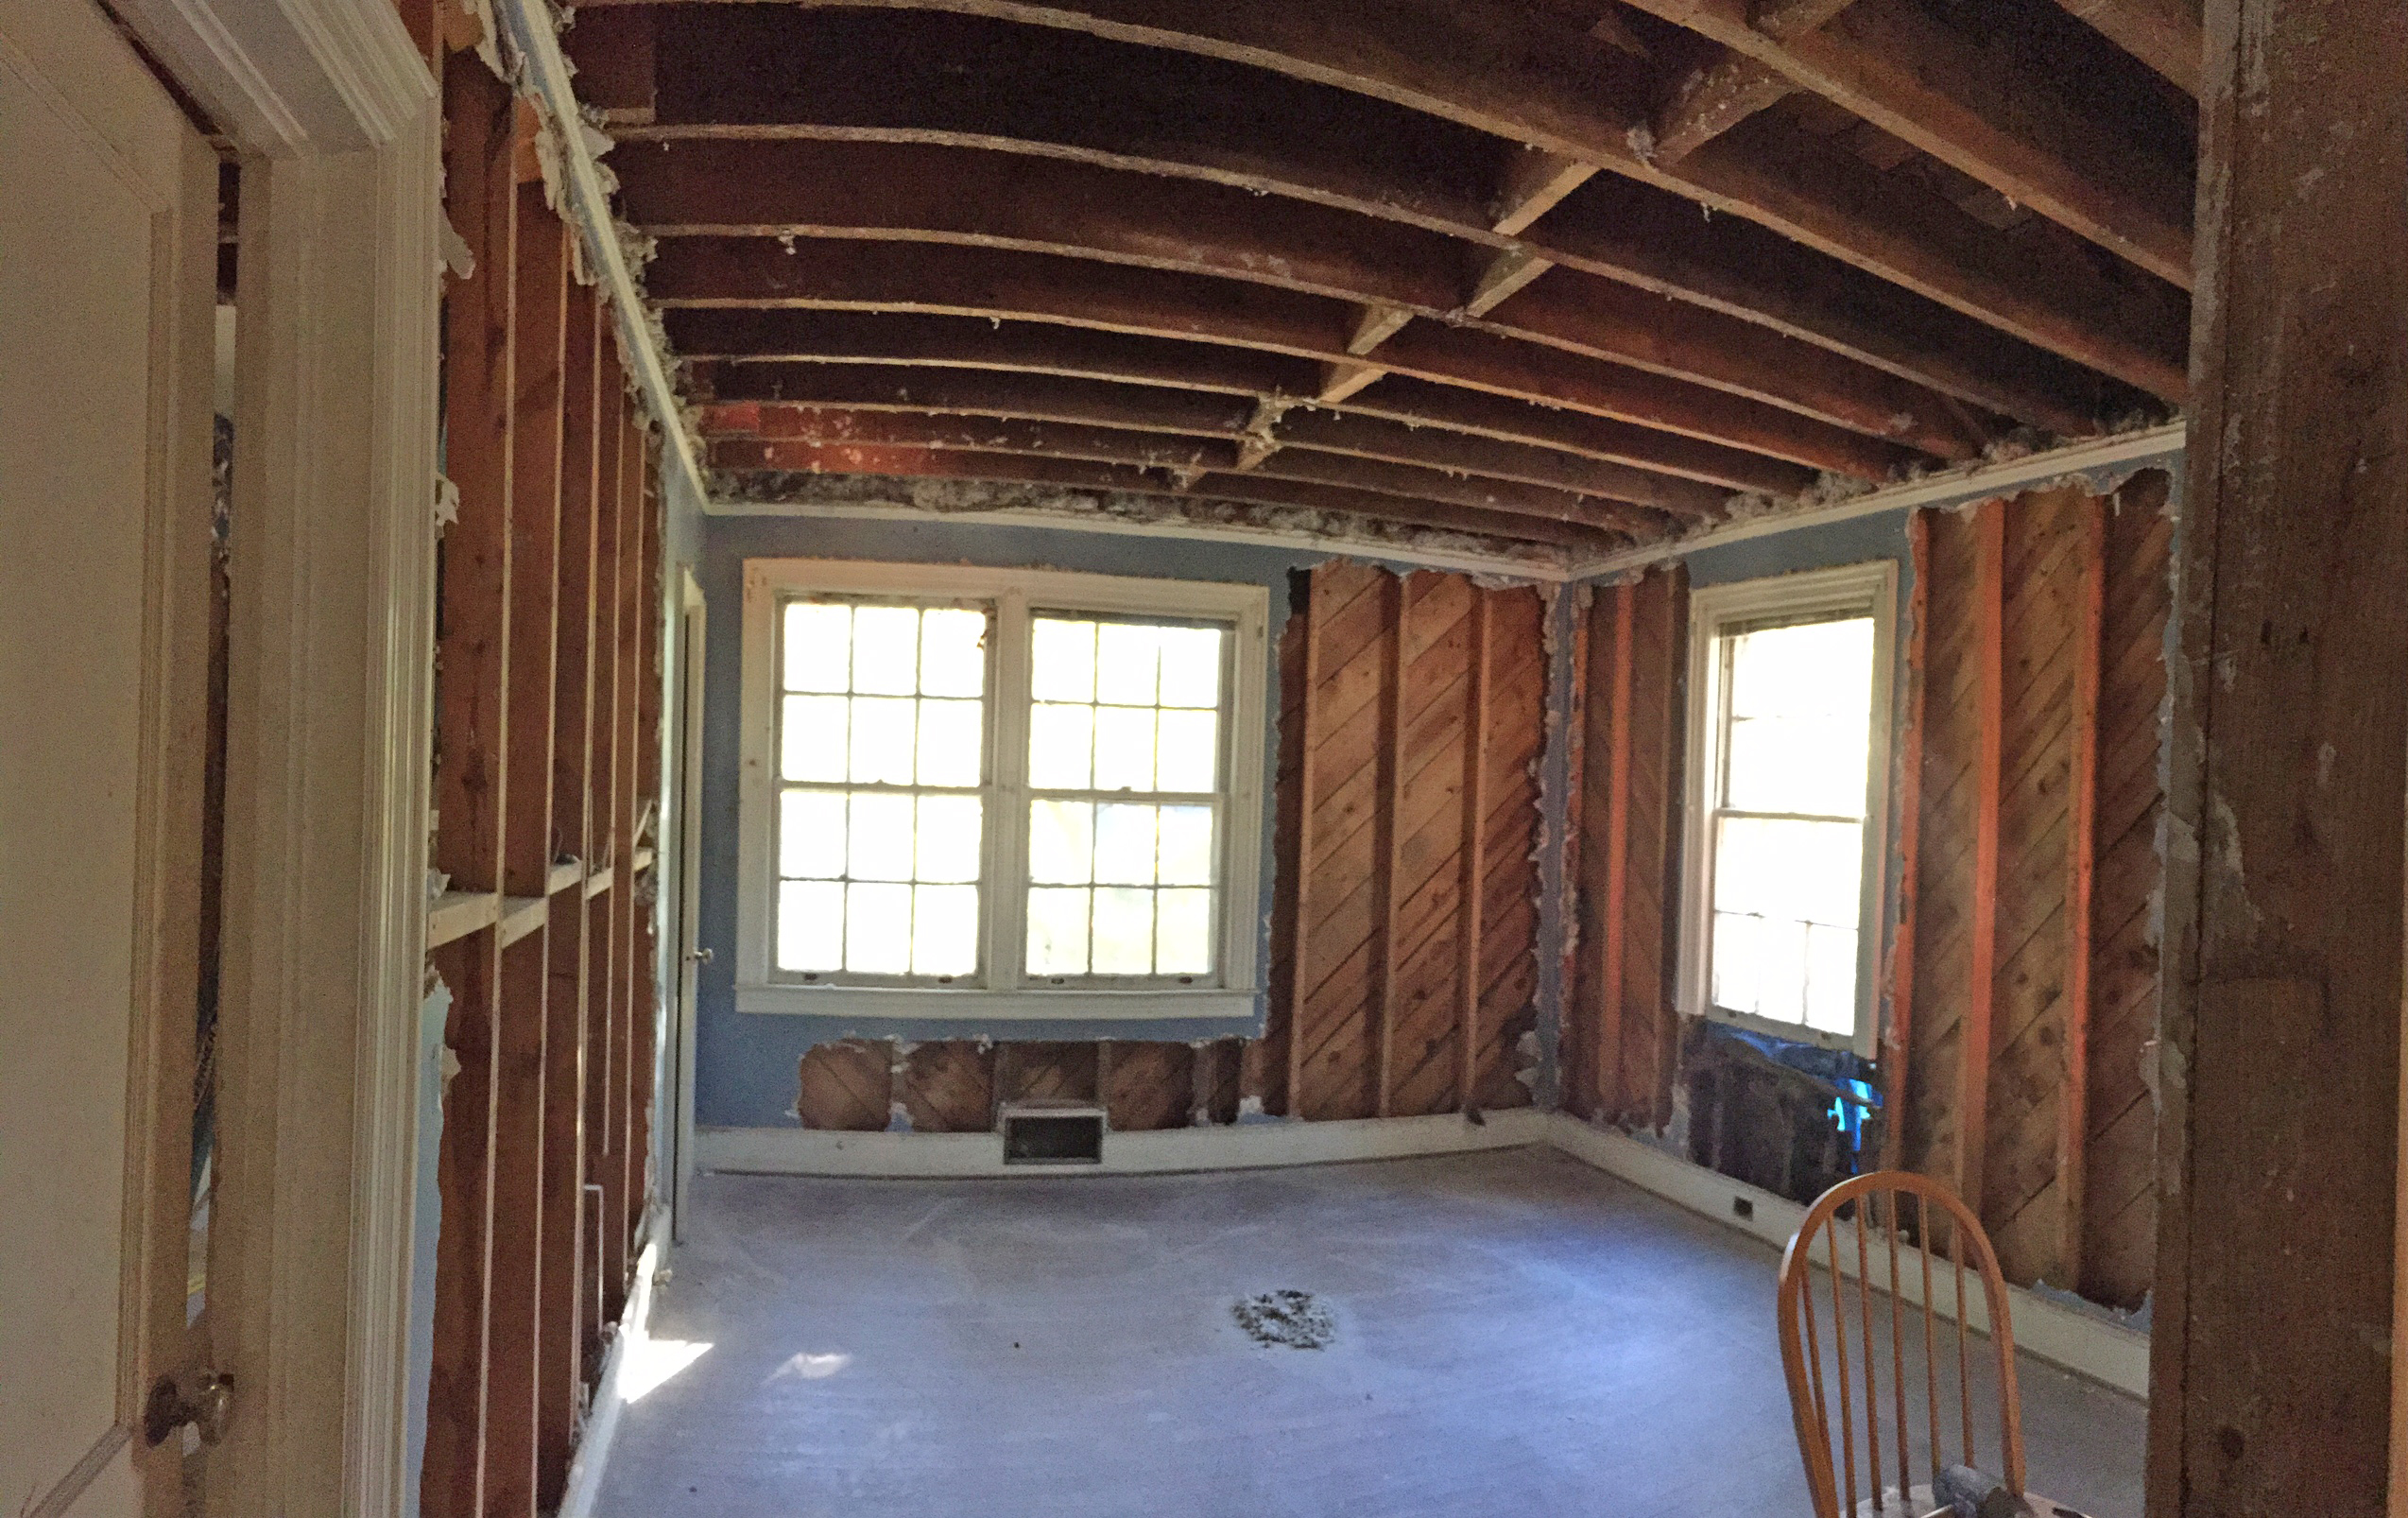
All the demo is done except the plaster left around the “edges” of each room.

Close up of the left over plaster around the trim.

Chipping away along the baseboards.
If we’re not chipping away at plaster remnants, we are pulling nails out of the studs. Details, details, details.

Clean edges!
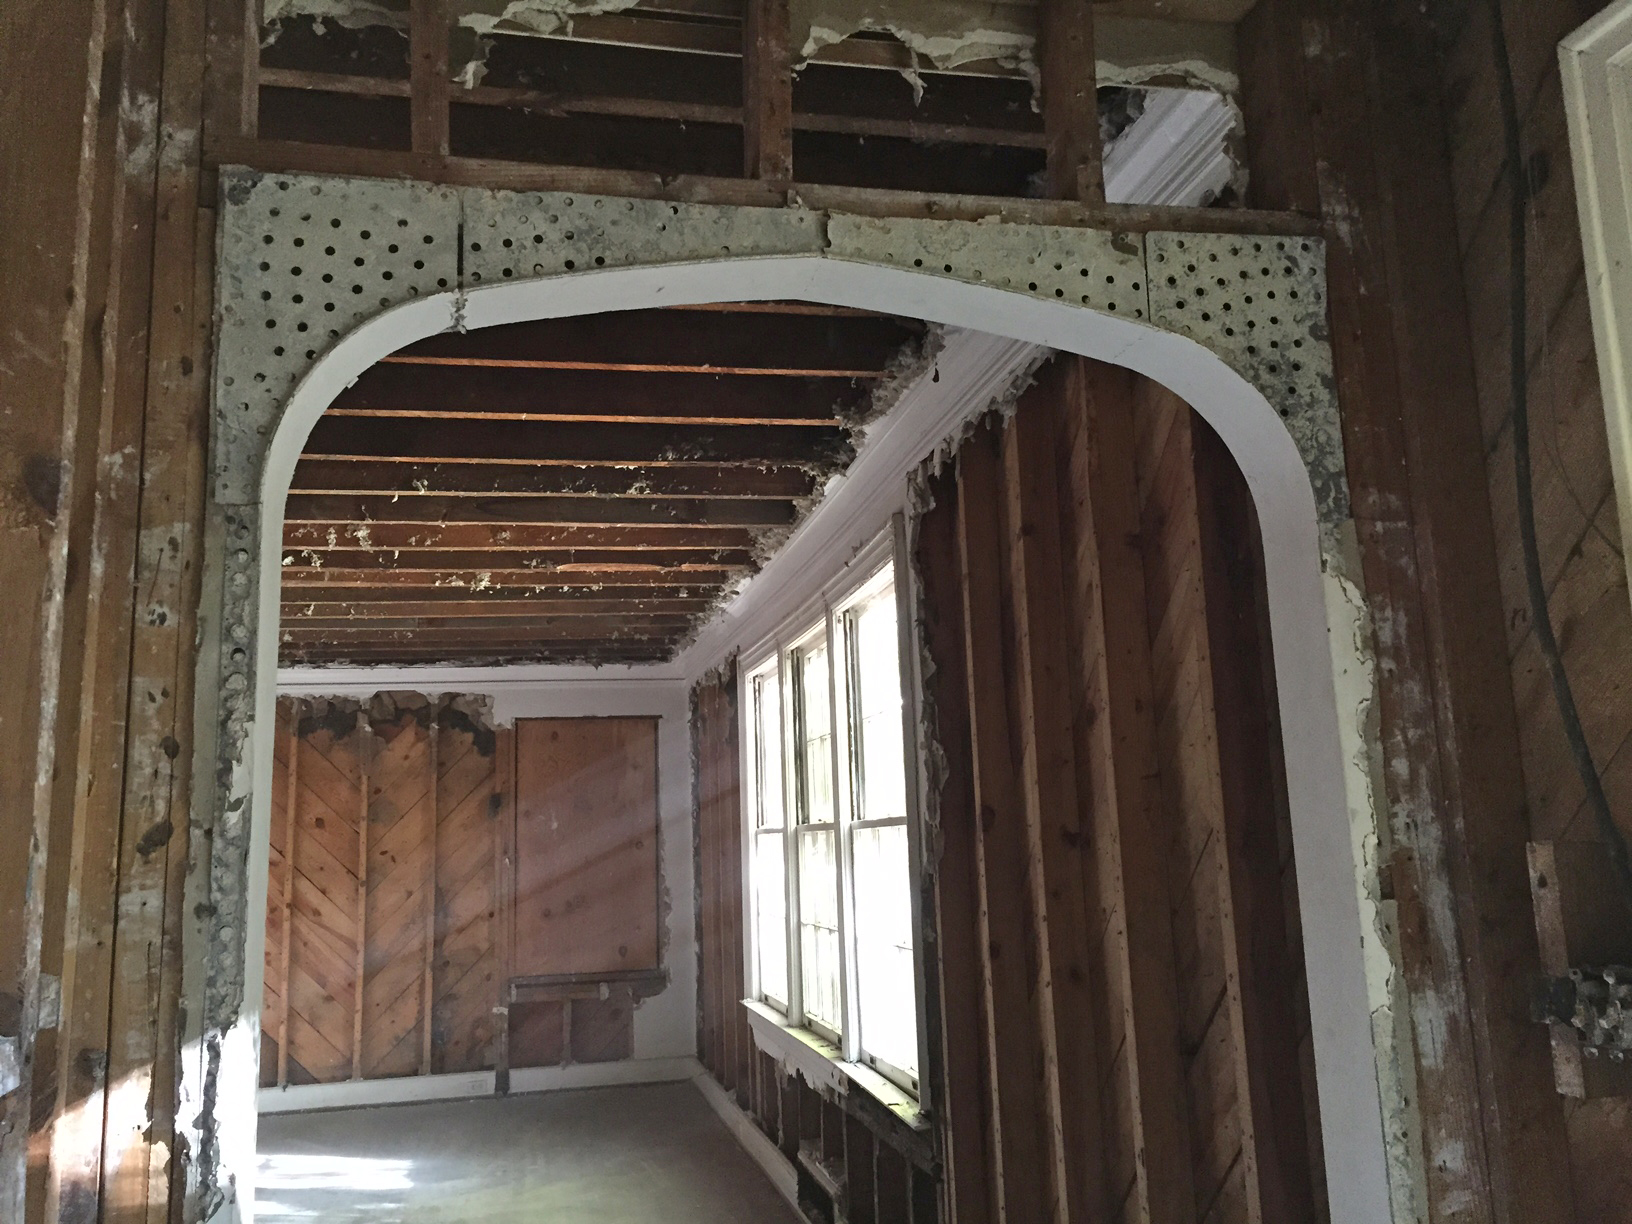
We were able to carefully remove the plaster around the archway from the foyer into the formal living room — one of the many details we love about our house!
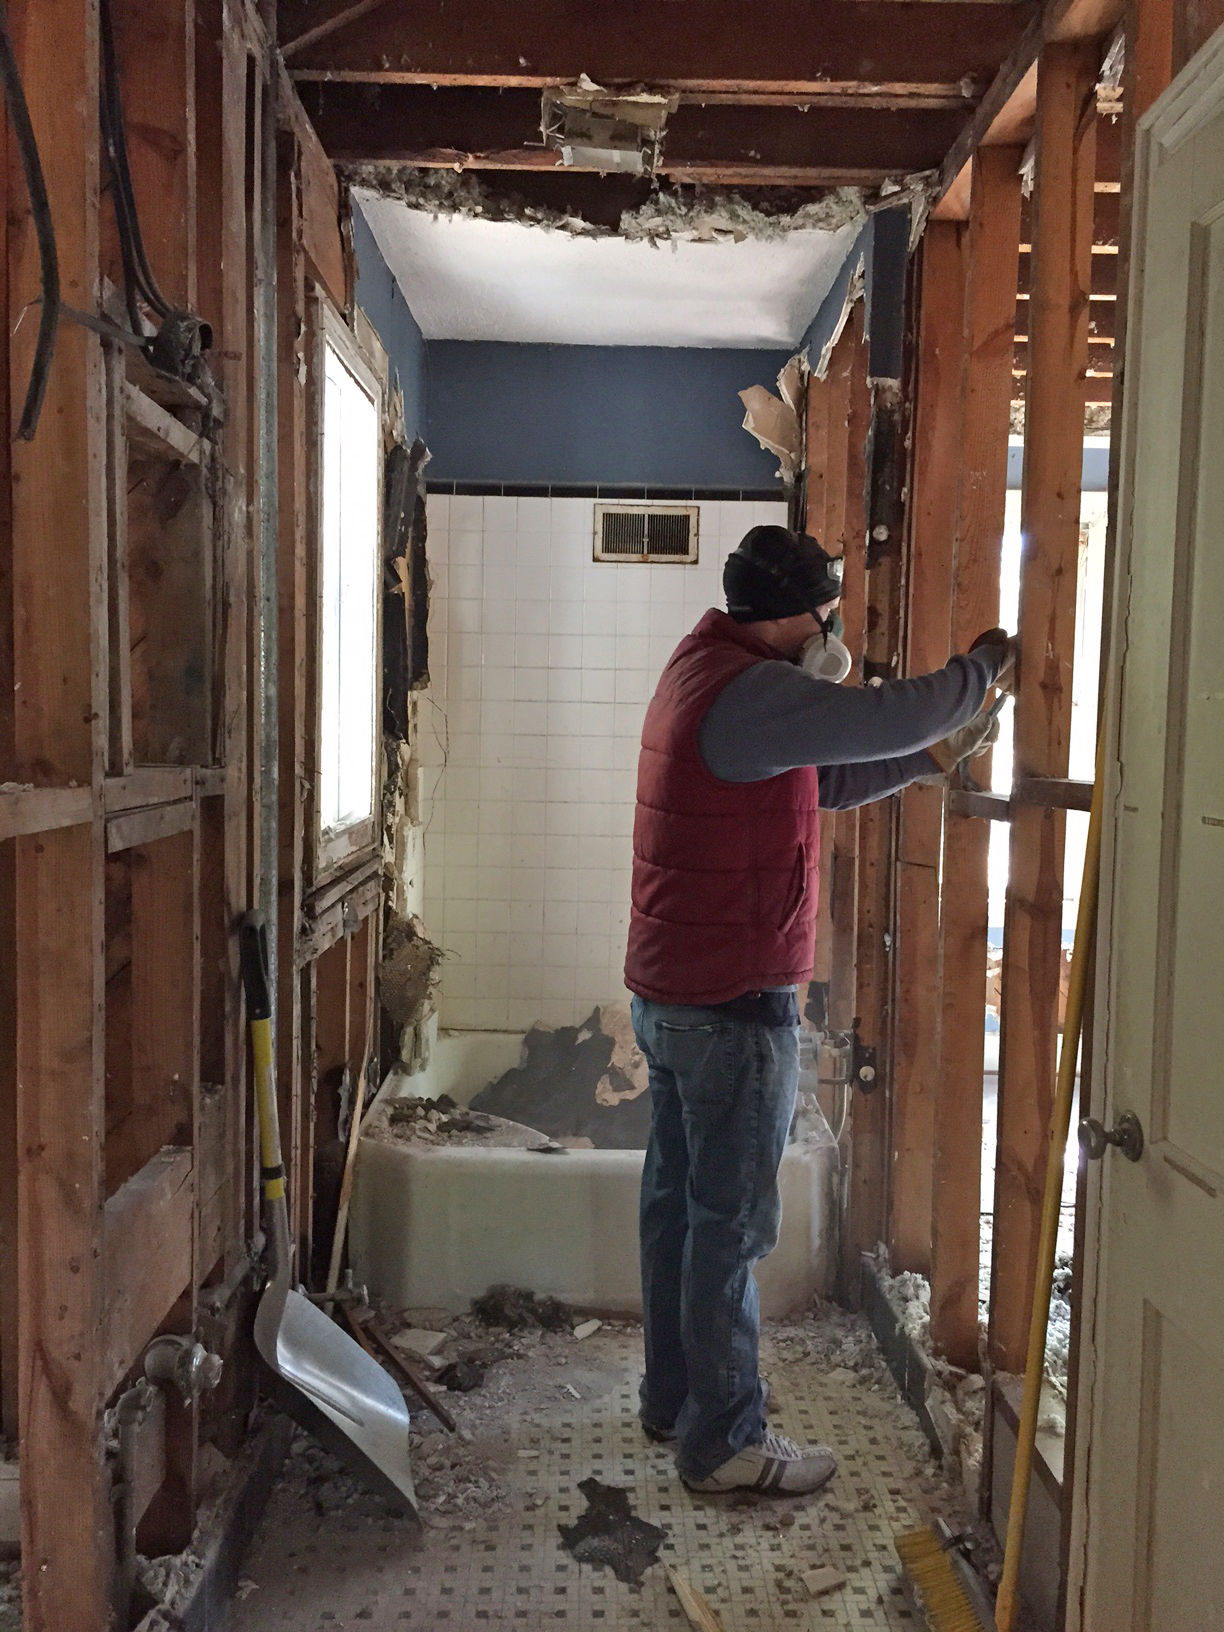
While tackling the detail work, Matthew took on one of our toughest “muscle” projects – master bathroom tile removal! Oh sure, those little square subway tiles look like they’ll chip right off, but what you can’t see is the two and a half inches of concrete behind them! Wowzer! This project – by far – took the most muscle power. Good thing Matthew’s got the guns for the job!

Master bathroom tile pre-demo. (Notice how the window goes halfway into the shower and there’s also an air vent inside the shower!) We plan to remedy both of these little quirks.

Lauren’s sad attempt at demo-ing tile!
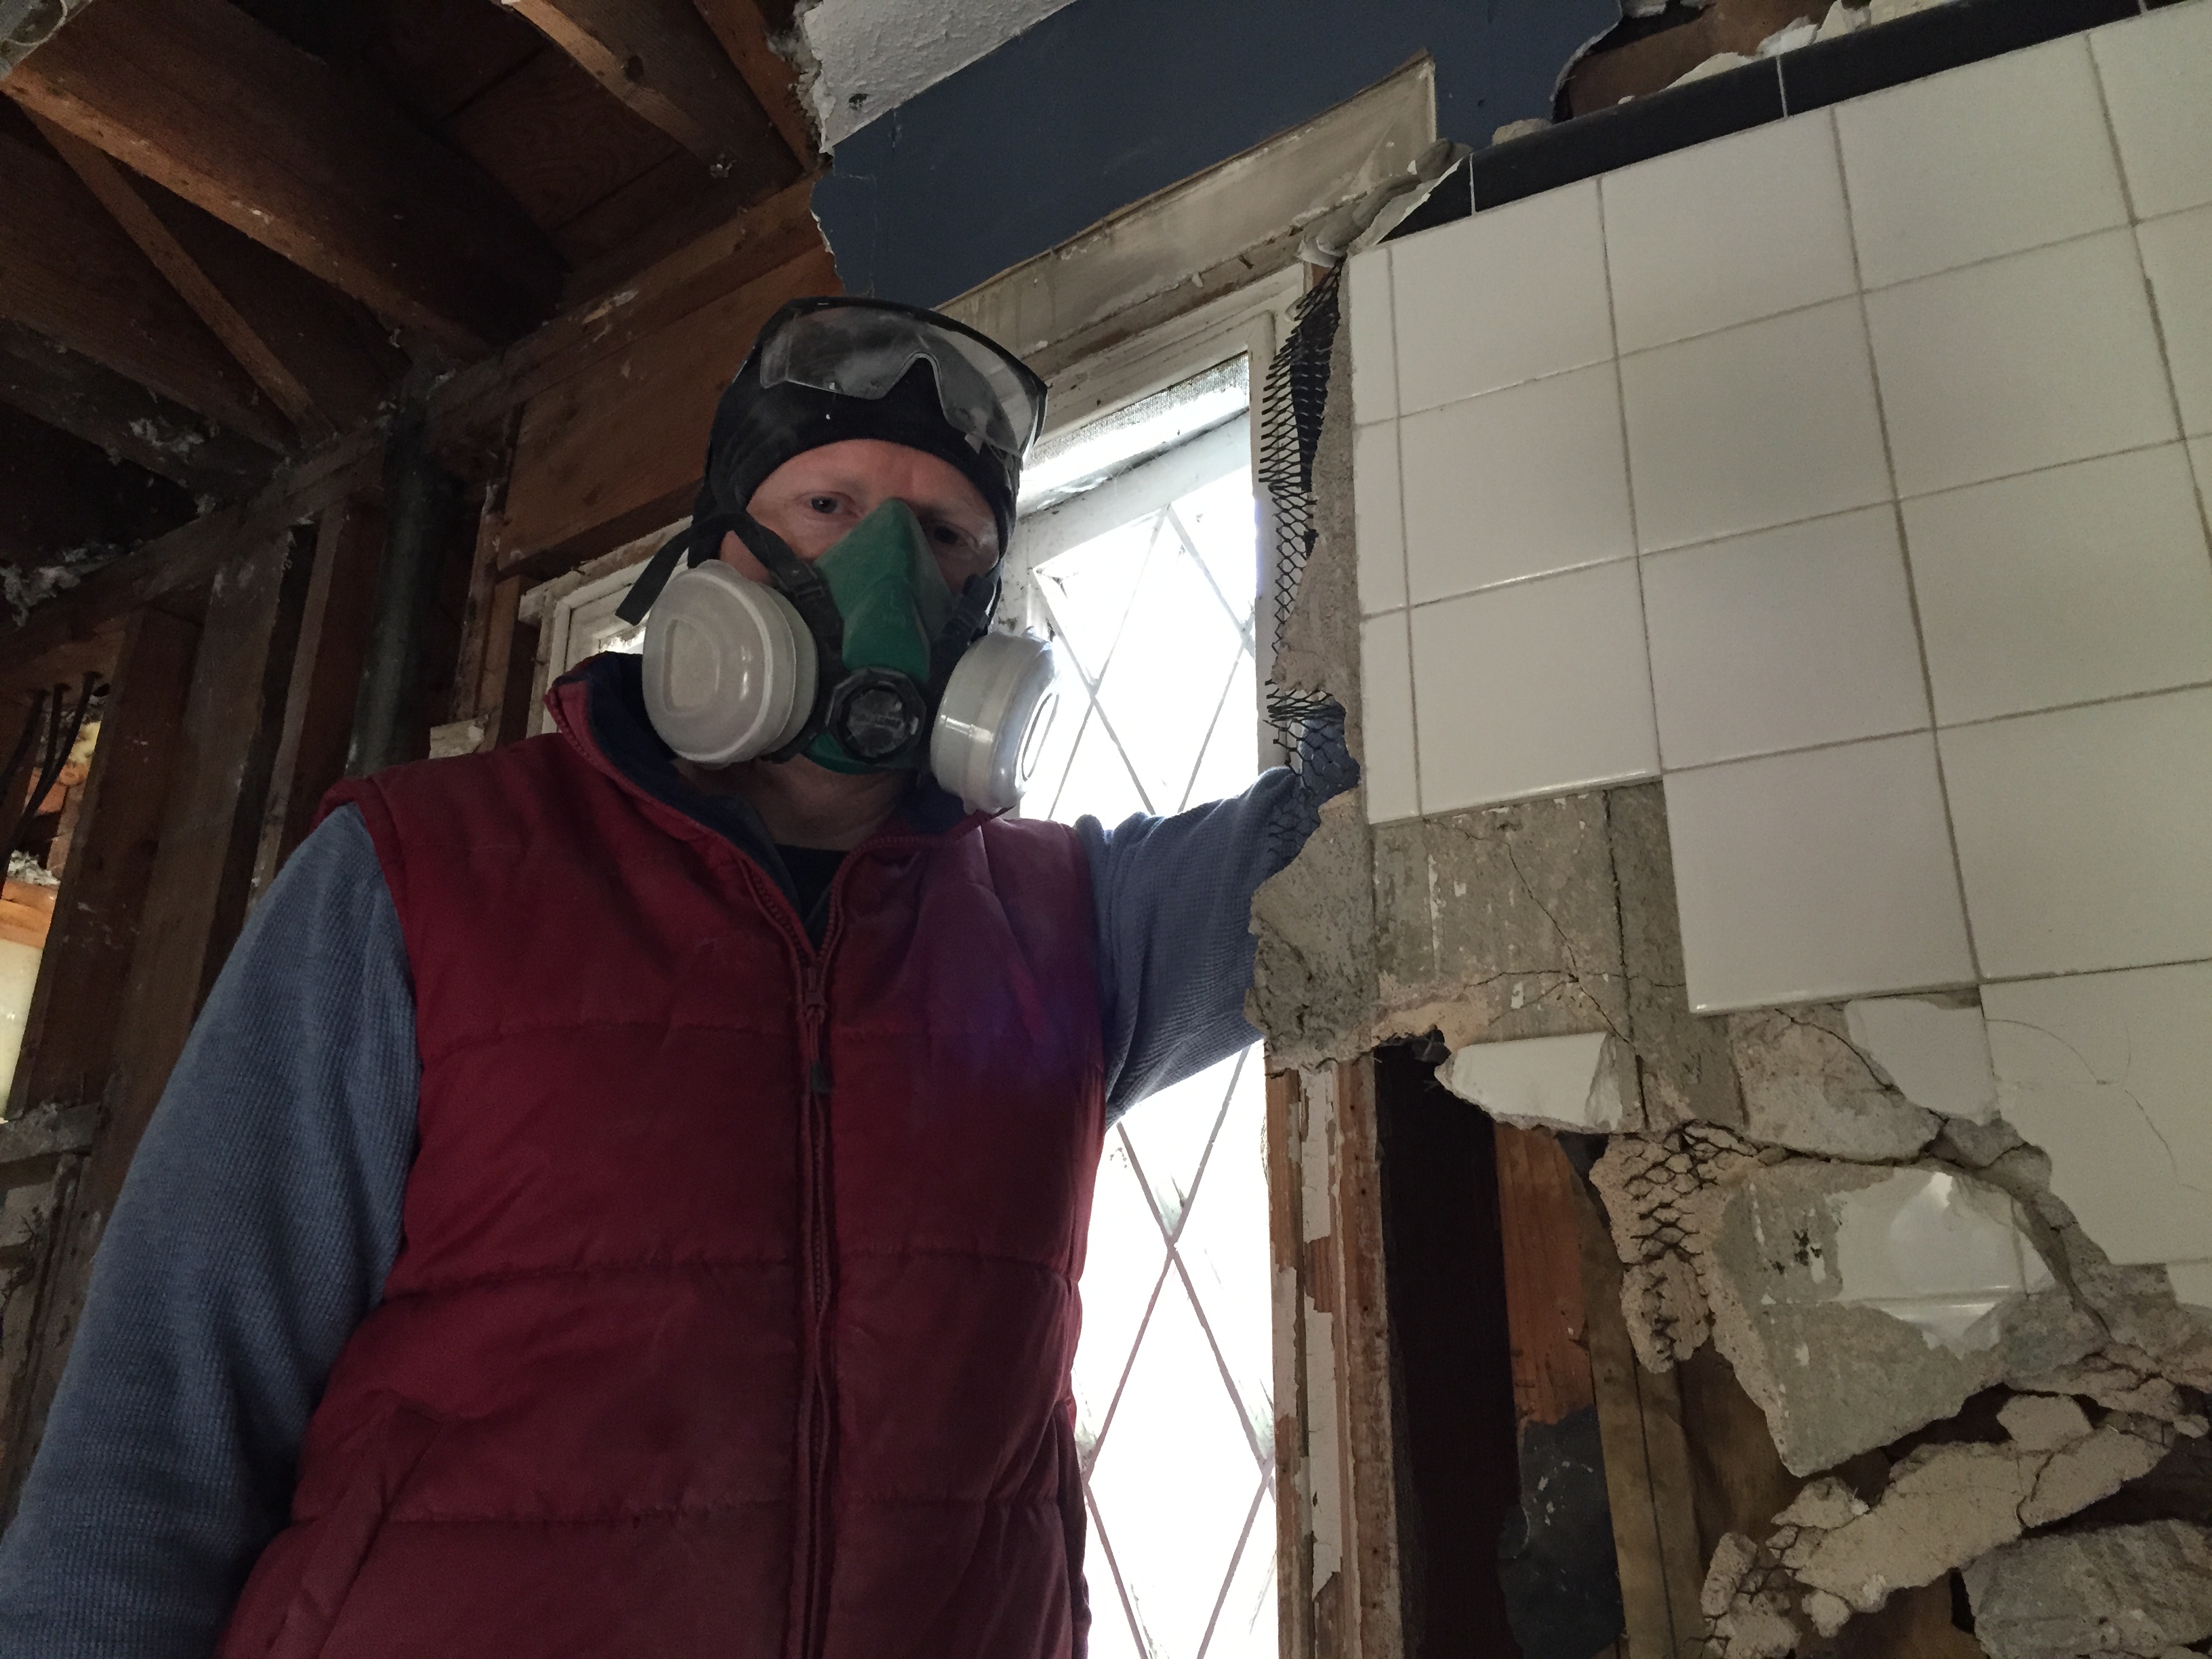
Matthew “Muscles” Newton takes over and makes some real progress. (If you look closely, you can see he’s pried a huge chunk away from the wall — his arm is behind it!)

Pretty thick stuff! It’s apparent that this tile was laid to last.

SUCCESS! Believe it or not, it took four wheelbarrow loads to get all that tile rubble out of the tub.
Next step is getting electricity to the house so we can use power tools to speed up this detail work and run a shop vac to help with clean up. We have been waiting for more than two weeks now, so wish us luck…and if you happen to know someone at Duke Power who can bump us up on the list, we wouldn’t be upset if you made a call 😉

The Newtons trying to meet some of our neighbors. (Judging by her expression, Miss Pepper must have seen a shockingly awesome costume walk by as this photo was snapped.)
Our first neighborhood event! One of the many reasons we love our Nest is that it’s located on a wonderful street with lots of great families and a group of neighbors who organize fun, street-wide activities. Halloween is the first of these activities we have been able to be a part of, so we decided to take this opportunity to meet more of our neighbors by participating in the Halloween festivities. And, of course, we couldn’t leave Miss Pepper out of the trick-or-treat fun, so she joined us as a Candy [Pepper] Corn.

Our little Candy PepperCorn.
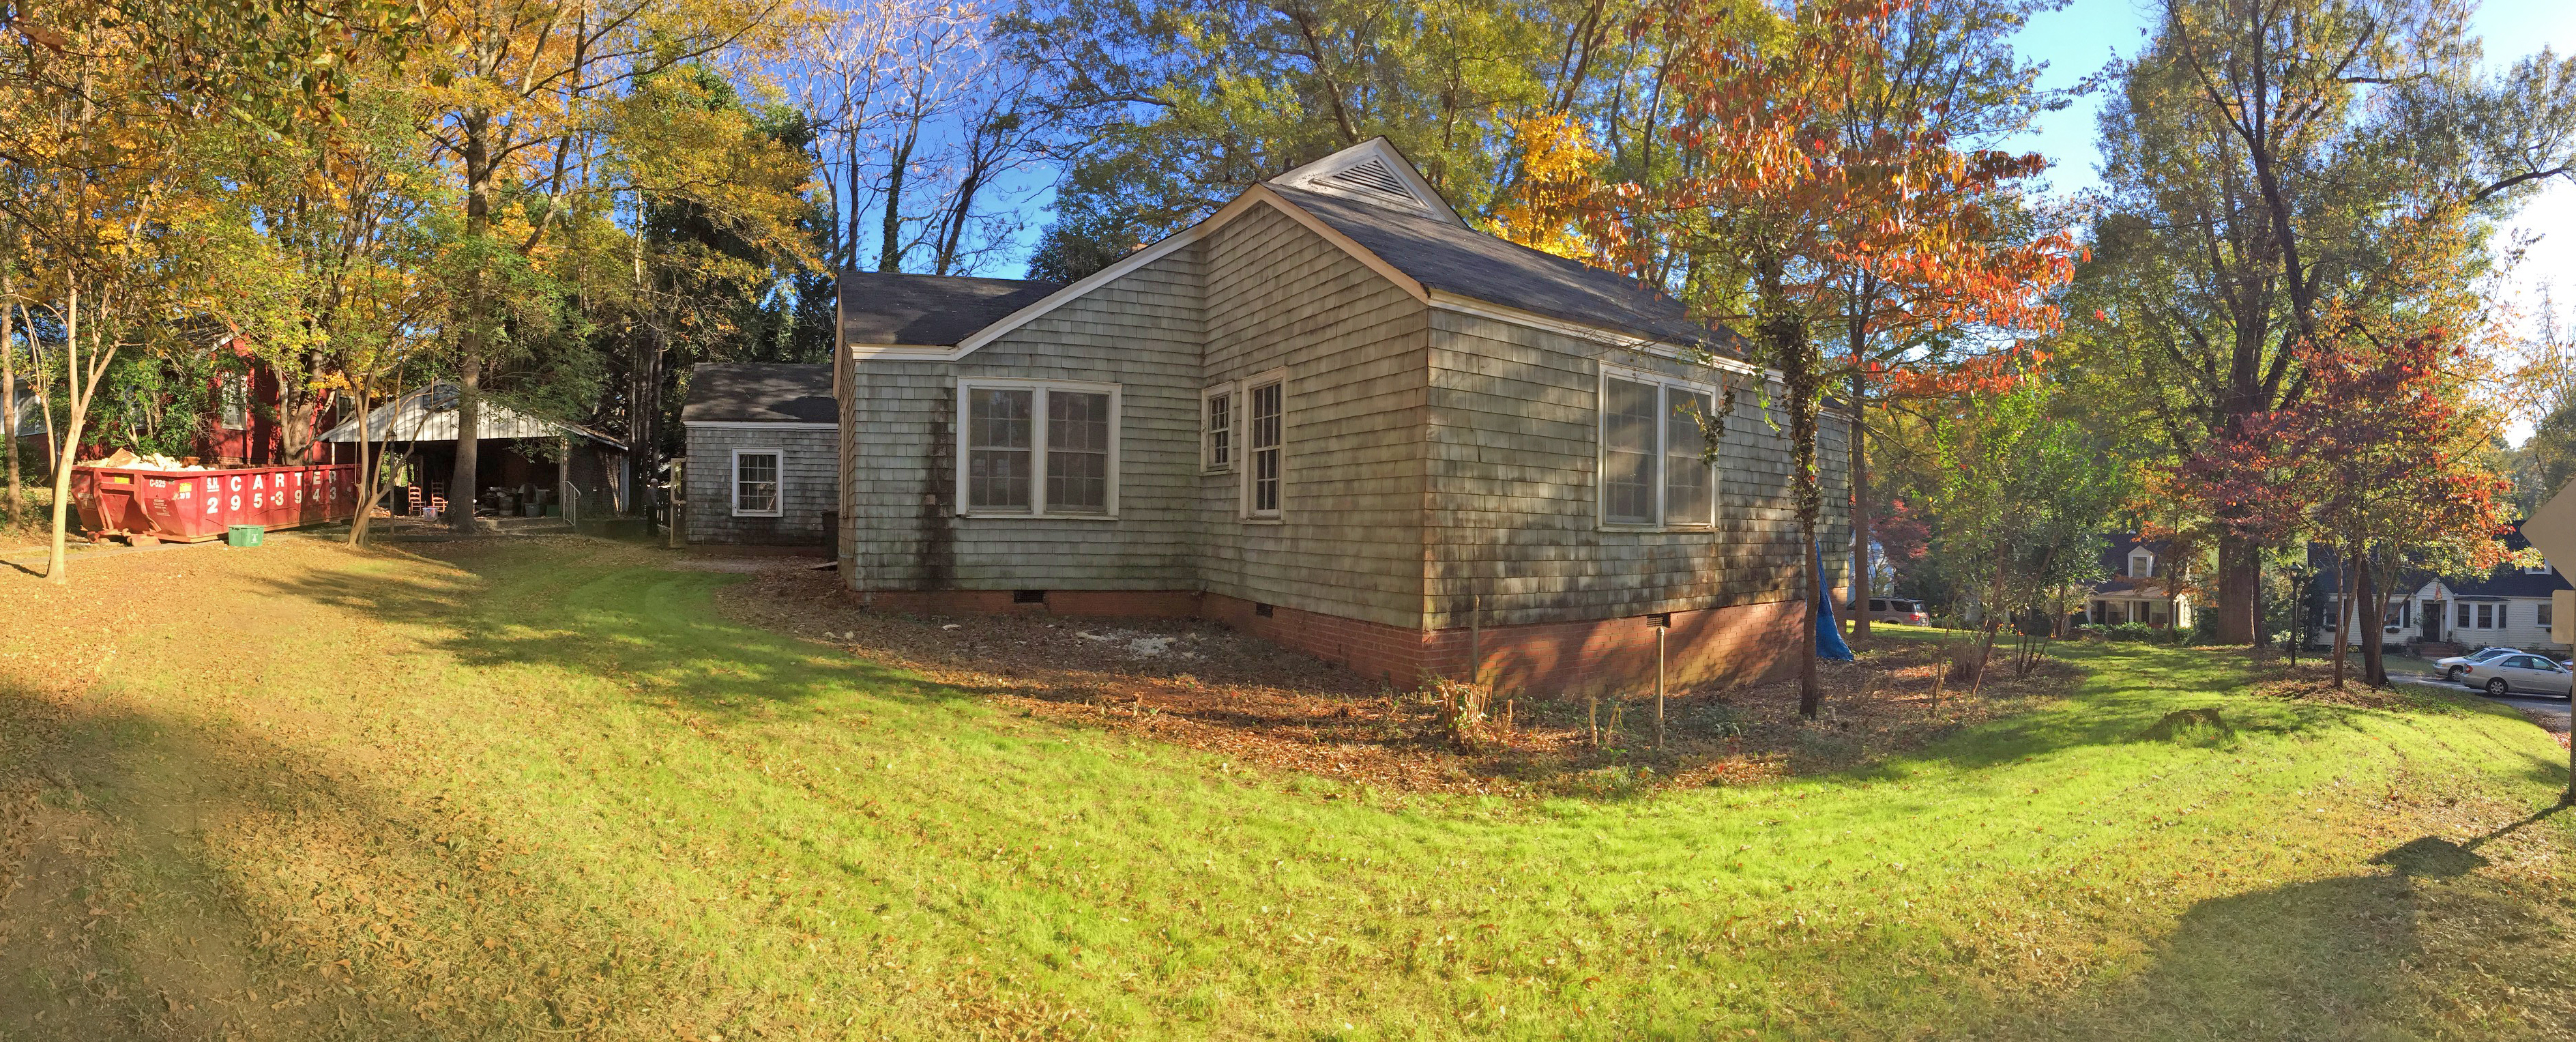
P.S. Isn’t it fitting that our first official holiday as Aberdeeners is Halloween?? I mean, hands-down, we have the spookiest house on the street. 😉

…a little spooky, but we still love it! 😉
Chicken Little: “Oh, help! The sky is falling!”
Henny Penny: “How do you know?”
Chicken Little: “I saw it with my own eyes, and heard it with my own ears, and part of it fell on my head!”
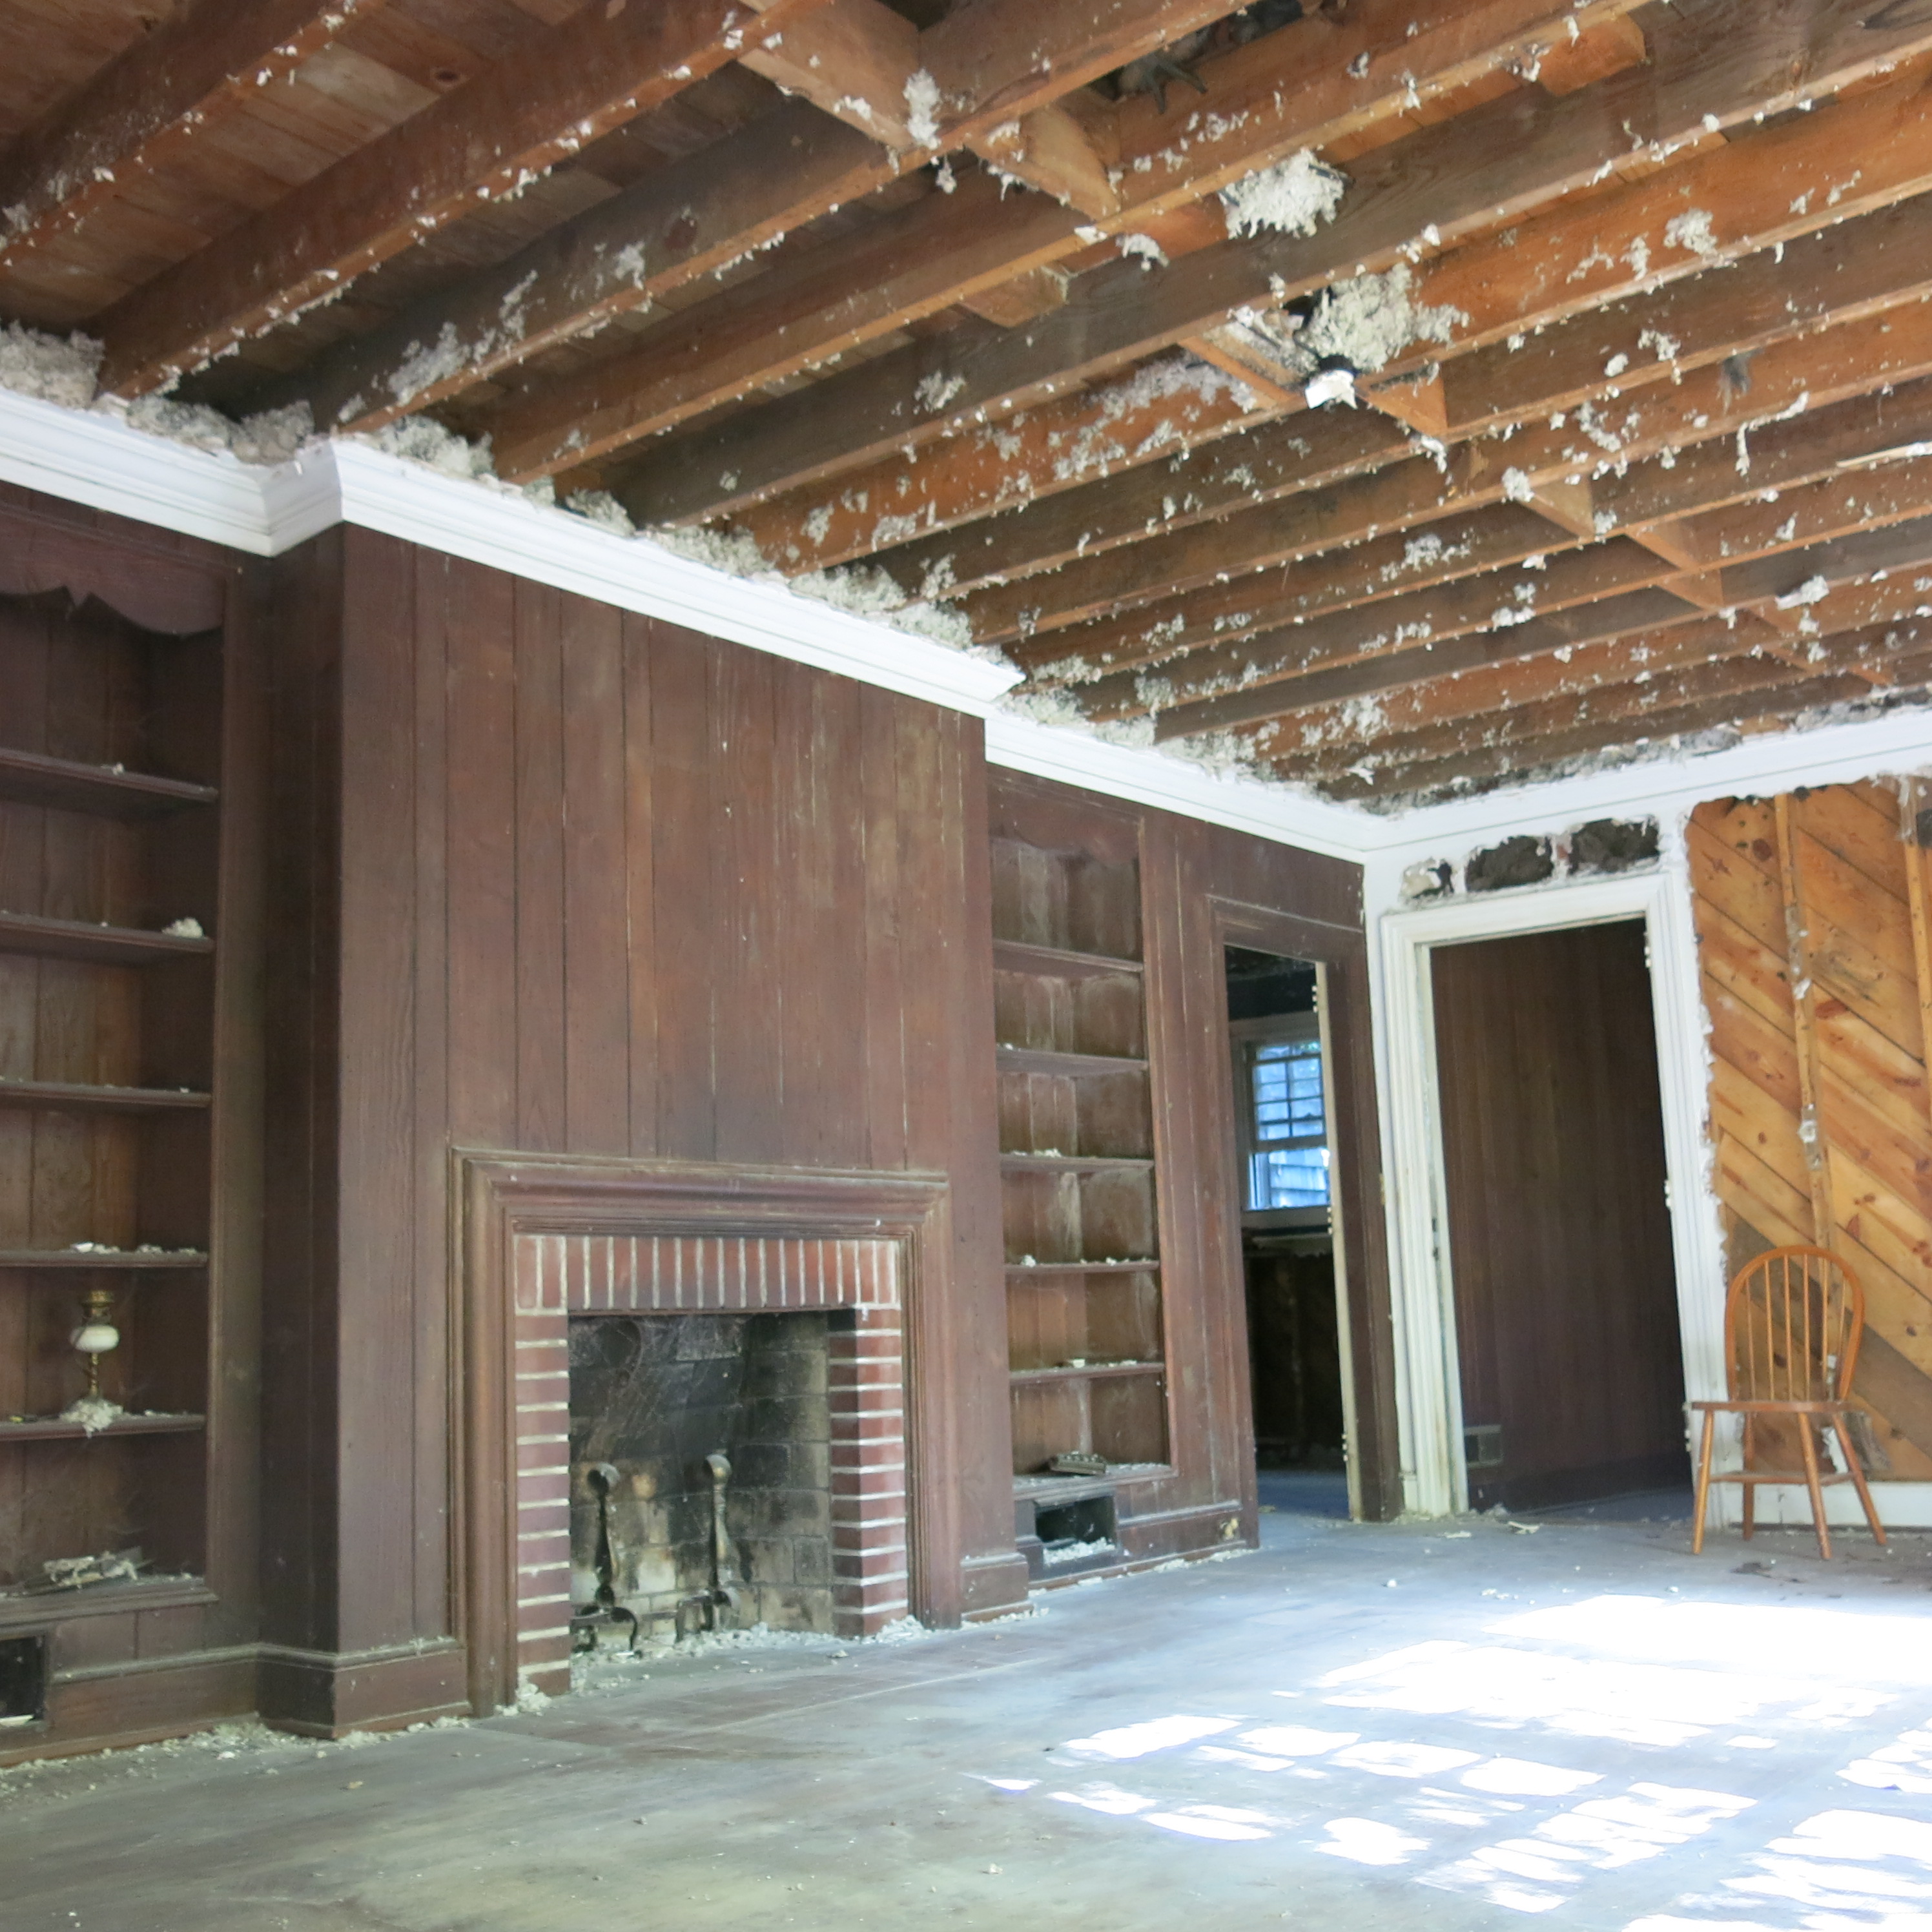
If Chicken Little thought the world was coming to an end after a little acorn landed on his head, he and Henny Penny would have lost their minds in our house this weekend! Saturday’s major task was knocking the plaster off the ceilings. And yes, a lot of it fell on our heads.
It’s bad enough to have the plaster falling in your face, but we got the added surprise of loose insulation raining down upon us. There’s no way to spin it, this was a dirty, itchy, no good, very bad job. However, unlike Chicken Little, we know this isn’t a sign that the world is coming to an end, but more like a beacon of hope to know this dirtiest of jobs done and behind us!
We were again lucky to have lots of volunteers for demo day number two—Matthew’s sister Rebecca, my parents, my sister Emily, and our friend Skyler all came to help. Plus, we hired a local handyman named Doug to help with the really tough stuff.
Here’s a recap of all our dusty, dirty fun:
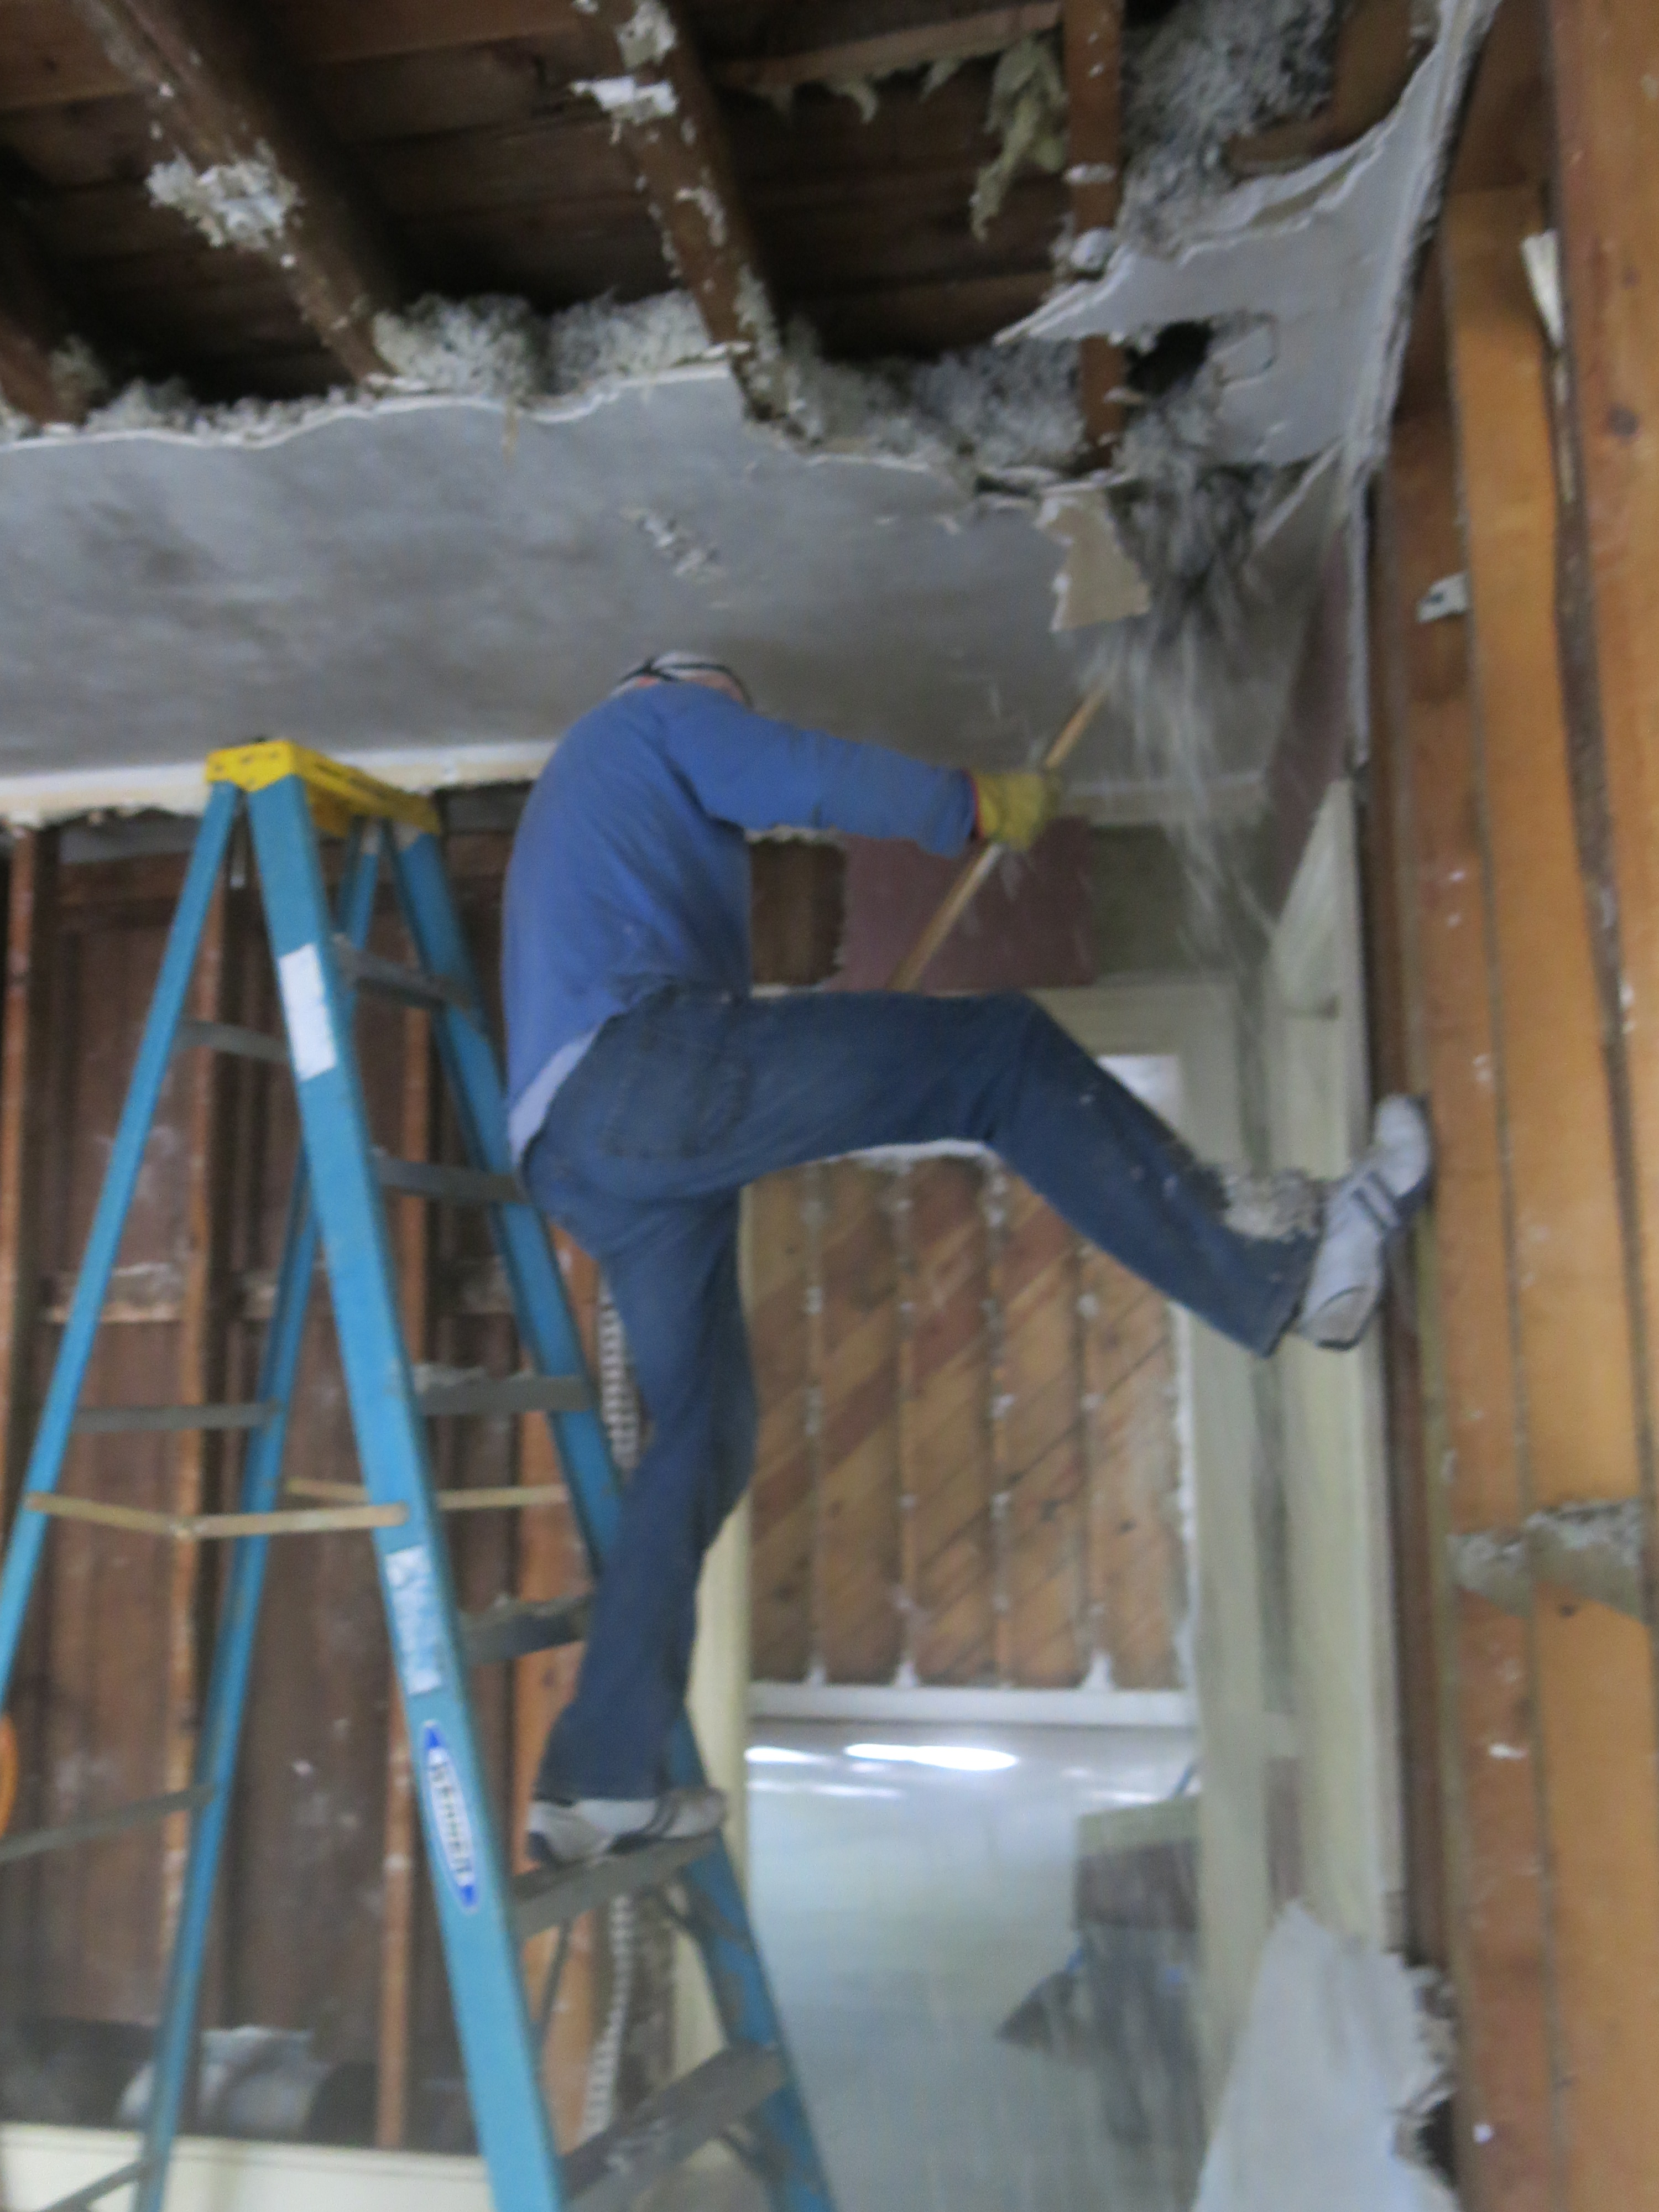
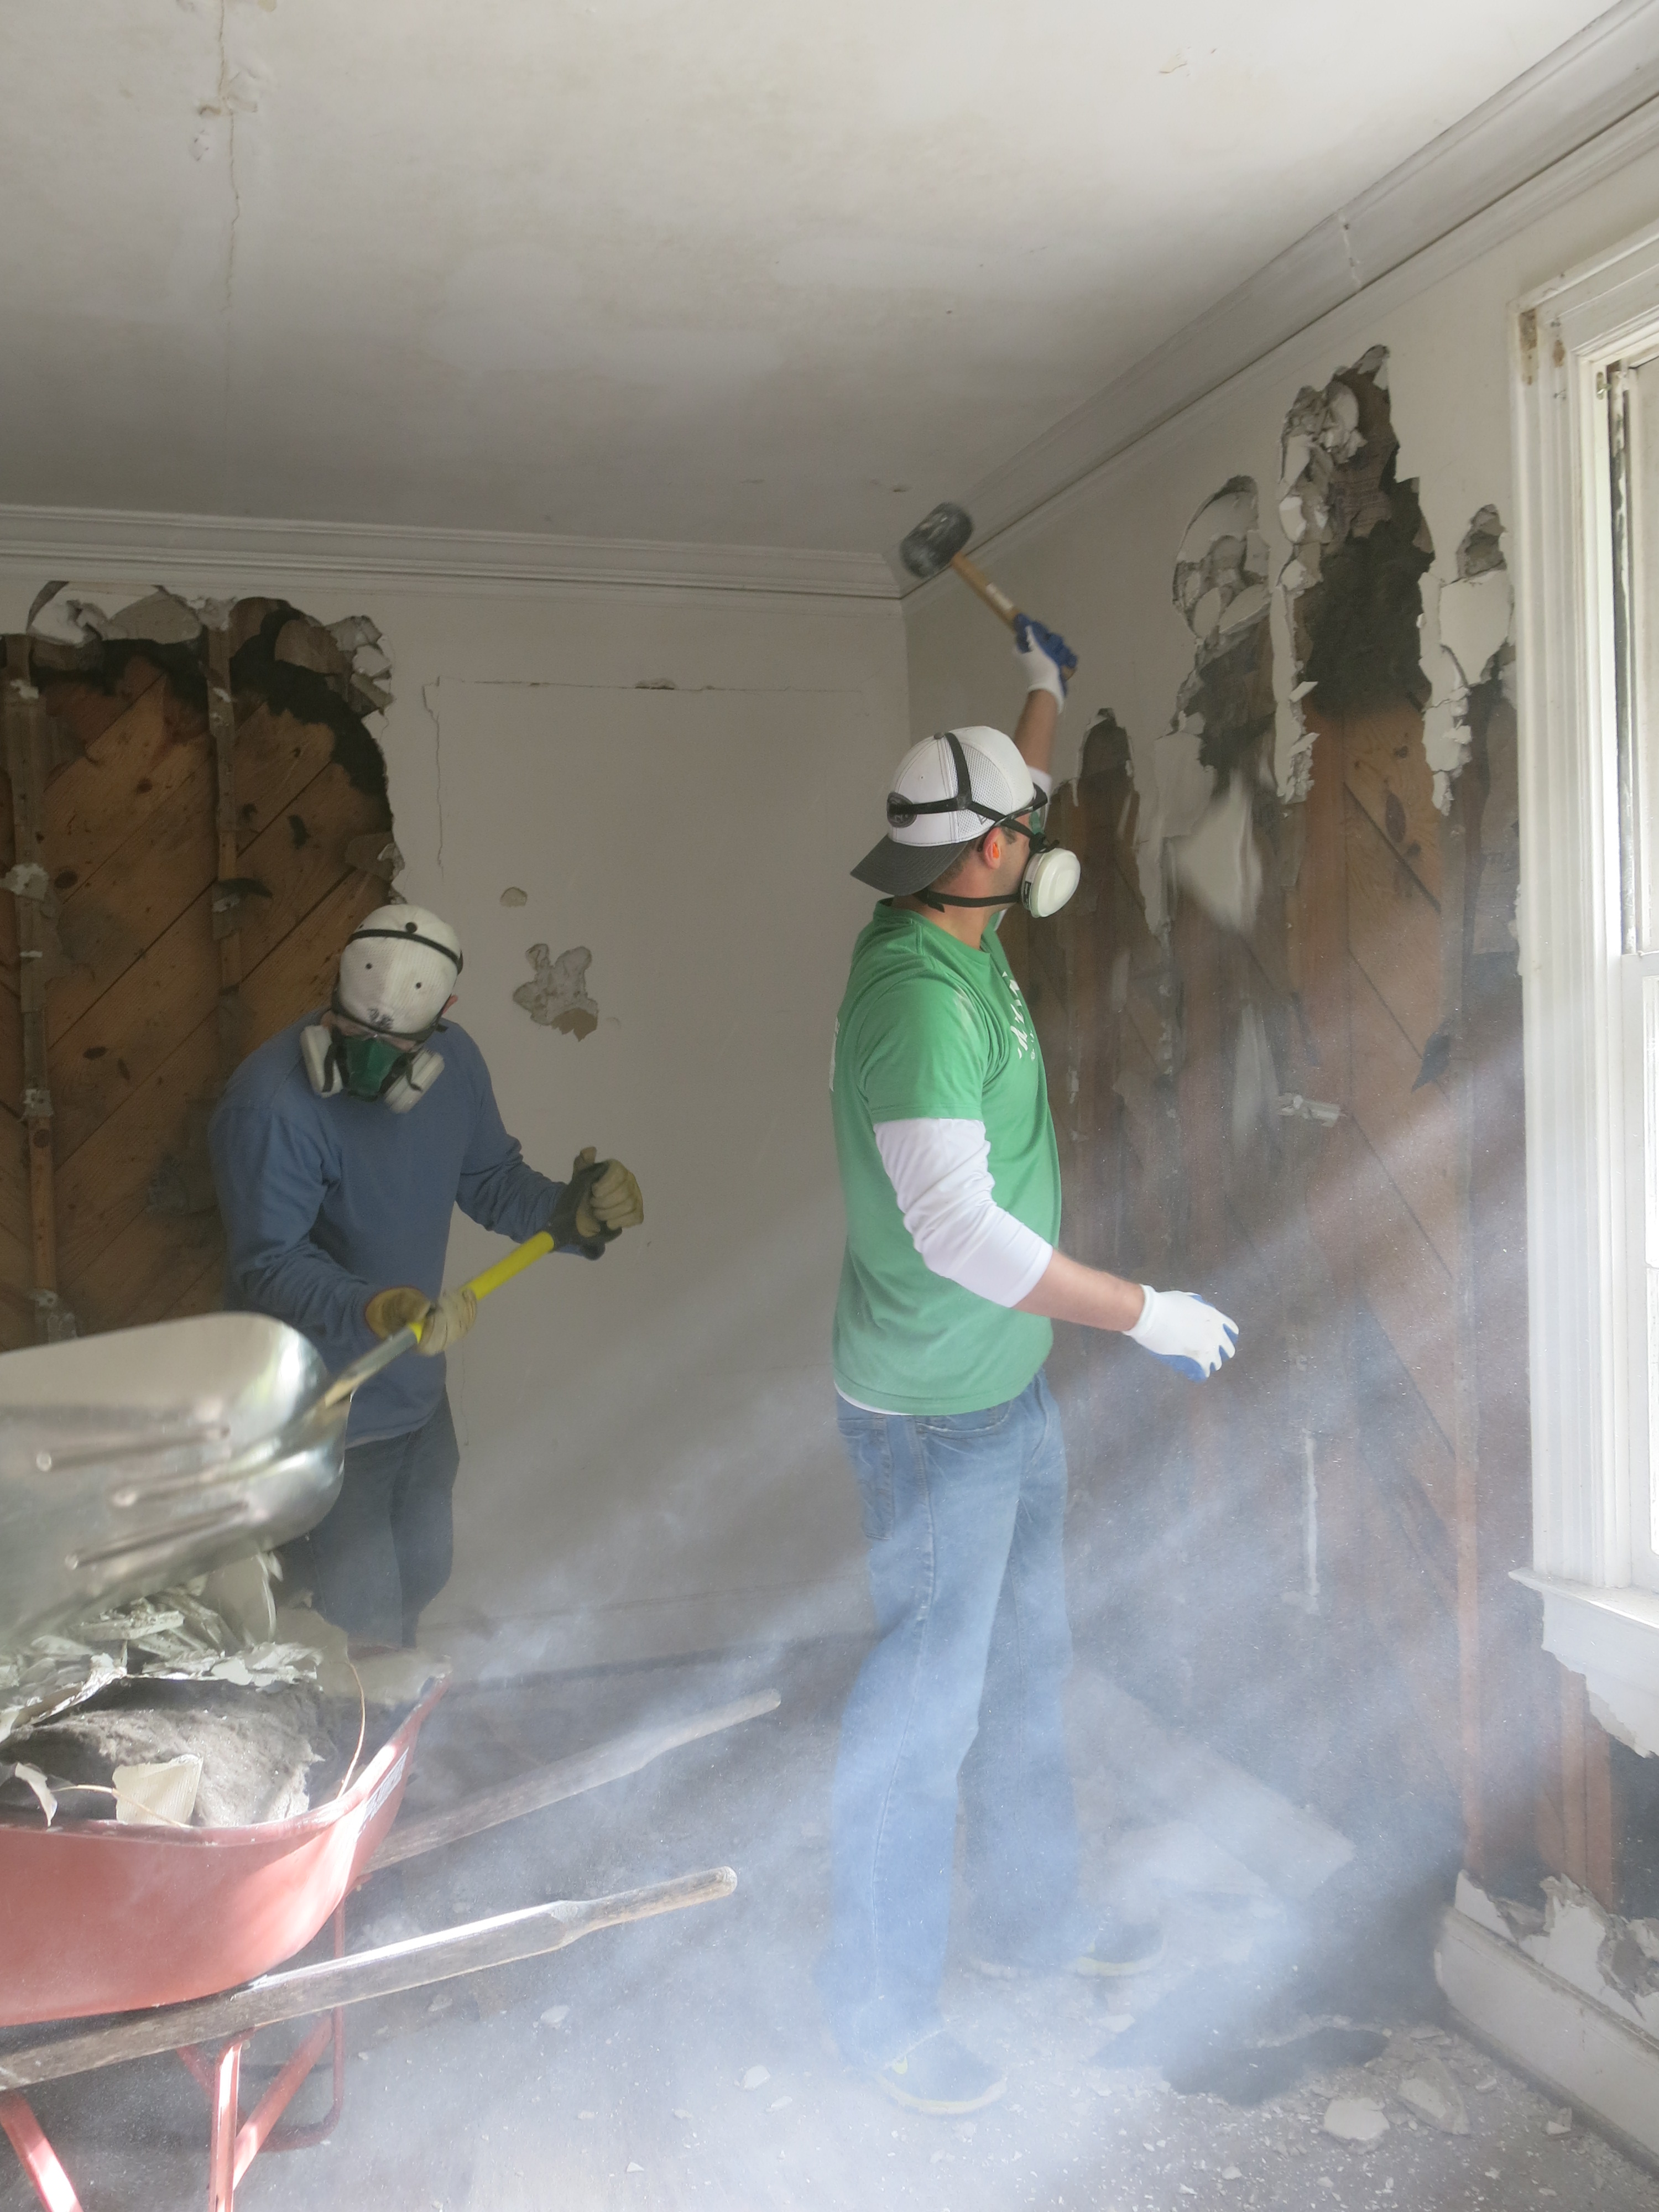
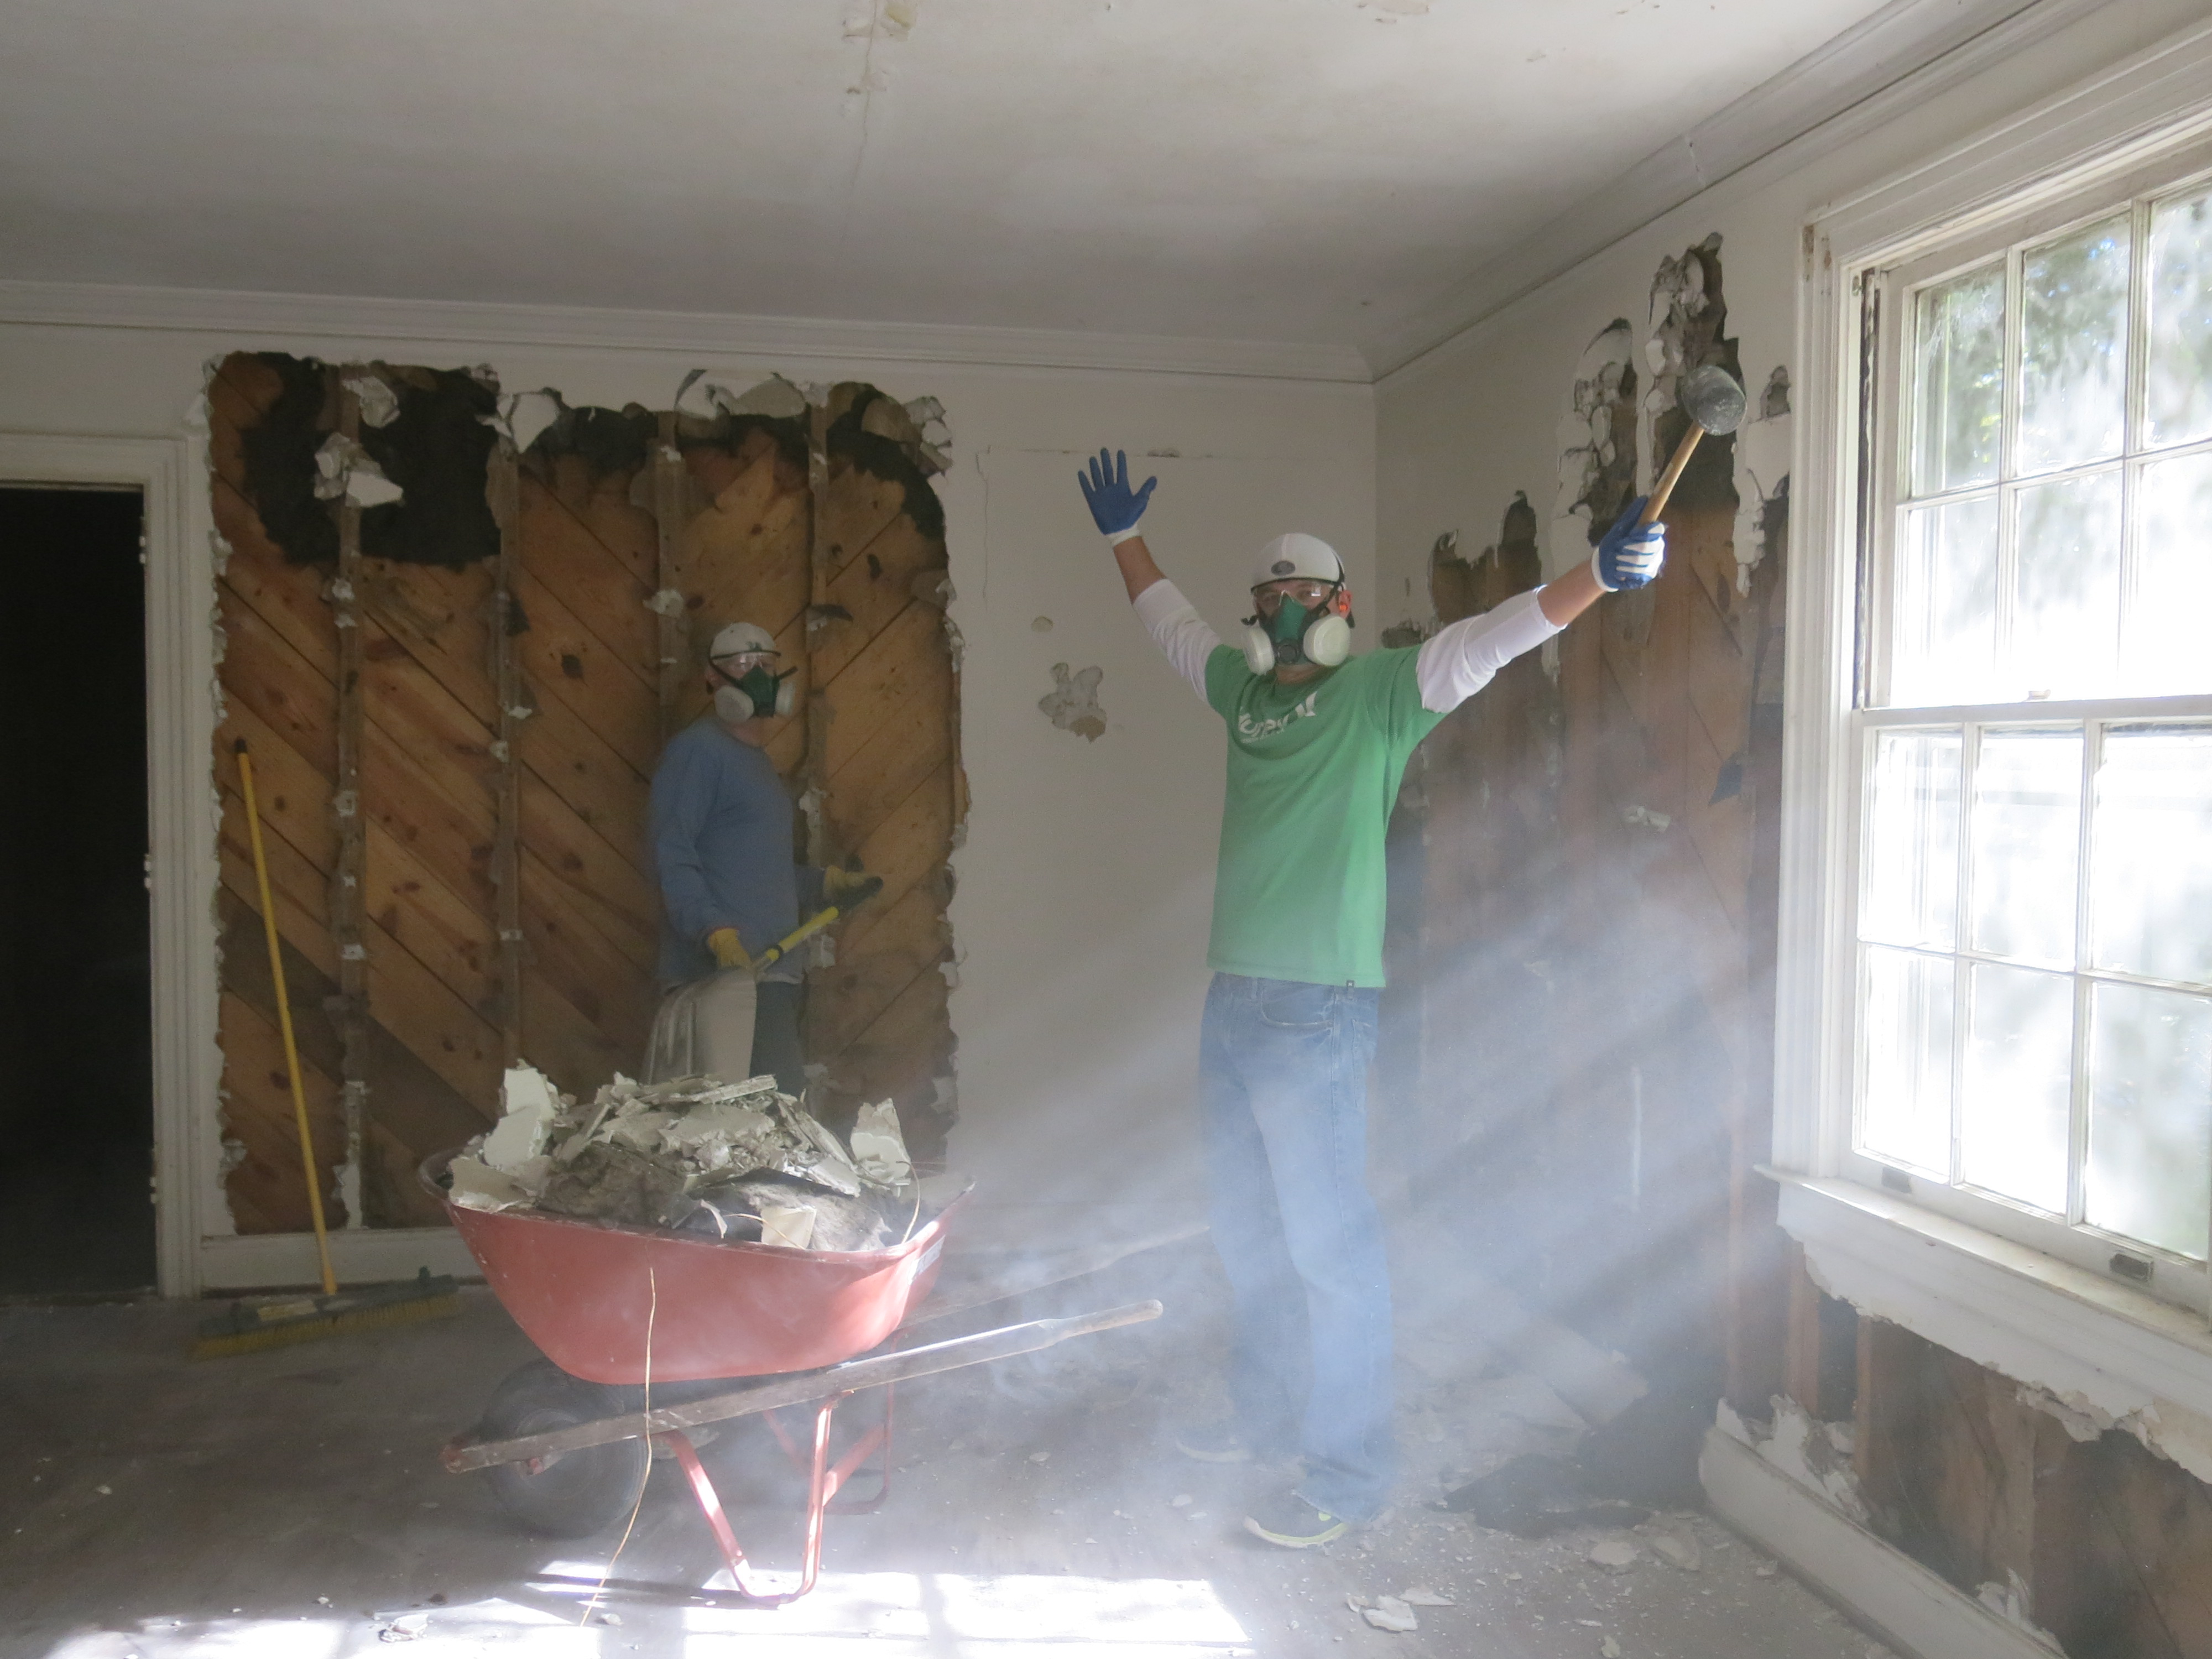
Matthew makin’ it rain.
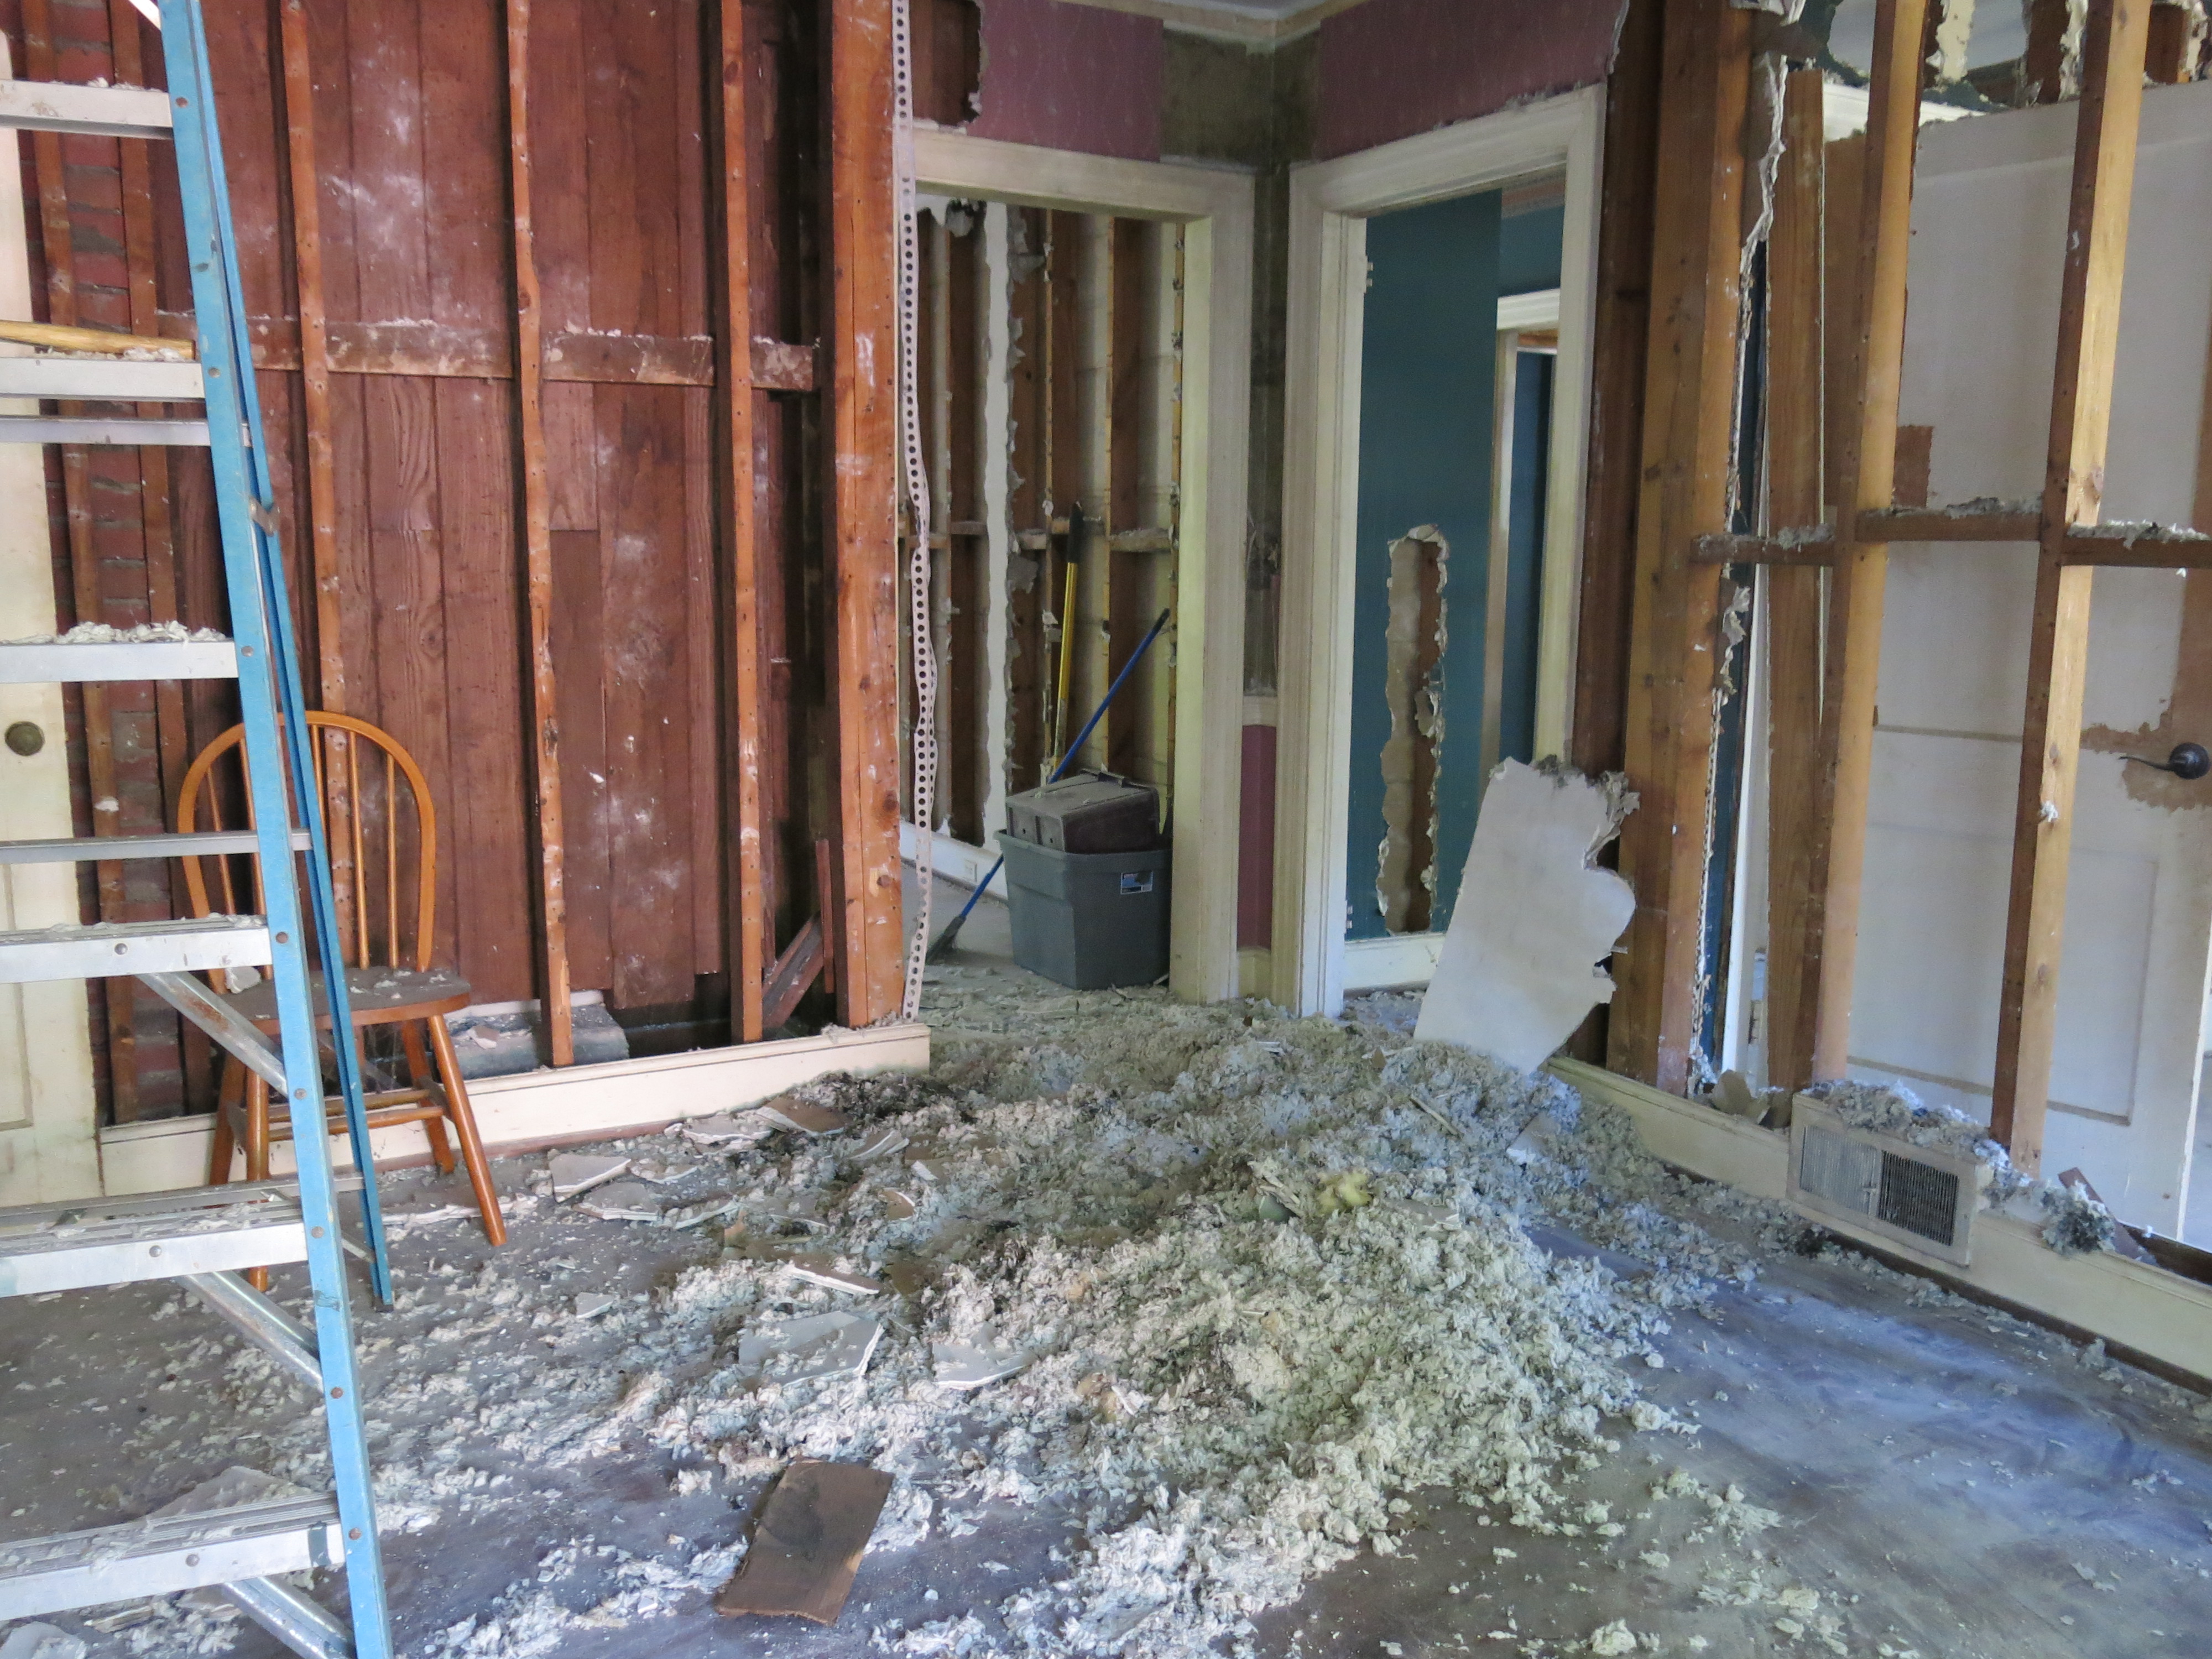
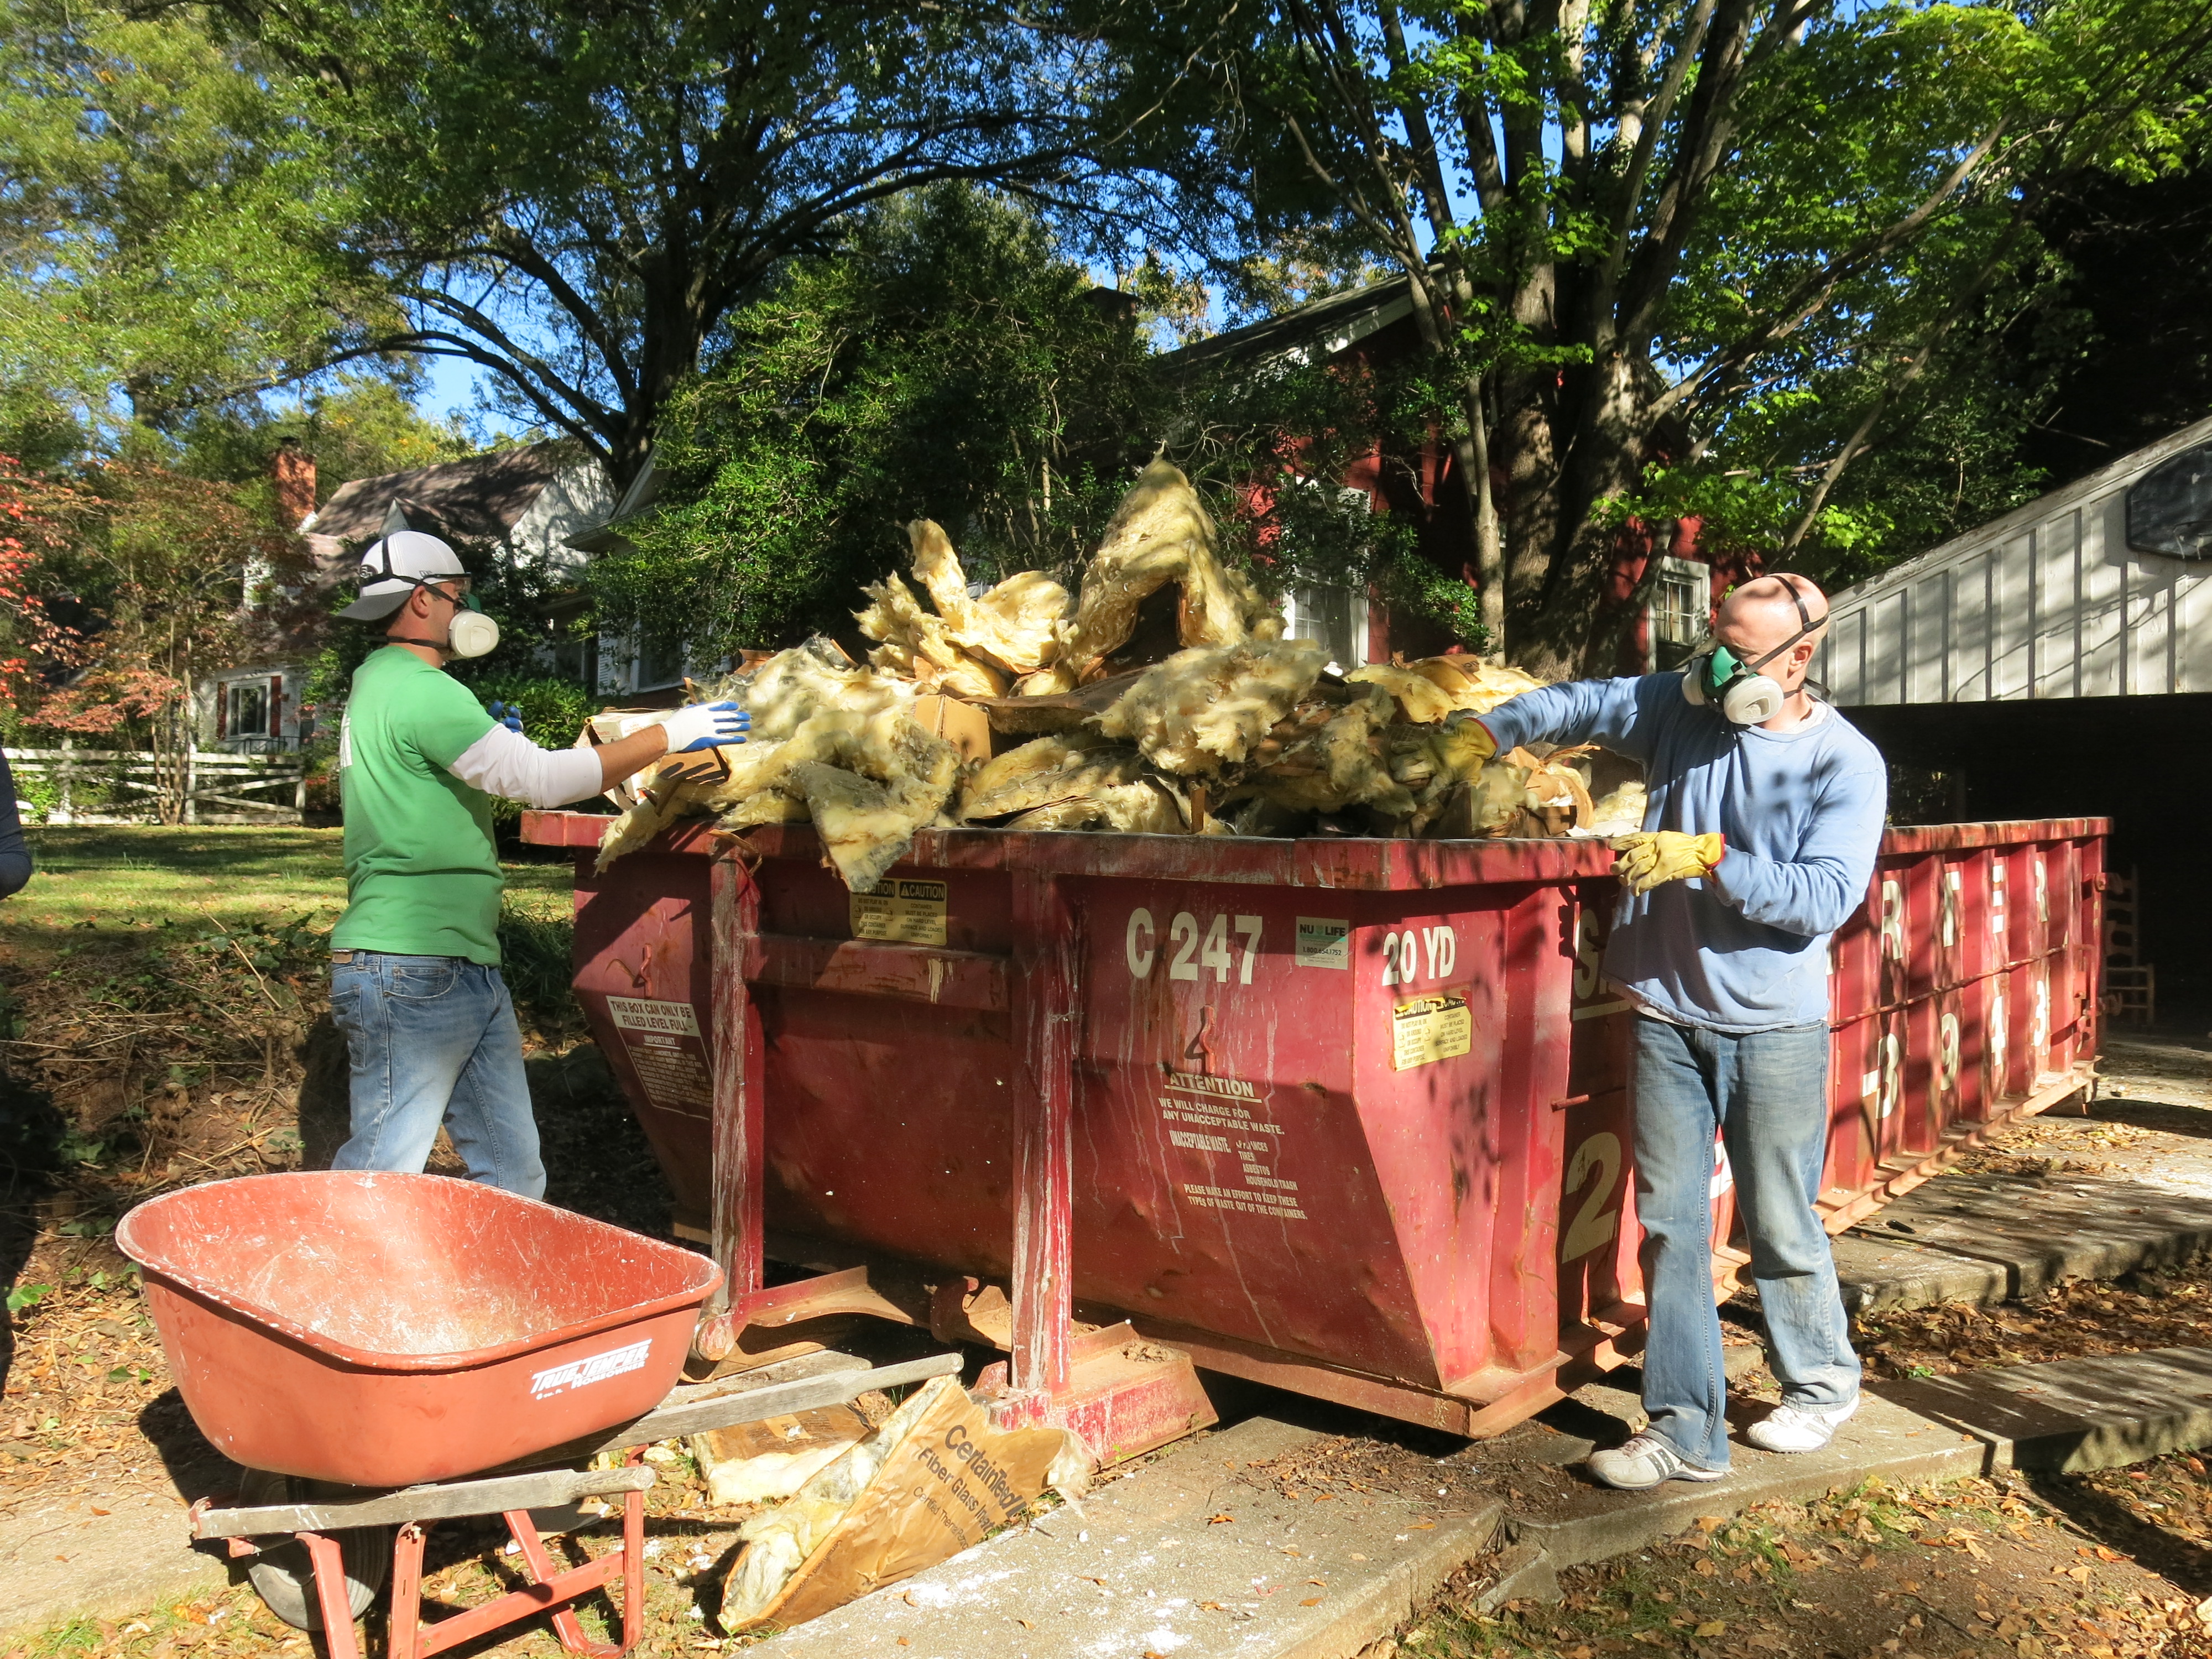
Loose insulation everywhere!

It’s a dirty, dusty job, but somebody’s gotta do it!

Wheelbarrow load after wheelbarrow load to fill up Big Red…again!
We haven’t scared Rebecca away yet!

Even though my mom was down a hand, she went to town pulling nails out of the studs. A broken arm can’t slow her down!

My dad, the forester, came to help with a special wood project. 😉

My sister, Emily, is stylish as always with sassy purple earplugs to coordinate with her sweatshirt.
Sisters that demo together, stay together. (We missed you, Rebecca!!)

Sledgehammer Sisters. #thoseharperwomen
Skyler joins the demo party!
Making progress!

Hammer down! (This actually happened twice!!!)

Finished!
Another busy day… another full dumpster.
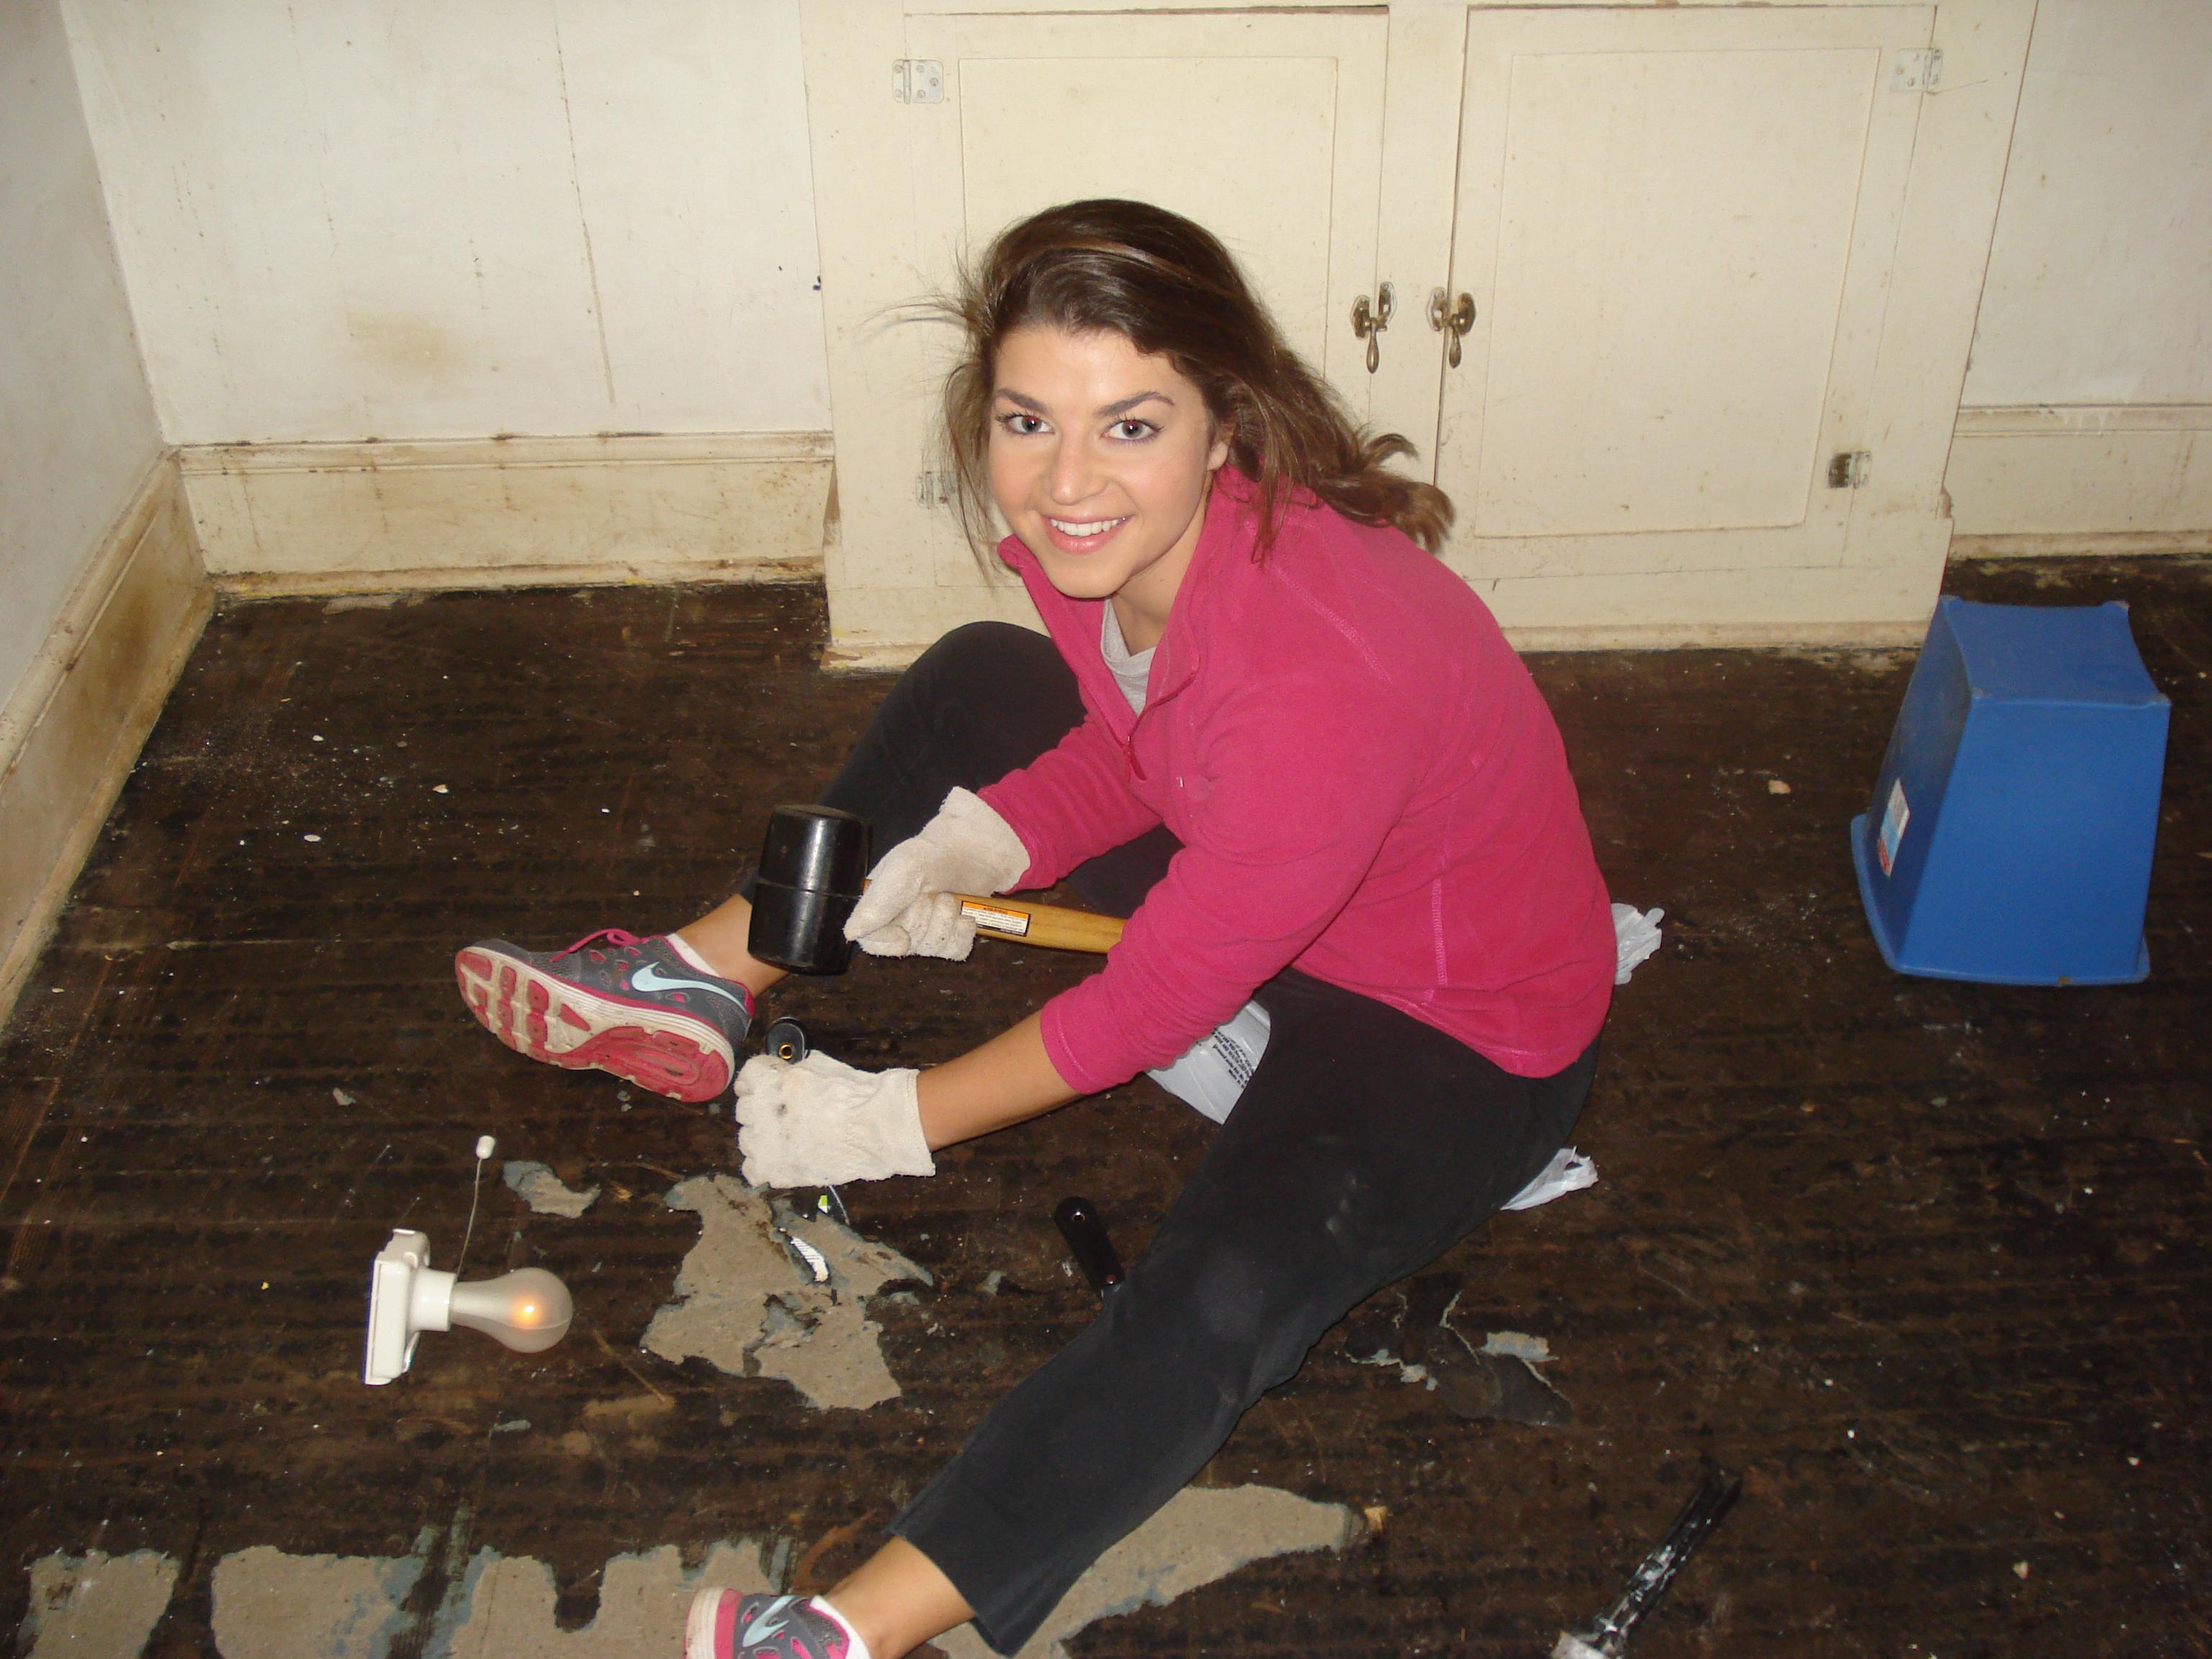
If you’ve ever thought it was a good idea to glue linoleum tiles over beautiful hardwood floors, you may want to skip this post because you are officially on our naughty list!
Clearly the linoleum must go, so Matthew and I decided to test the waters and see what was lurking under those popular squares of a bygone era. Whaddyah know? There’s beautiful hardwood floor under there! In both the kitchen and the butler’s pantry, the previous owners had pasted over the original hardwoods… and it was no easy task to chisel our way down to the good stuff. Matthew and I spent the better part of two days chipping away at the tiles with scrapers and a rubber mallet, but it was worth it!!

Our test patch strikes wood!

Sir Chips-a-Lot

Scraper-Roo
Almost done!

Success!

Roll that beautiful floor footage!
As we were scraping along, we wondered to ourselves, “what exactly is linoleum, anyway?” So, naturally, we Googled it. In case you’re wondering, too, here’s the scoop according to Wikipedia:
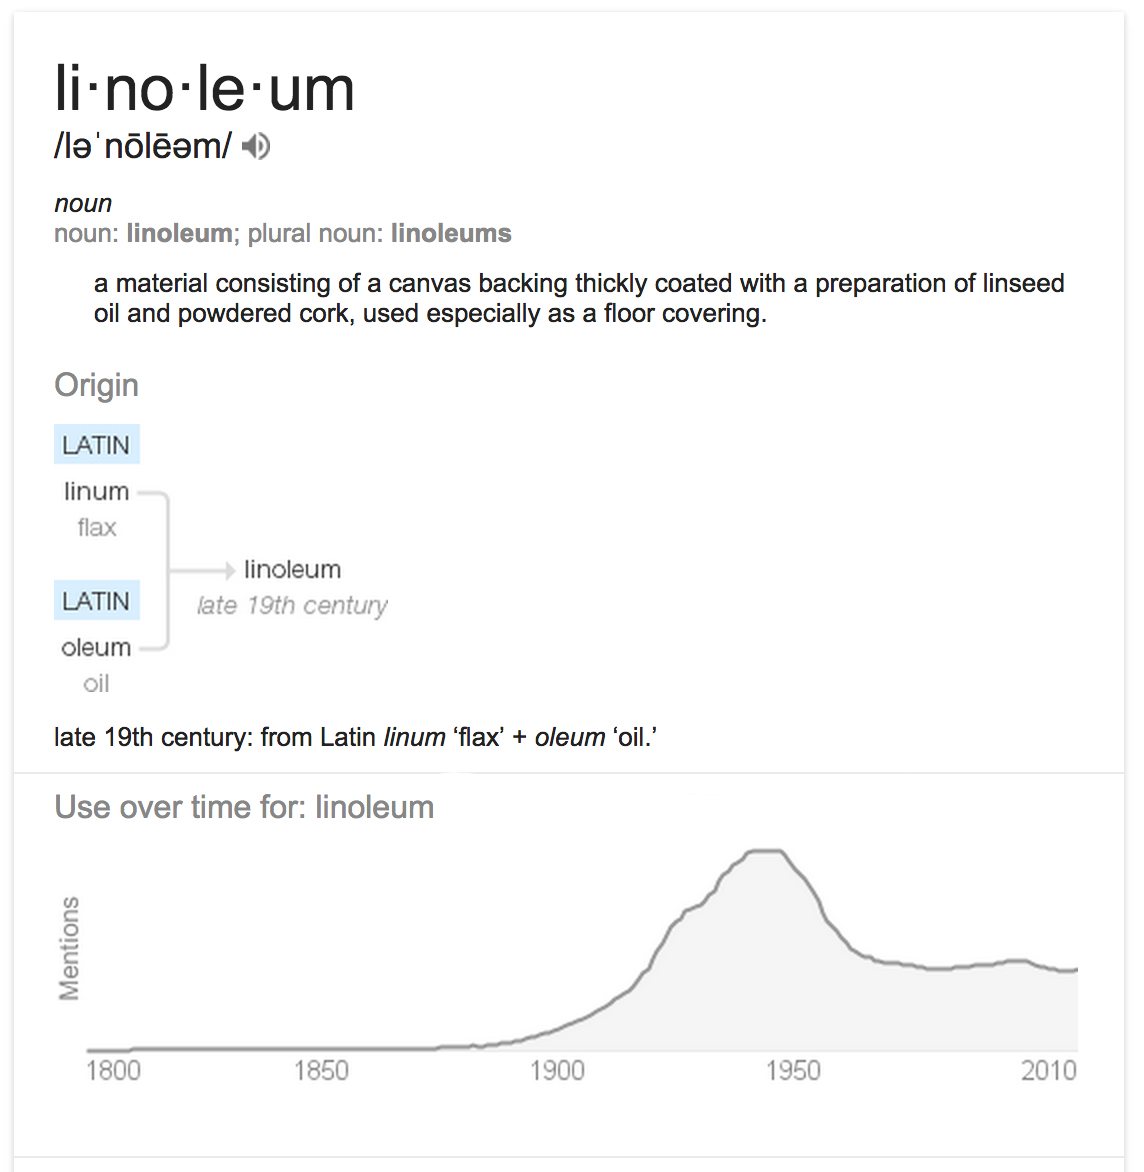
Funny thing – you’ll notice that the use of the word ‘linoleum’ grew exponentially in the late 1940s/early 1950s… back when our little nest was just a teenager. Maybe the linoleum was just an awkward phase. 😉
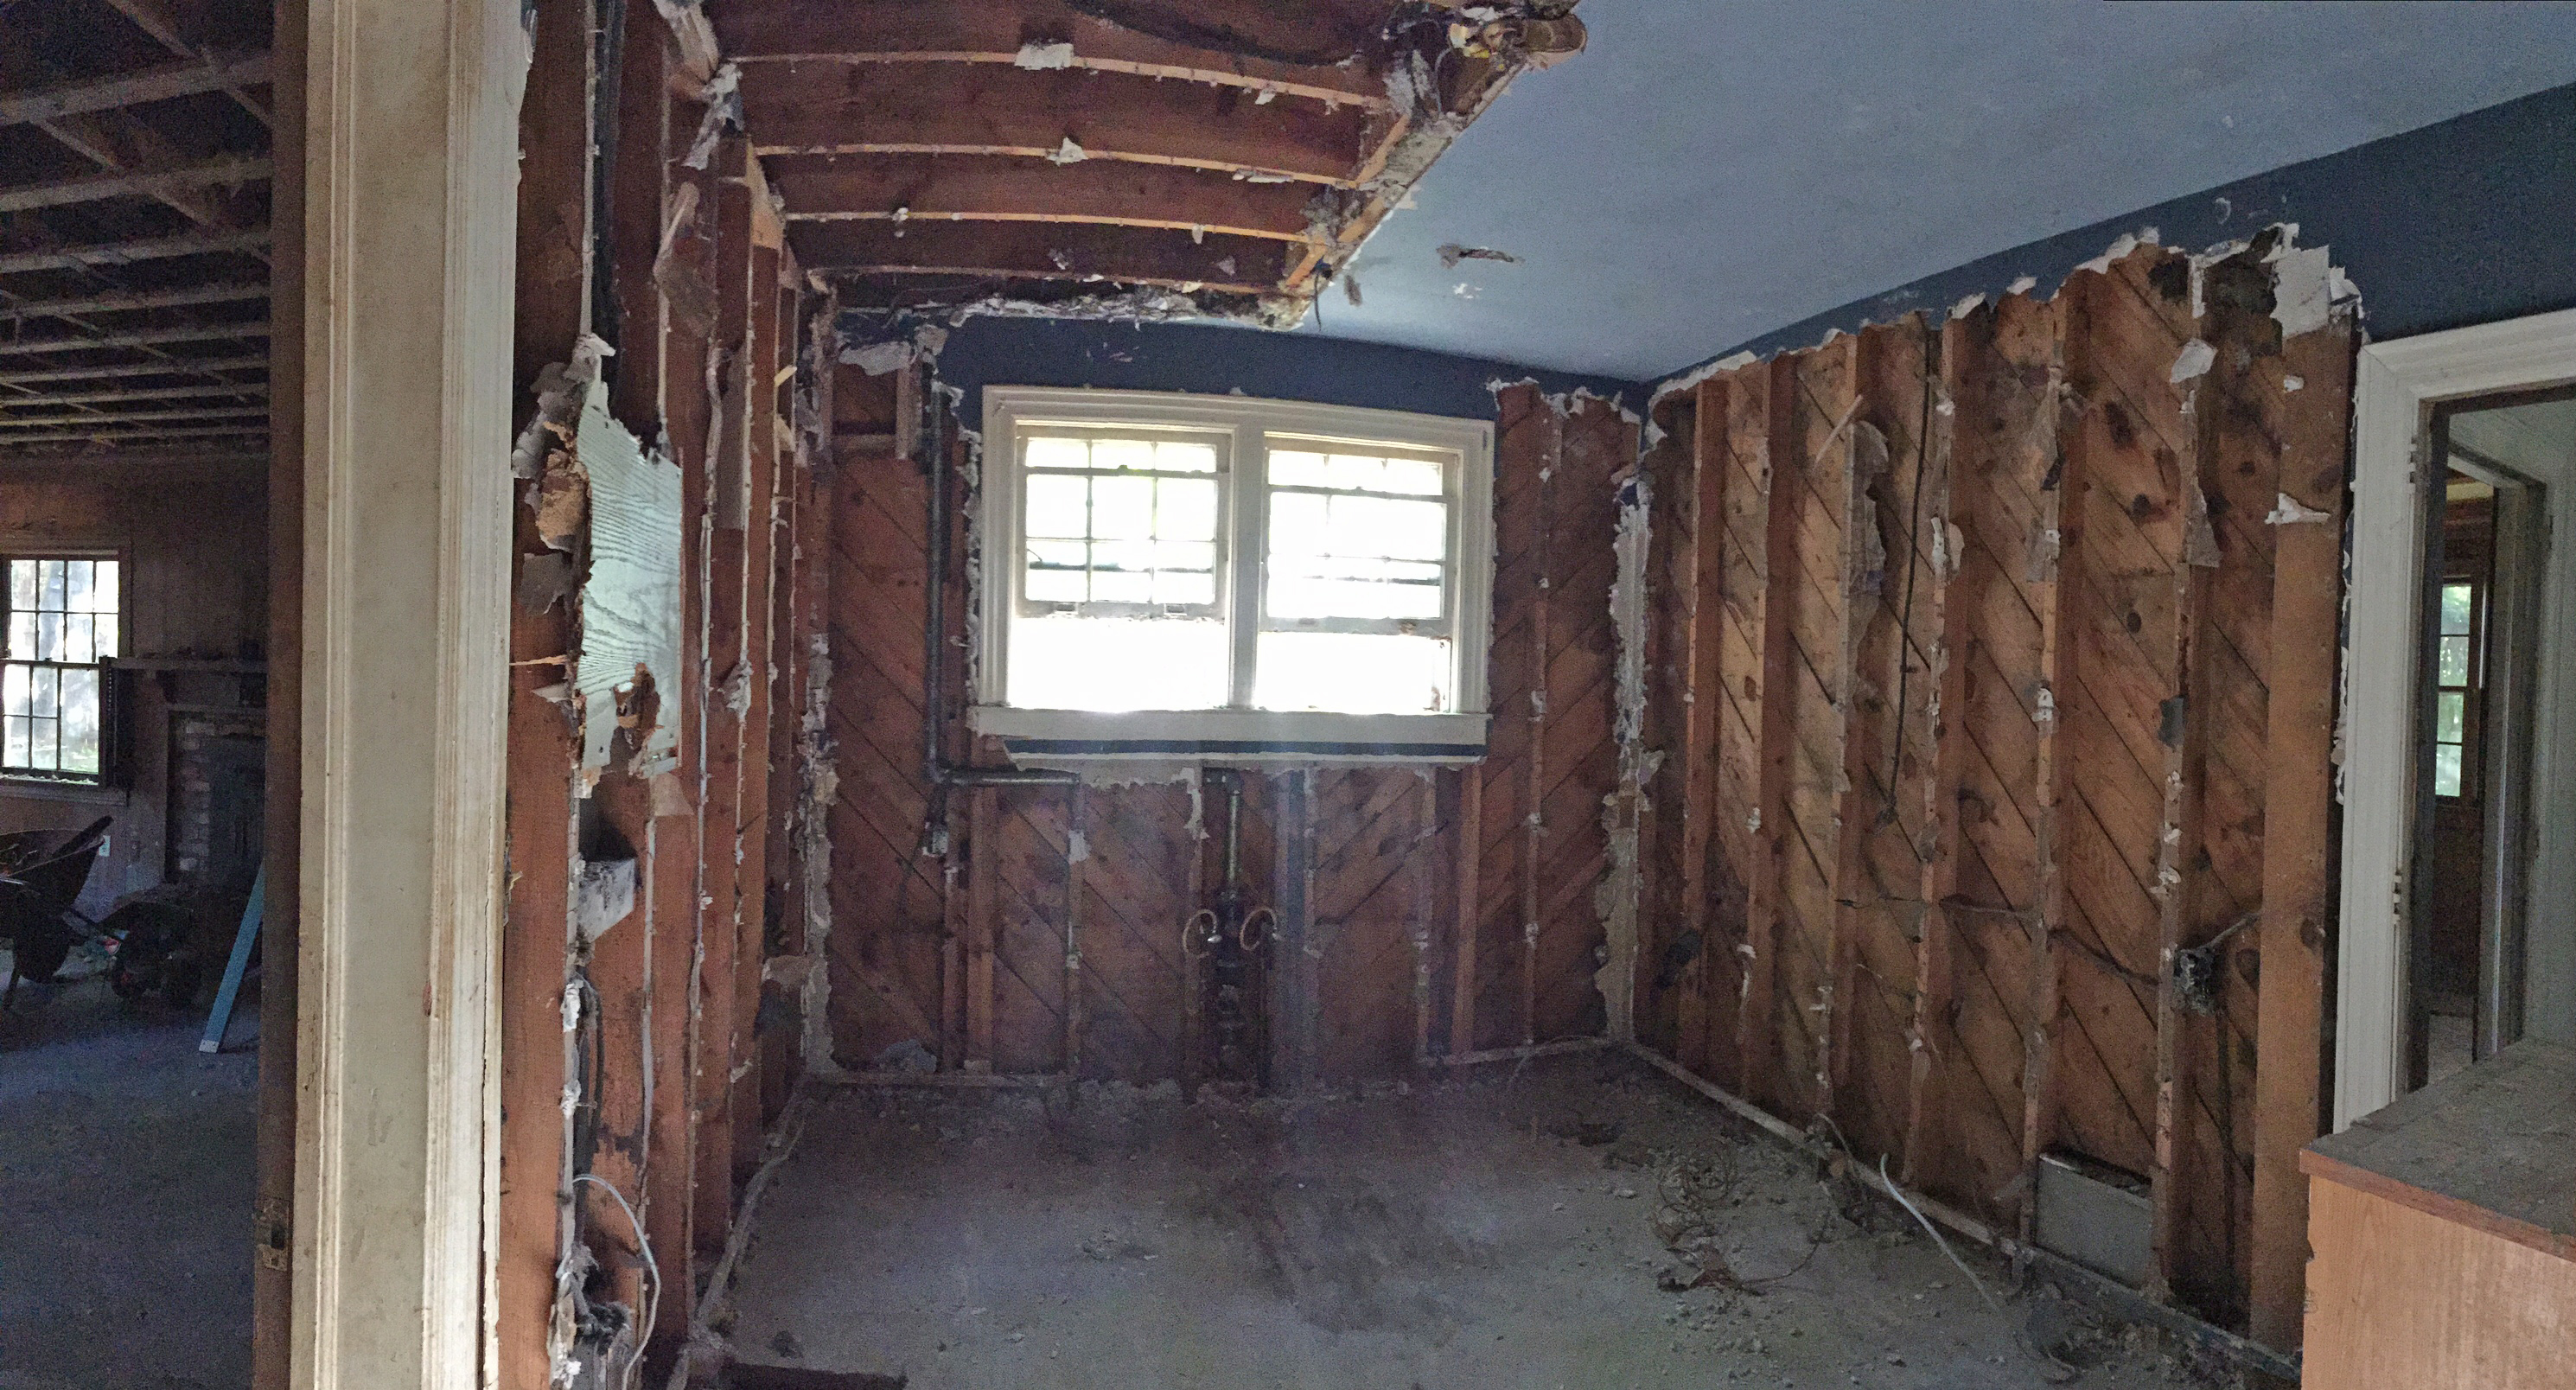
That’s right! Our studs are on full display, so try not to stare.
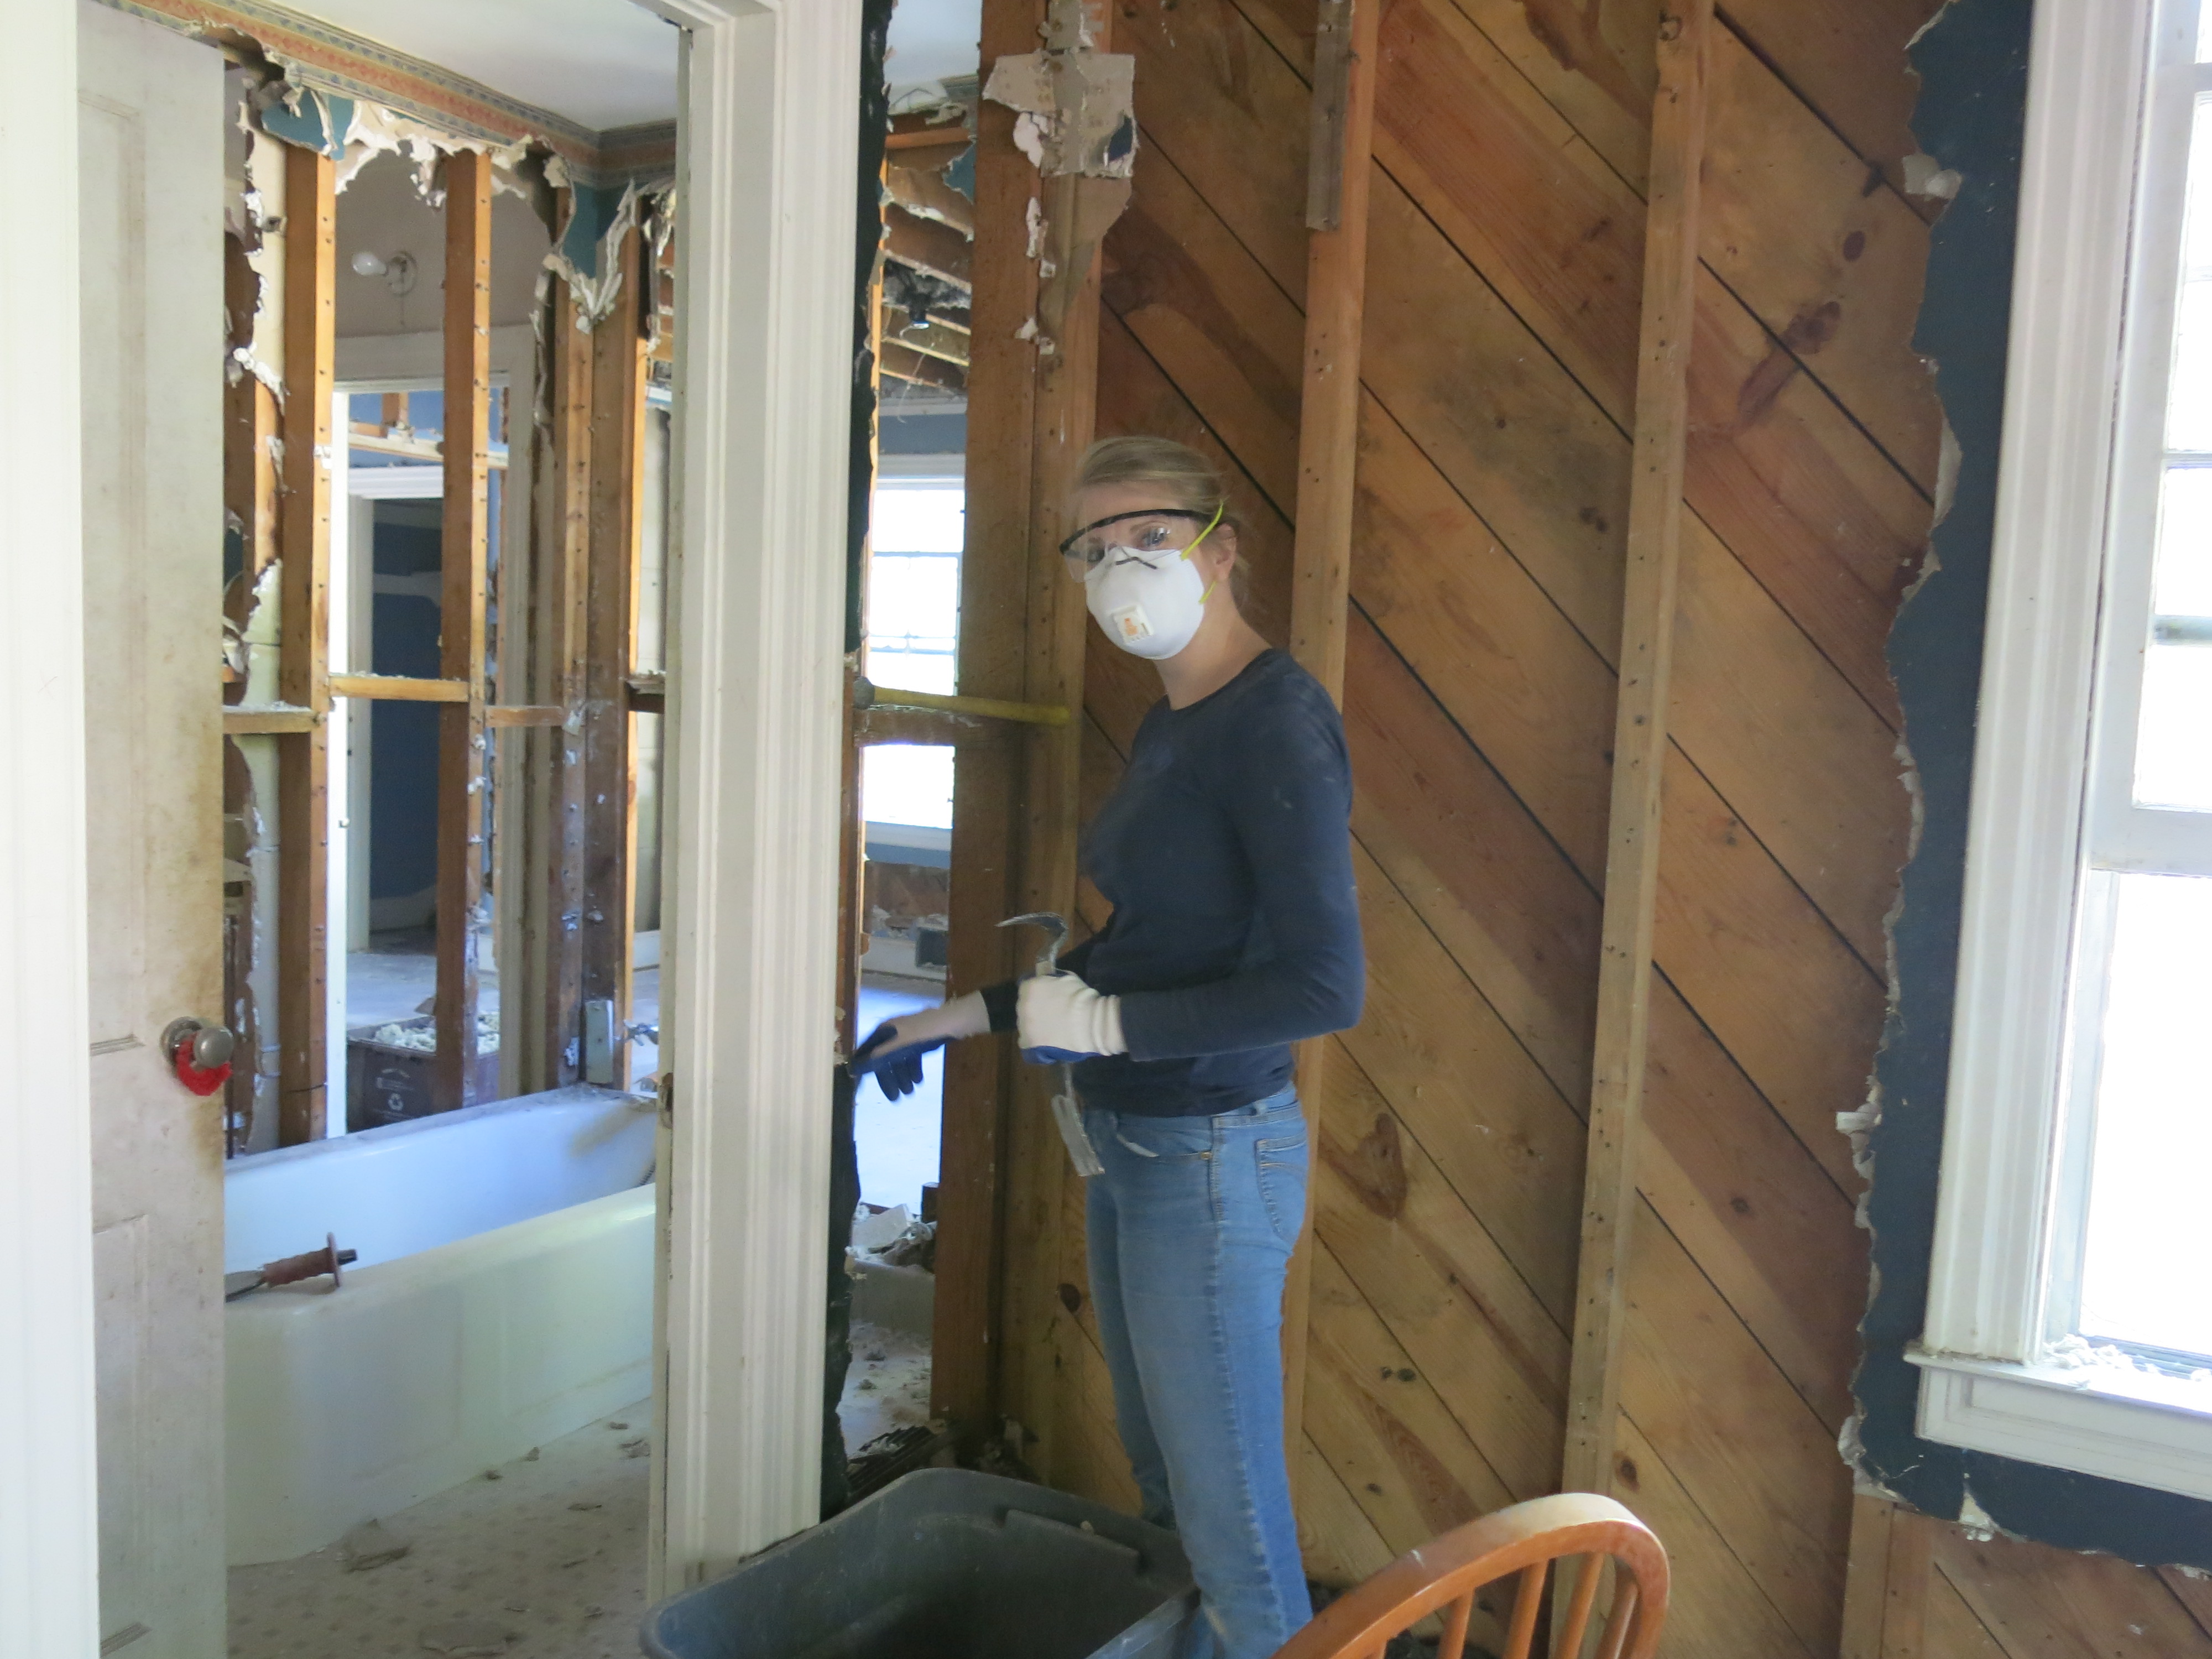
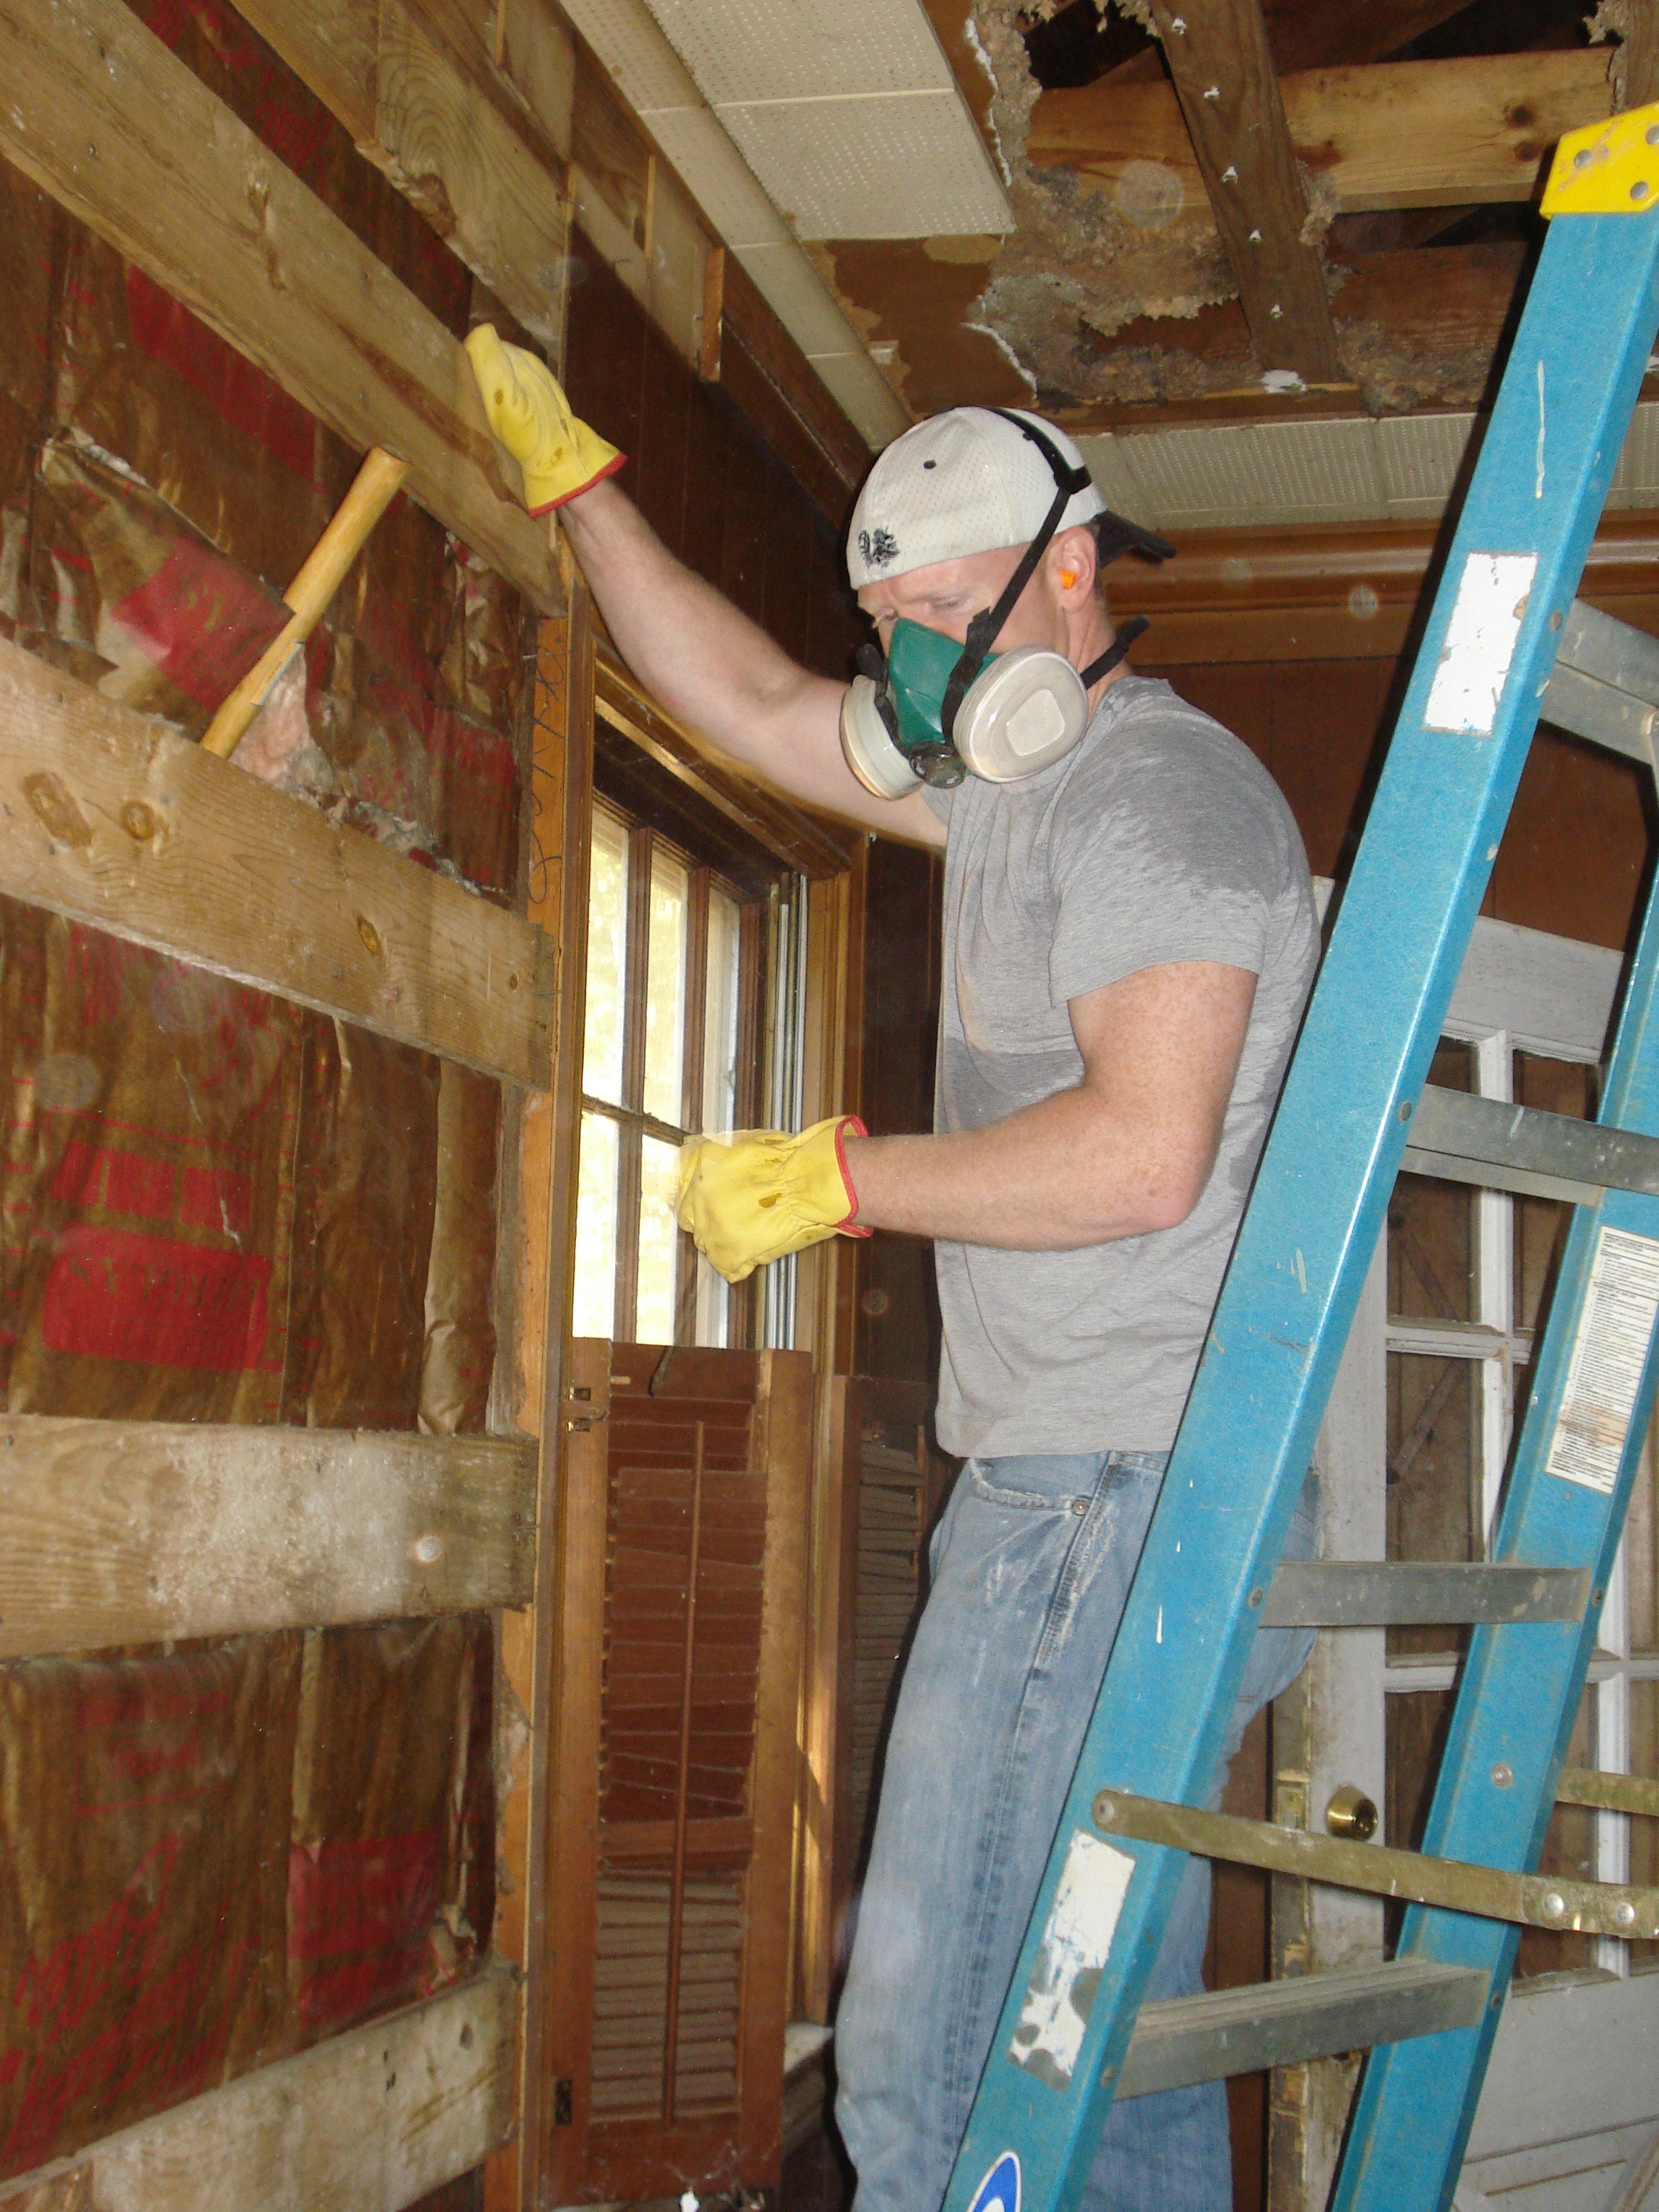
After our permit was approved, we slapped that baby up in the window and went to town with hammers, crowbars, and a lot of elbow grease. And, thankfully, we had a couple of volunteers, too! Matthew’s sisters, April and Rebecca rolled up their sleeves, donned dust masks and spent the entire day working with us on Saturday. Hours of hammering and one huge dust cloud later, we had exposed the bones of our little Nest!
Here’s a recap of our Demo Day:

Demo time!

Goodbye kitchen cabinets…

The nastiest job of all… old carpet removal.

Then linoleum floor tiles had to be scraped up!
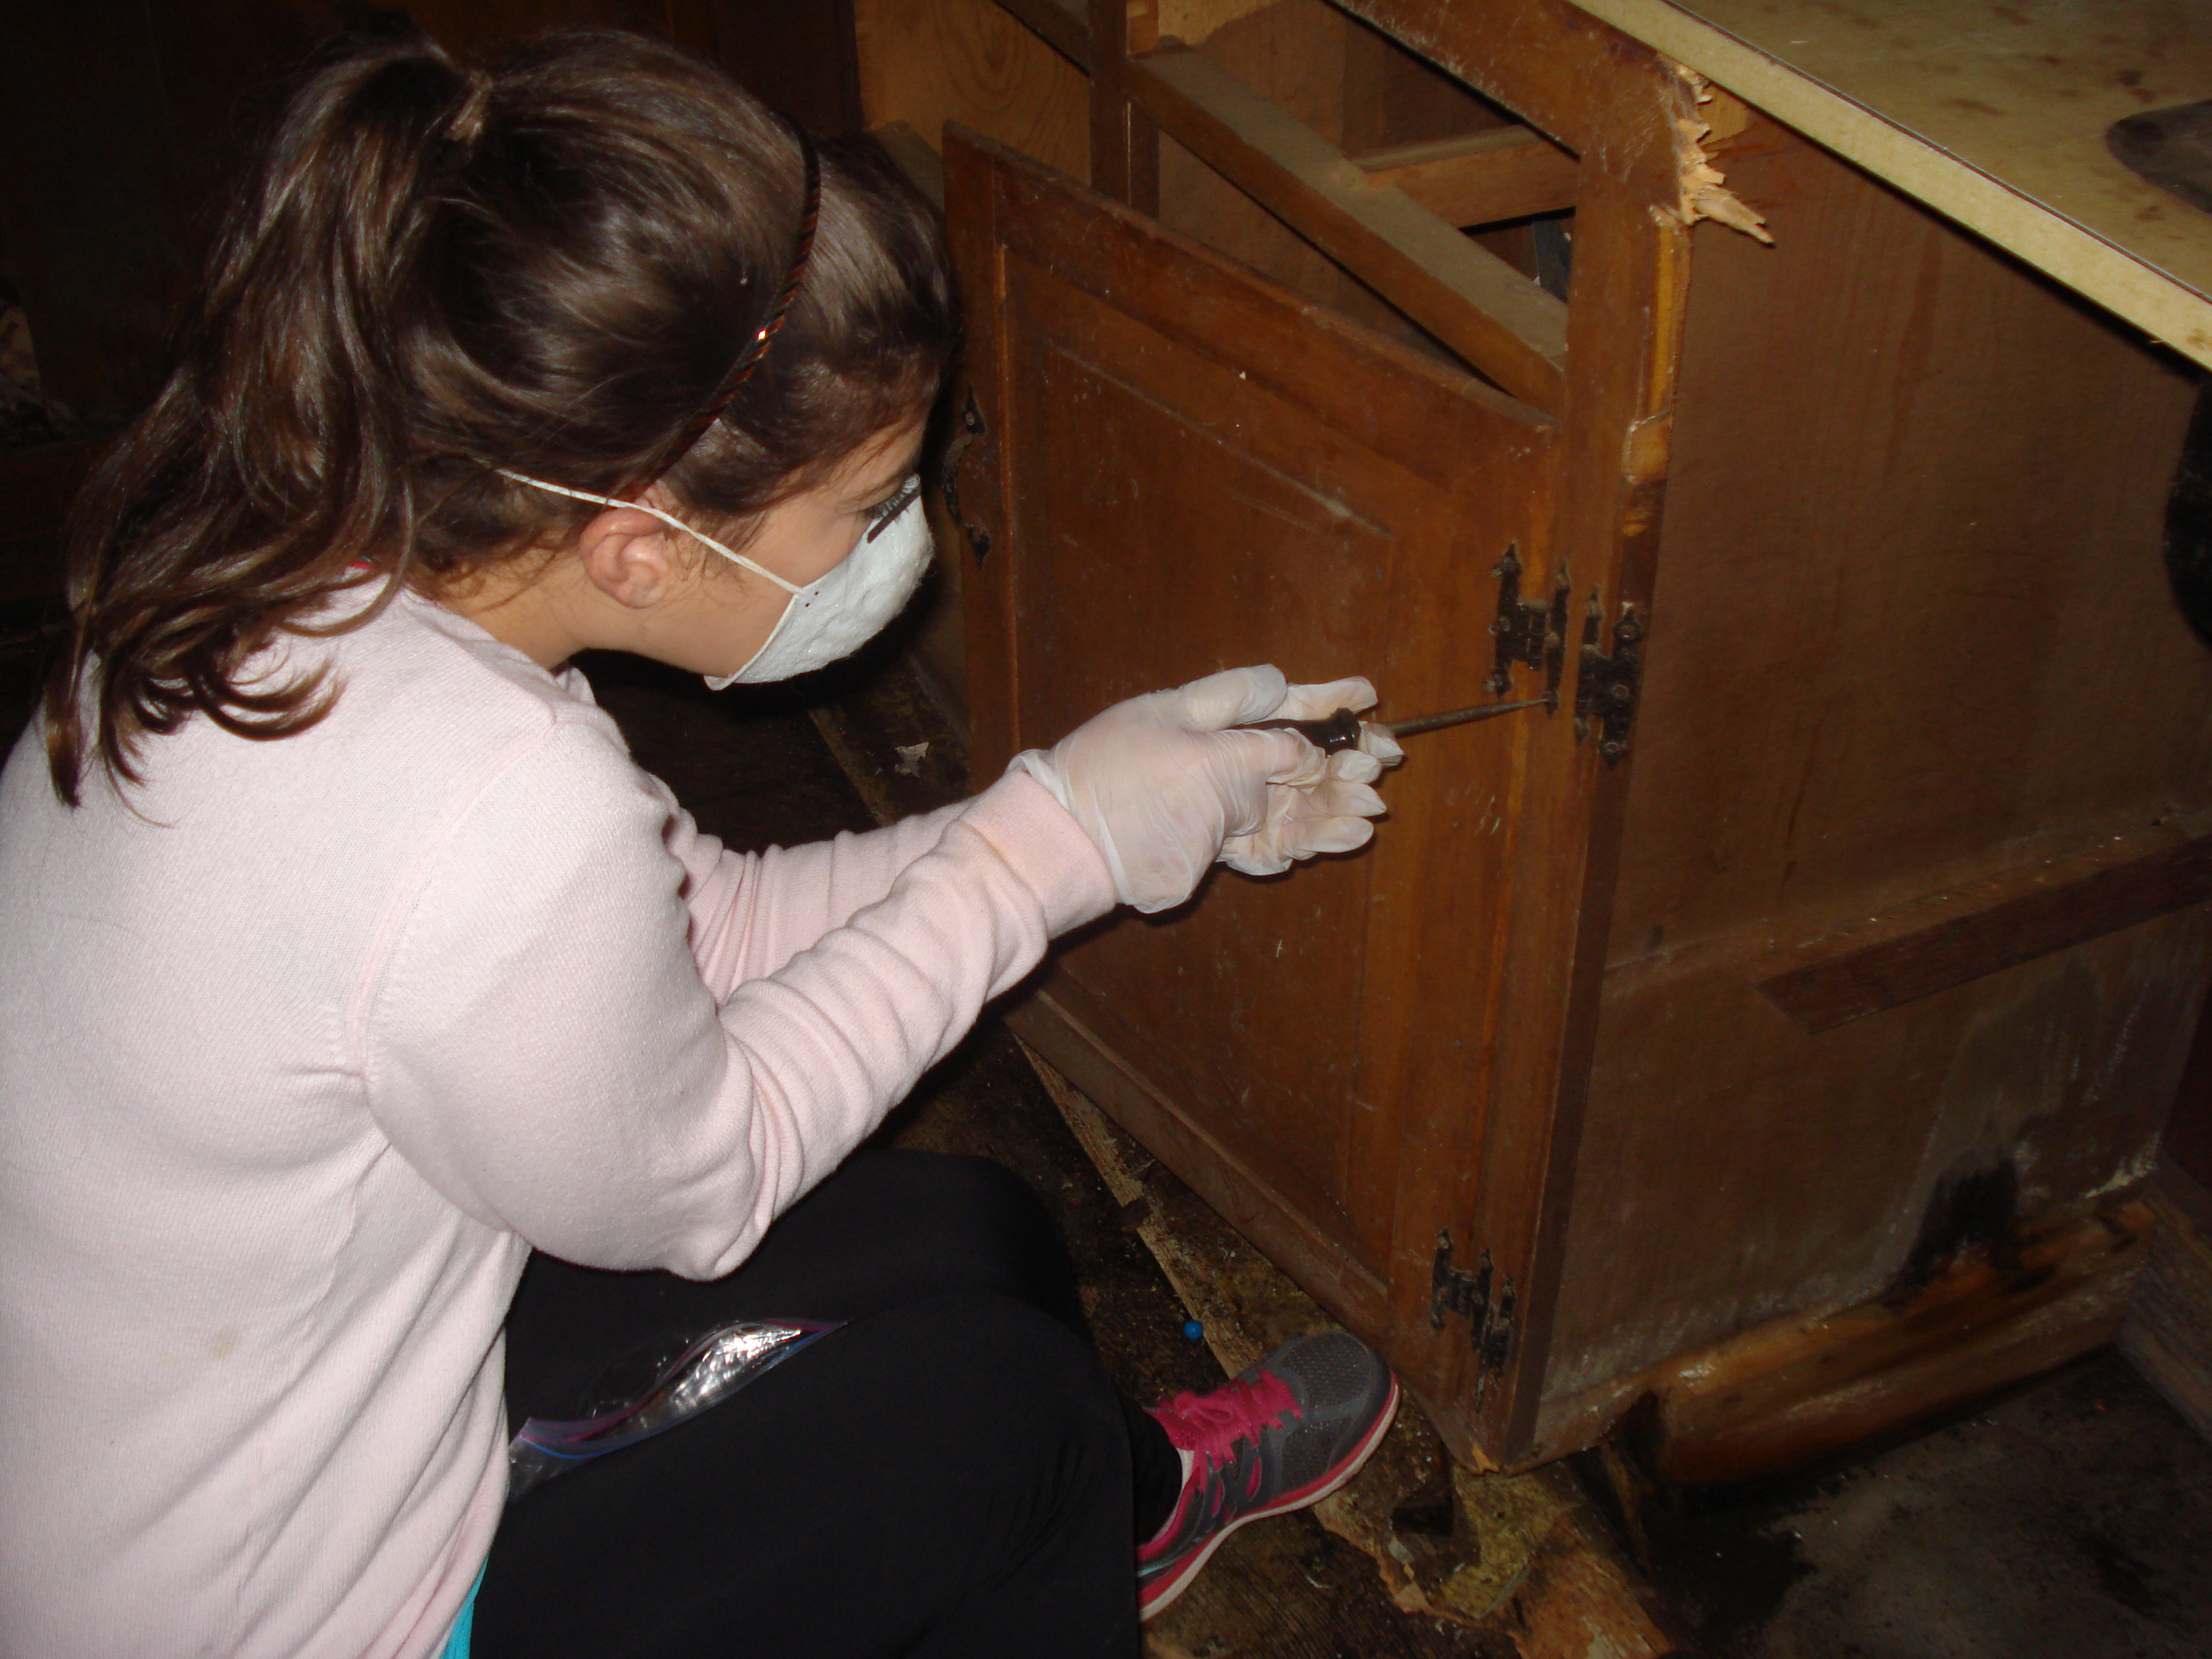
Saving the cabinet hardware before the hammers begin.

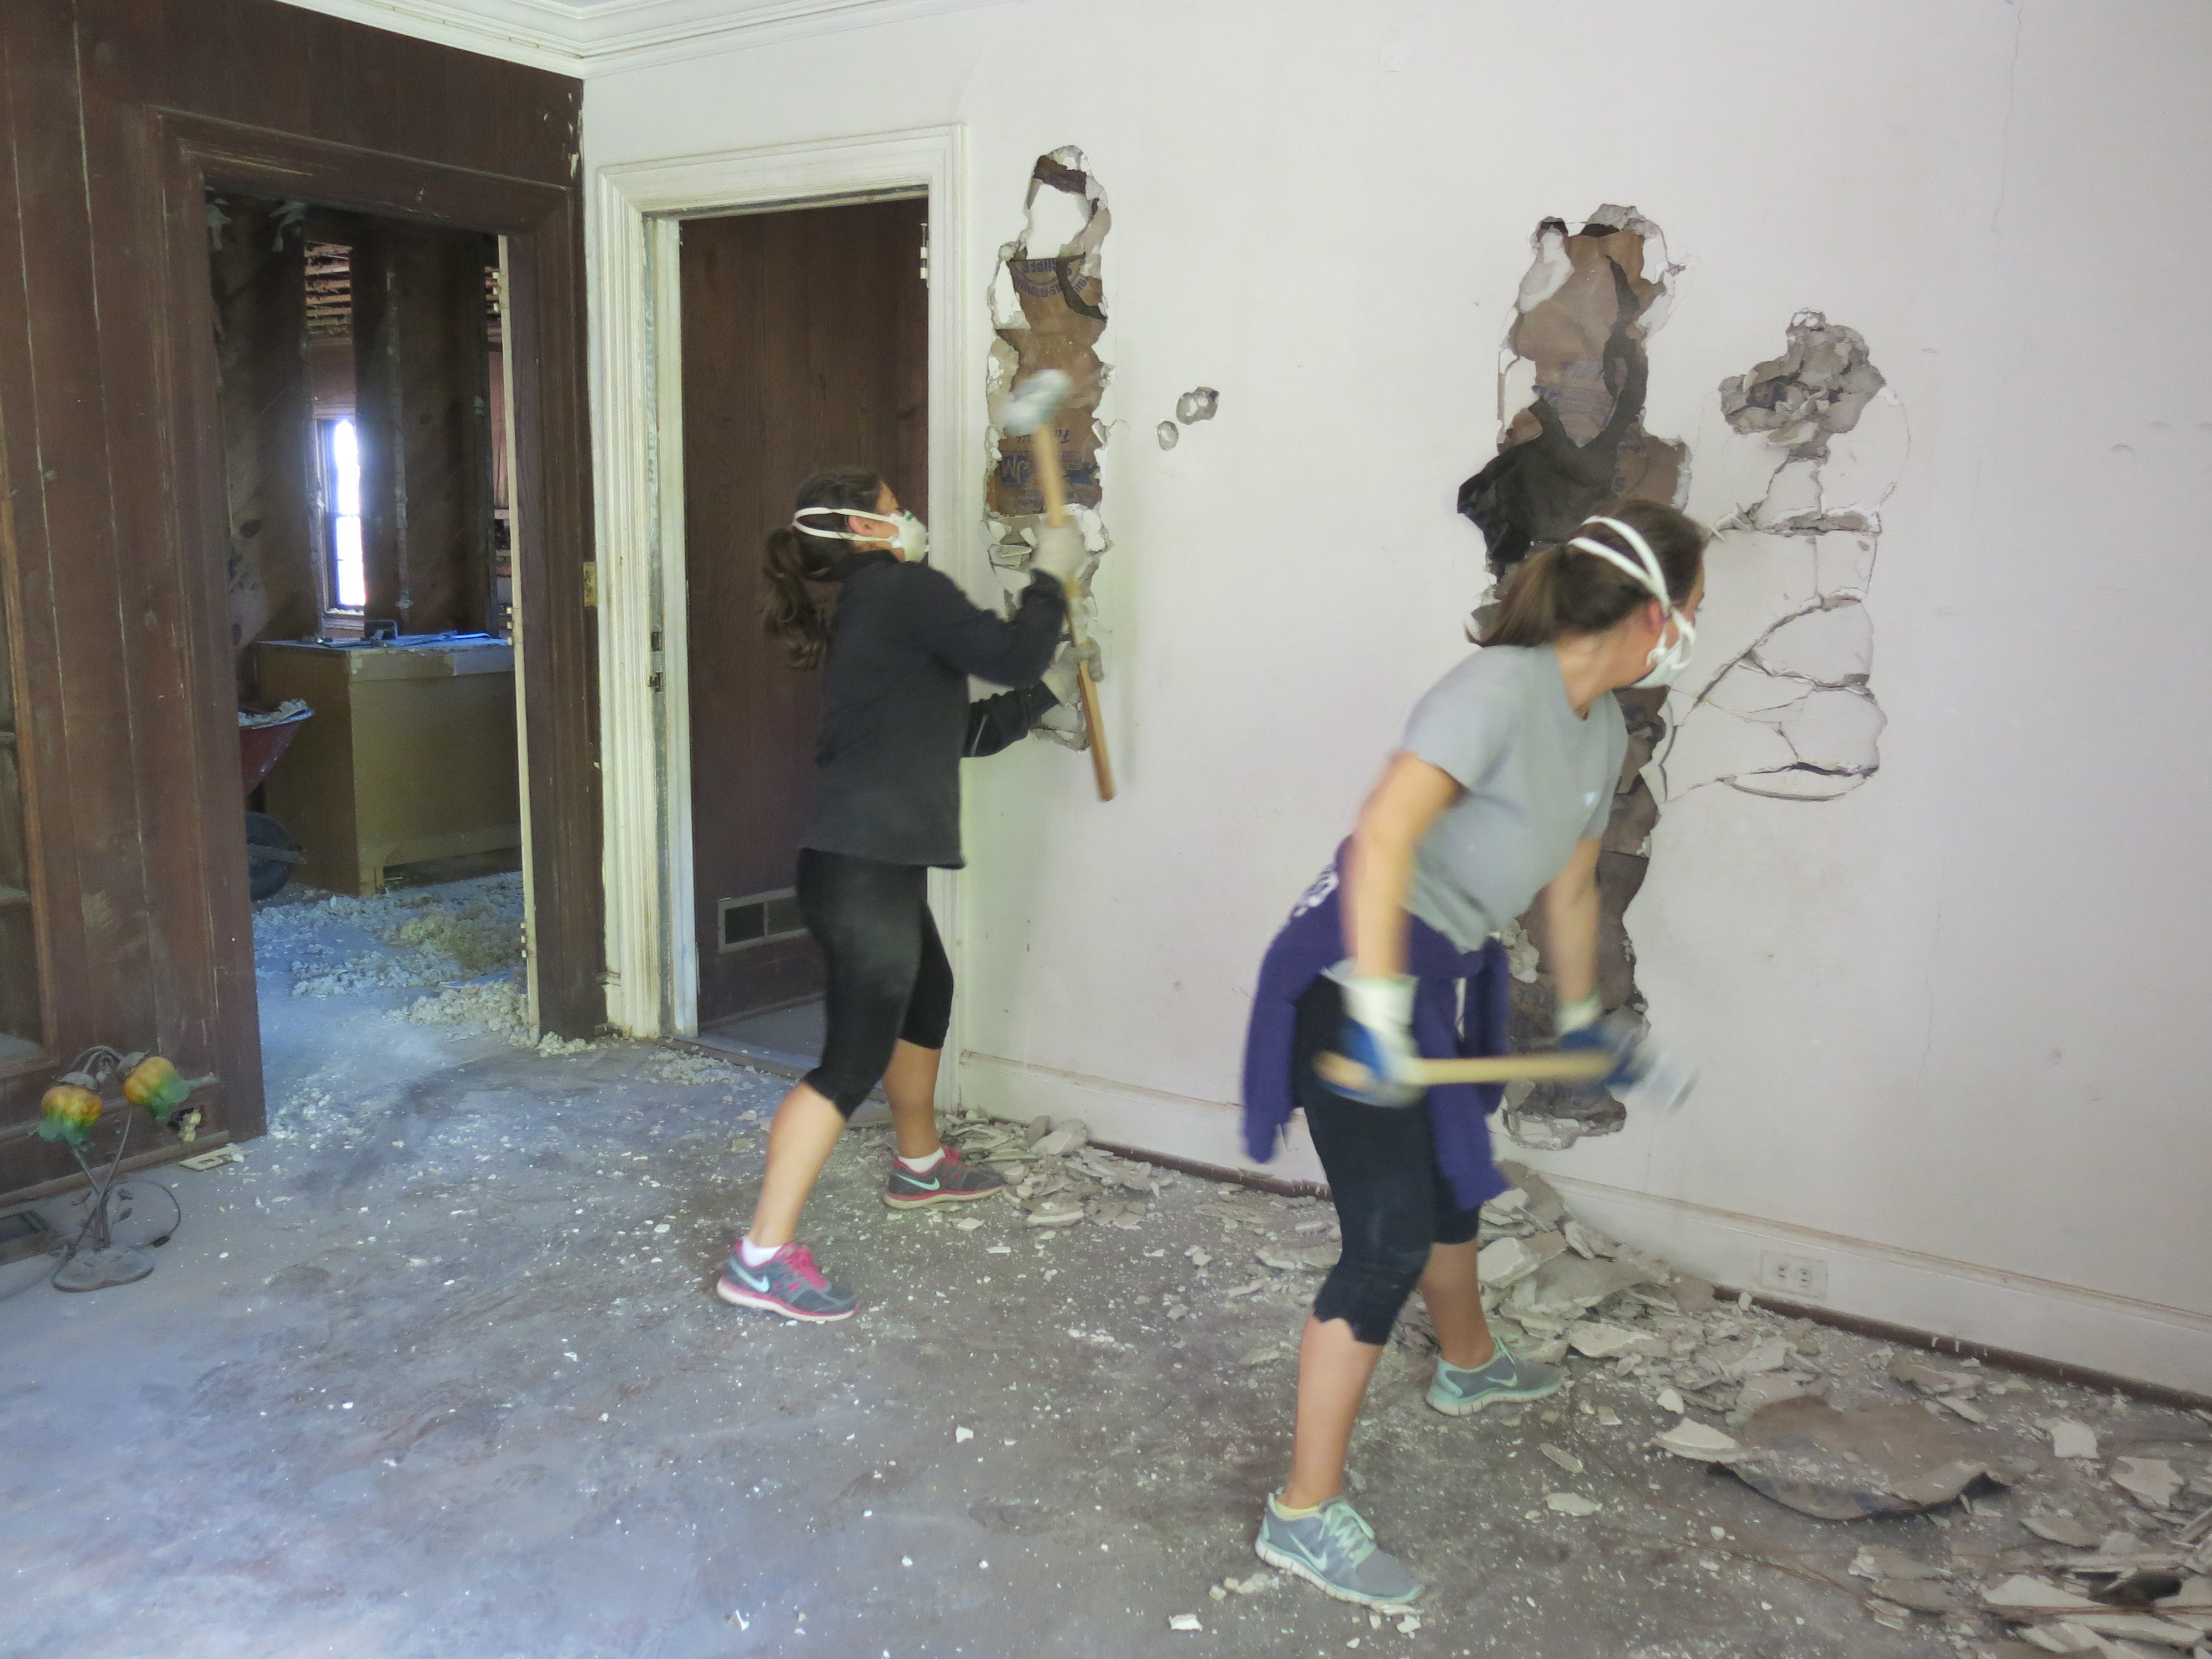
Watch out! It’s hammer time.
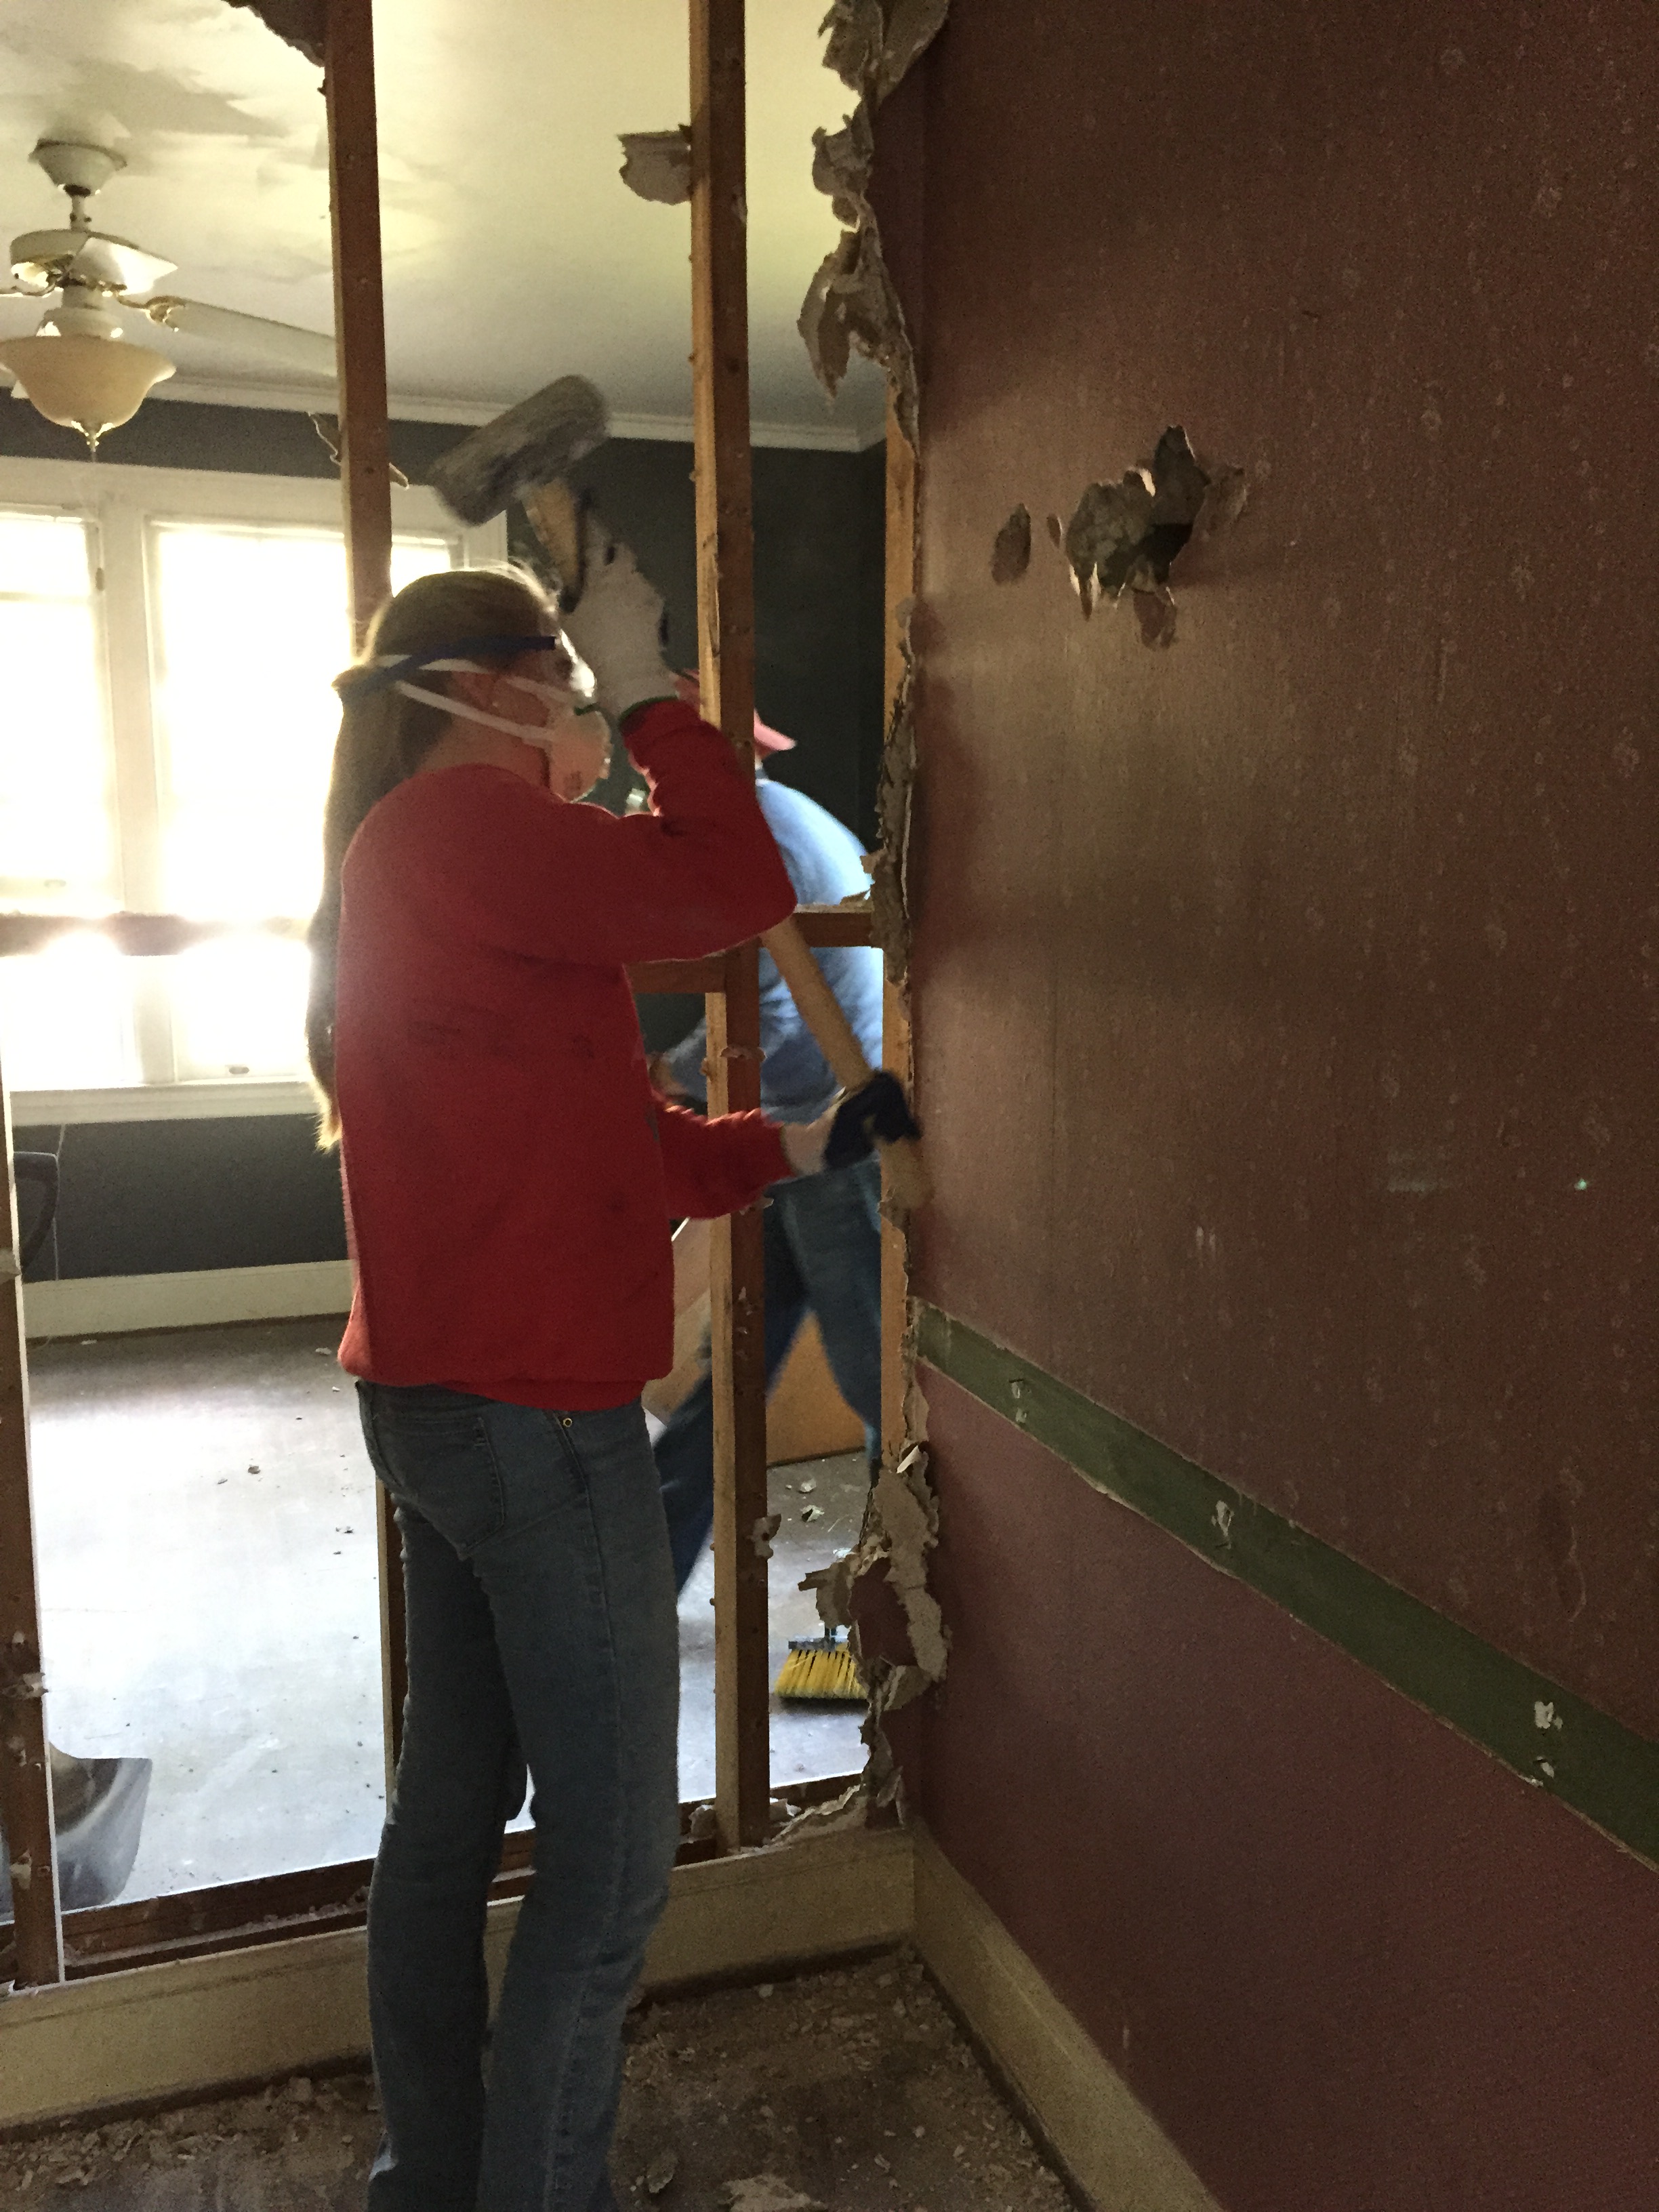
Making some progress.

Real women swing sledgehammers (while kicking their leg up in an awkward demo dance move).
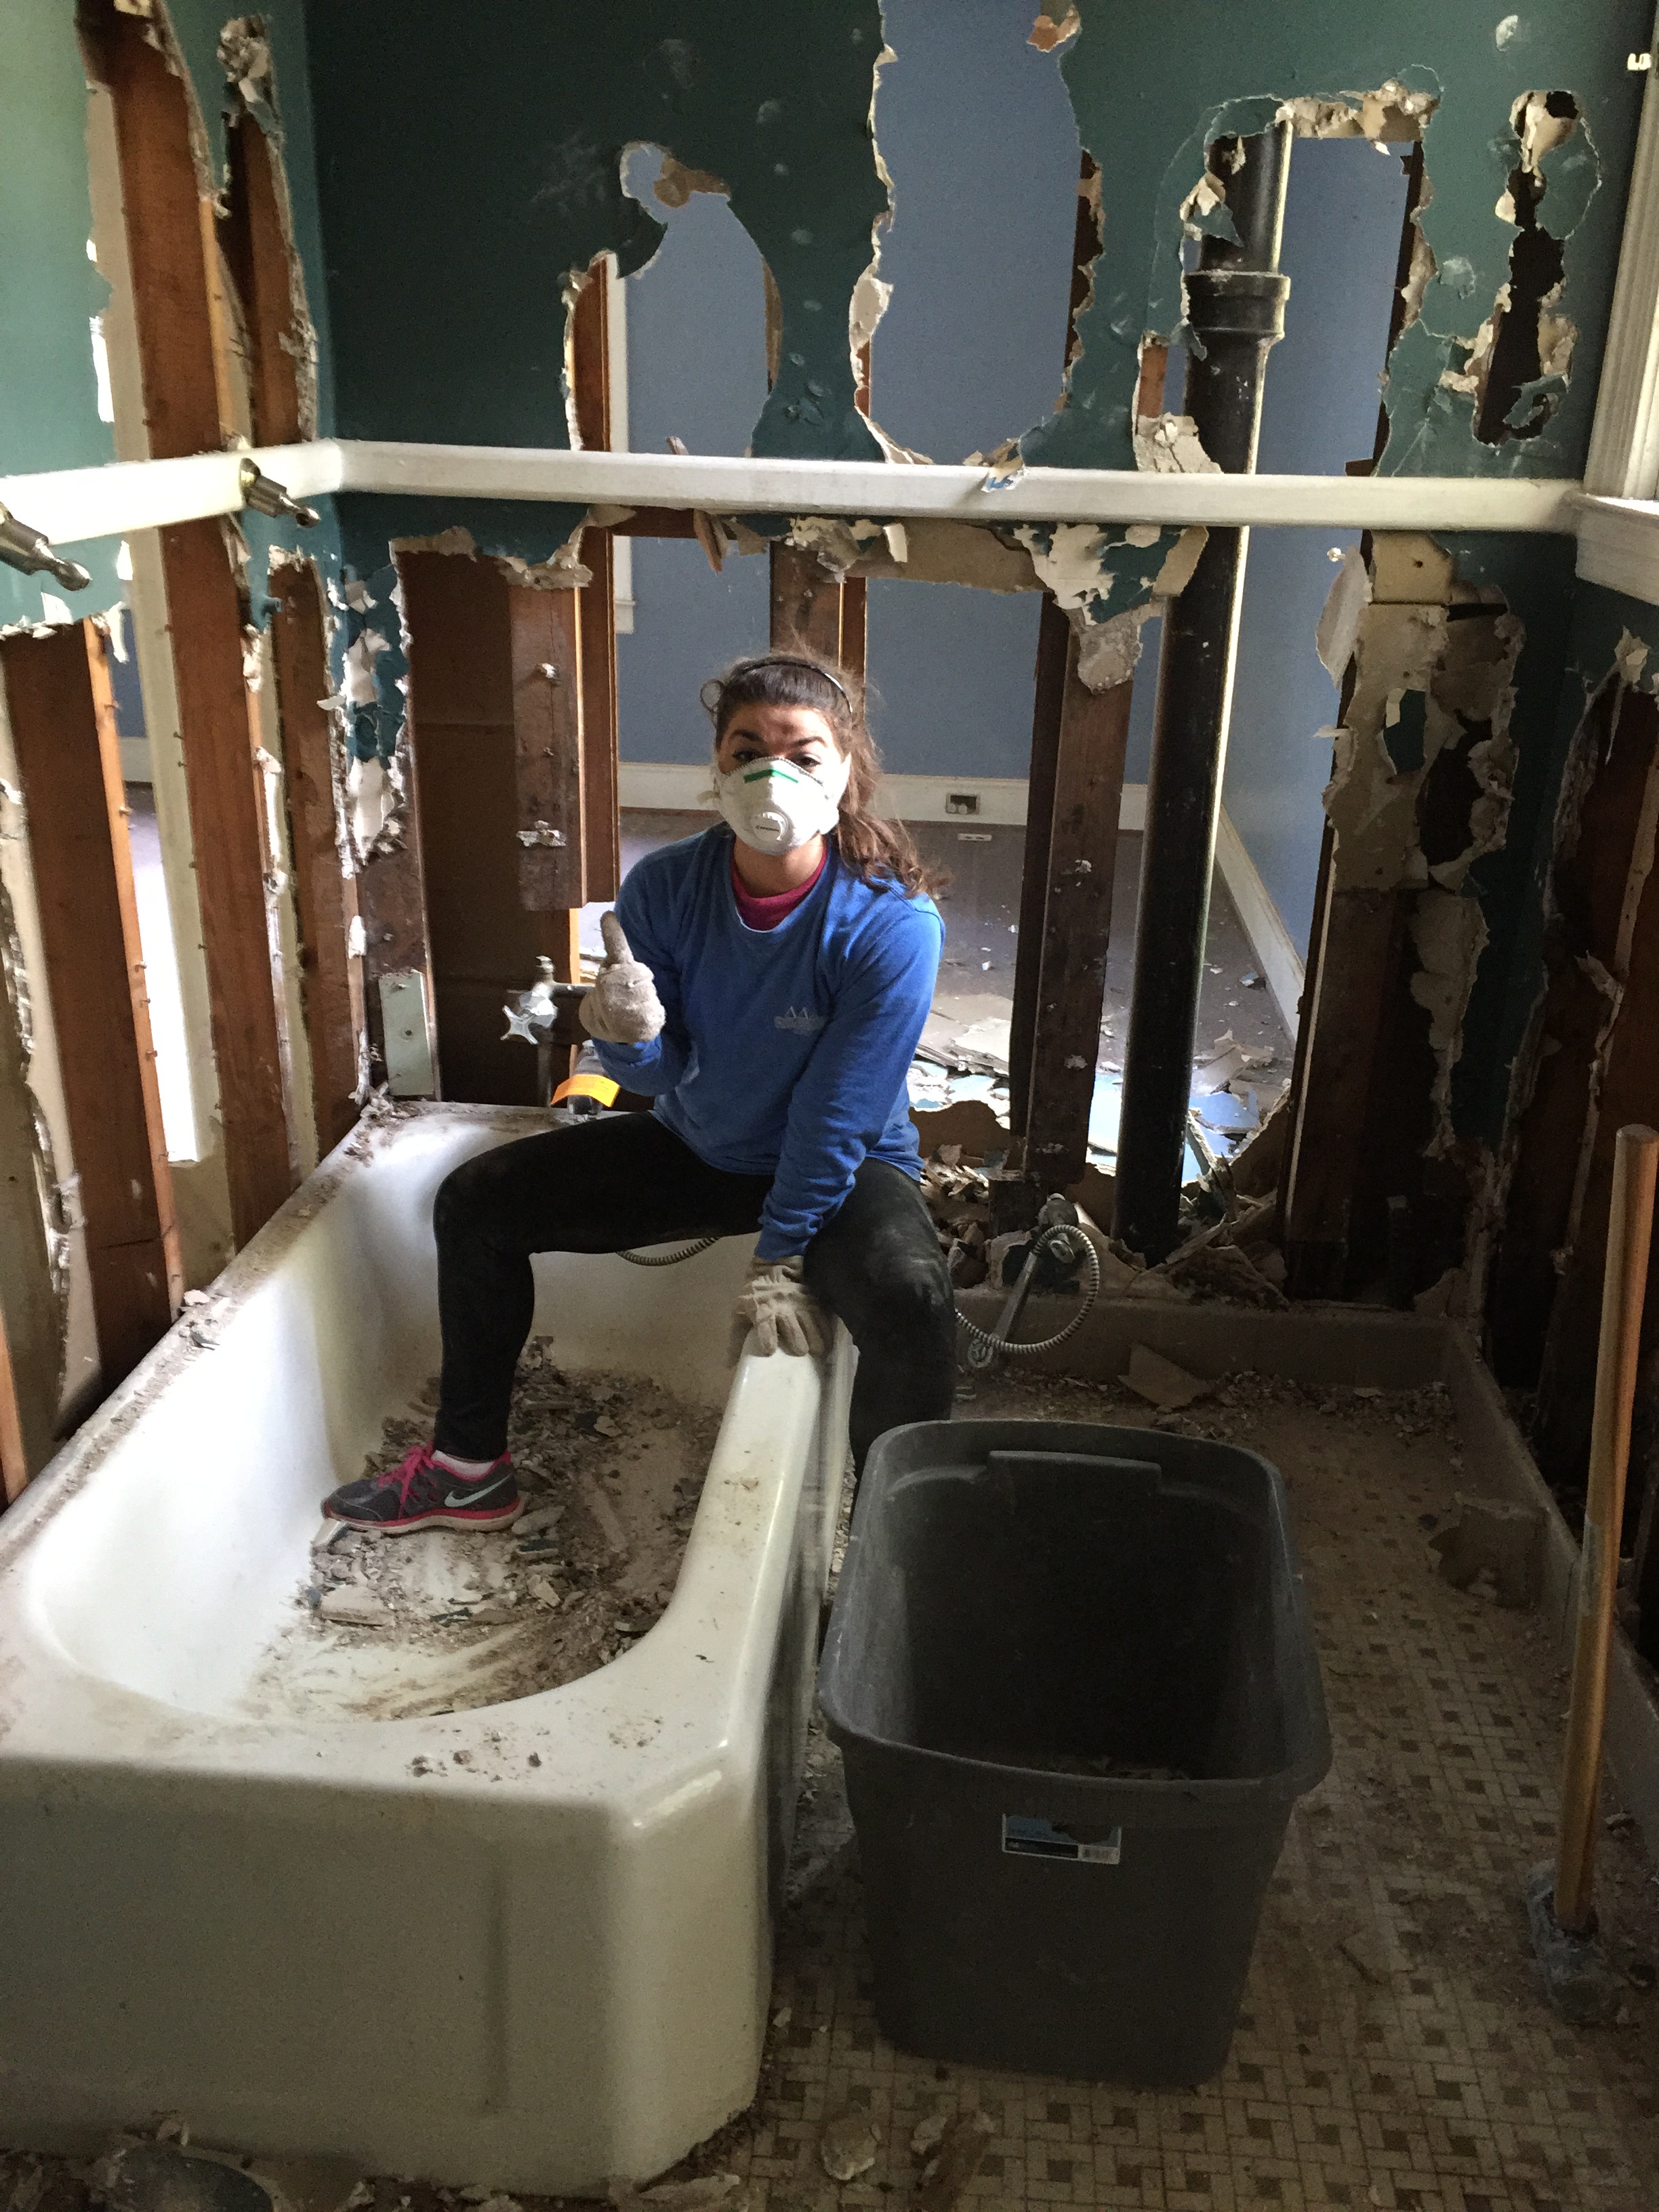
Taking a break in the bathtub.

Clean up in bedroom three!
Dining room demo. April is meticulous!
Removing ceiling tiles and faux wood paneling in the family room.

Attic gold! Matthew found a beautiful vaulted ceiling after removing the old, yucky acoustic tiles in the family room. Jackpot!

Peek-a-boo!

Cleanup continues.

Bin load #1,978. These ladies were troopers!

Big Red is full again!
Mid-demo Kitchen.

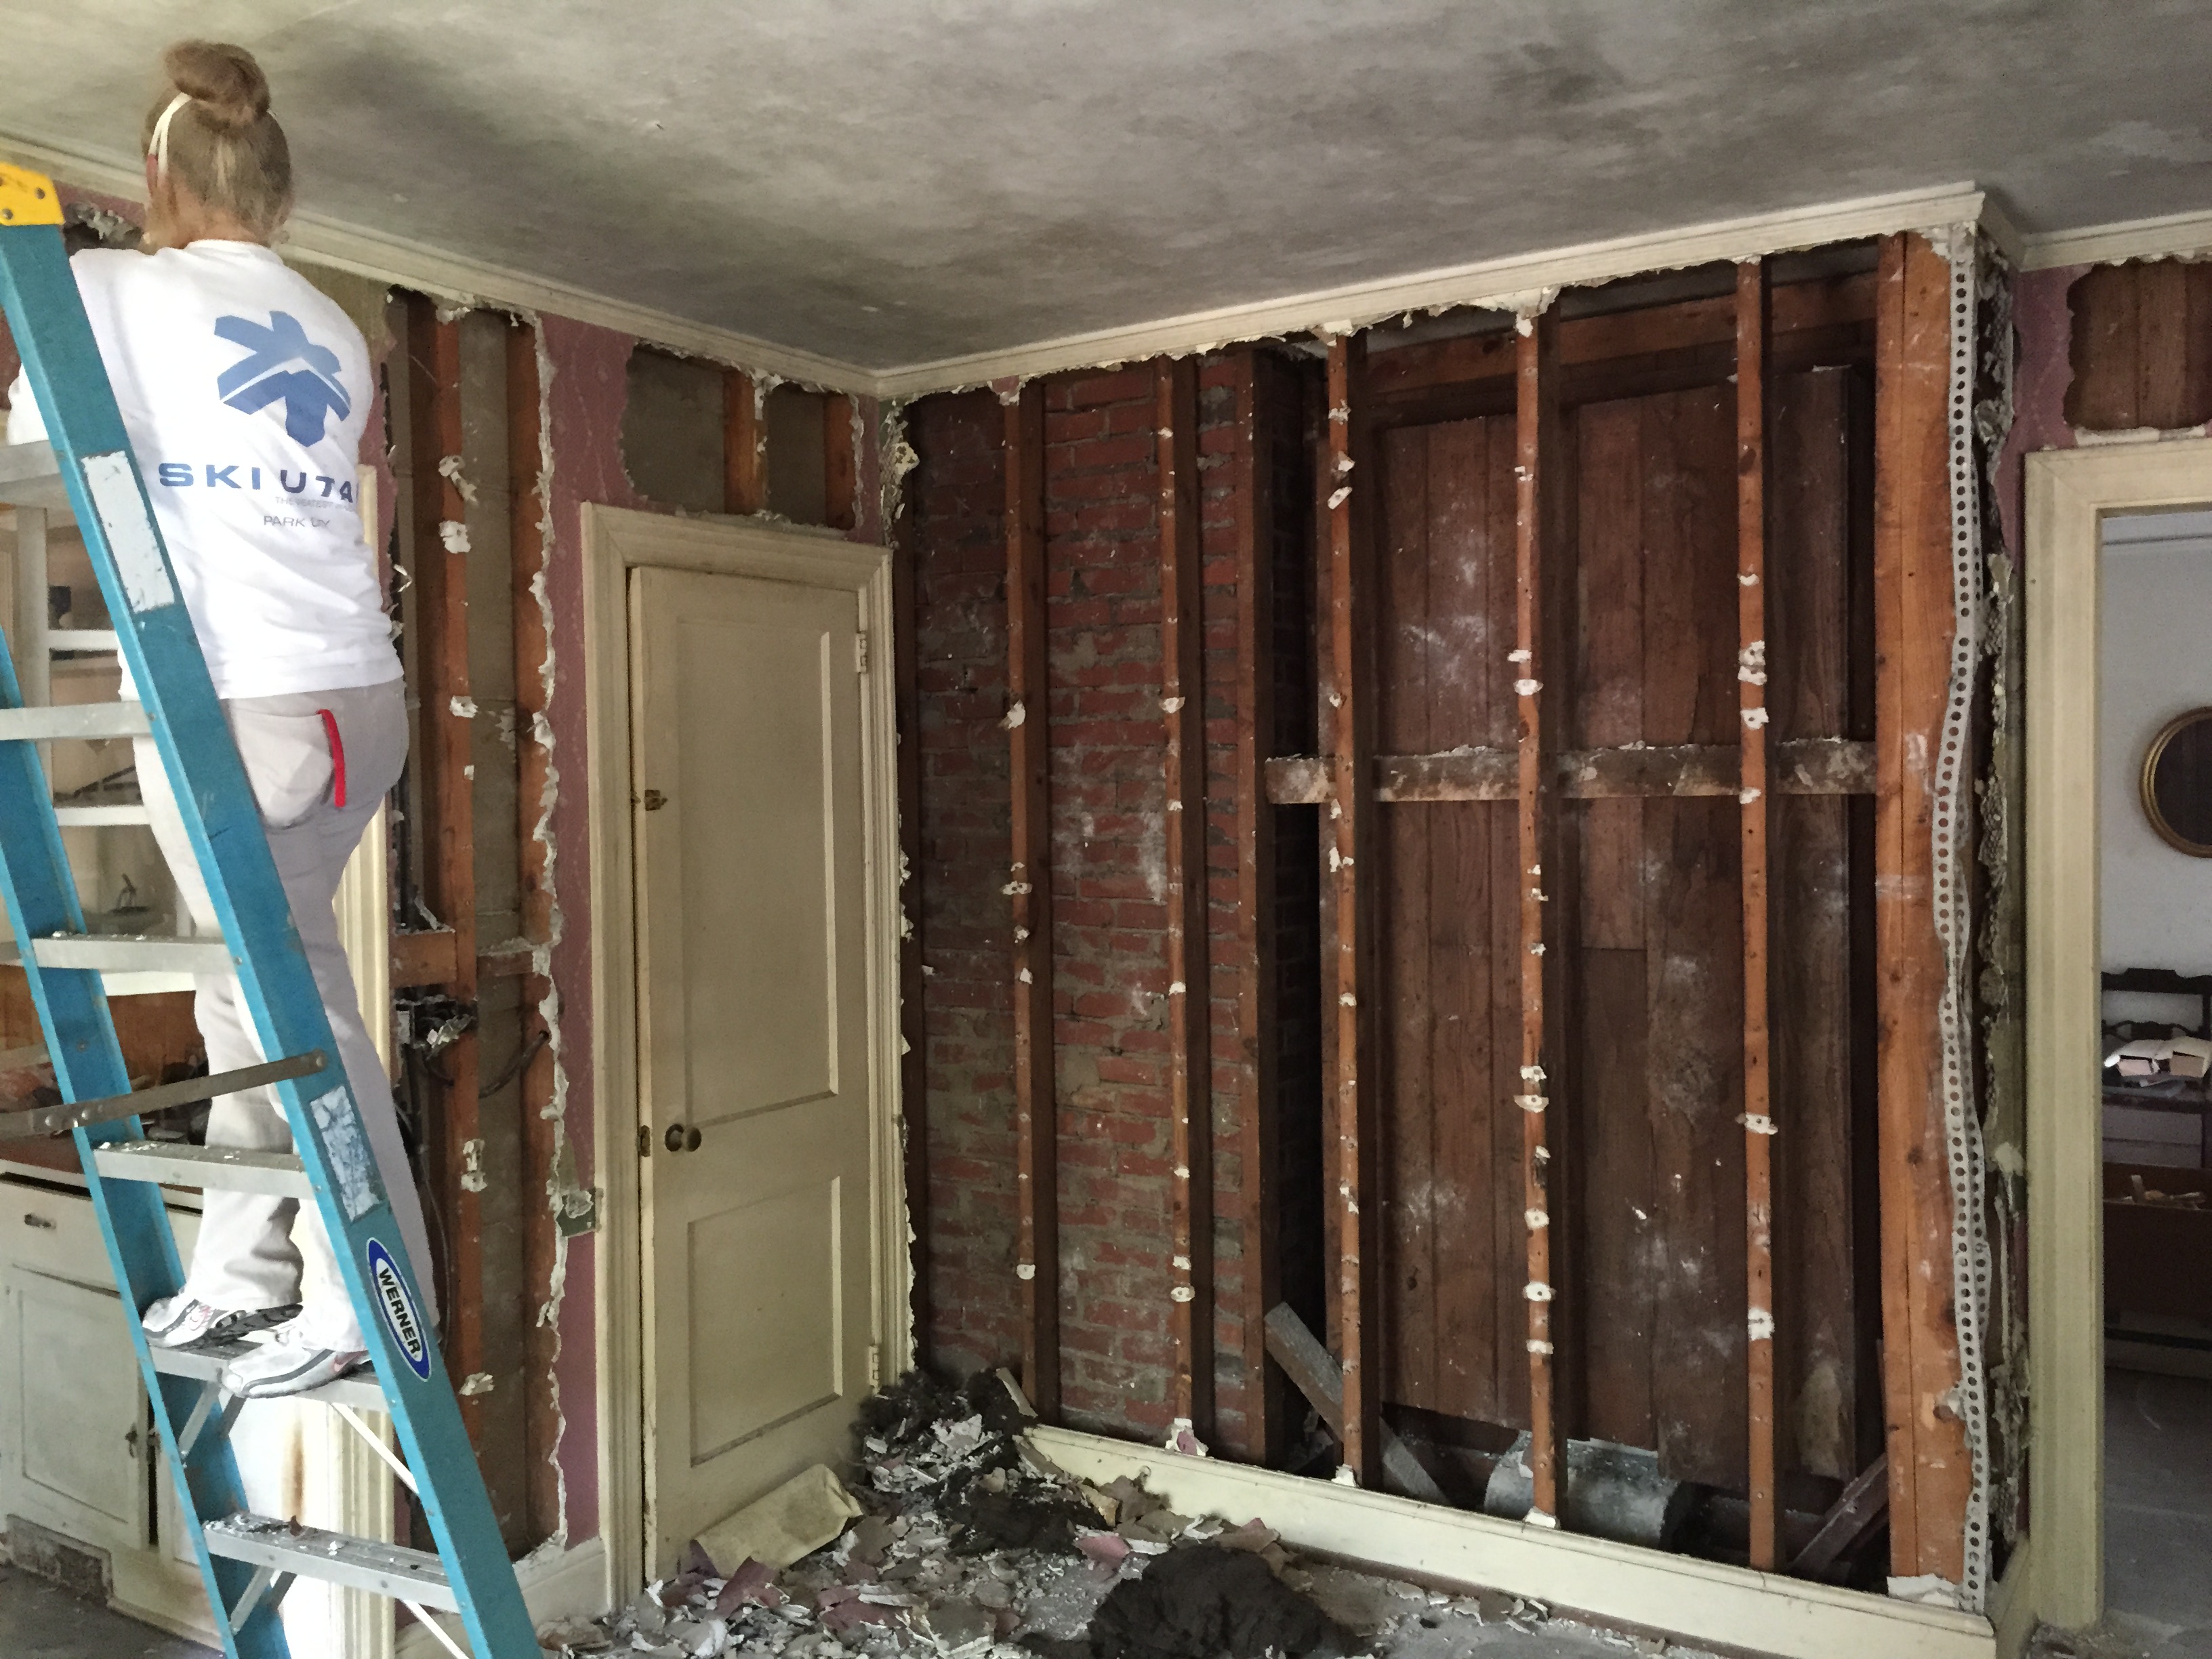
Whoa! No more plaster in the dining room.

Lots of studs showing!

The dust cloud…a.k.a. the reason we wore masks!

The Newtons — happy after a hard day of work!
Demo by the Digits:
All in all, it adds up to a greatly productive day.

Yep! Cue the sledgehammers. The Newtons have permission from the City of Greenville to demo some stuff.
Broken wrist and all, my mom Jennifer has managed to (with the help of my sister Emily and me) measure every inch of the house and map out its footprint to-scale on graph paper. I can’t tell you how cool it is to look at a “blue print” of the layout. She also helped us come up with a few creative solutions to modify the floor plan and maximize key spaces like the Master Suite and Kitchen.
You’ve seen a lot of pictures so far, but a bird’s eye view gives you a much better sense of the flow of the house. Check out the floor plan as it is now:
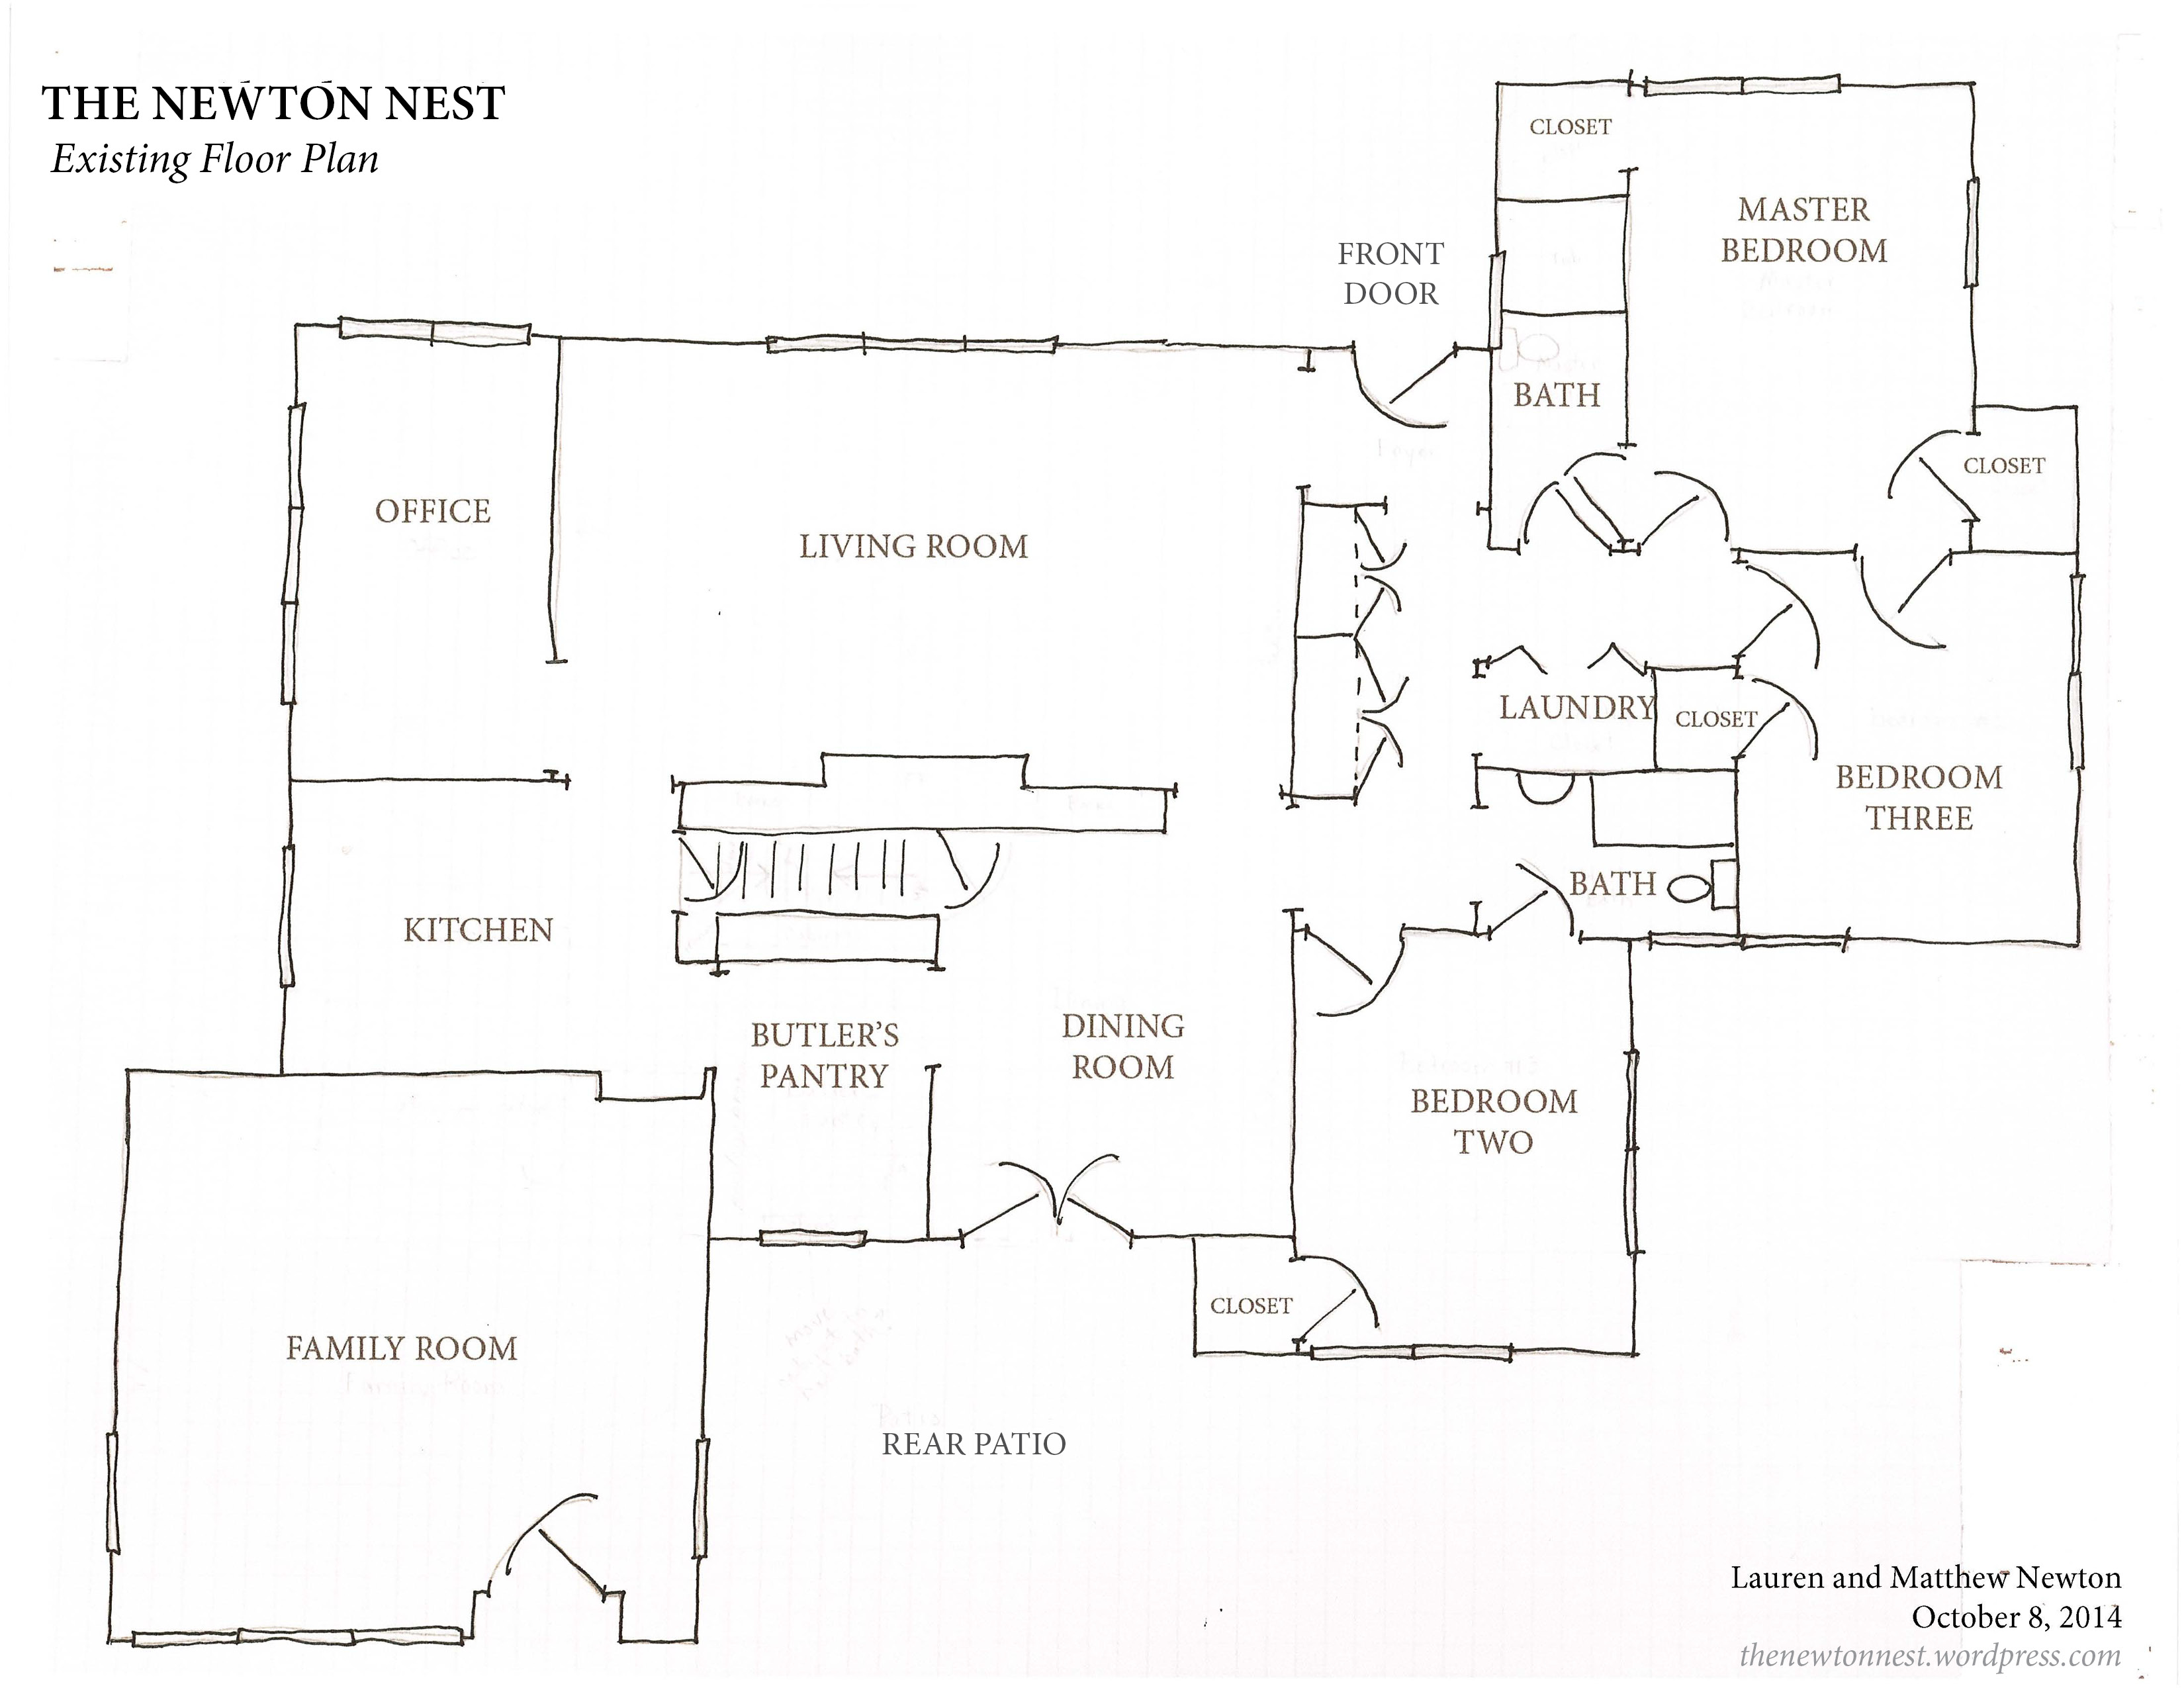
Here’s our rough plan for modifications:

Okay, labeled on the floor plan above are our seven basic modifications to the floor plan. Here’s the logic behind each one:
So, there ya go—a bird’s eye view of our little Nest! 😉
