Boy, oh boy, the details are fun!
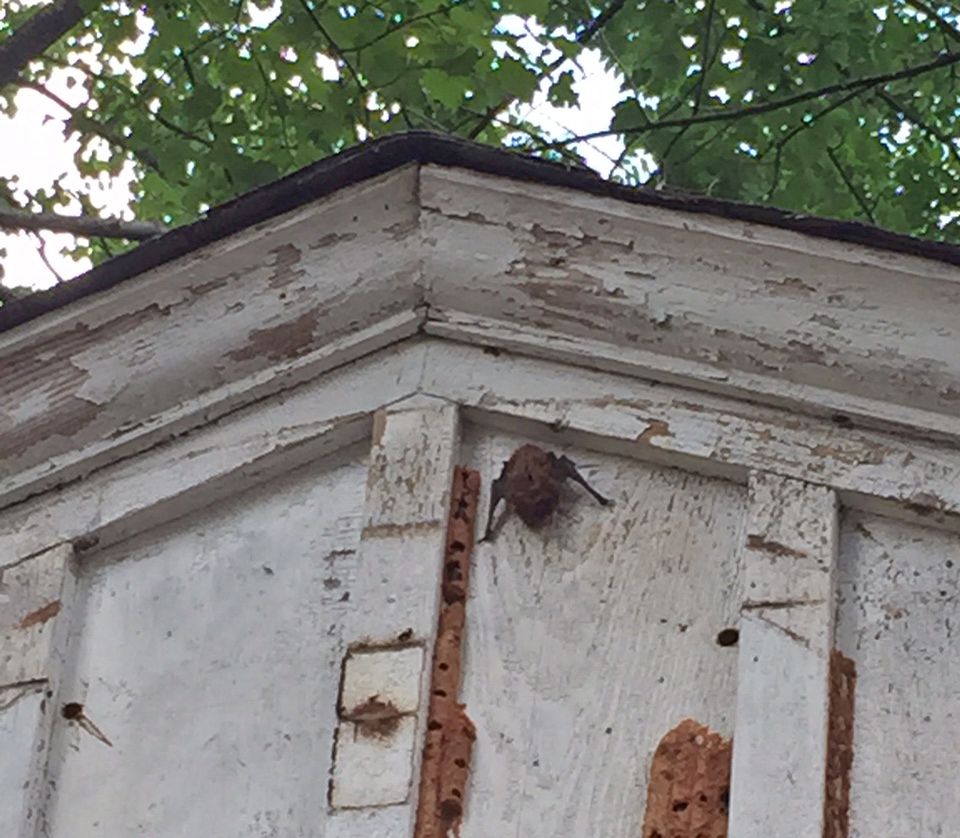
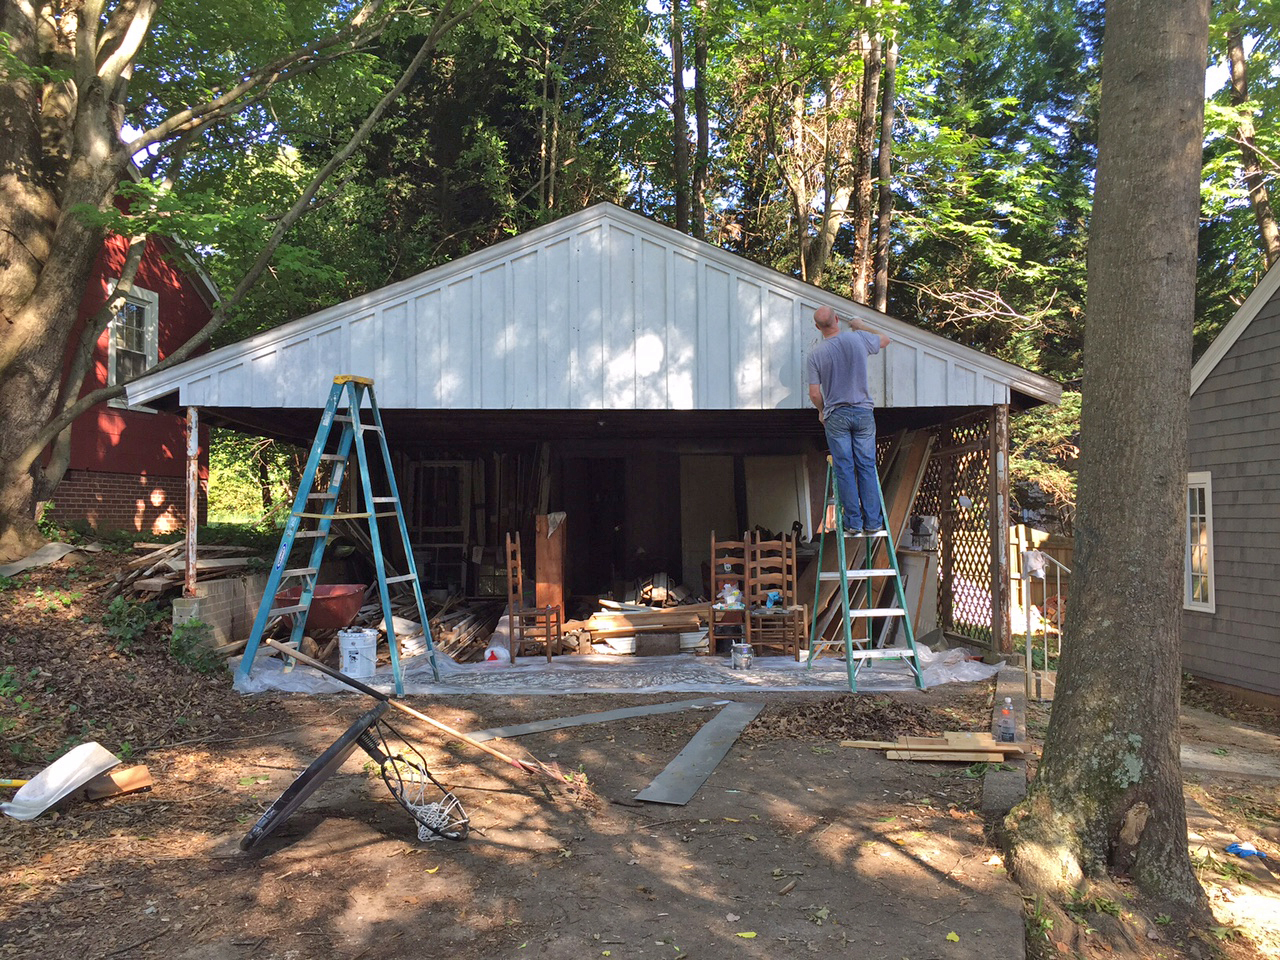
For two weeks now, the trim carpenters have been busy little birdies trimming our nest and making it look its very best. They’ve been more than patient, too. As with any old house, things aren’t exactly plumb and square around here… so the carpenters had to take a few deep breaths and get creative on projects like re-hanging old doors, dealing with a few slightly sloping floors and installing a tongue and groove ceiling in a room that is slightly off from square (They were within a few boards of being done when this little snag became apparent and had to rip it all off and start again with a slight adjustment to compensate. Yikes!).
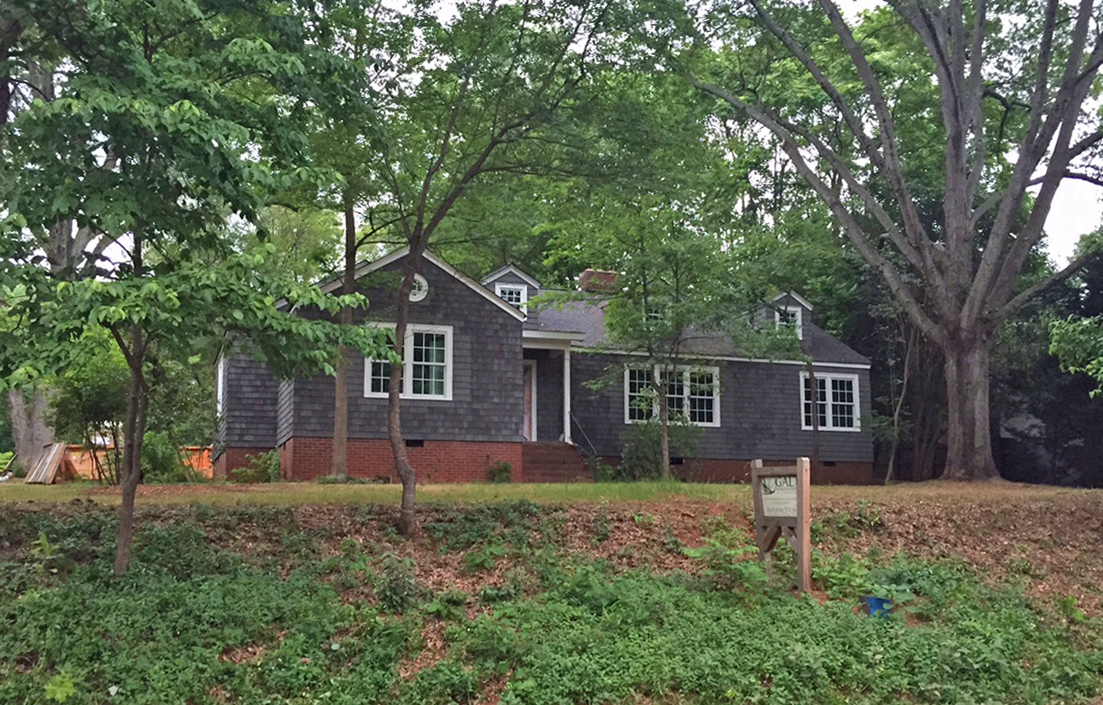
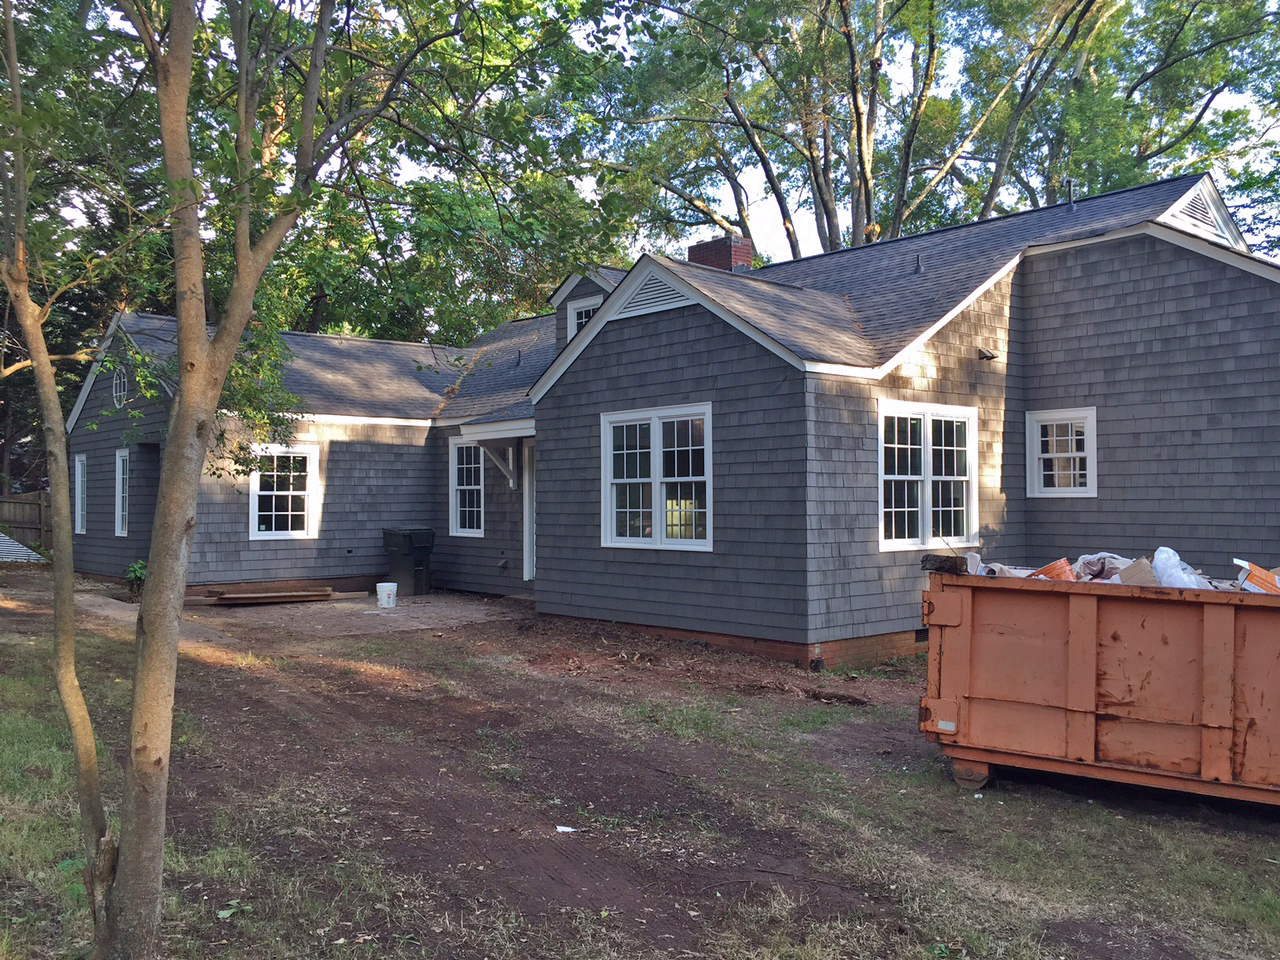
But, despite a few old-house hiccups, the trim-work is complete and we are just beside ourselves with the transformation! Check out our nest with all the trimmings…

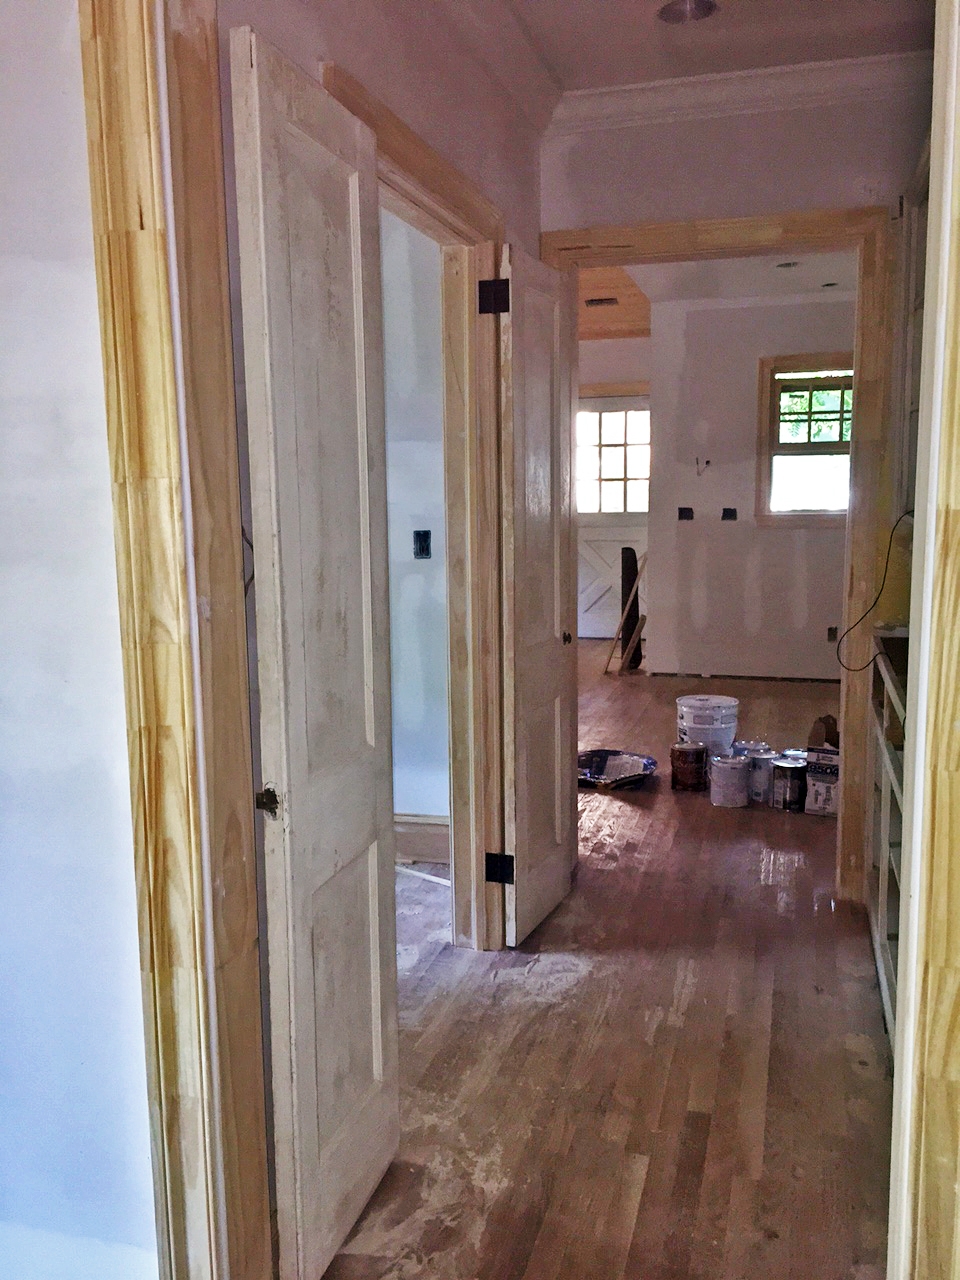
Trim materials have arrived!

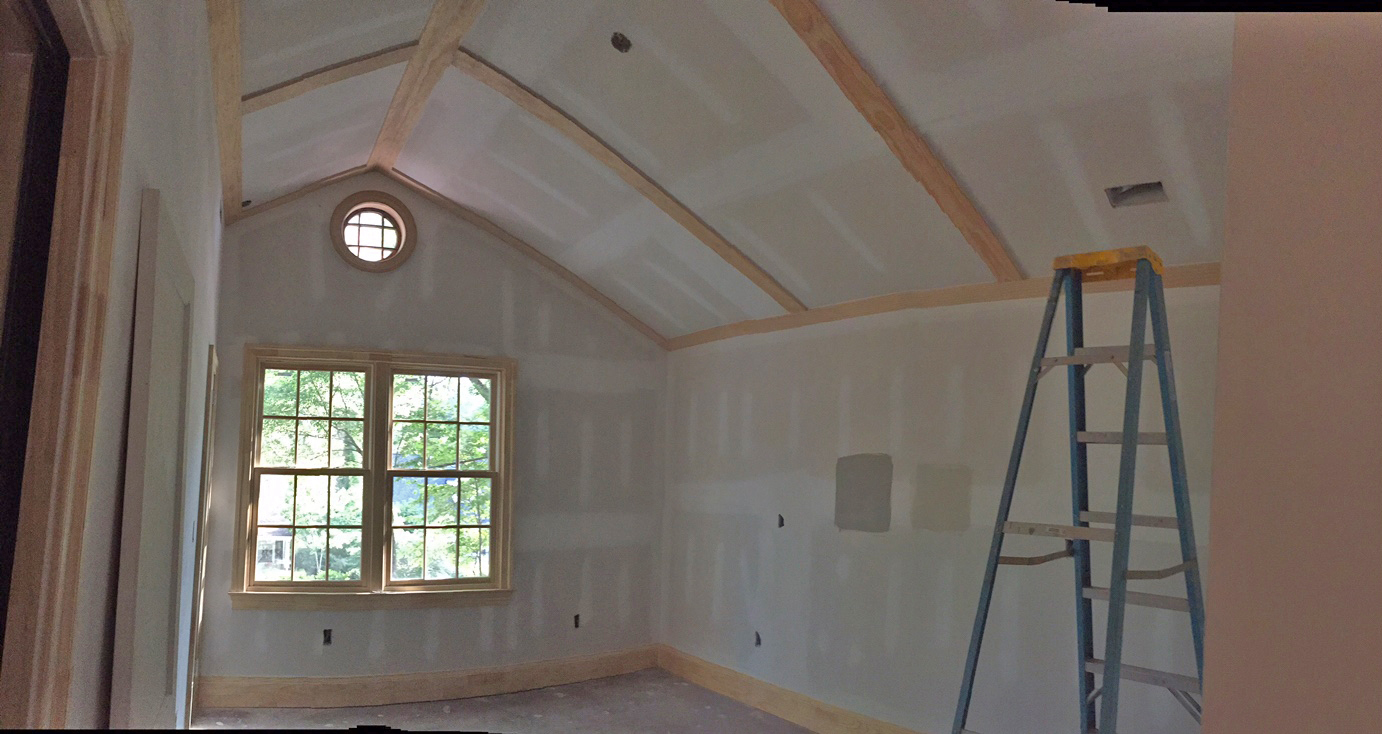
Window Trim! (Guest Bedroom)

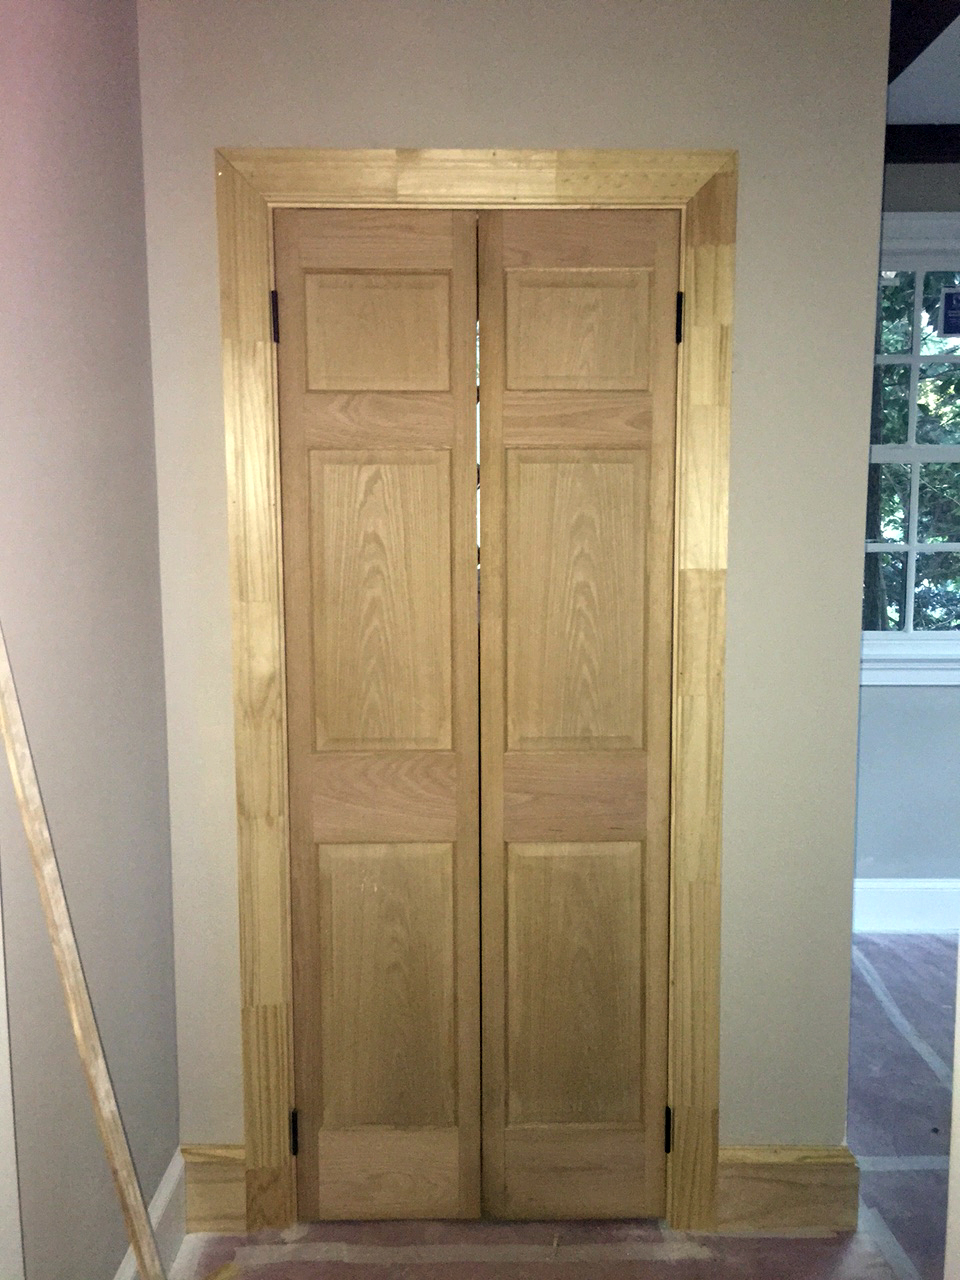
Laundry room doors are up! (This wall is new, but these doors are original to the house. We repurposed them from a small hall closet that was removed when we rerouted the hallway to the bedrooms.)
A view of the doors when they’re open — they fit perfectly and lay flat against the walls, so they don’t block the butler’s pantry pass-through.

Baseboards and crown molding are up in the guest bedrooms!
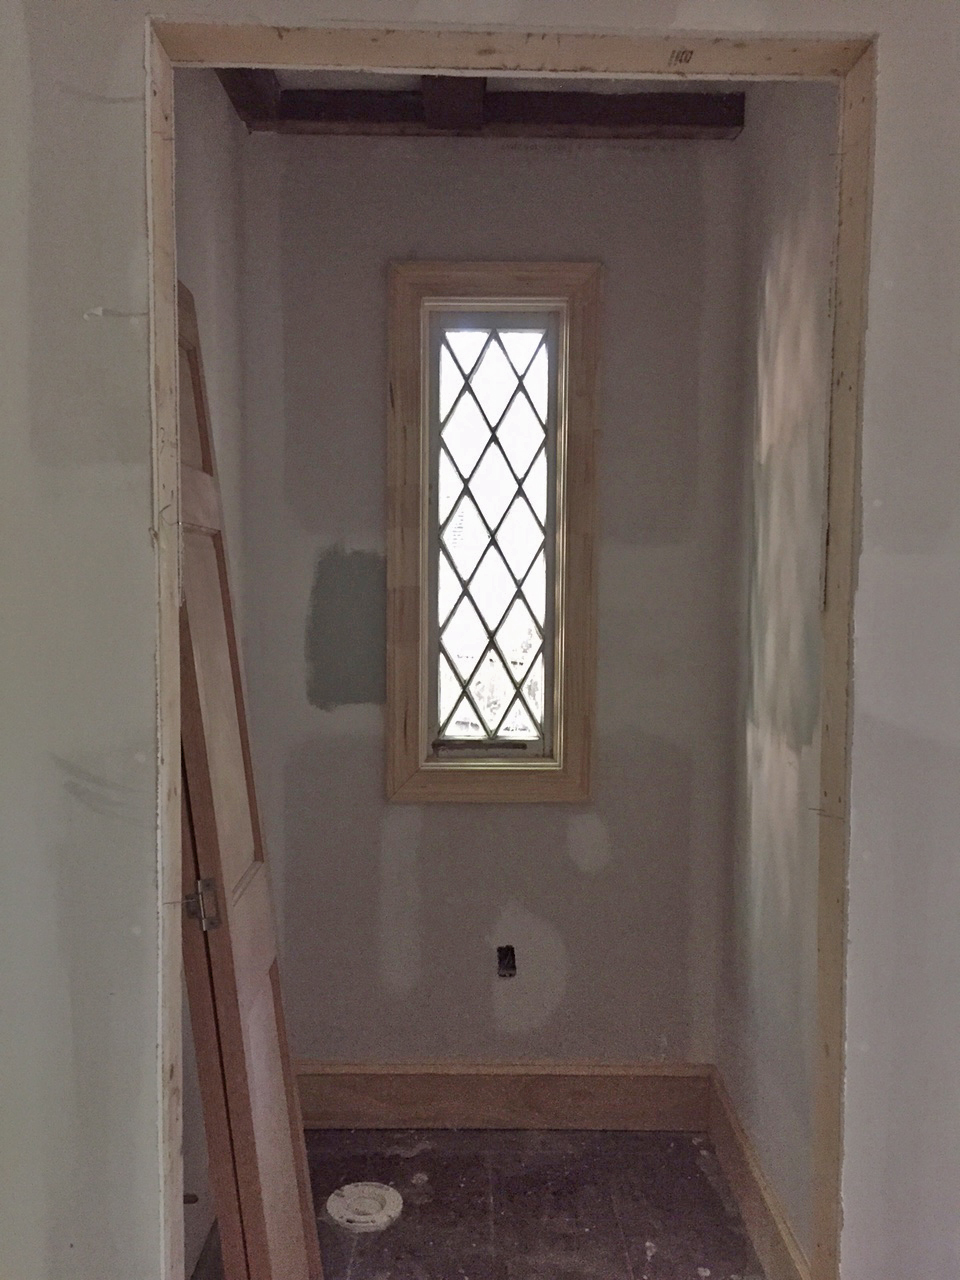
Powder room window is trimmed and looking fantastic…
Powder room doors go up.

The HVAC ductwork that runs through all the upstairs dormers is being hidden with little window seats 🙂
Master bedroom ceiling trim is in place. We are really loving the way this detail turned out!

Master bathroom! (Blurry, but you get the idea…)

Ta-dah! Great room ceiling is in.
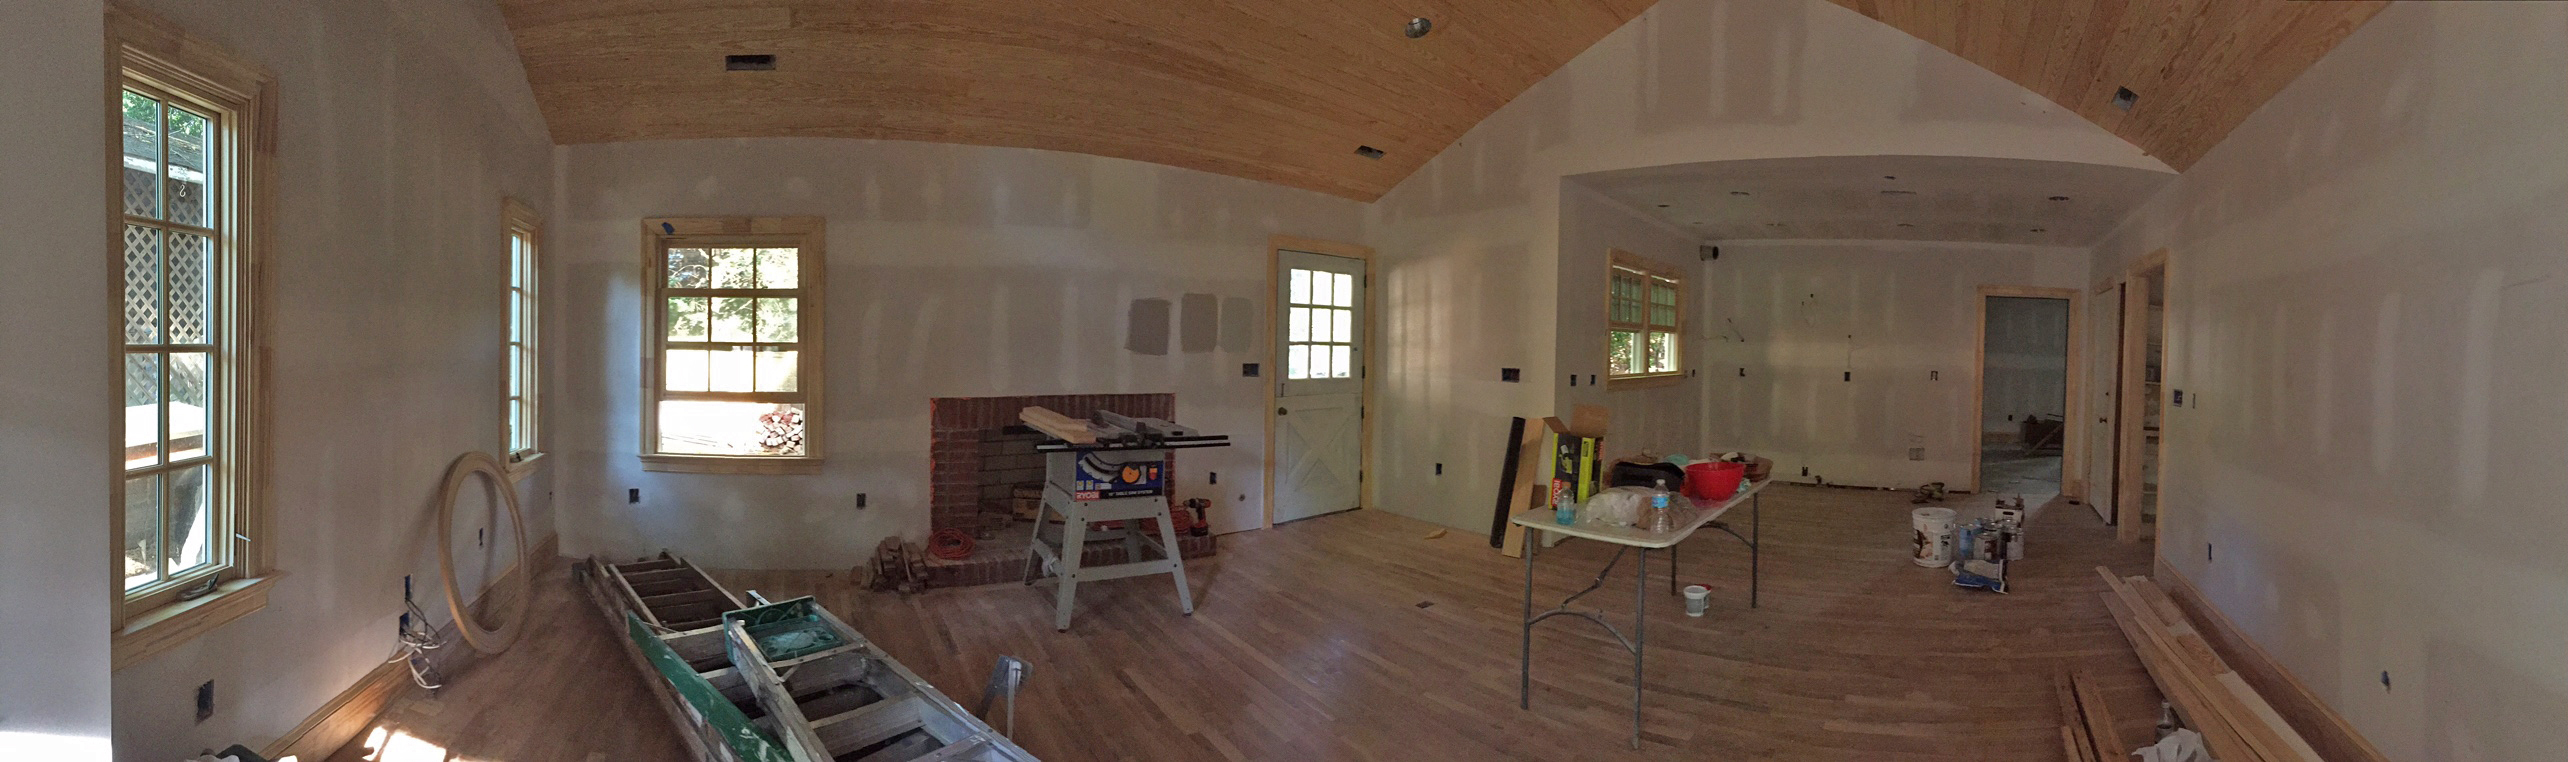
What a difference!


