The Little Dutch Door That Could

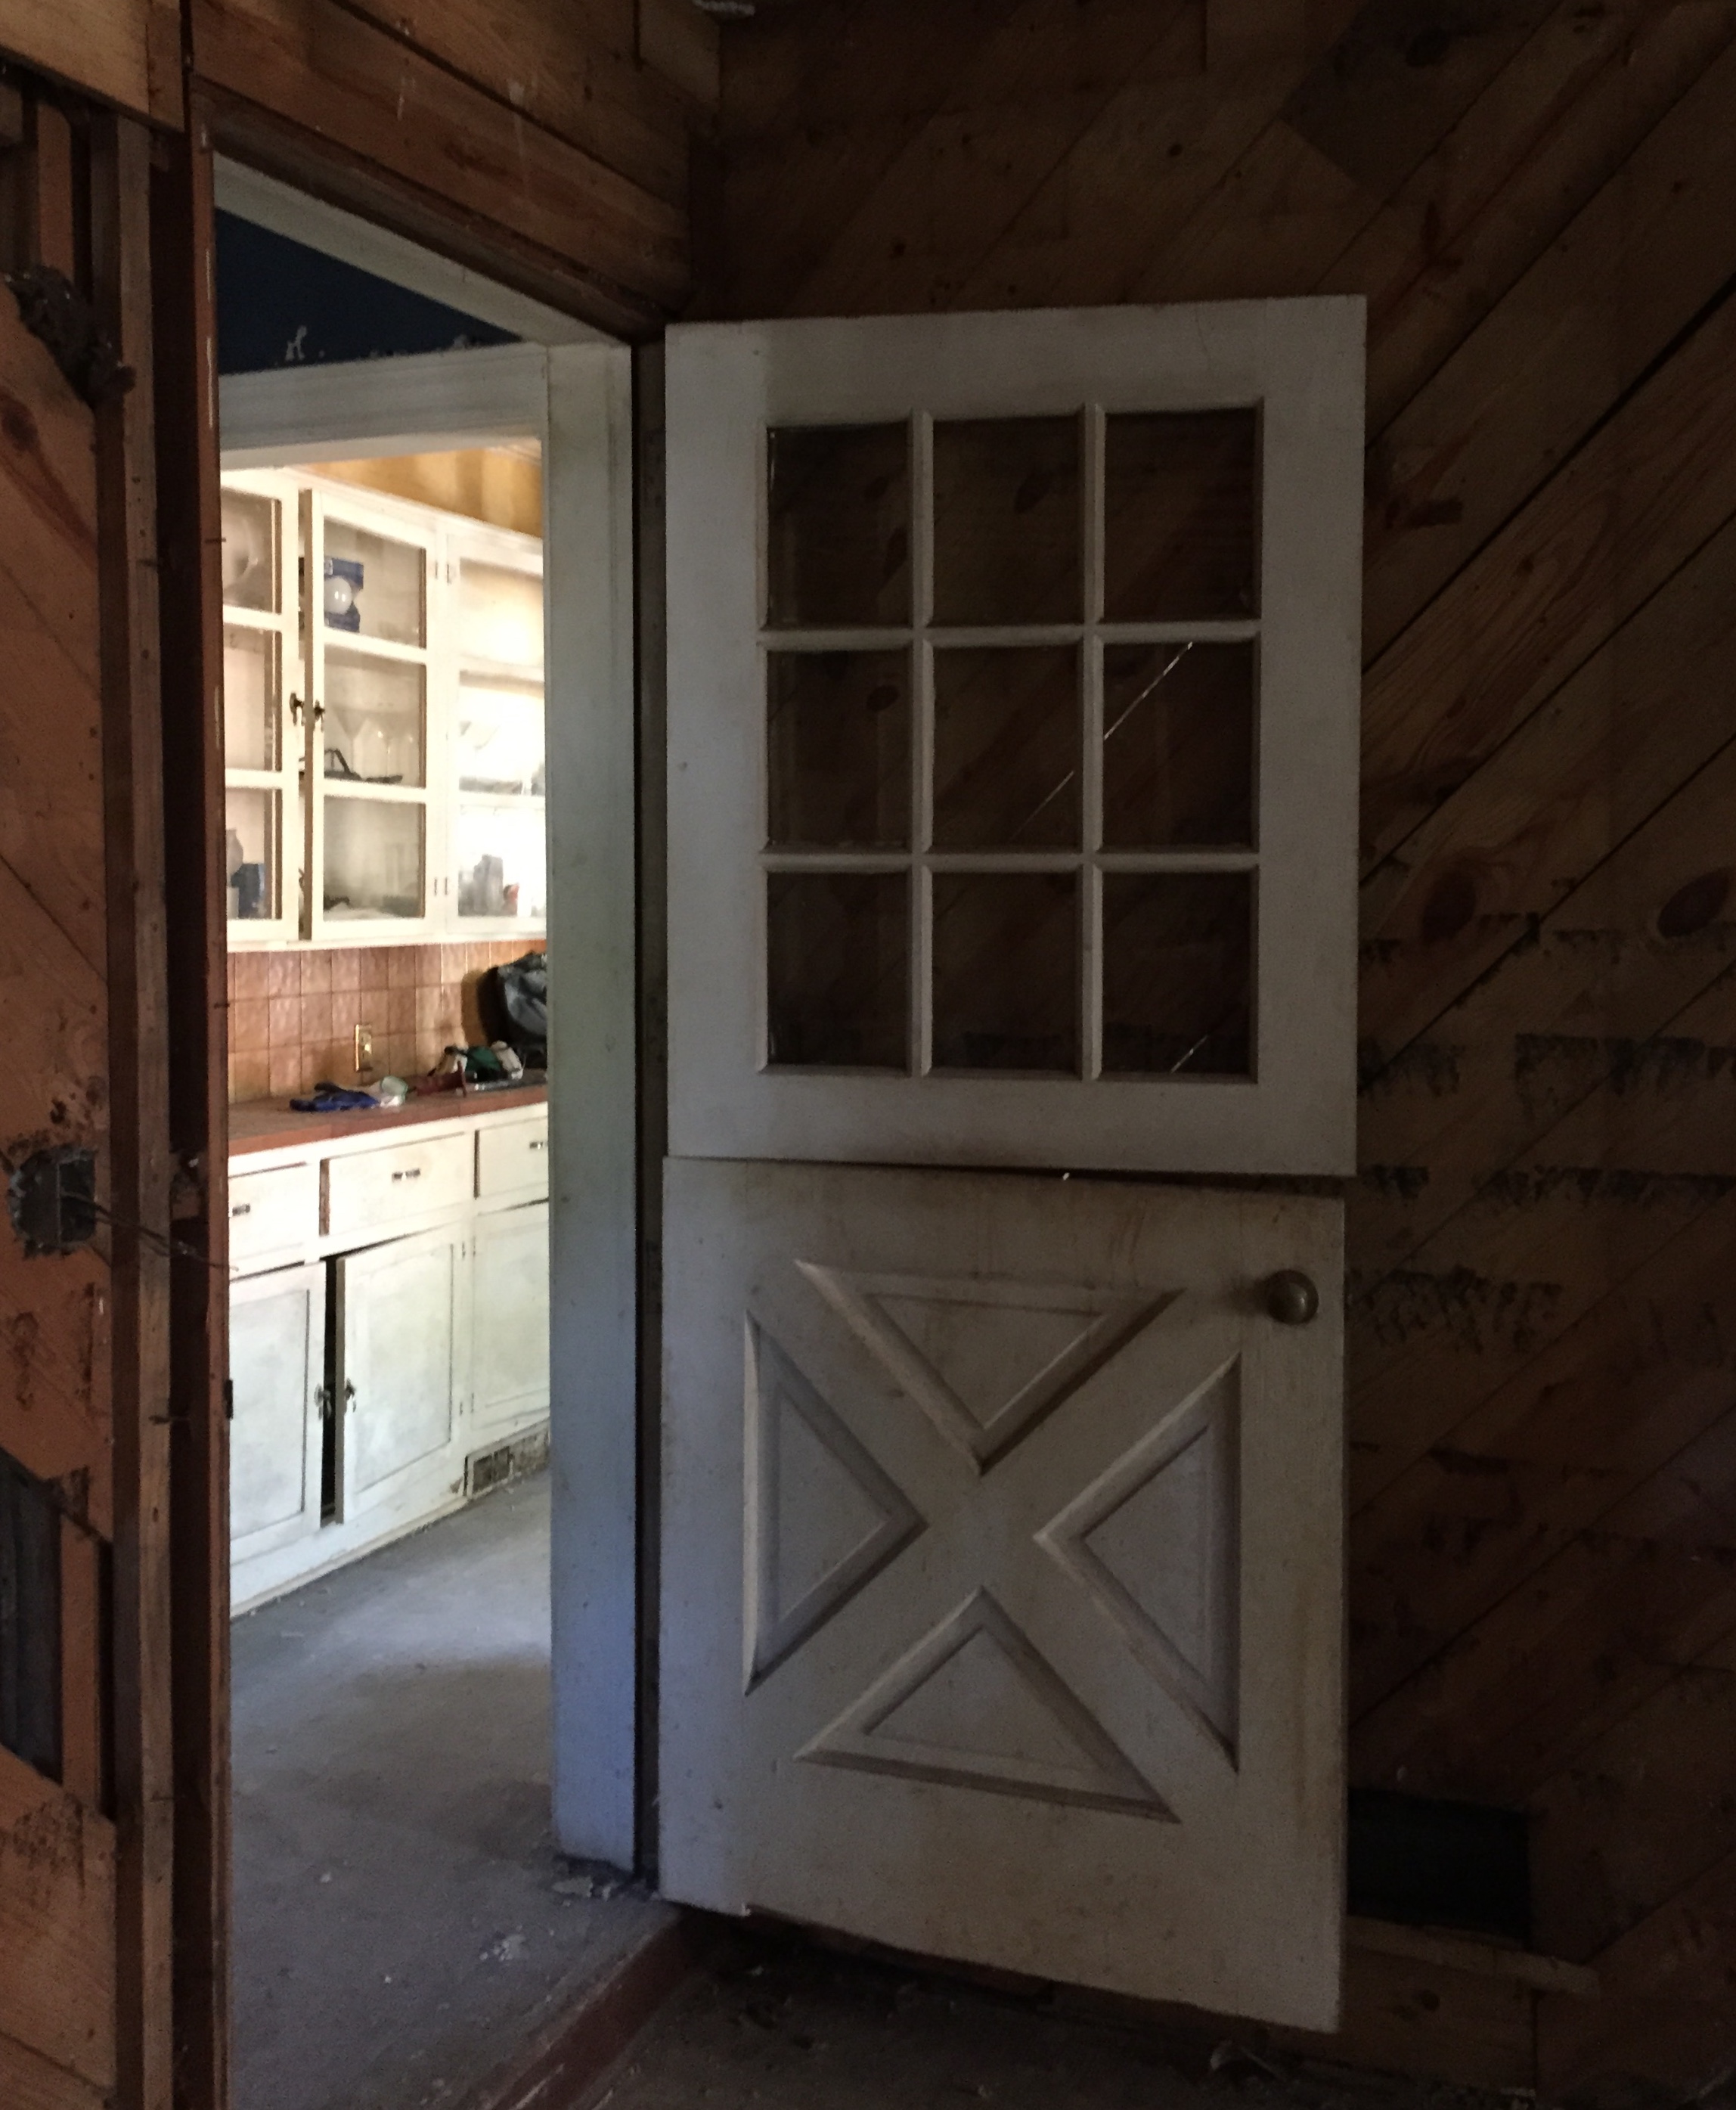
From the very first time we laid eyes on this door, we knew it was a keeper. It couldn’t stay in its original location because – as you know – we removed the wall between the kitchen and garage-turned-family-room, but there was no way we were getting rid of this little beauty! So we decided to make it an exterior door leading from our family room out to our side yard.

Perfect! How hard could it be to convert an interior door to an exterior one? No big deal, right? Wrong. I’ve said this more than once, but It’s always those “simple” little projects that surprise you and turn into total marriage testers (Kidding! But it was not our finest moment. 😉 ).

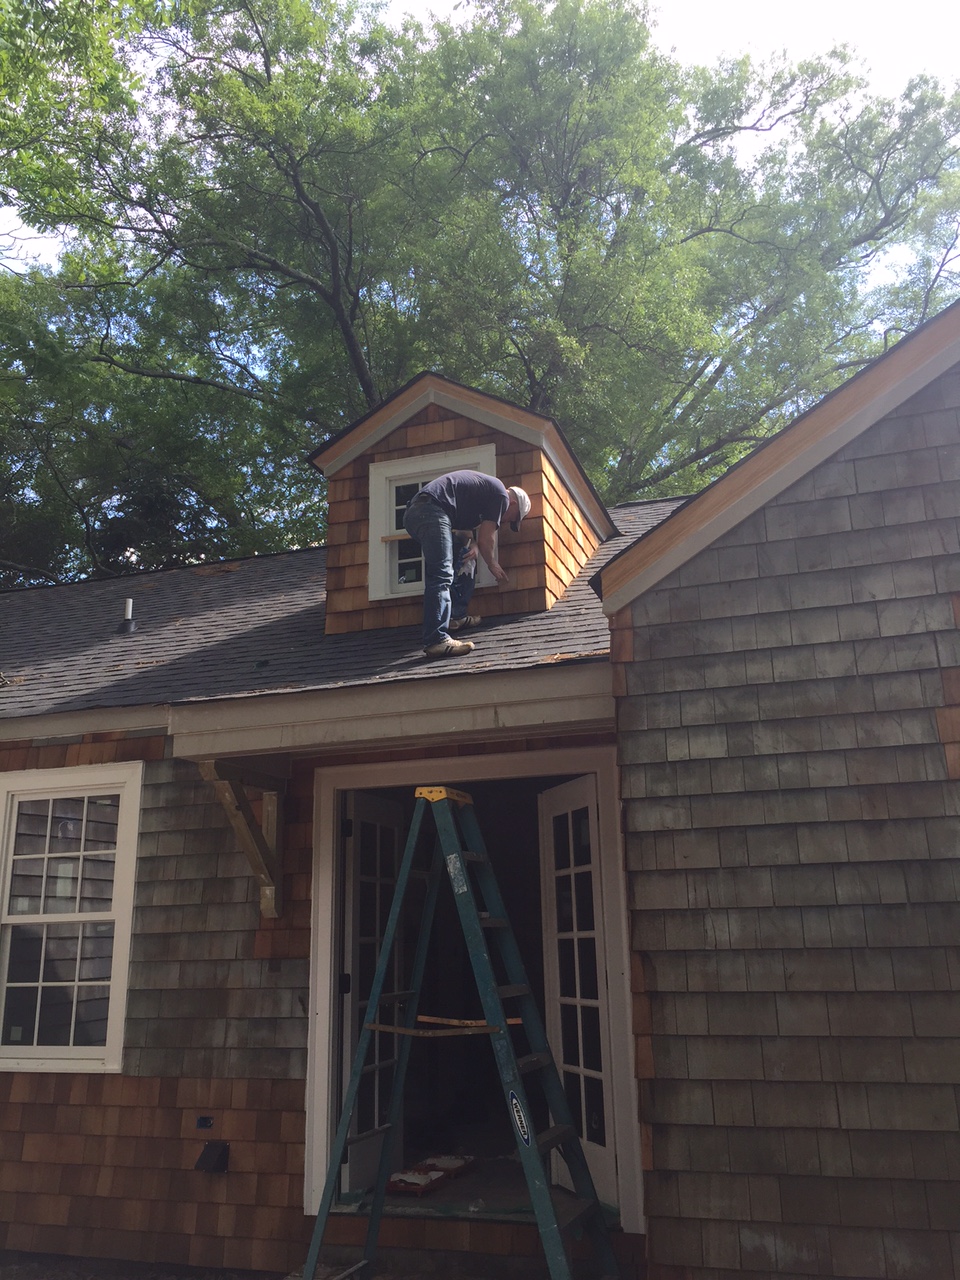
Besides the overall sanding, stripping and repainting, this sweet little Dutch beauty had to be weather-stripped and water-tested (there’s no overhang above the door, so we had to be sure it was watertight). We set to work adding weather-stripping to the doorframe, but didn’t realize we would also need to seal all the window panes and the split between the top and bottom halves of the door…until we tried the “hose test.” Despite our best weather-stripping efforts, she leaked like a sieve.

I’ll spare you the boring details, but after several trips to Home Depot and failed attempts at a solution (not to mention, lots of wet towels and soggy feelings), we found a small rubber seal, carpet tacks, and a good caulk line did the job.

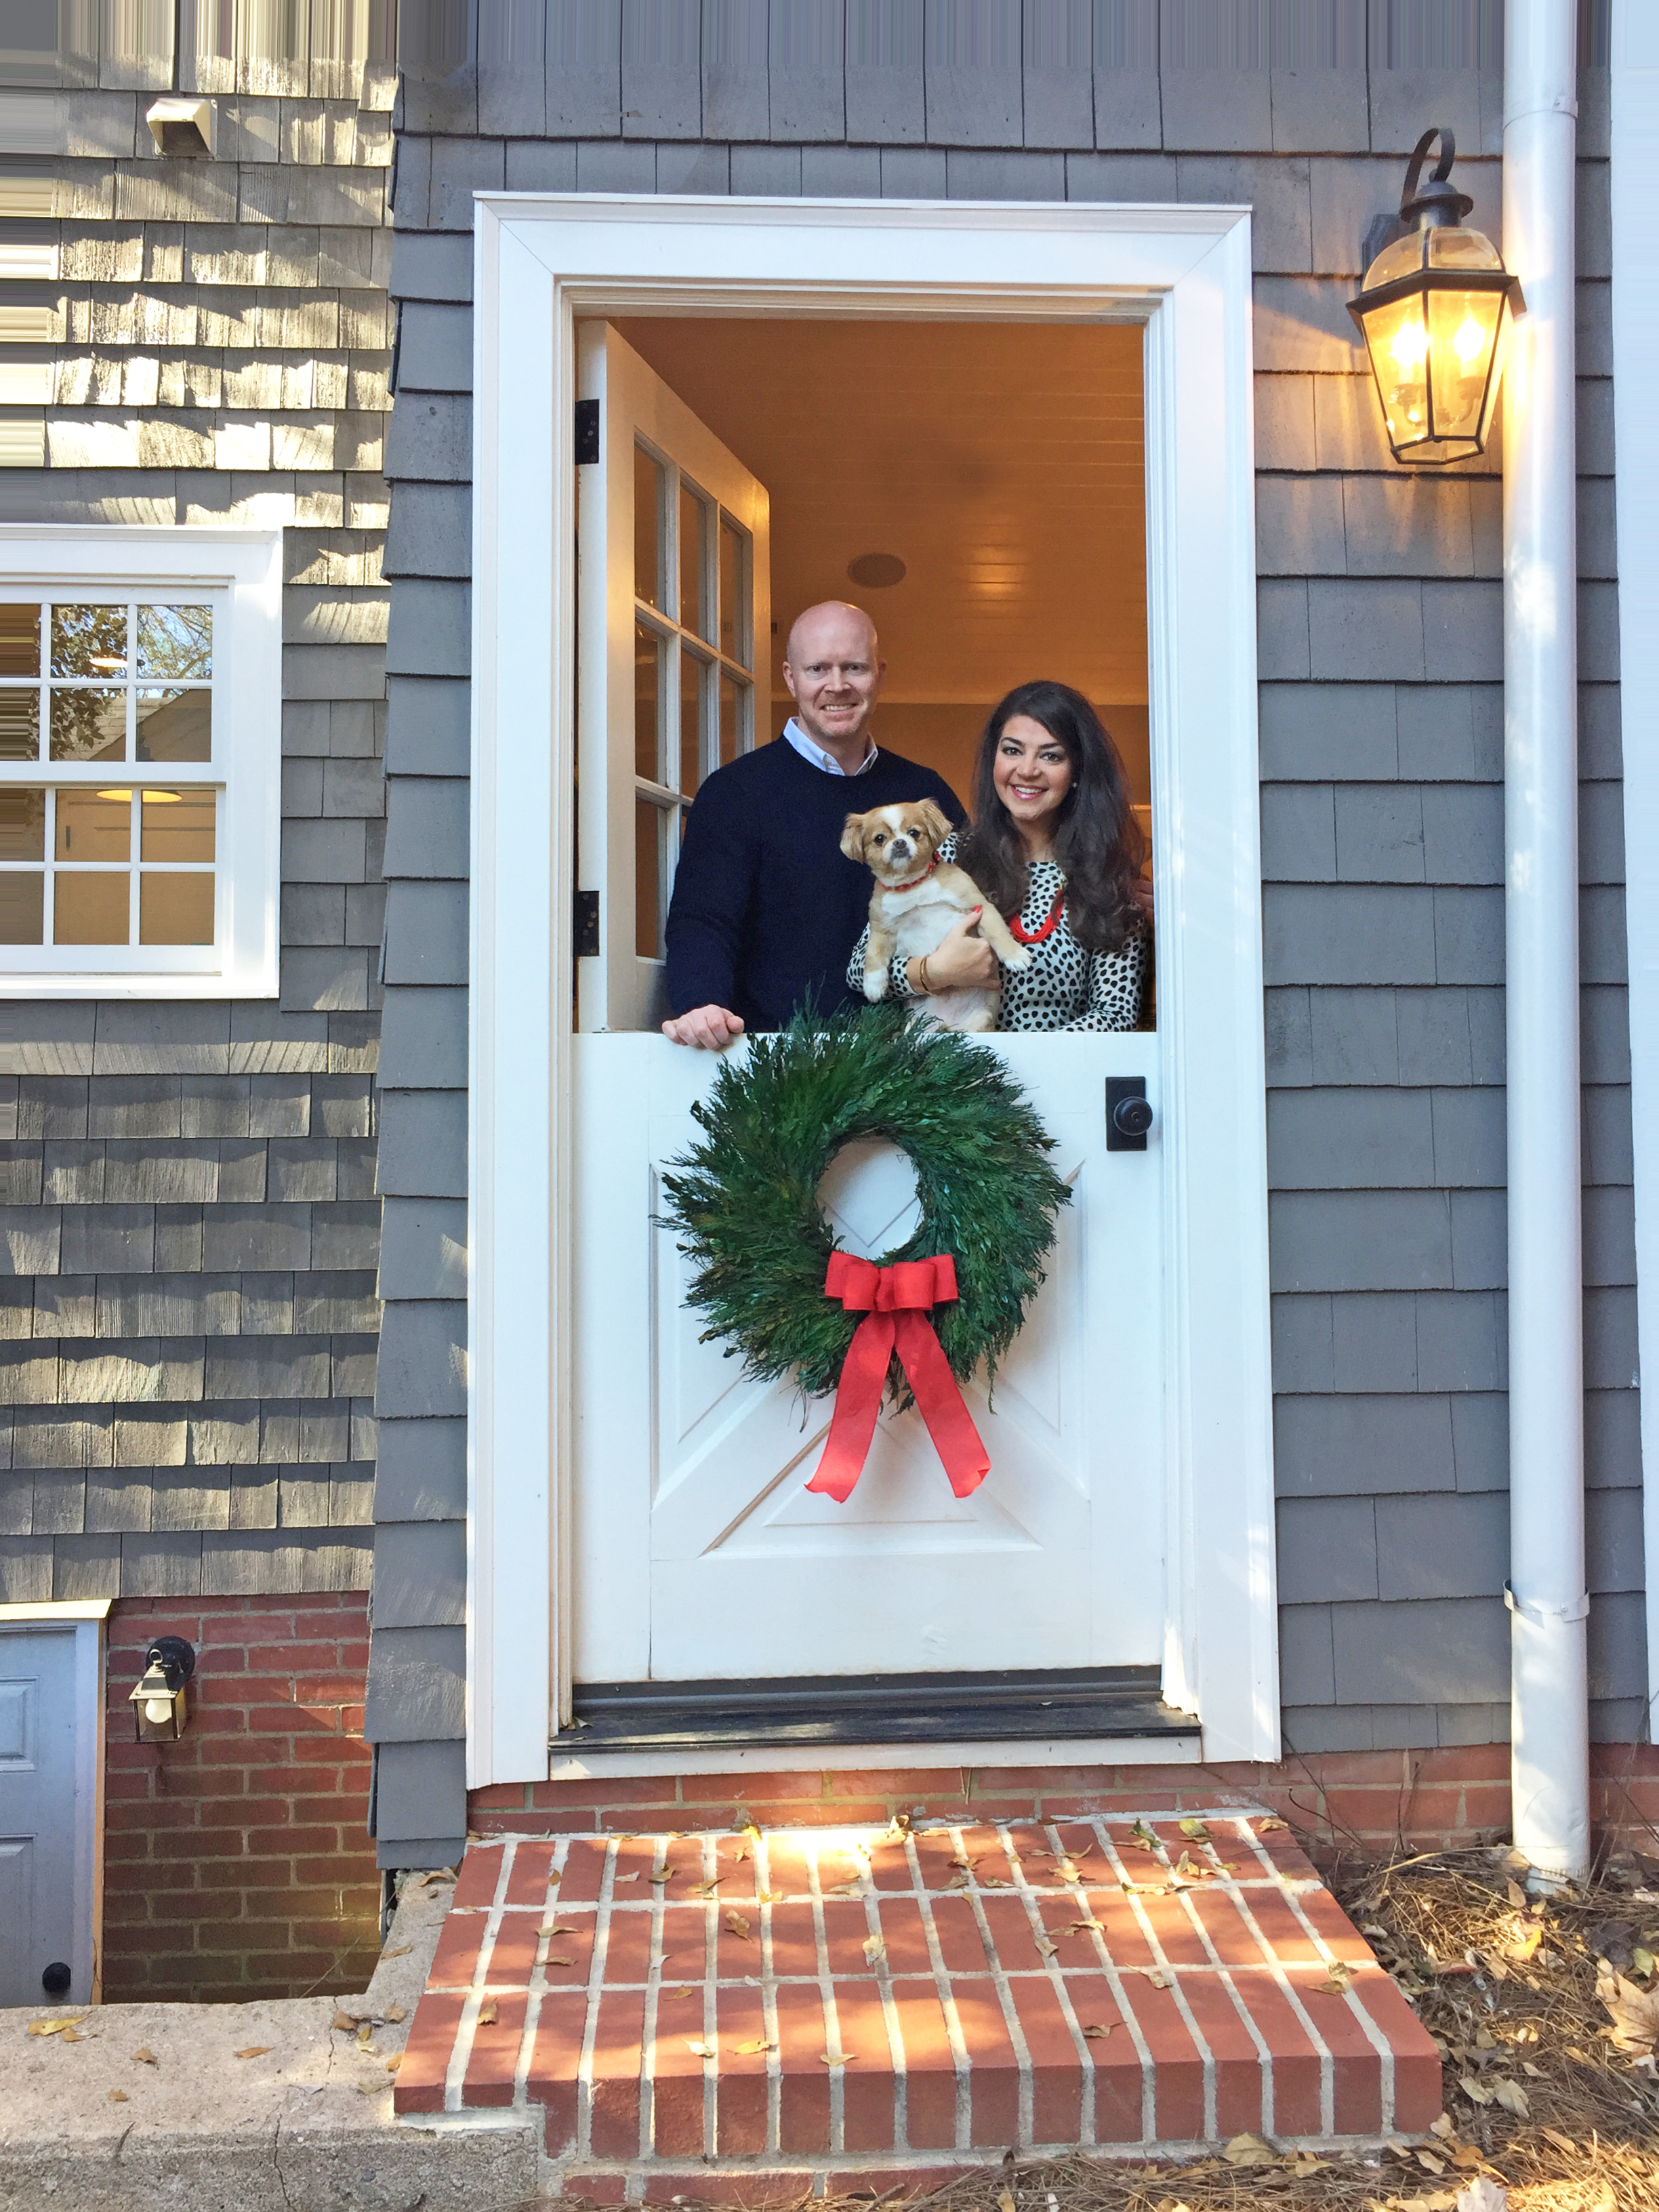
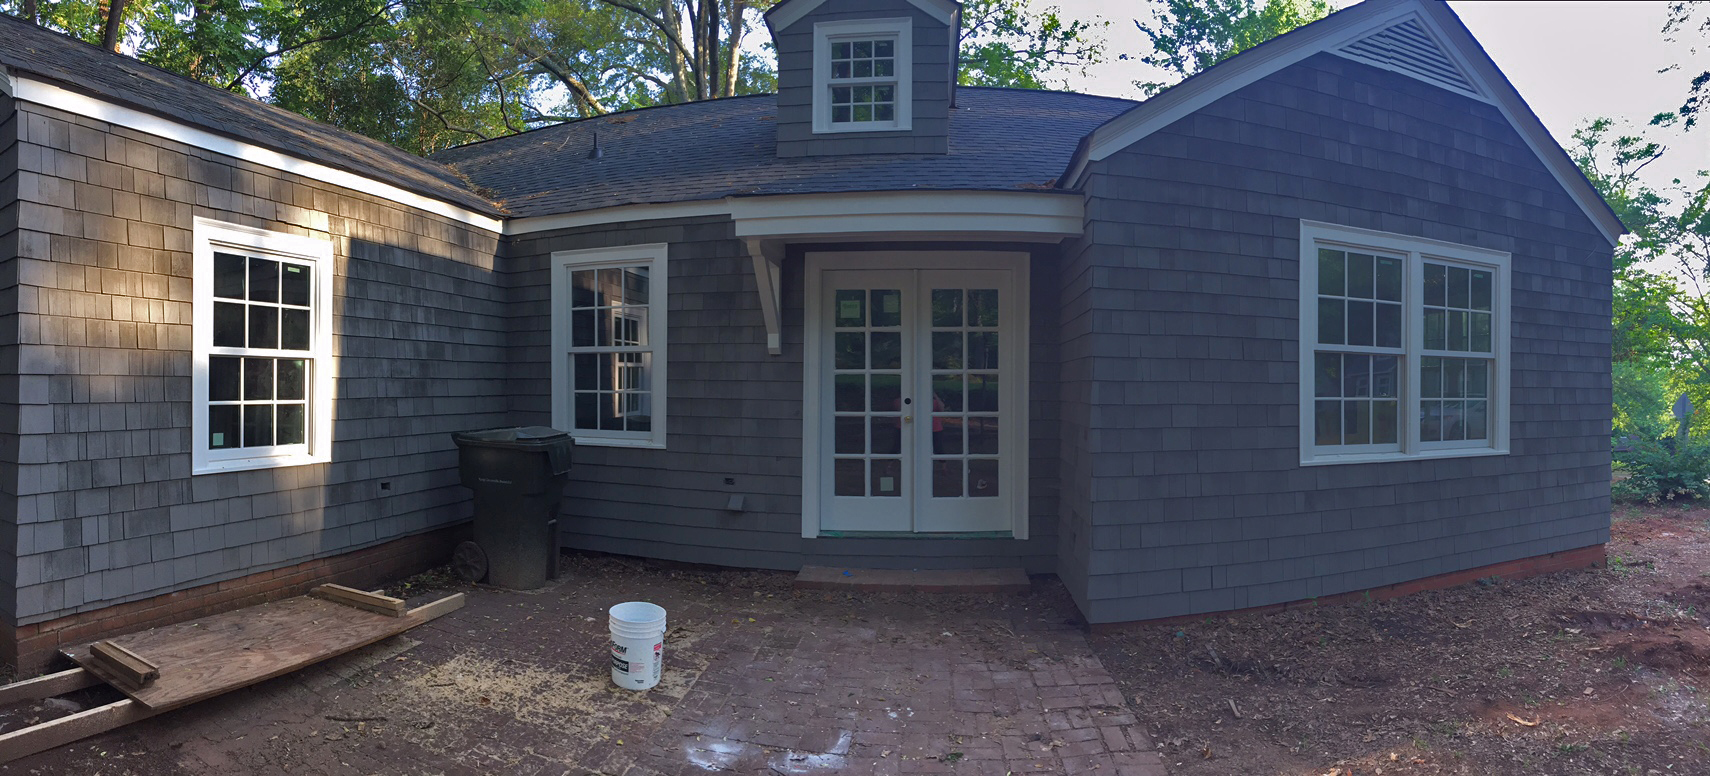
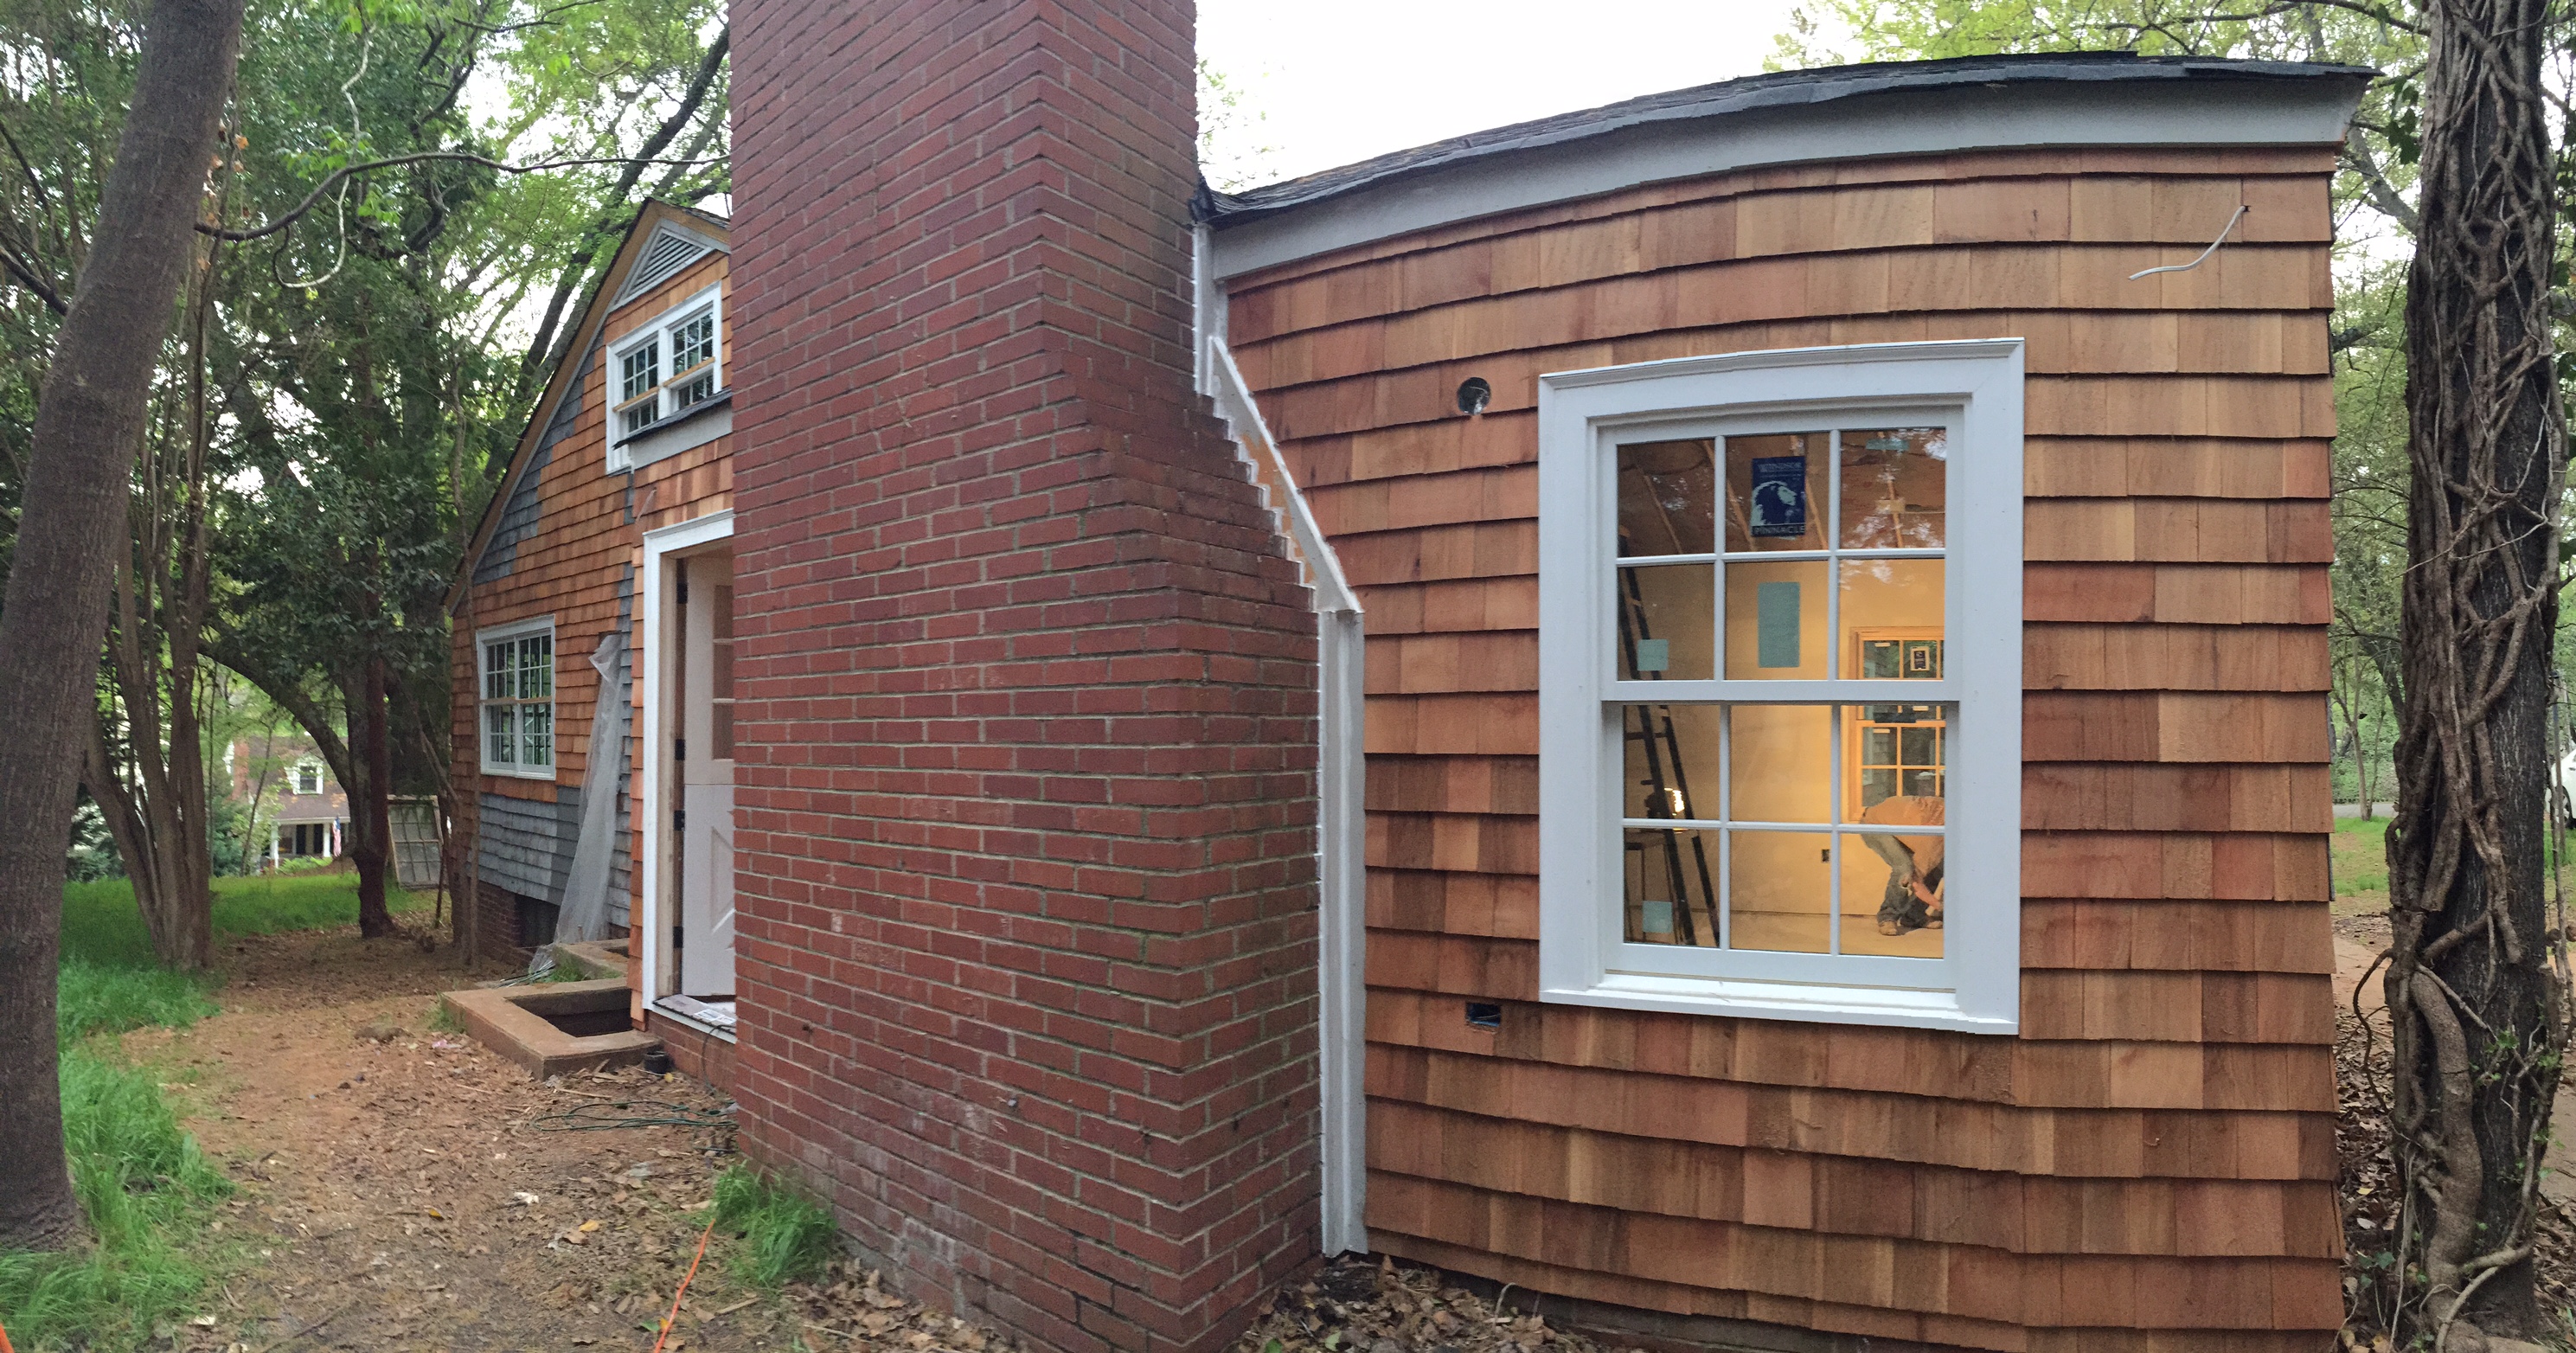
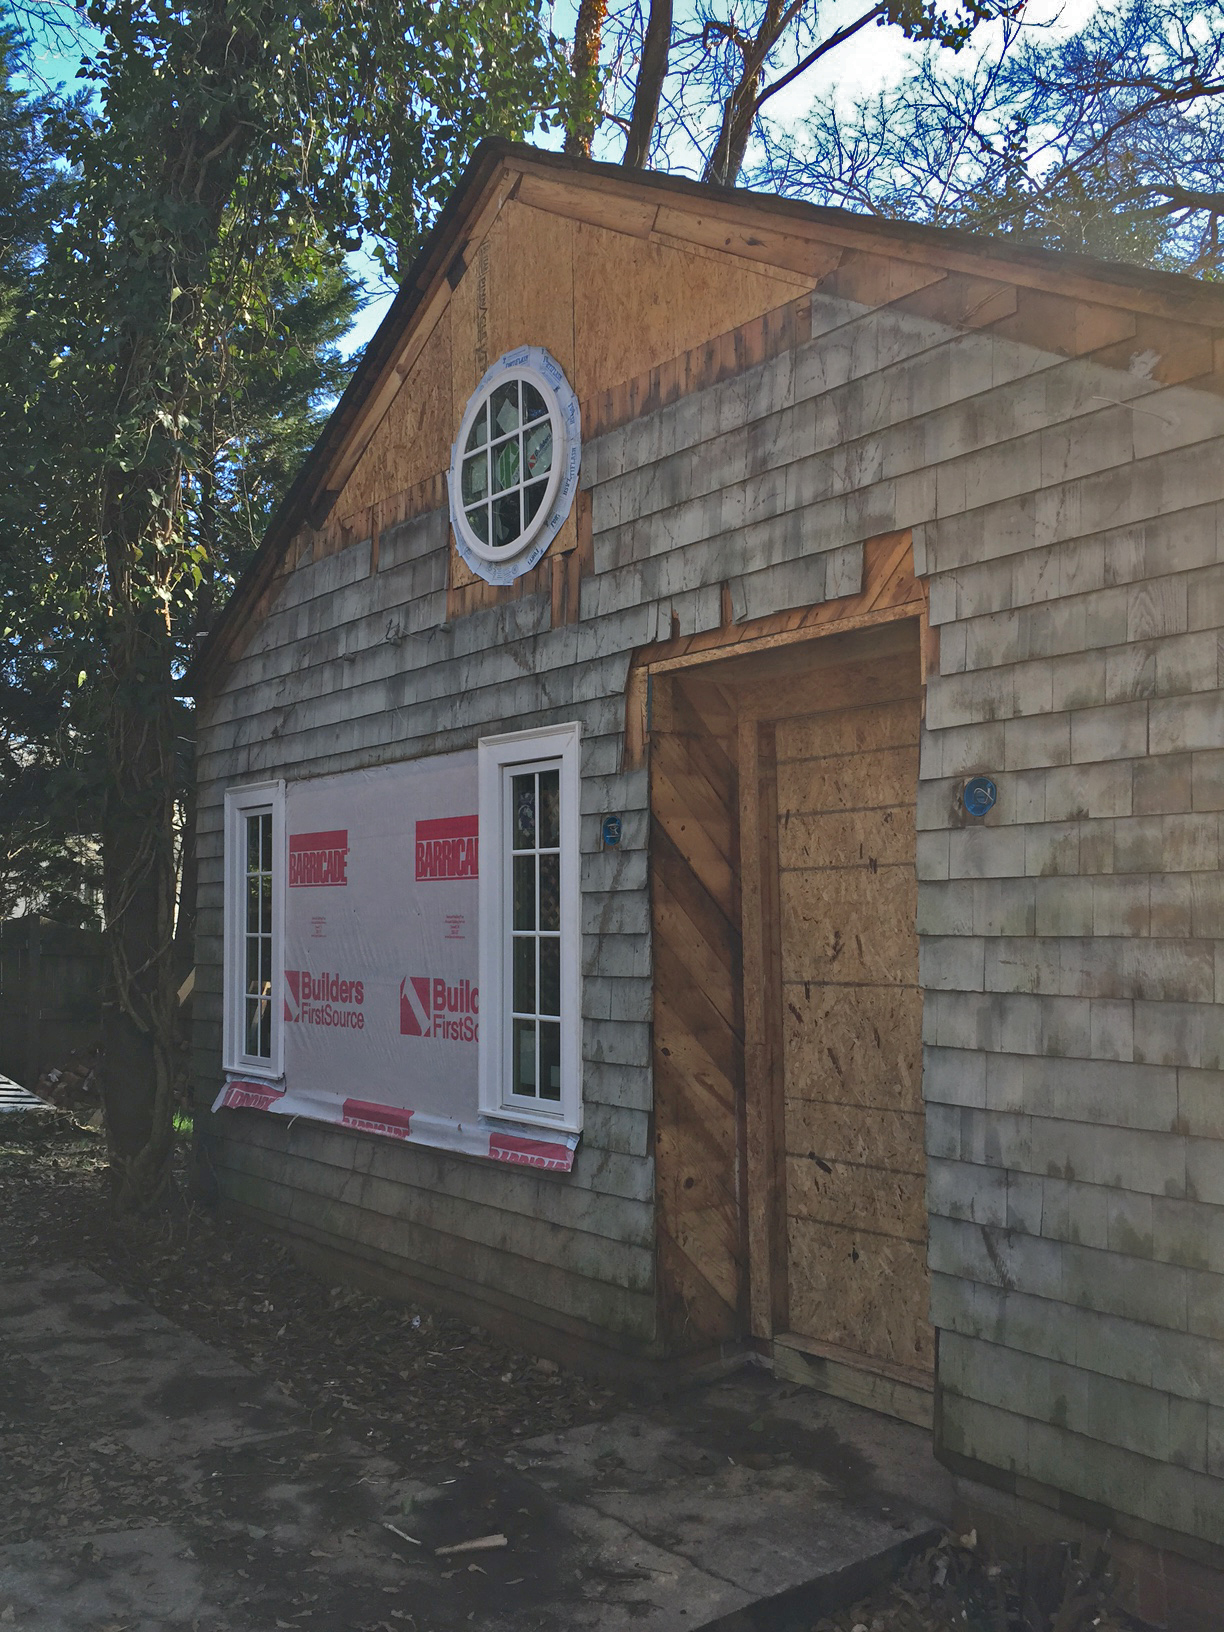
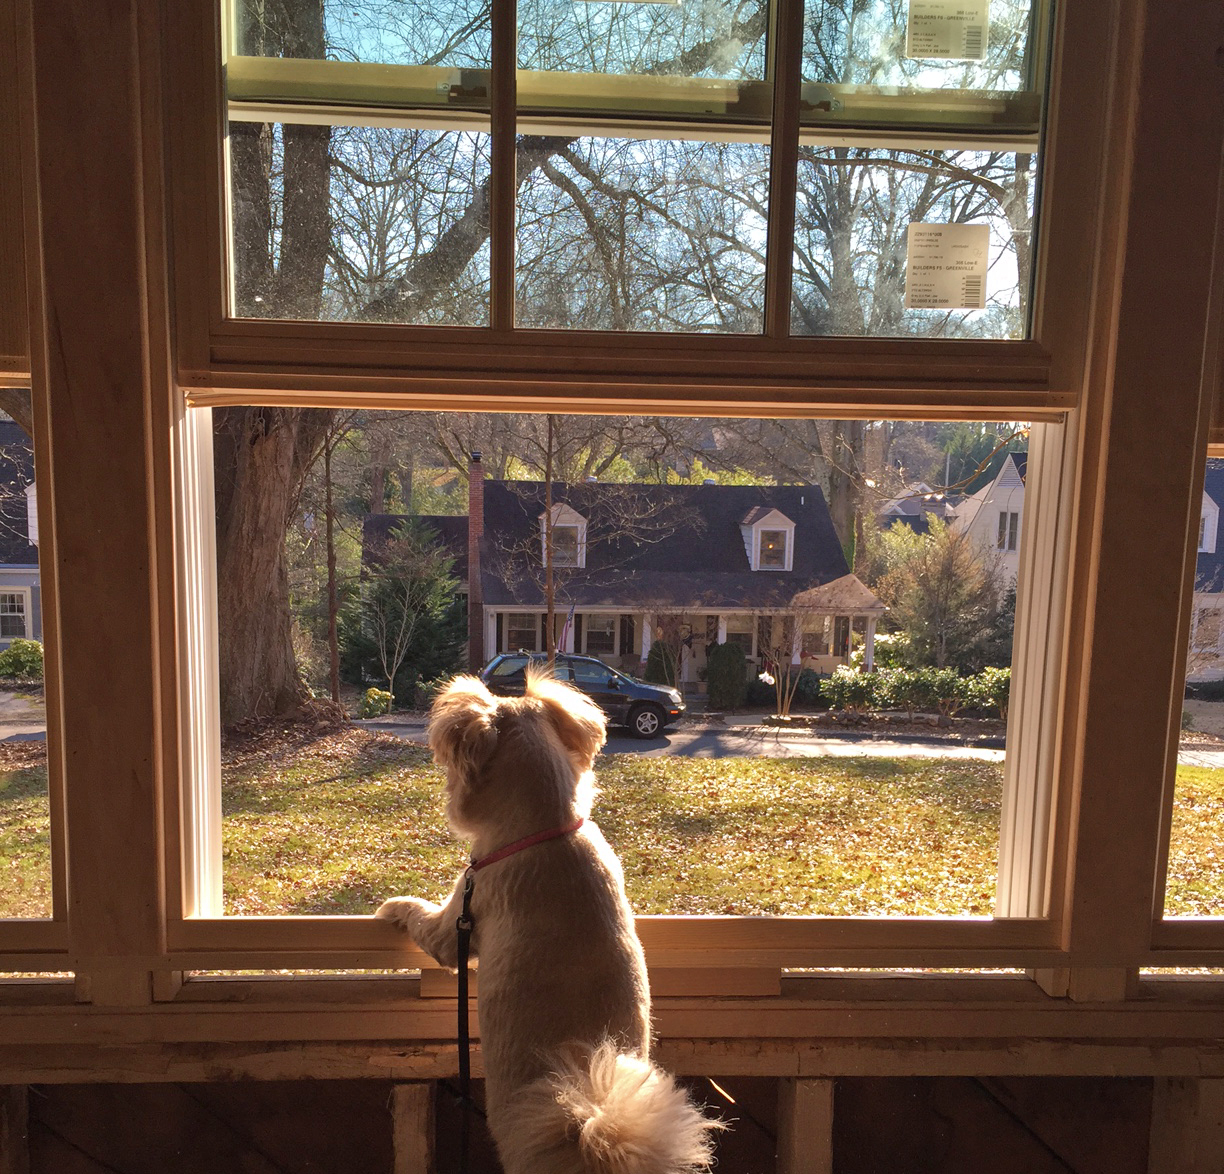
Installed in her new home!
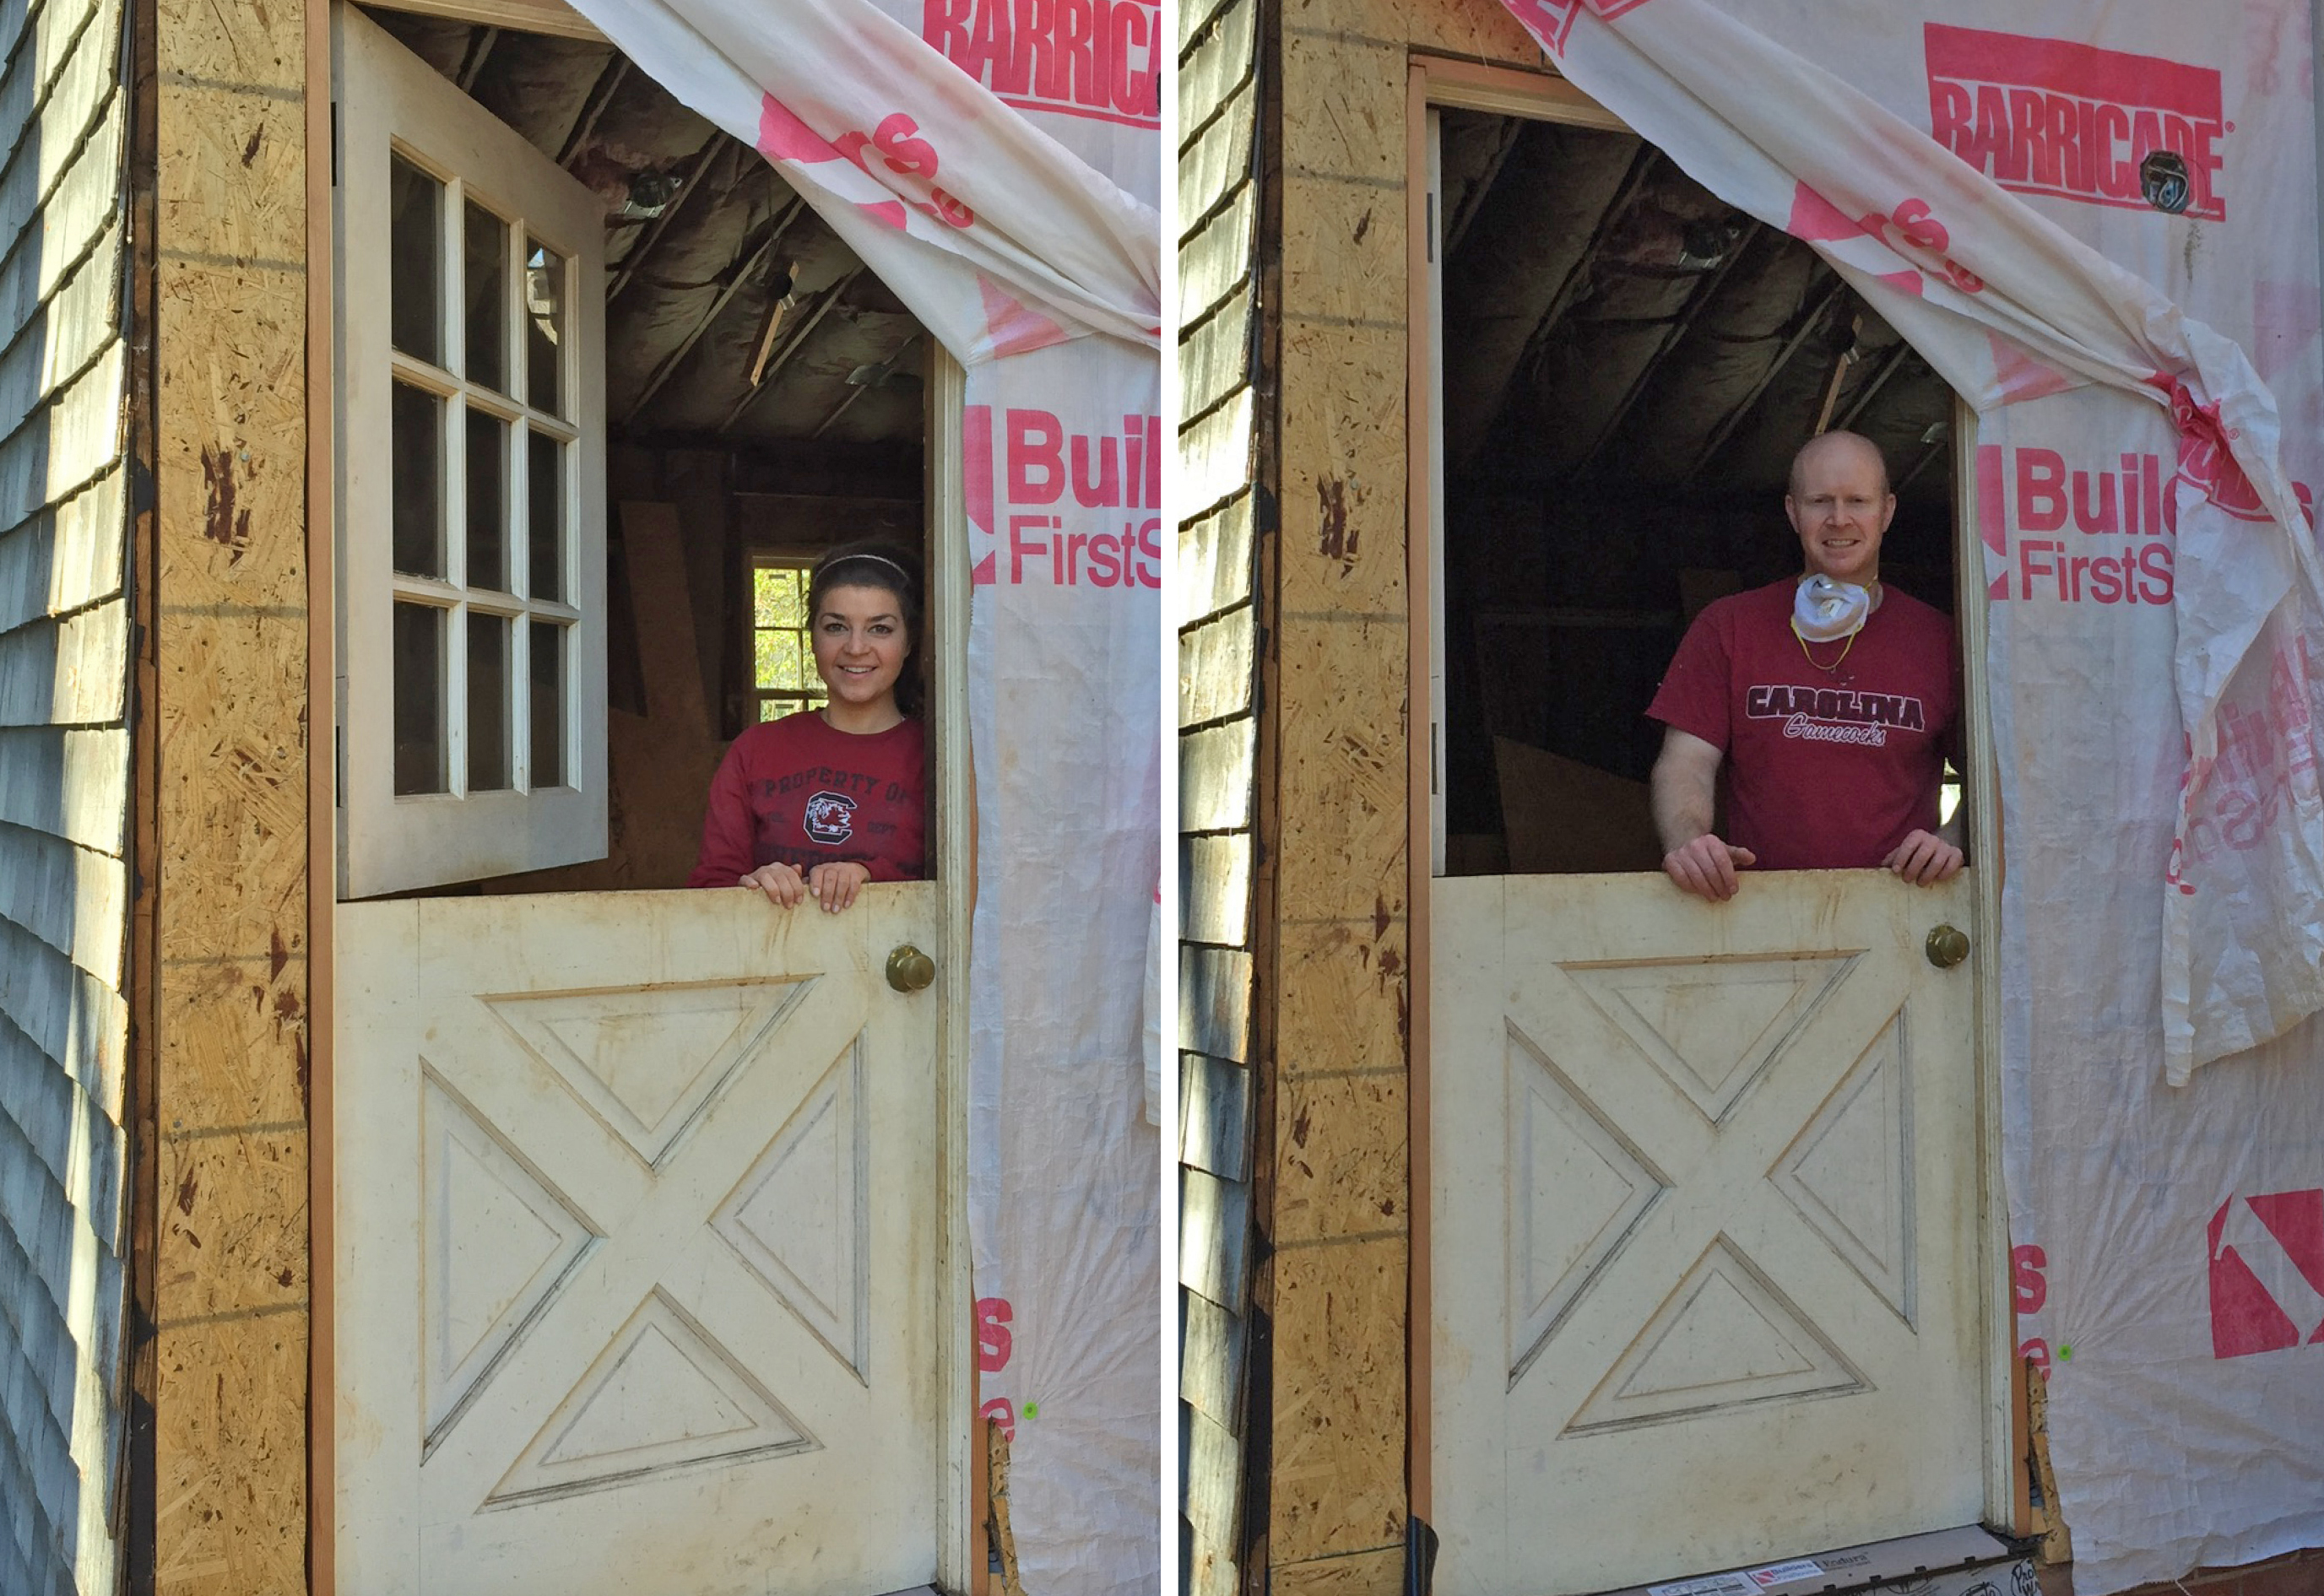
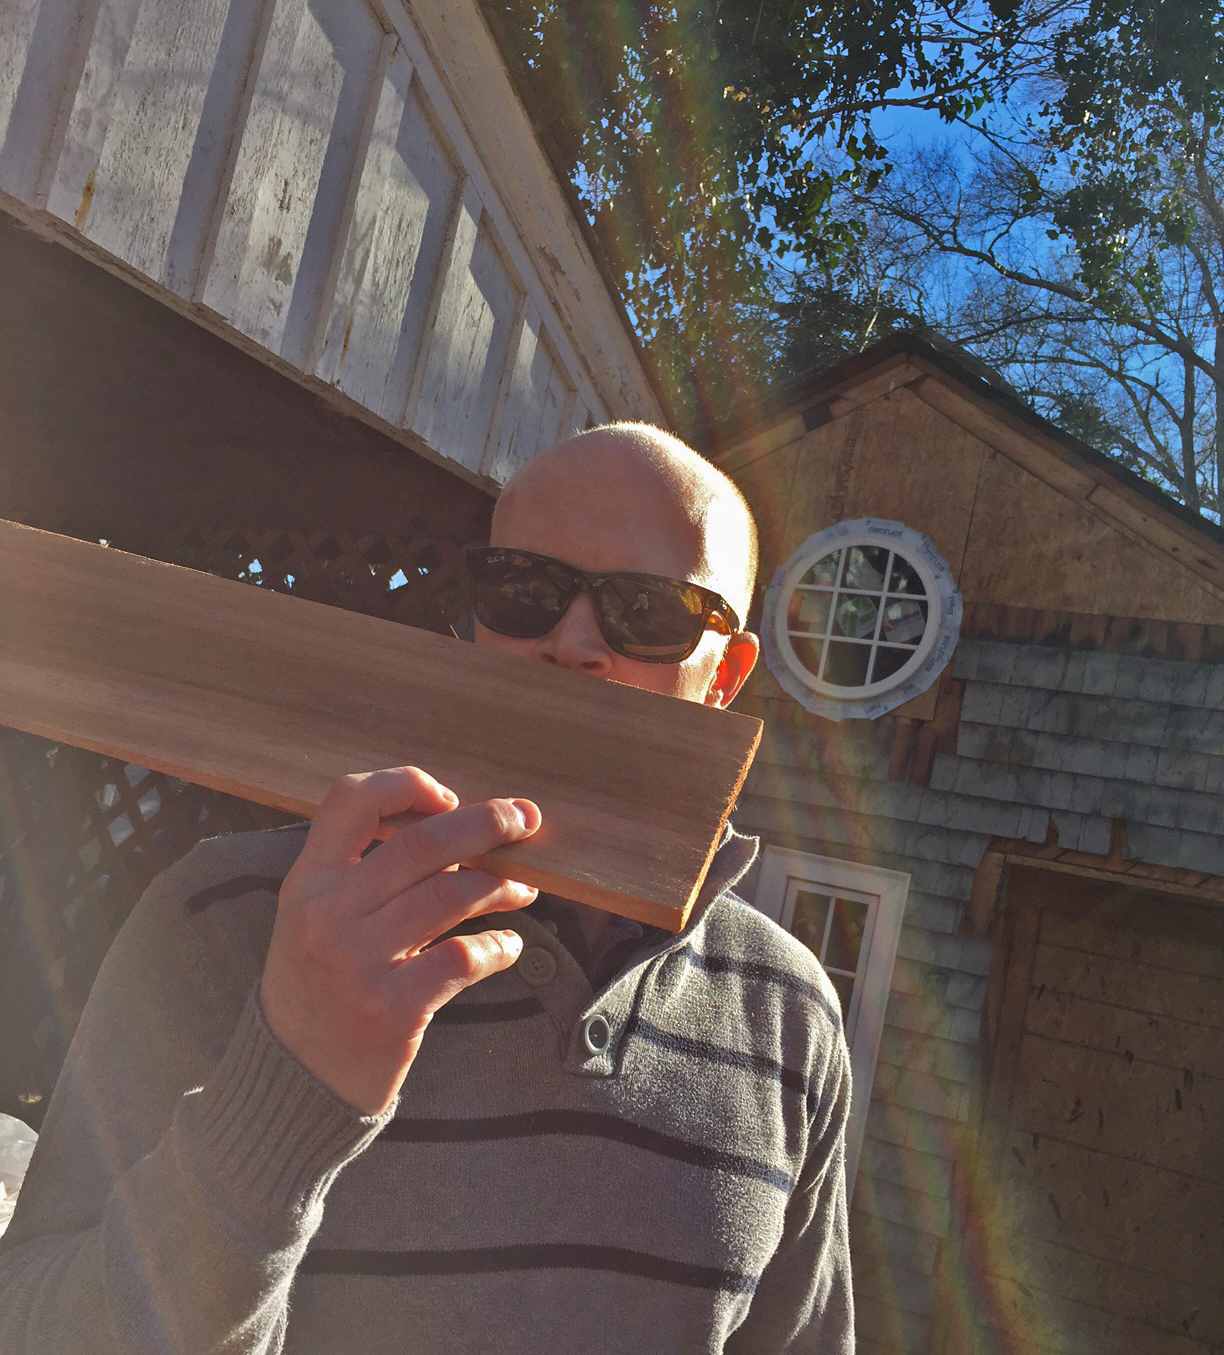
Proud owners 🙂

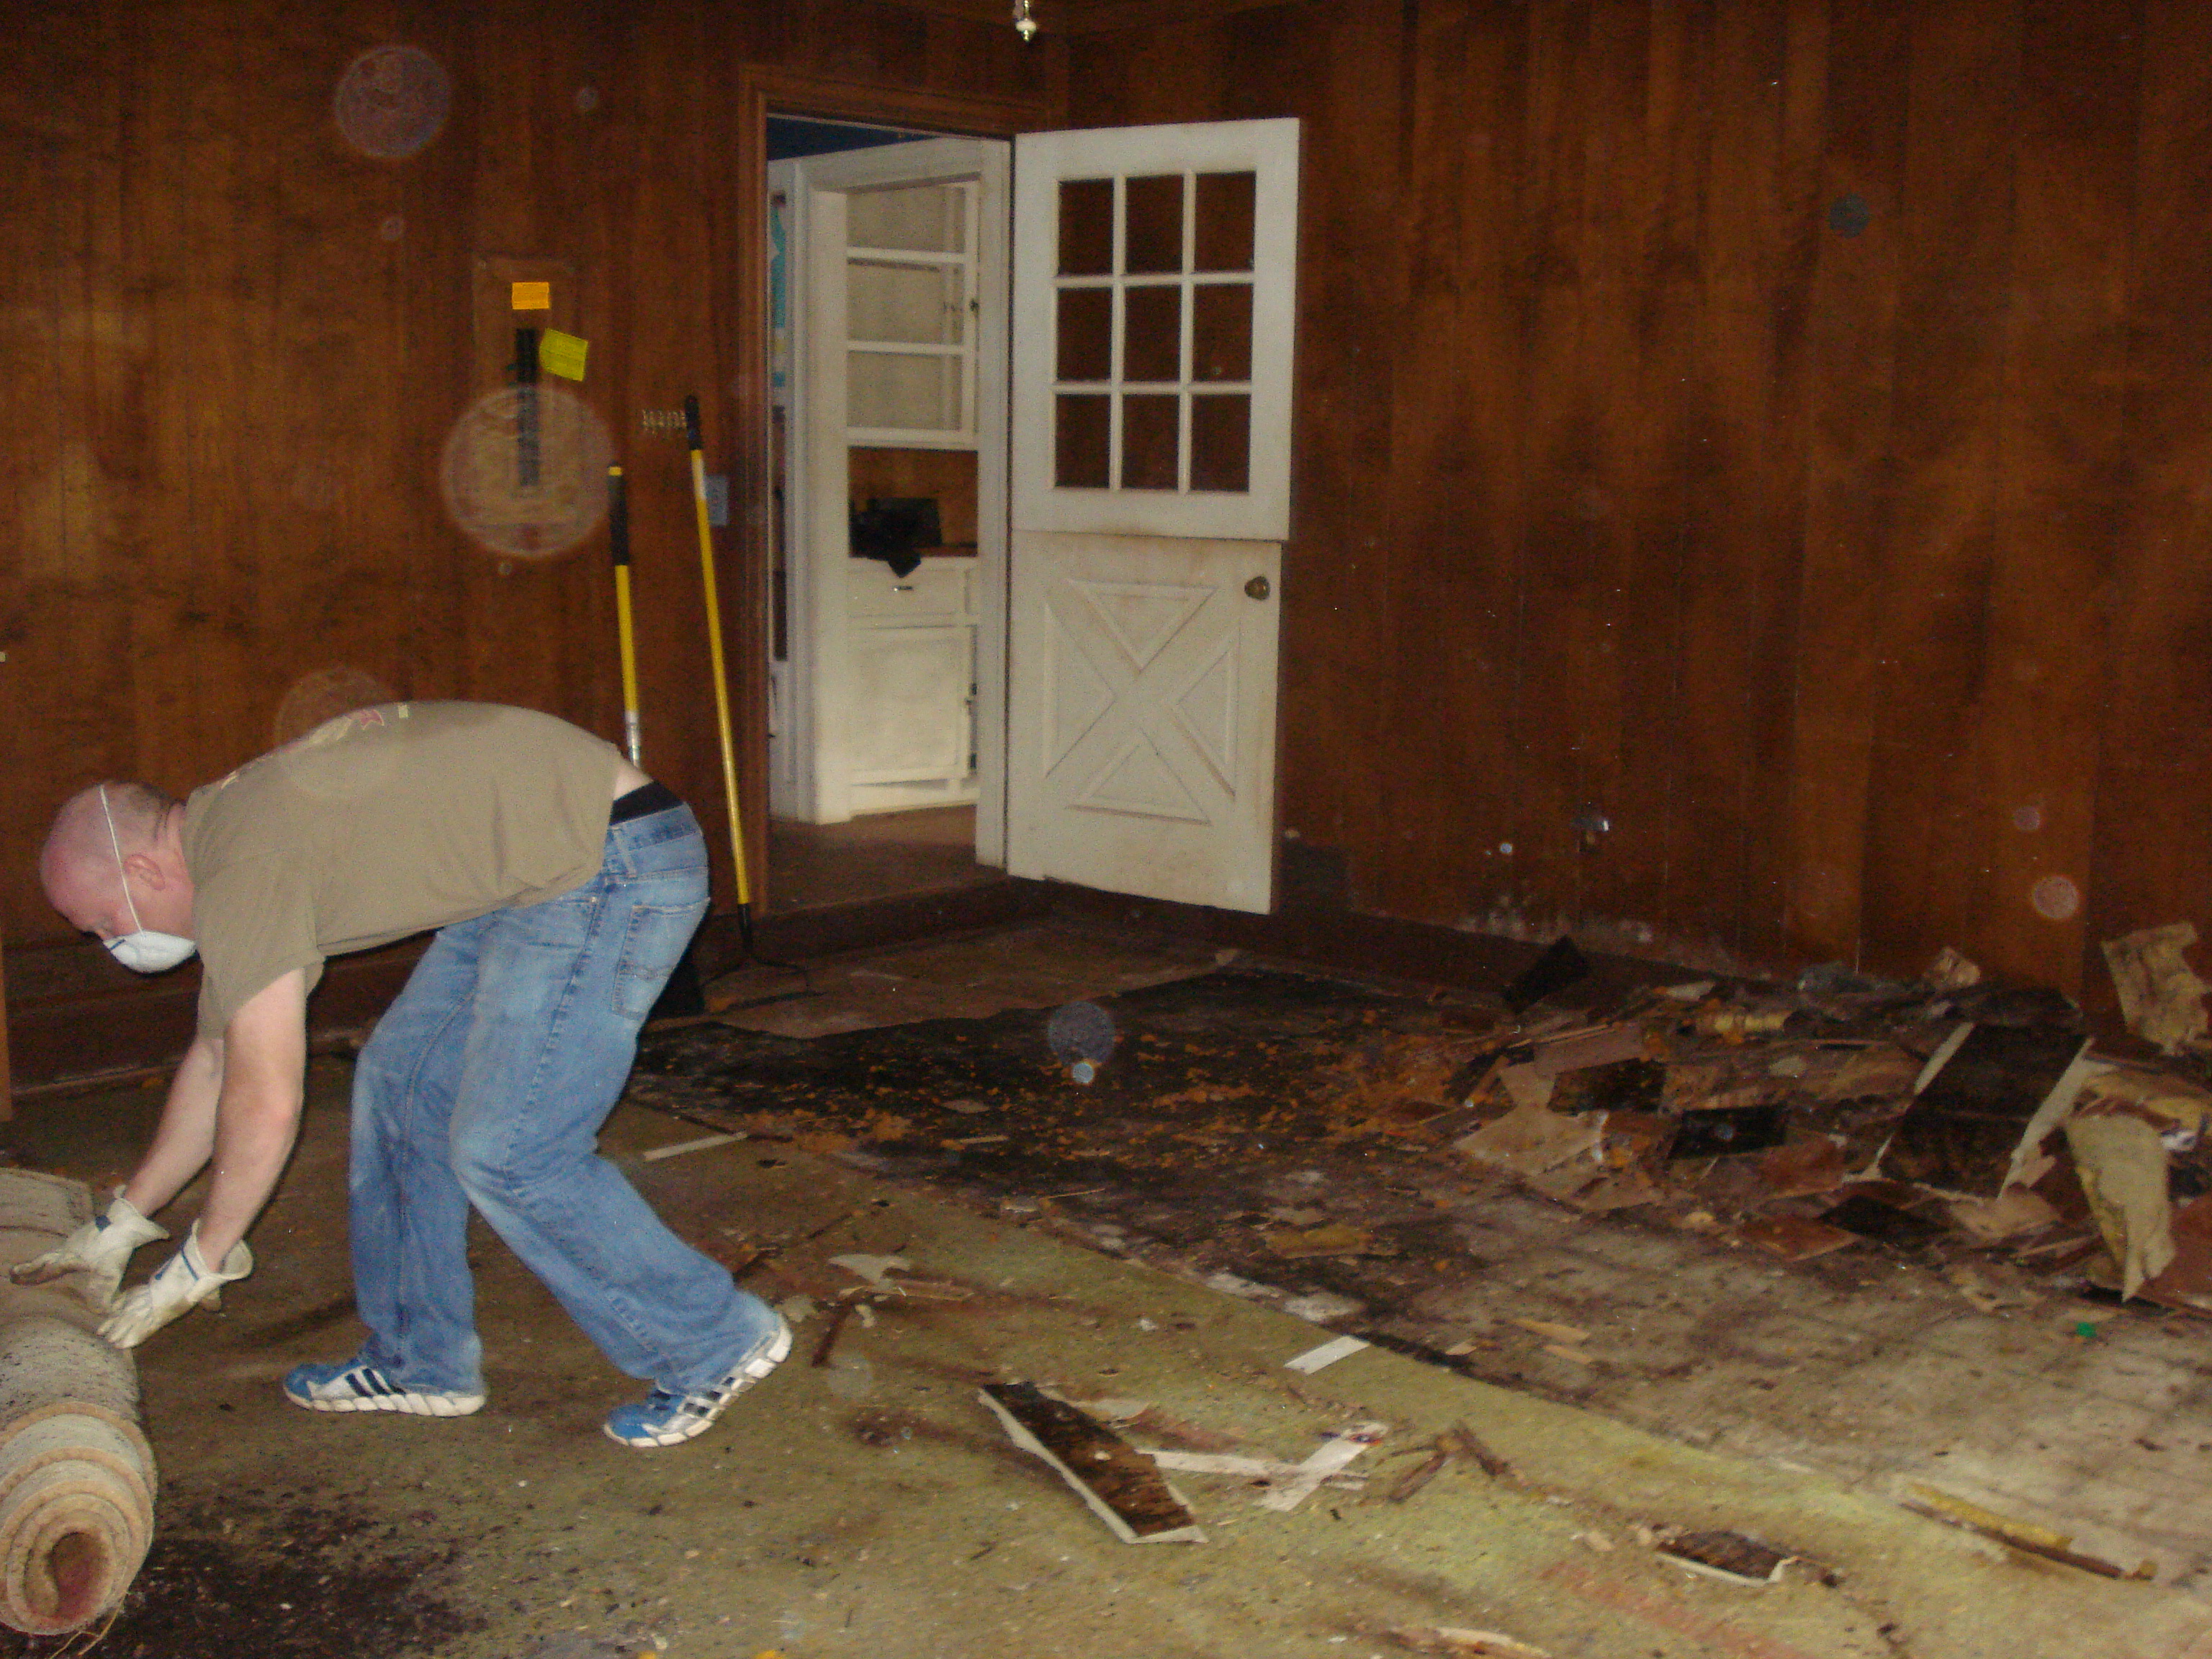
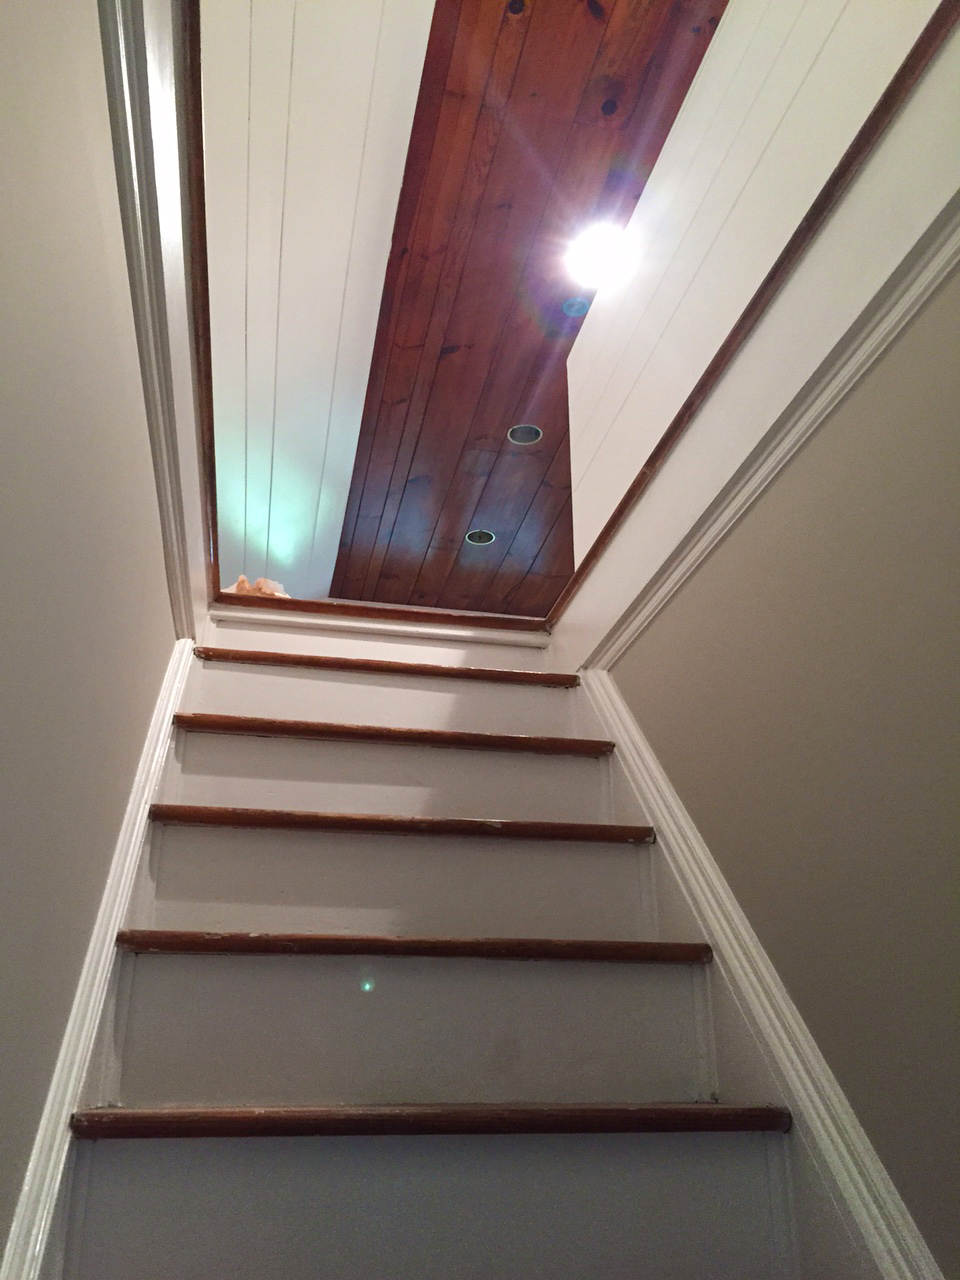
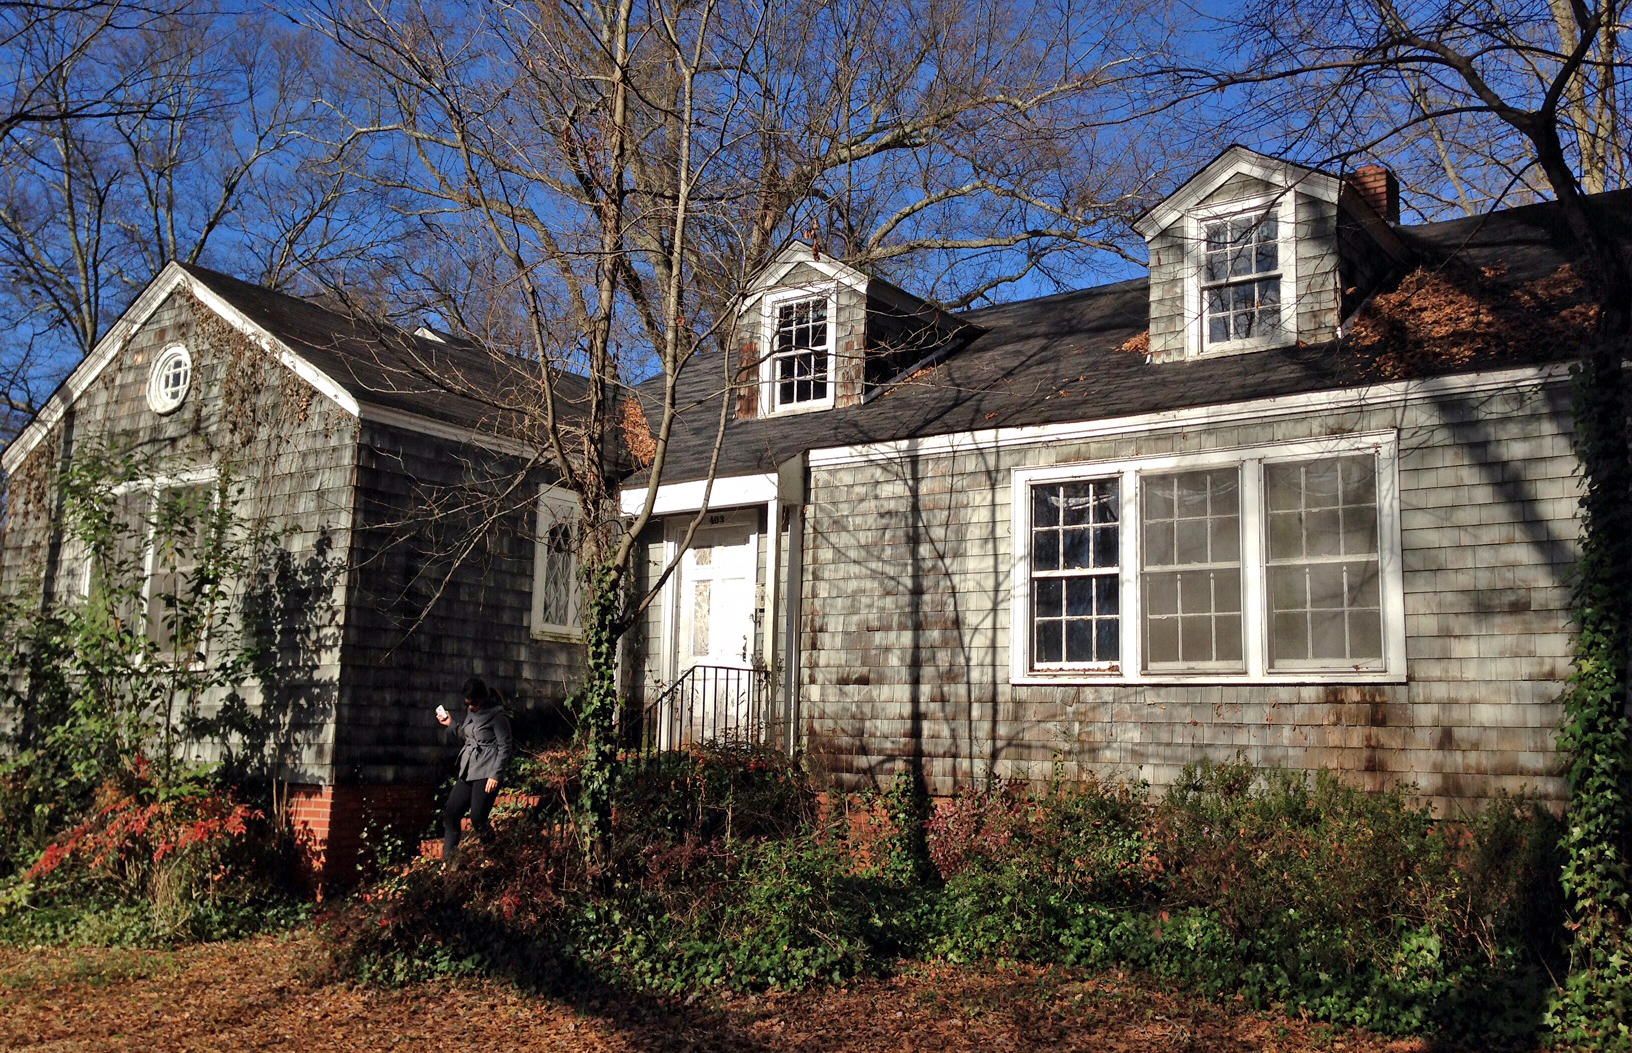
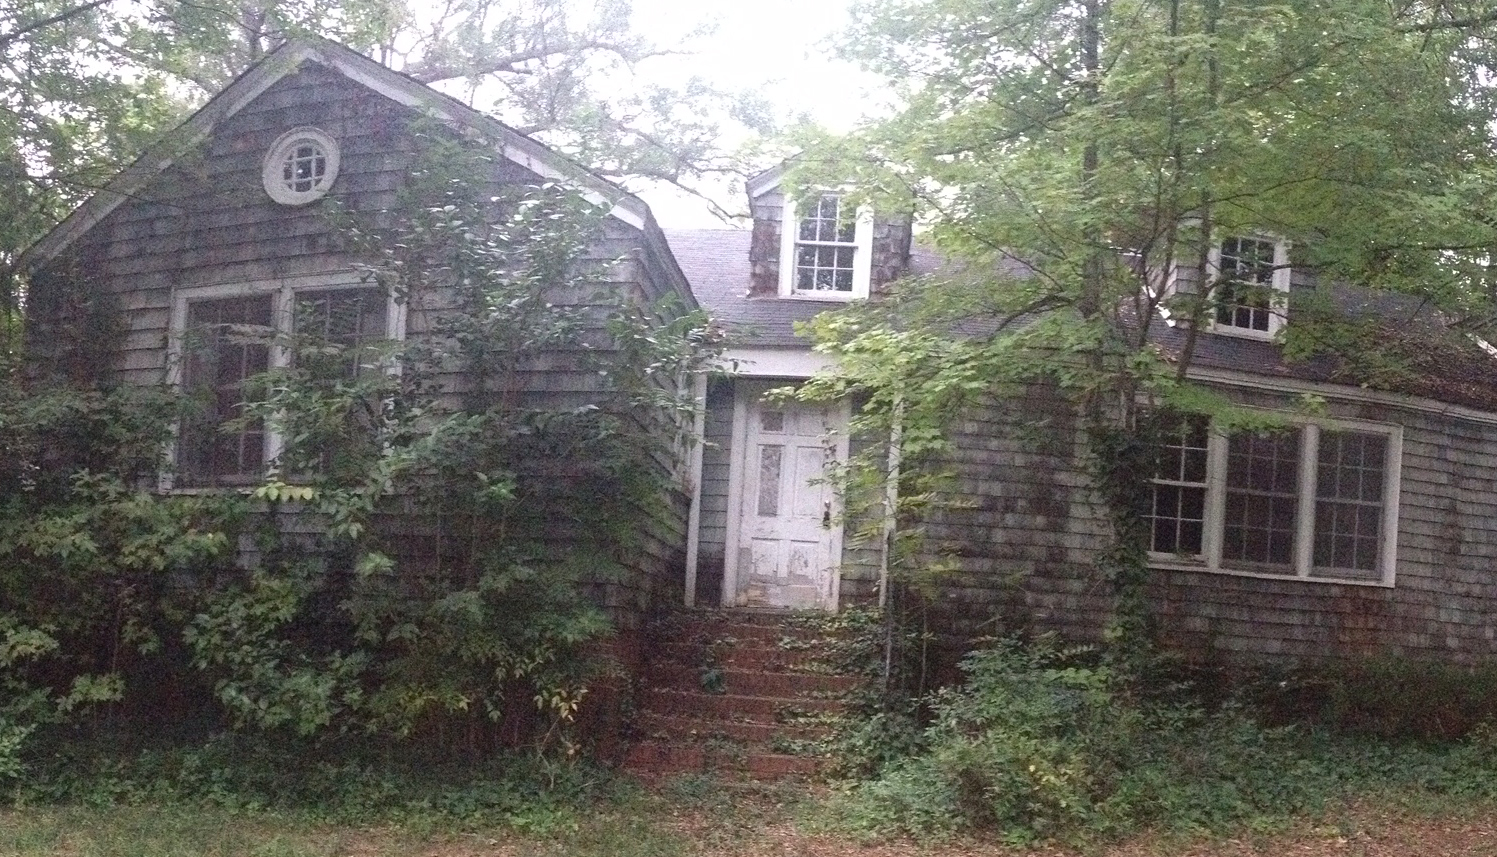
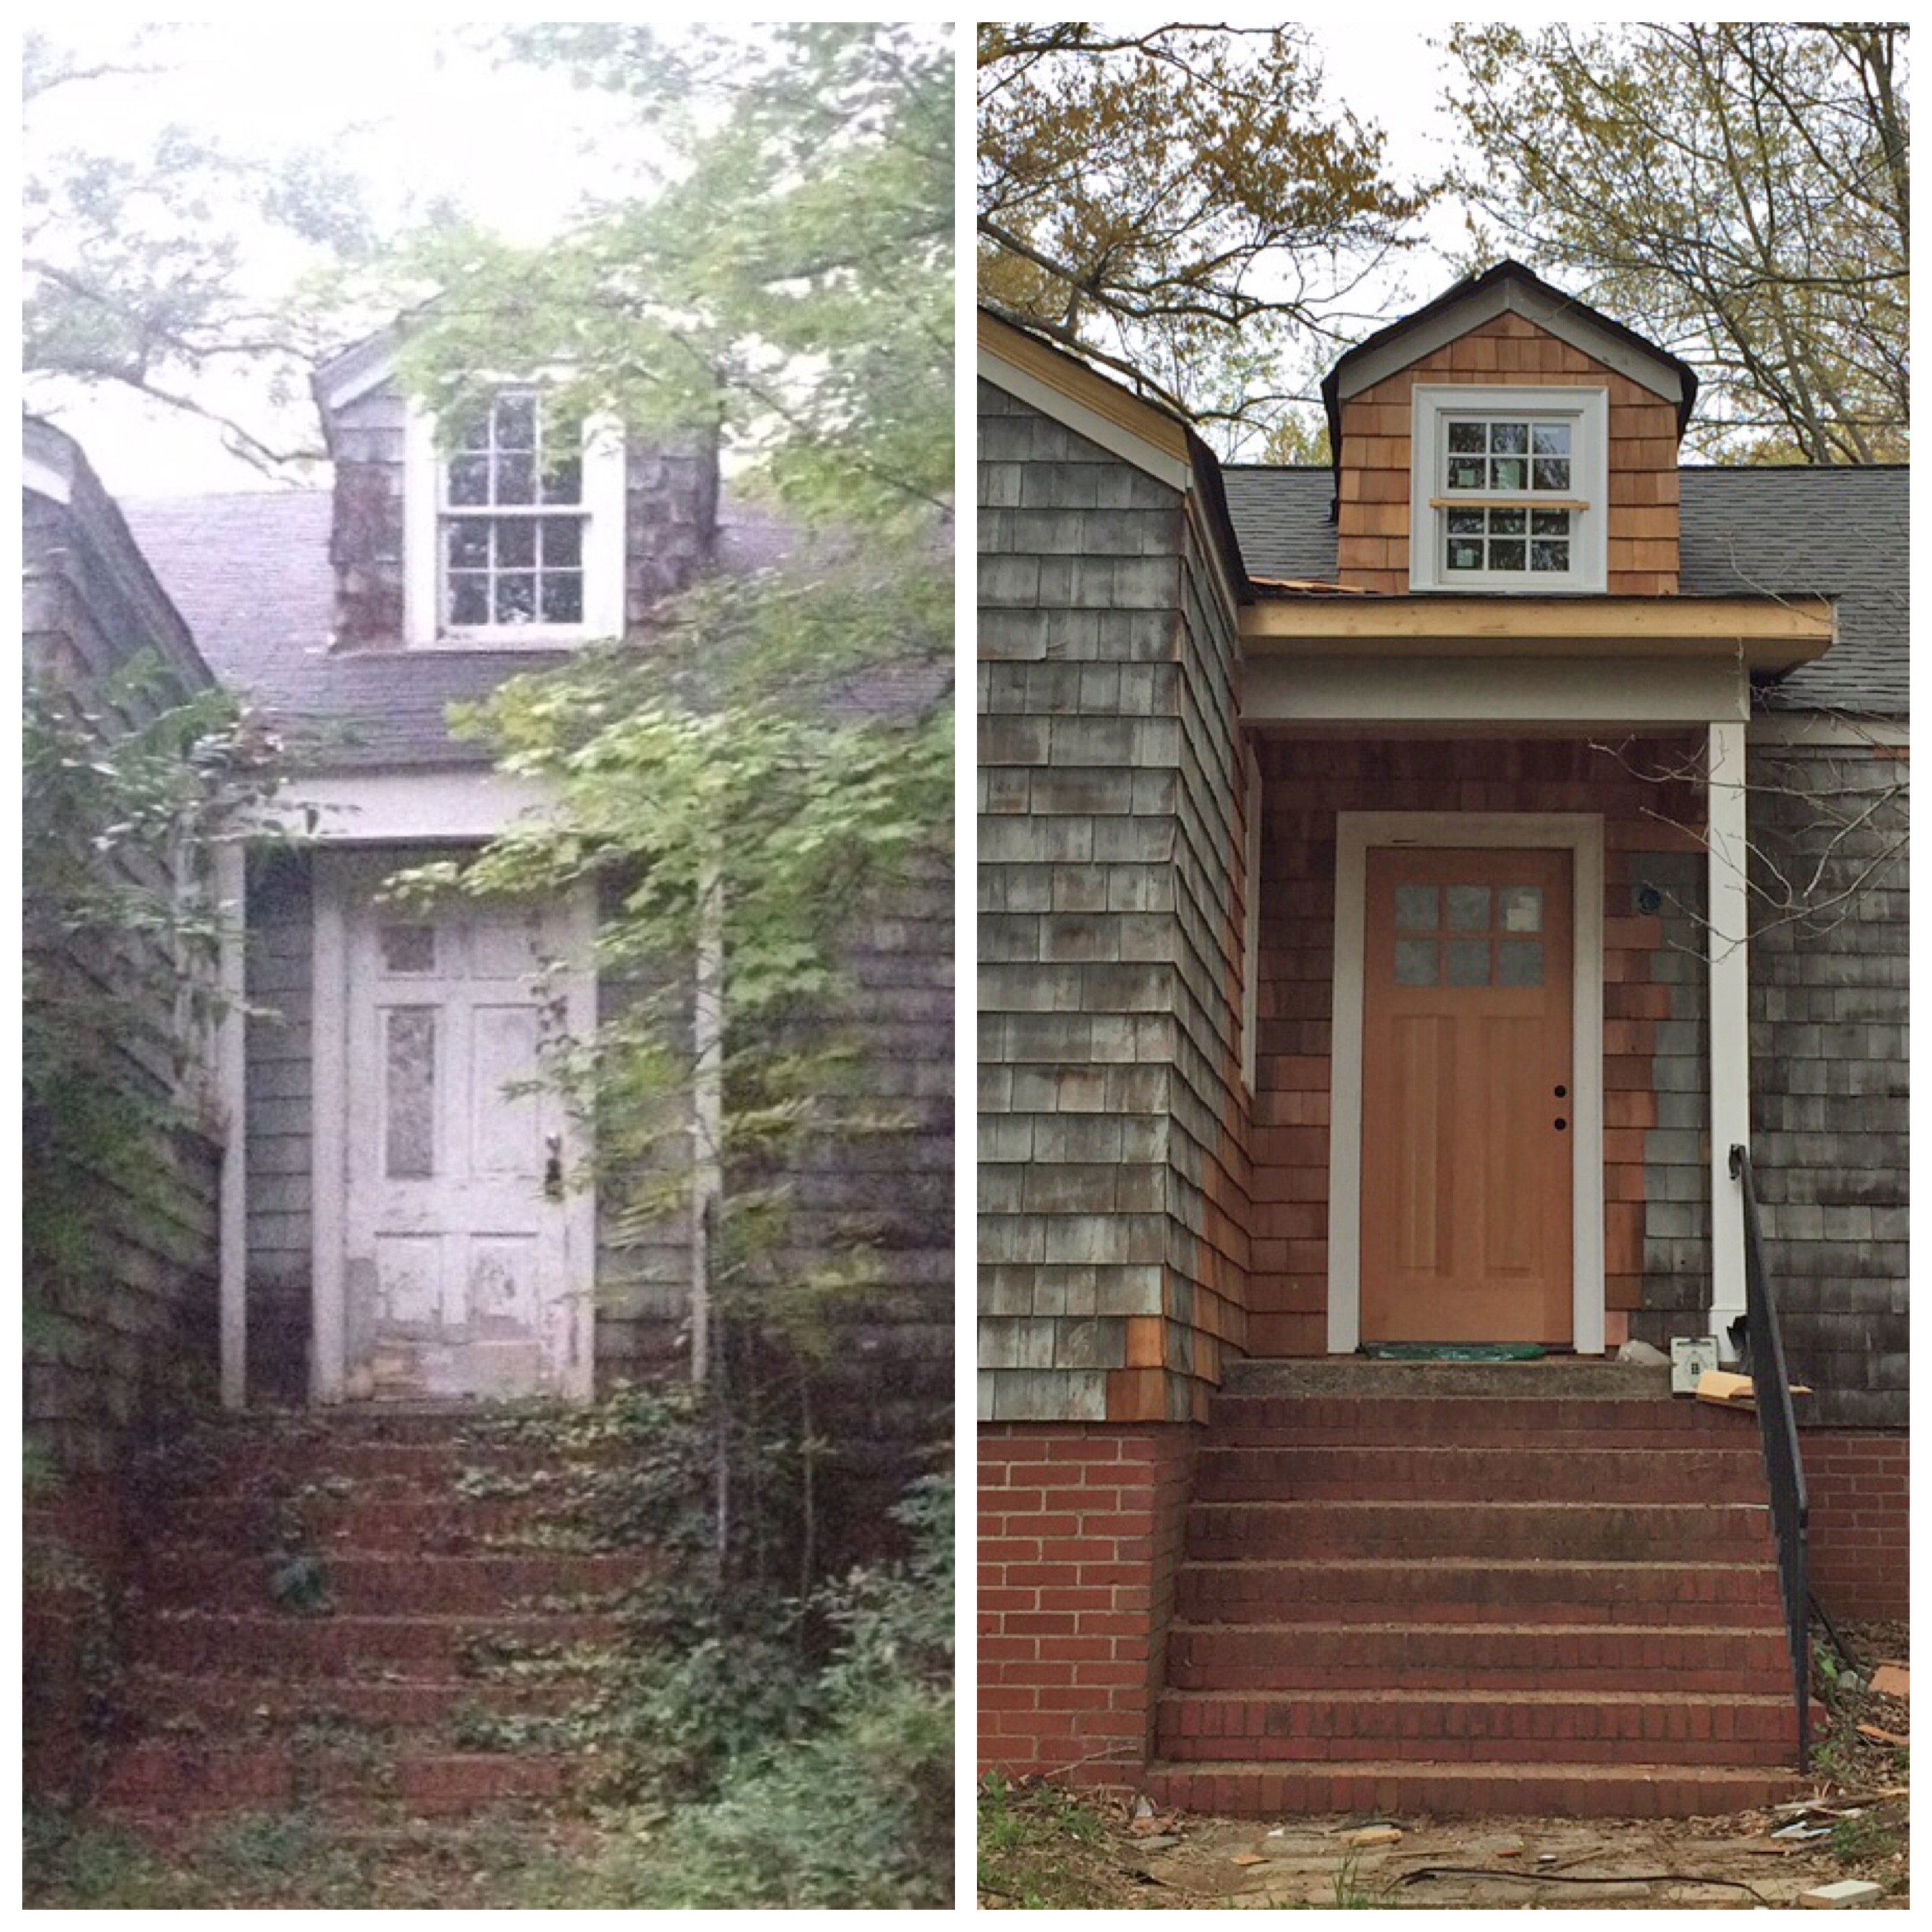
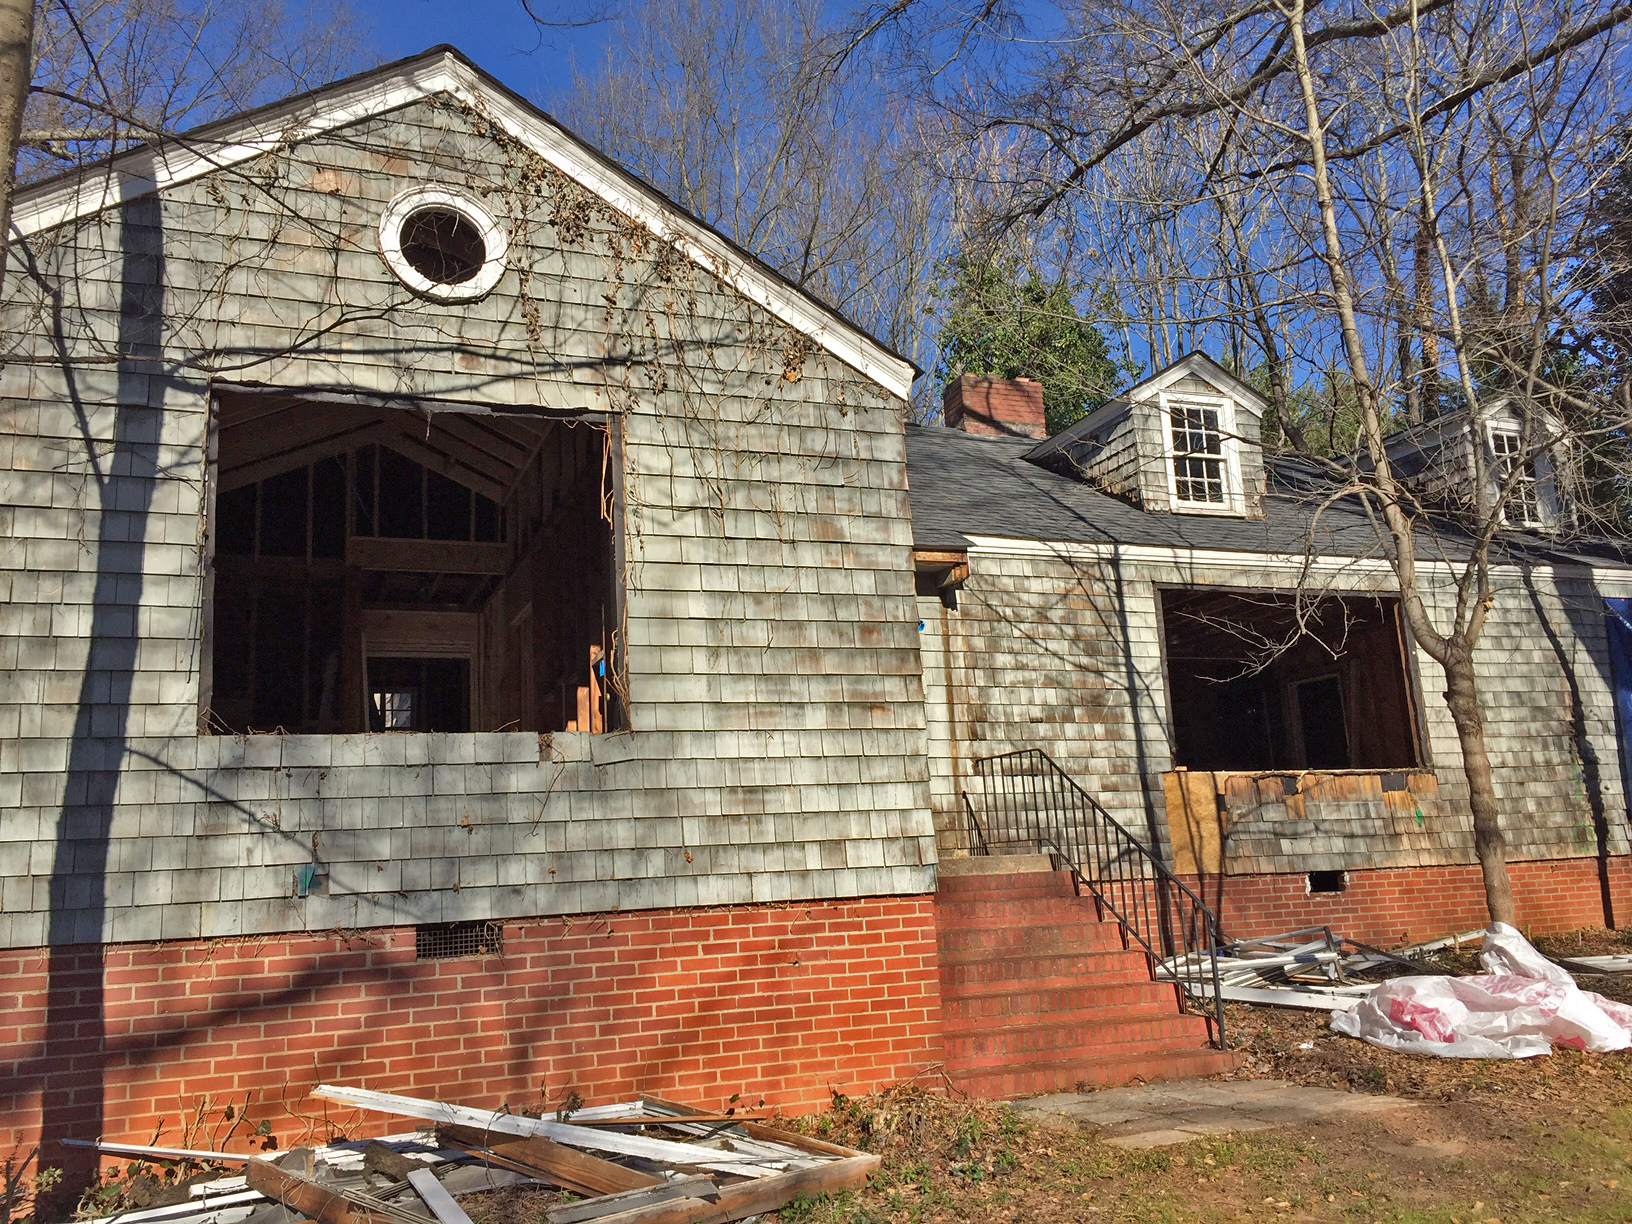
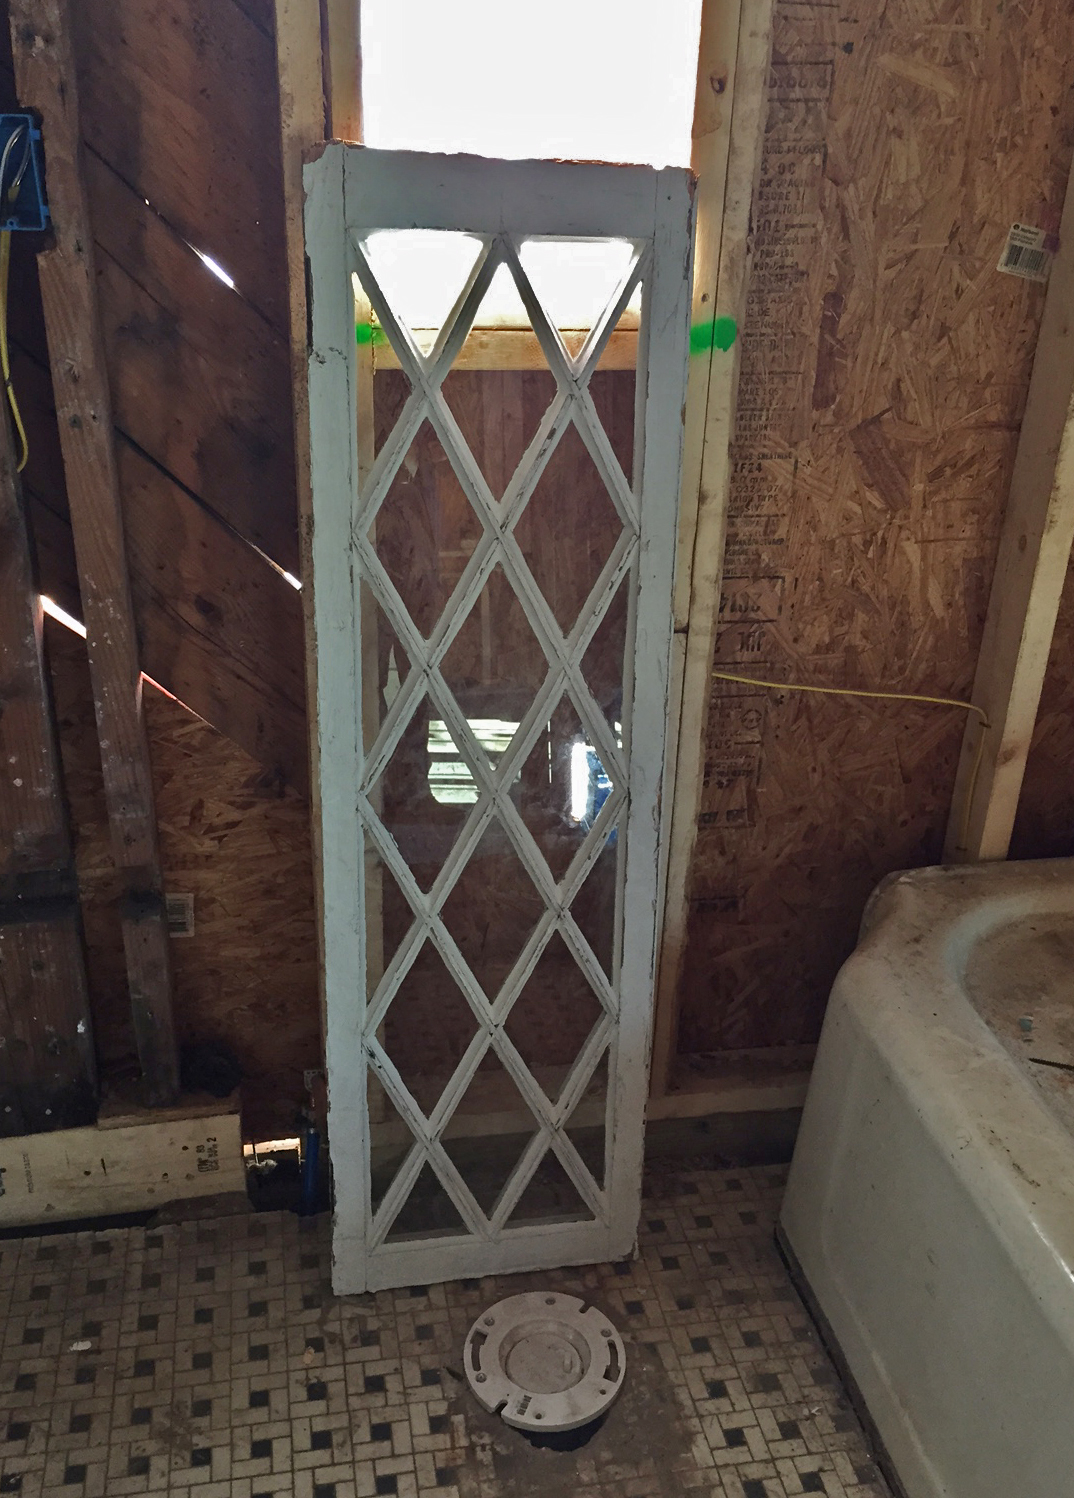
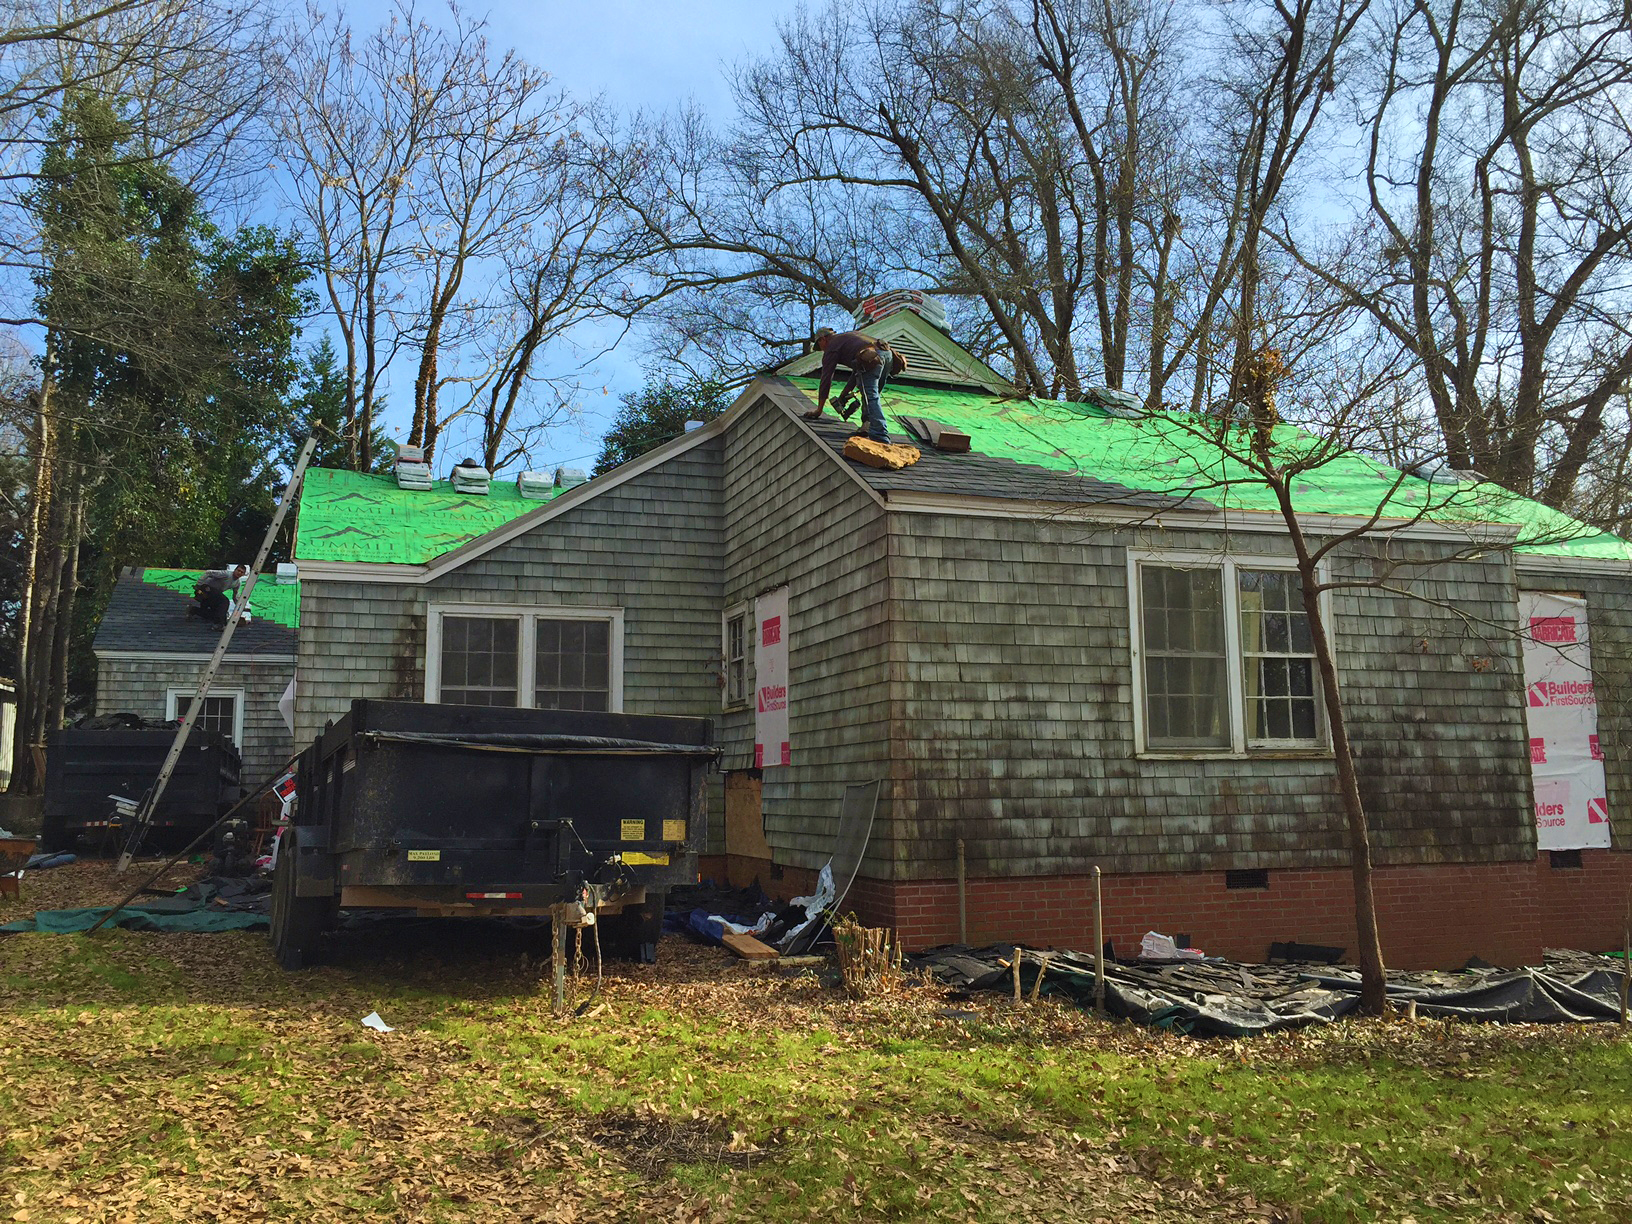
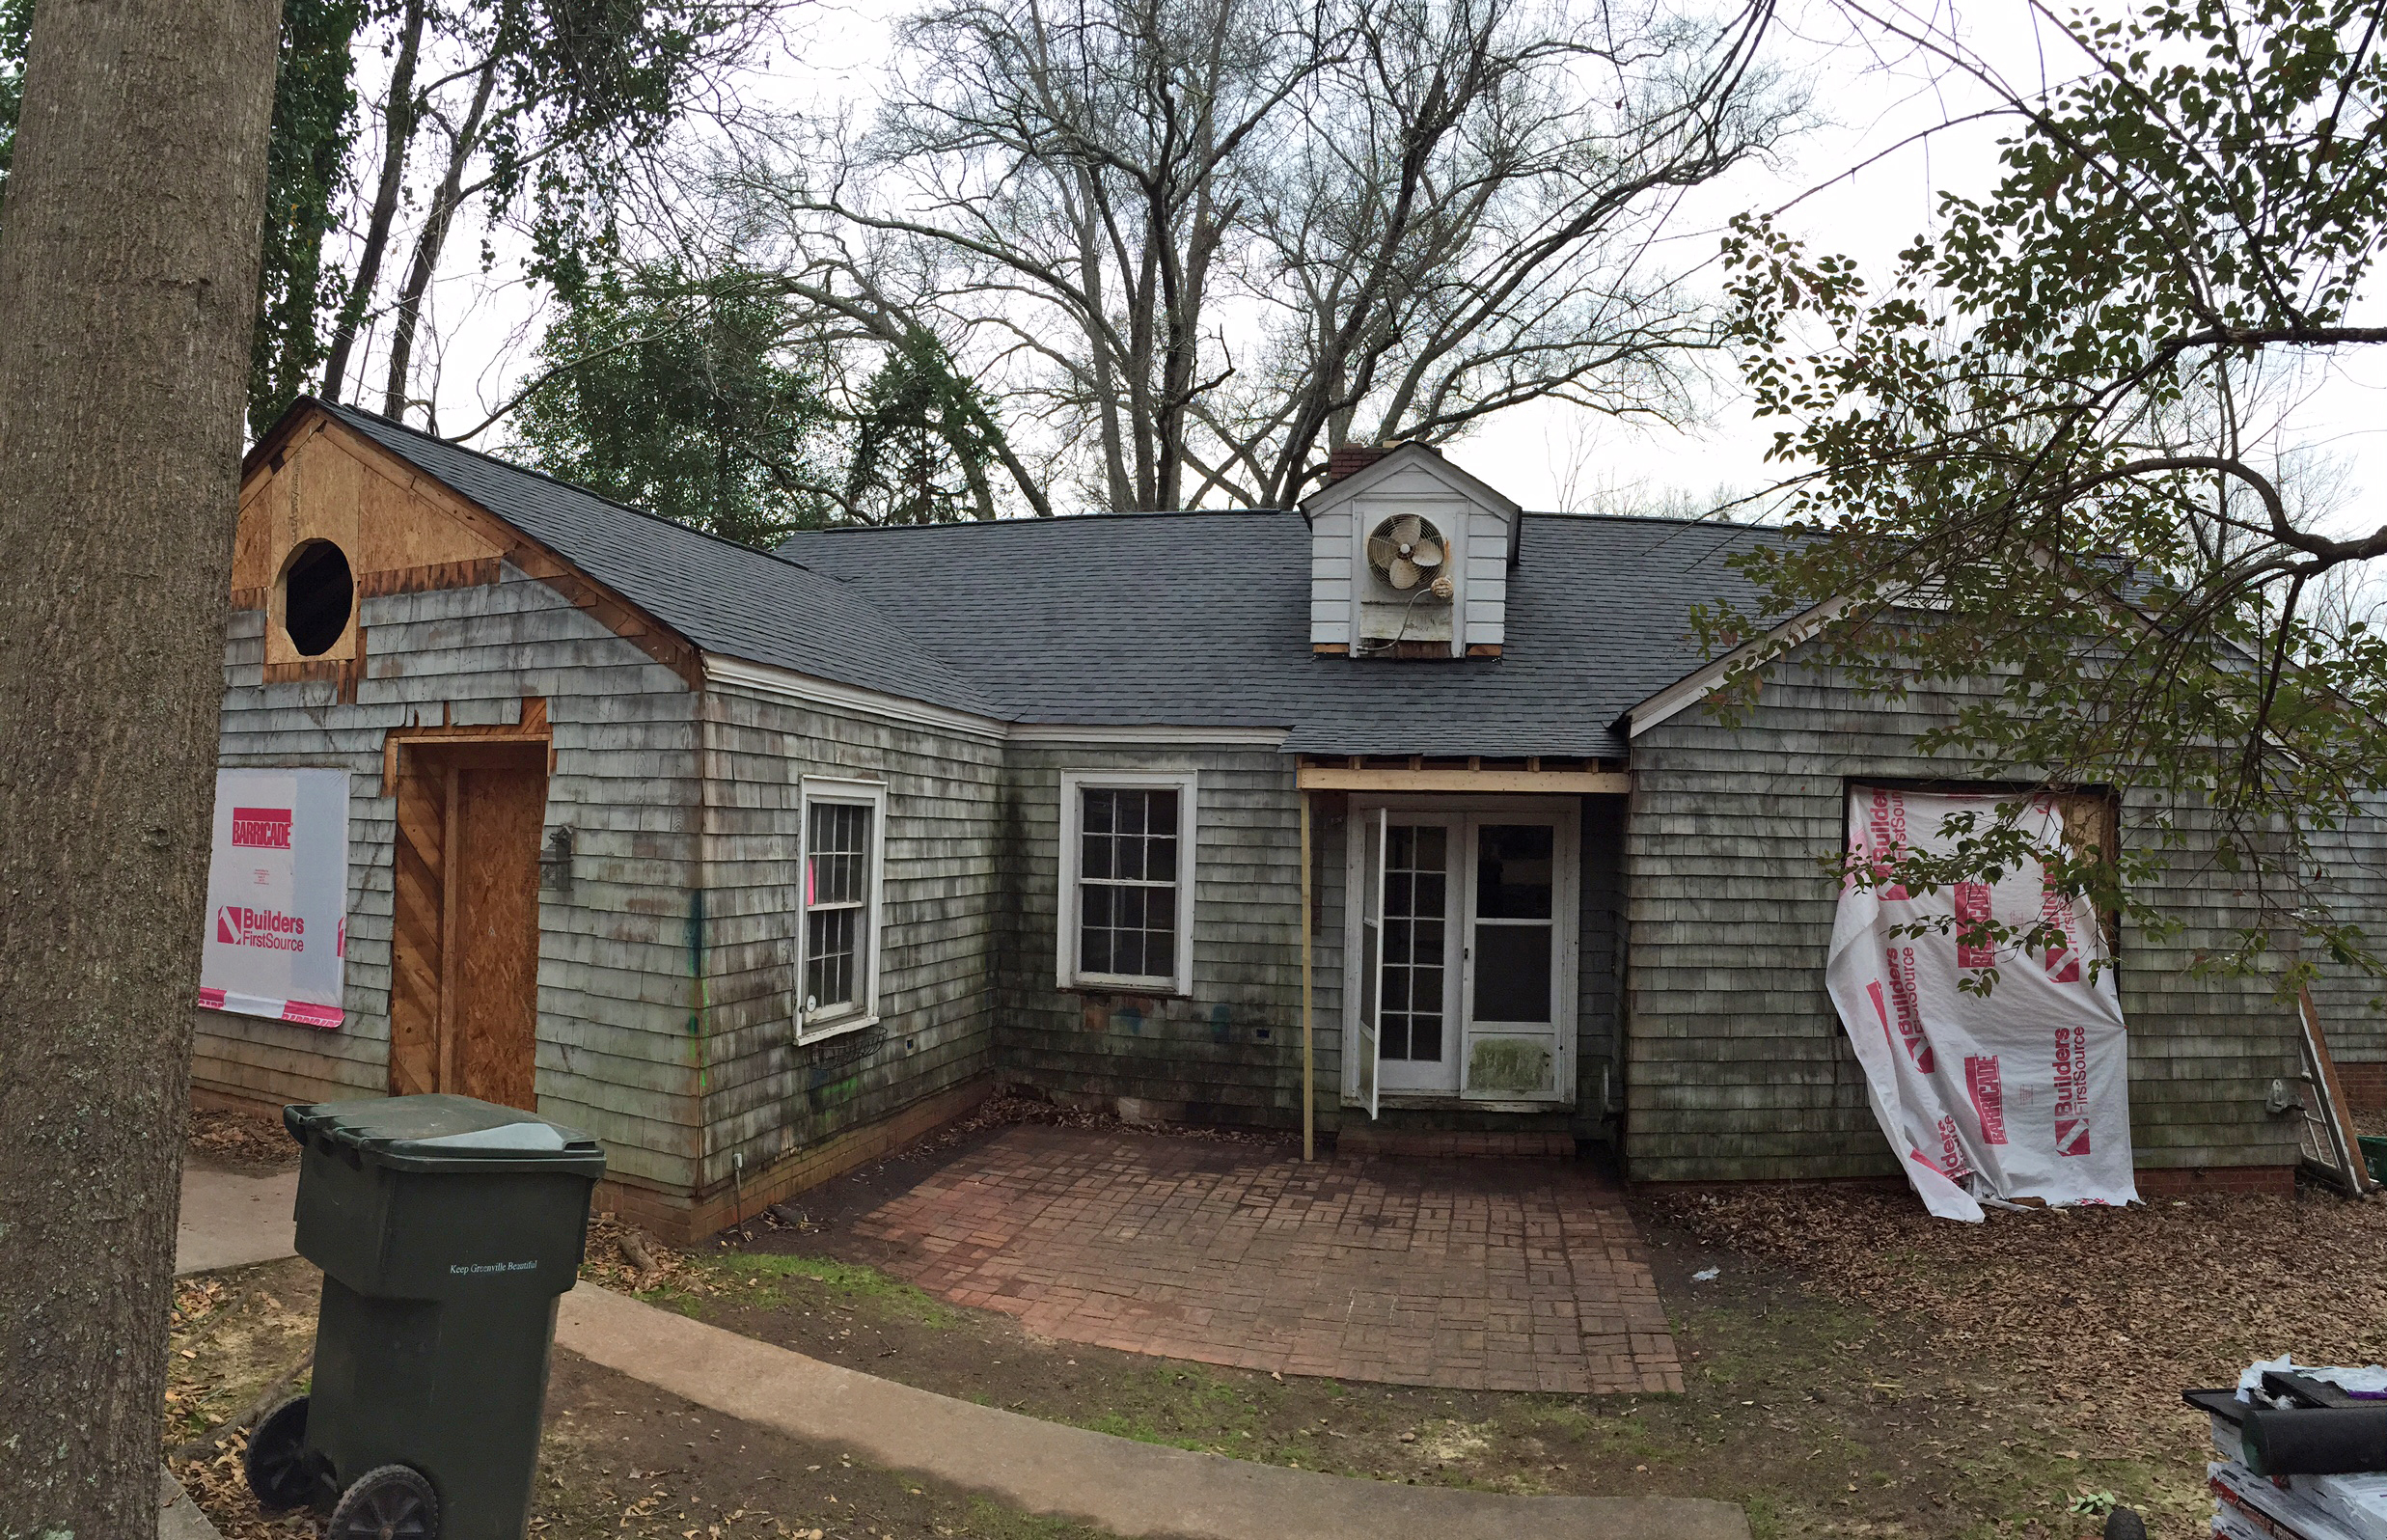
Flashback to “before.”

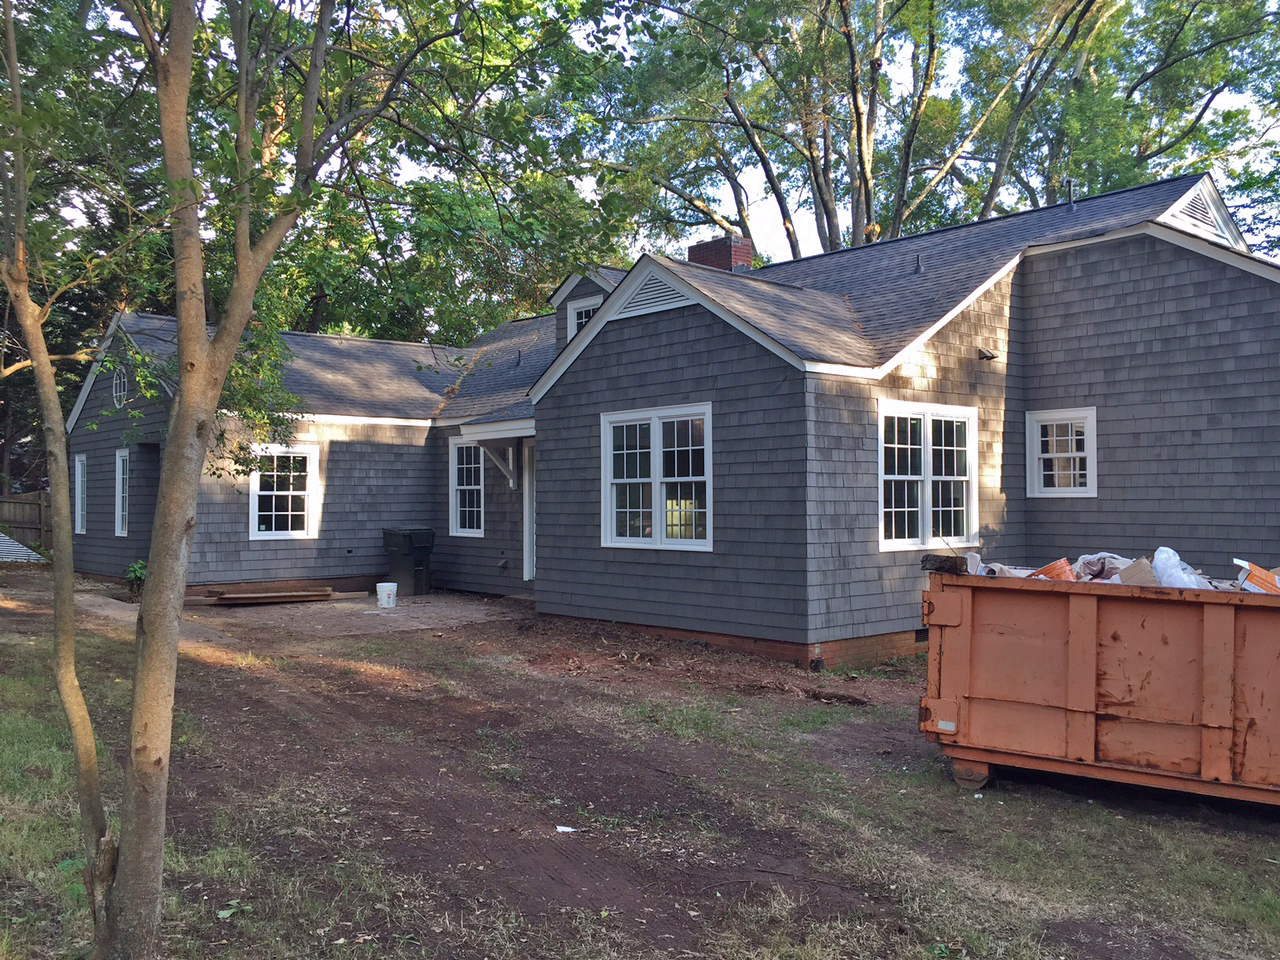
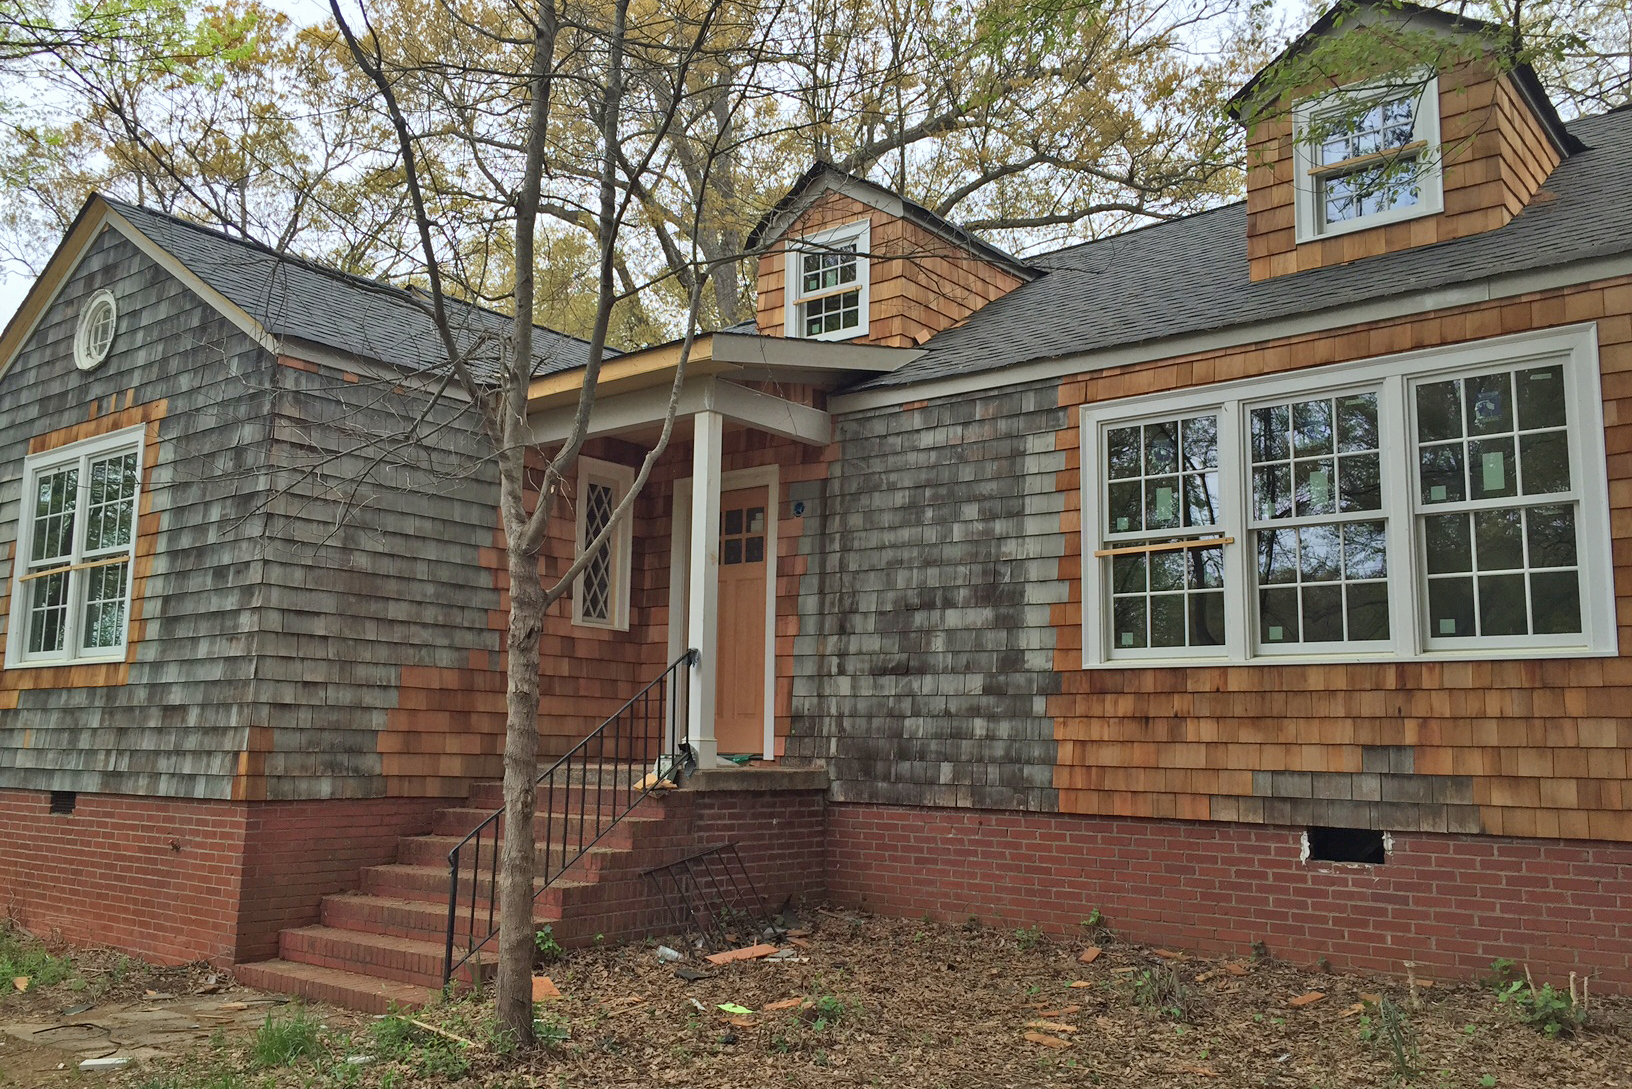
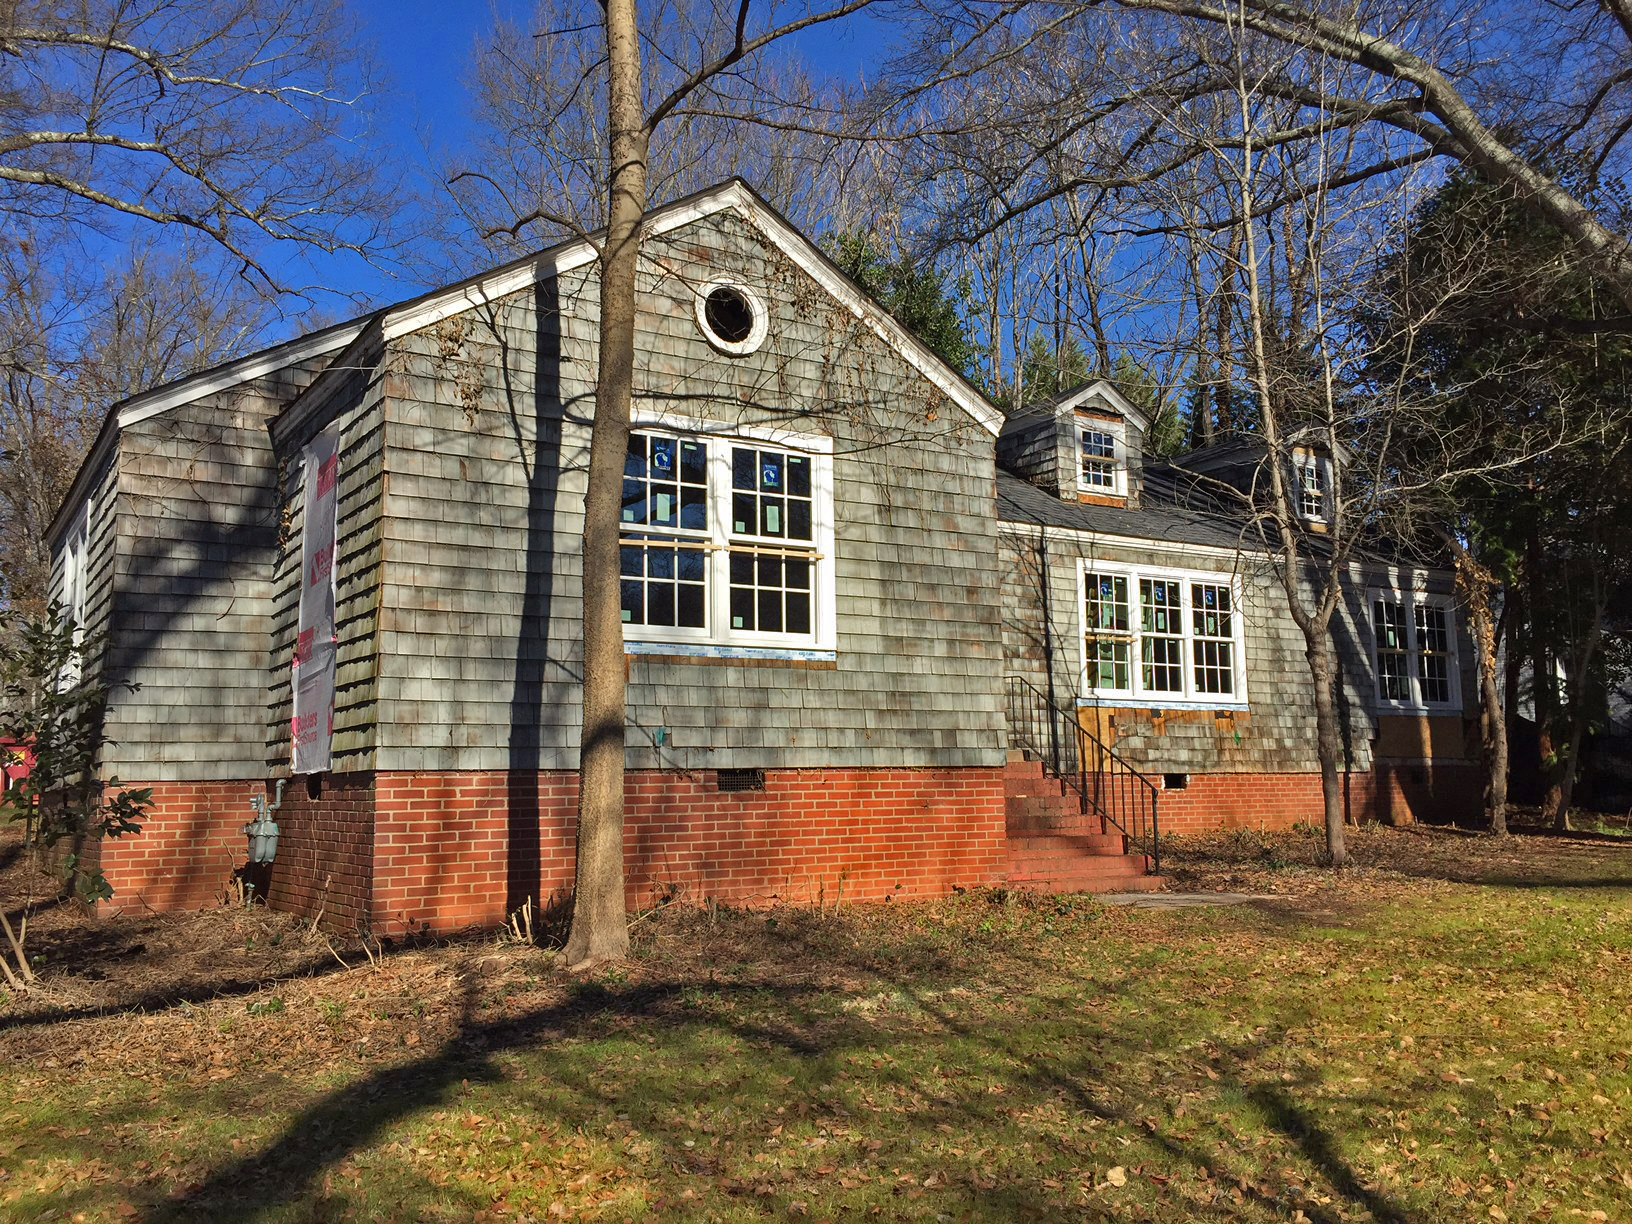
“After” in the new location as an exterior door.

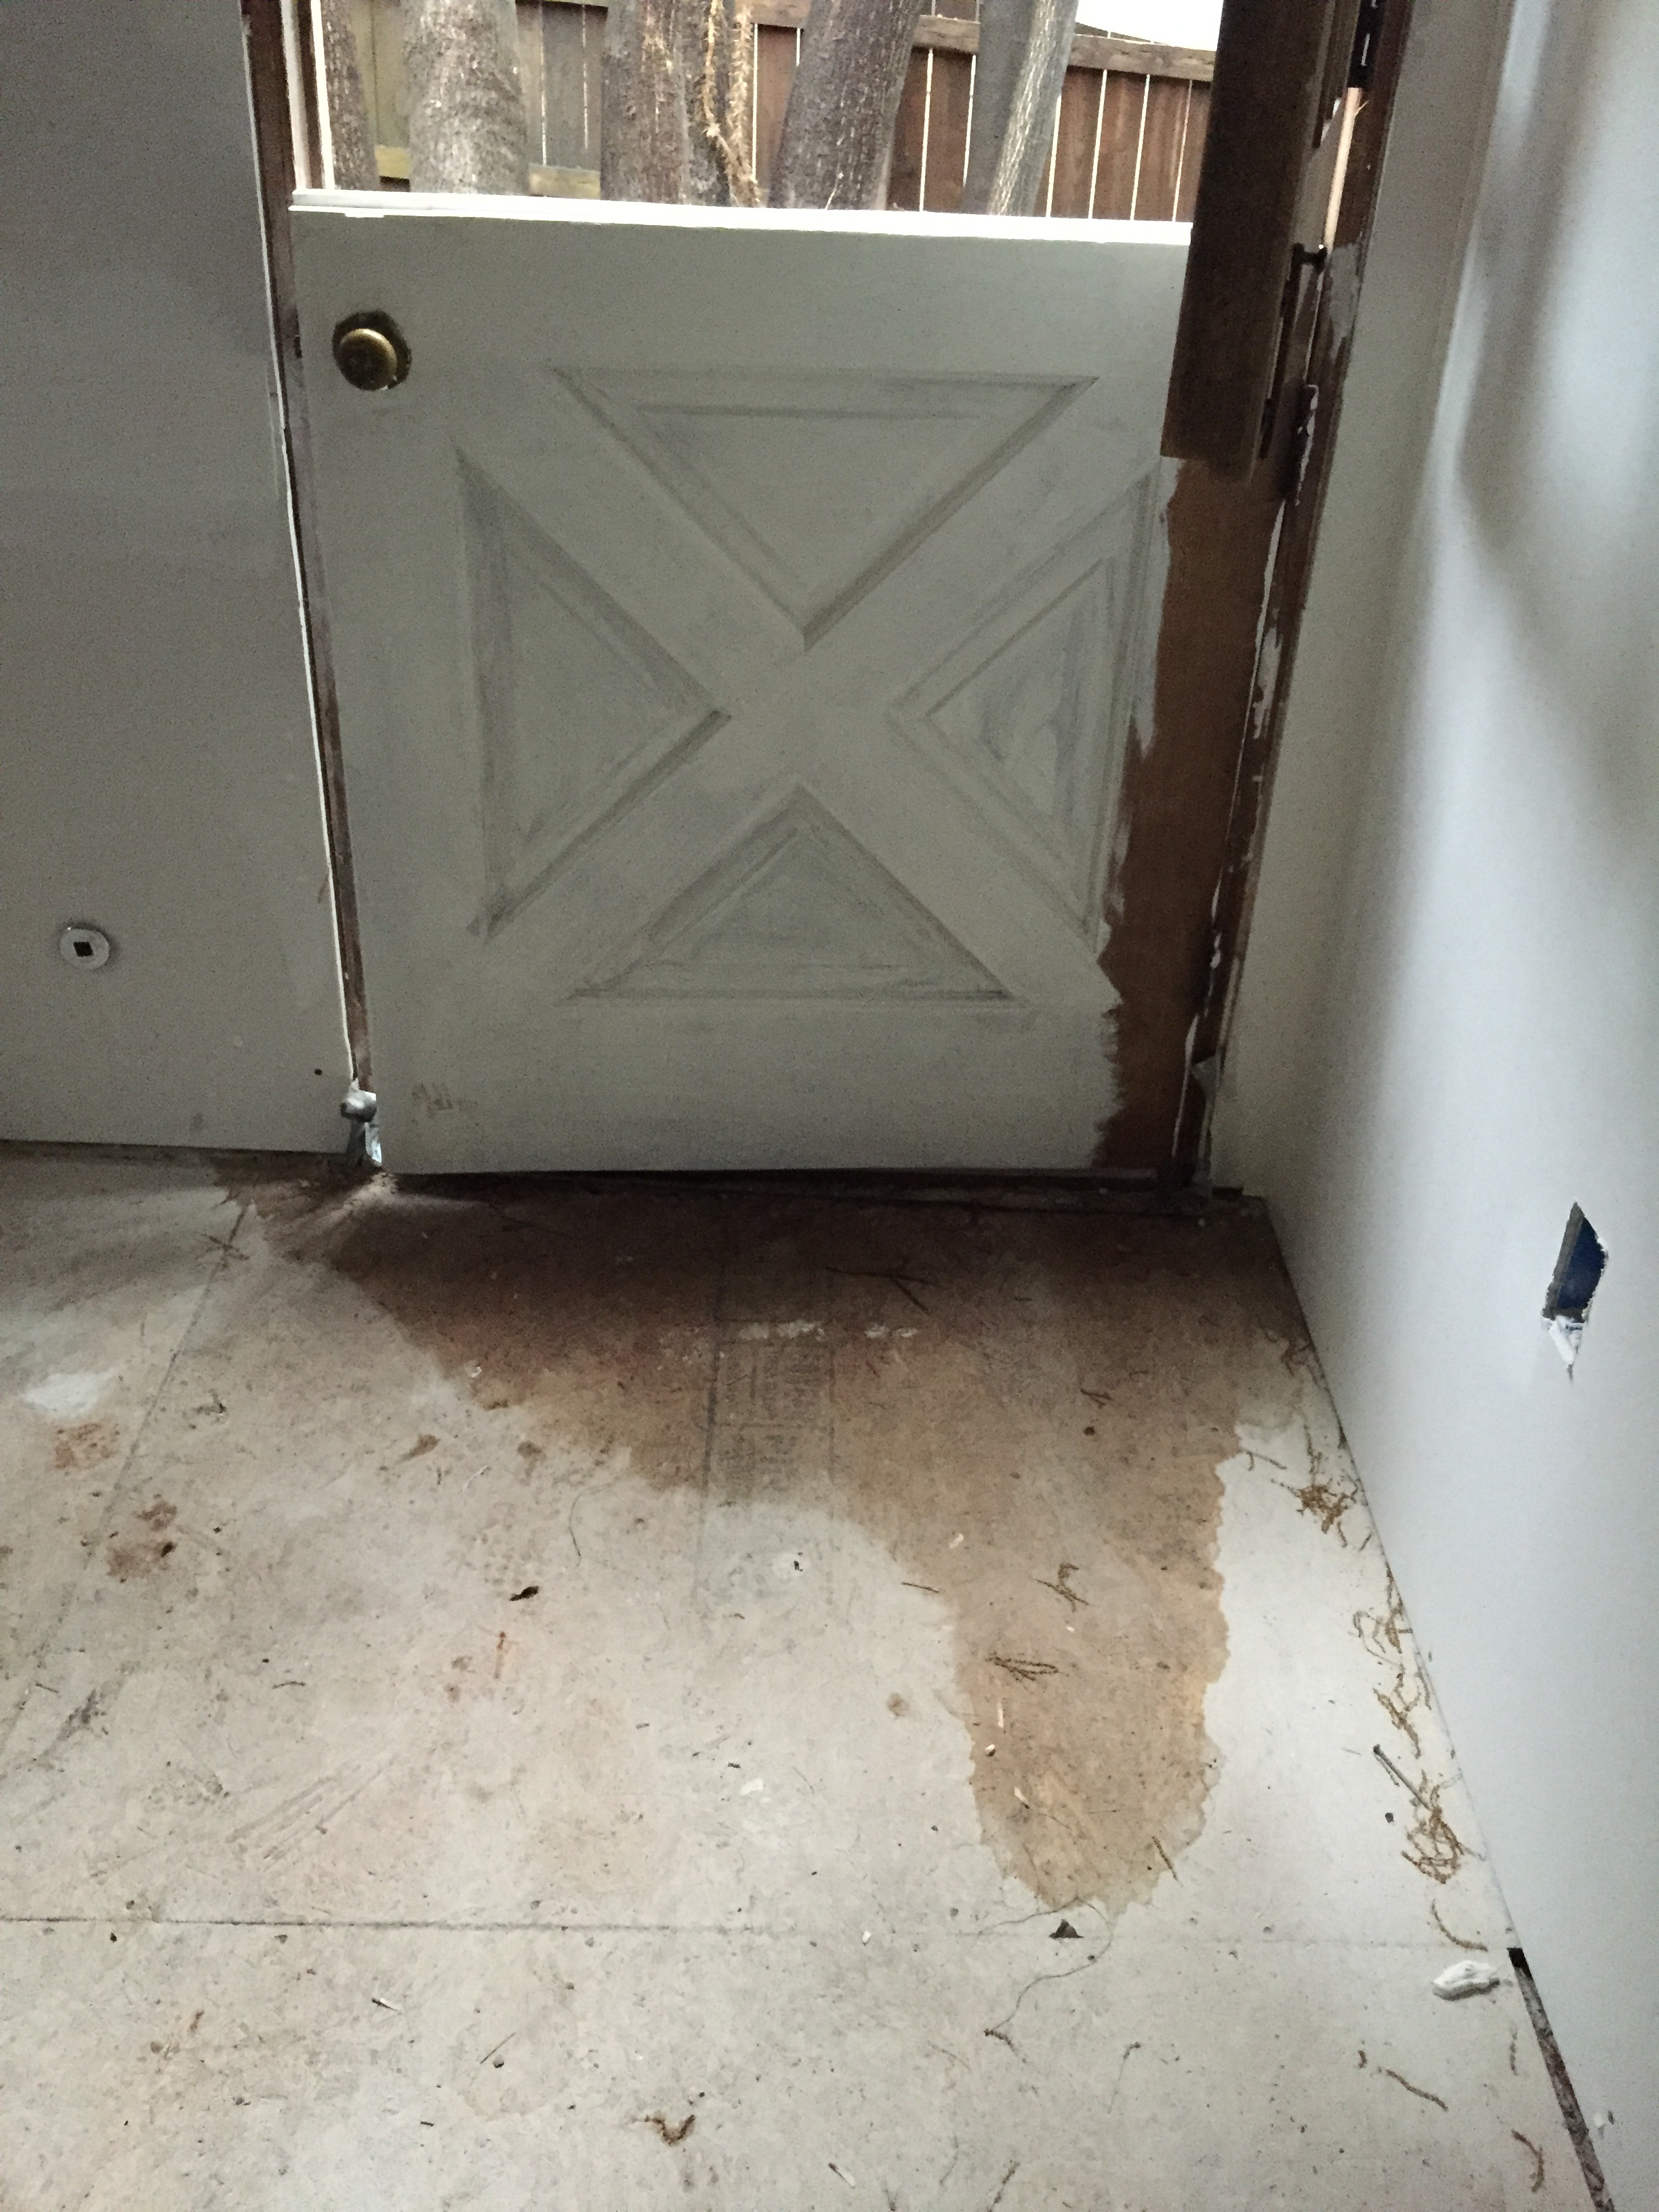
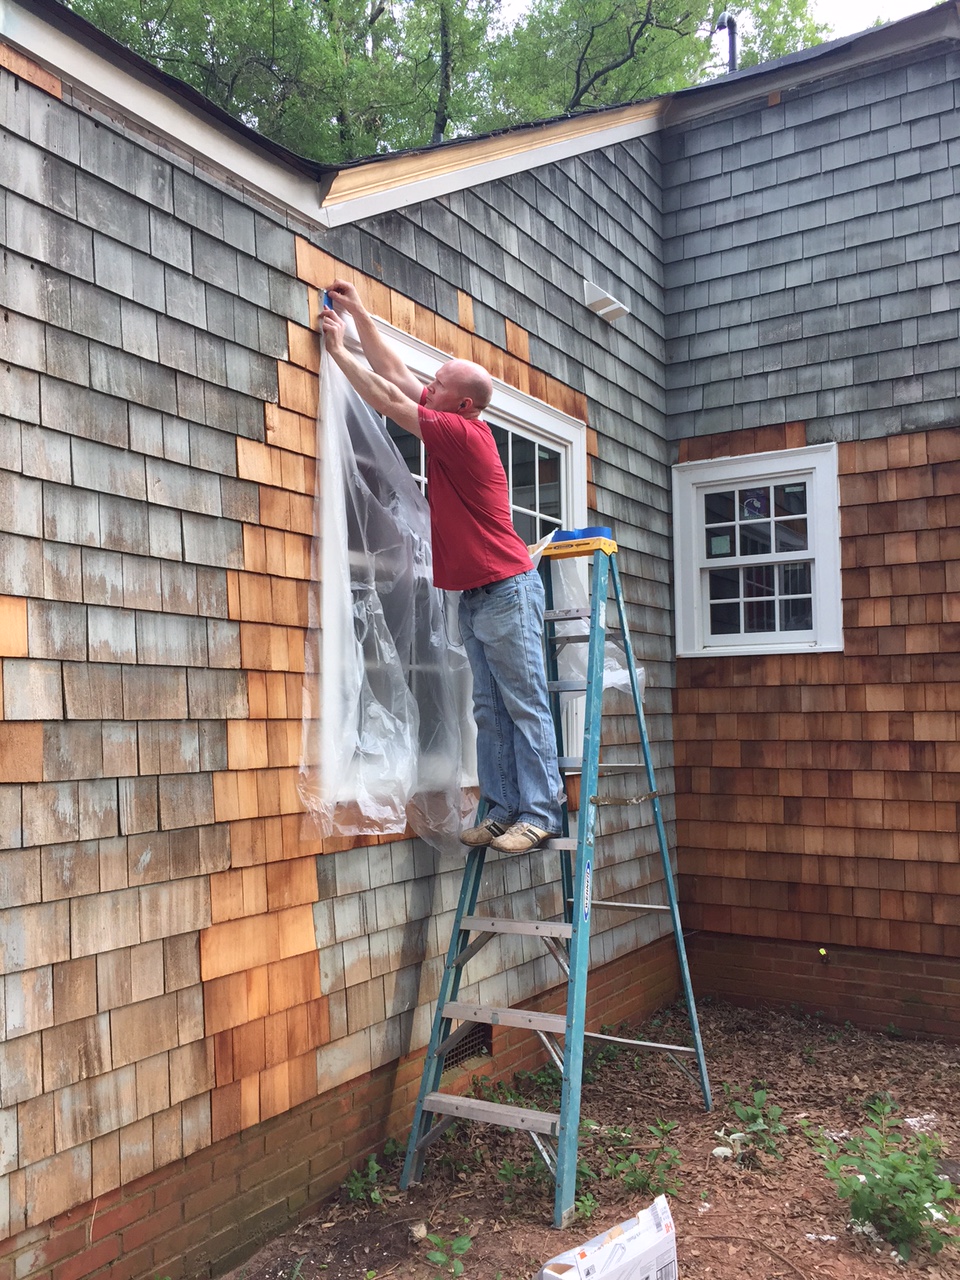
Post (one of many) hose-tests 😦

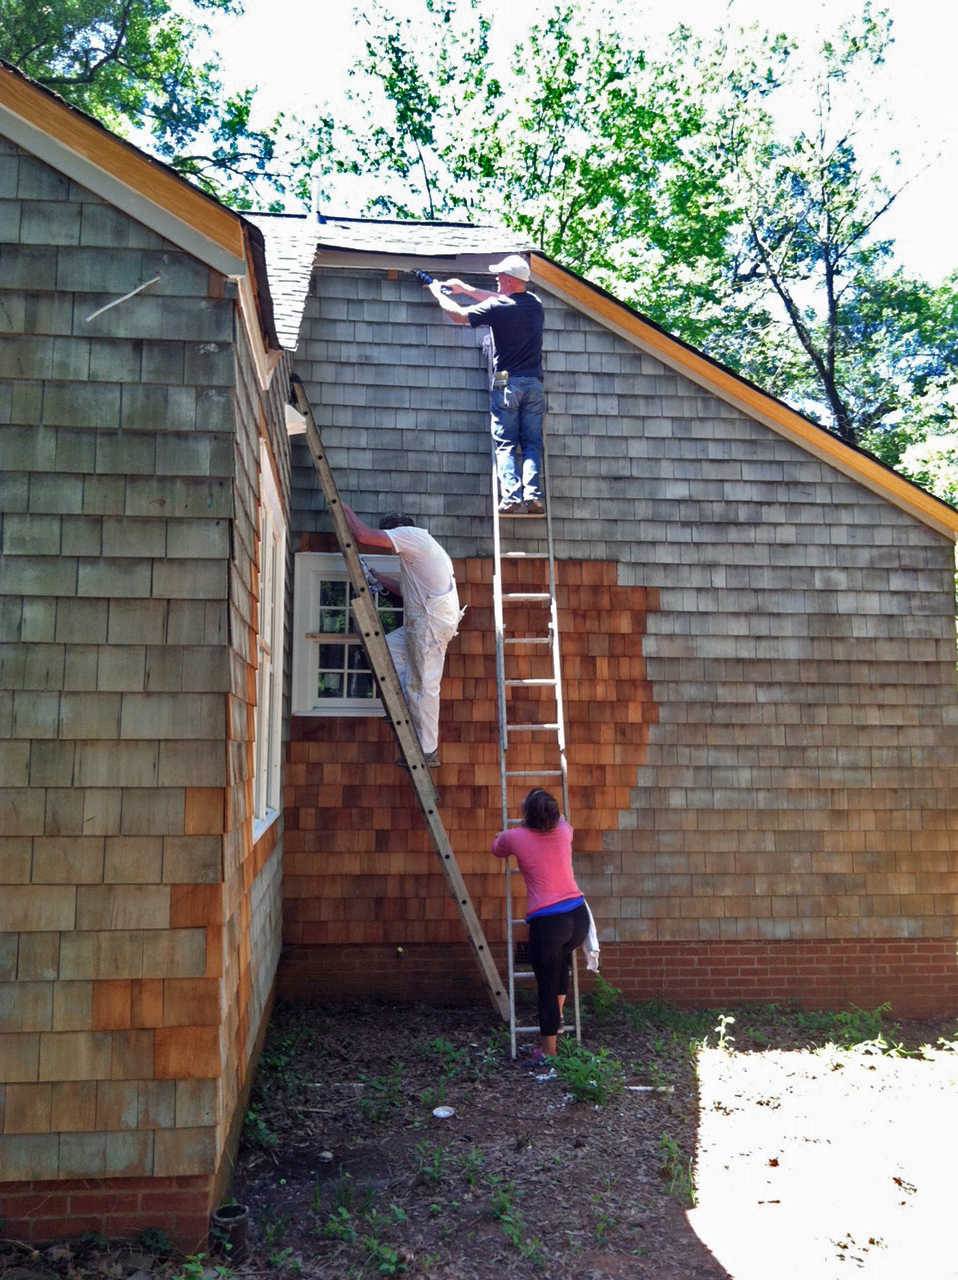
Working hard to weatherstrip…

…and make this baby watertight.

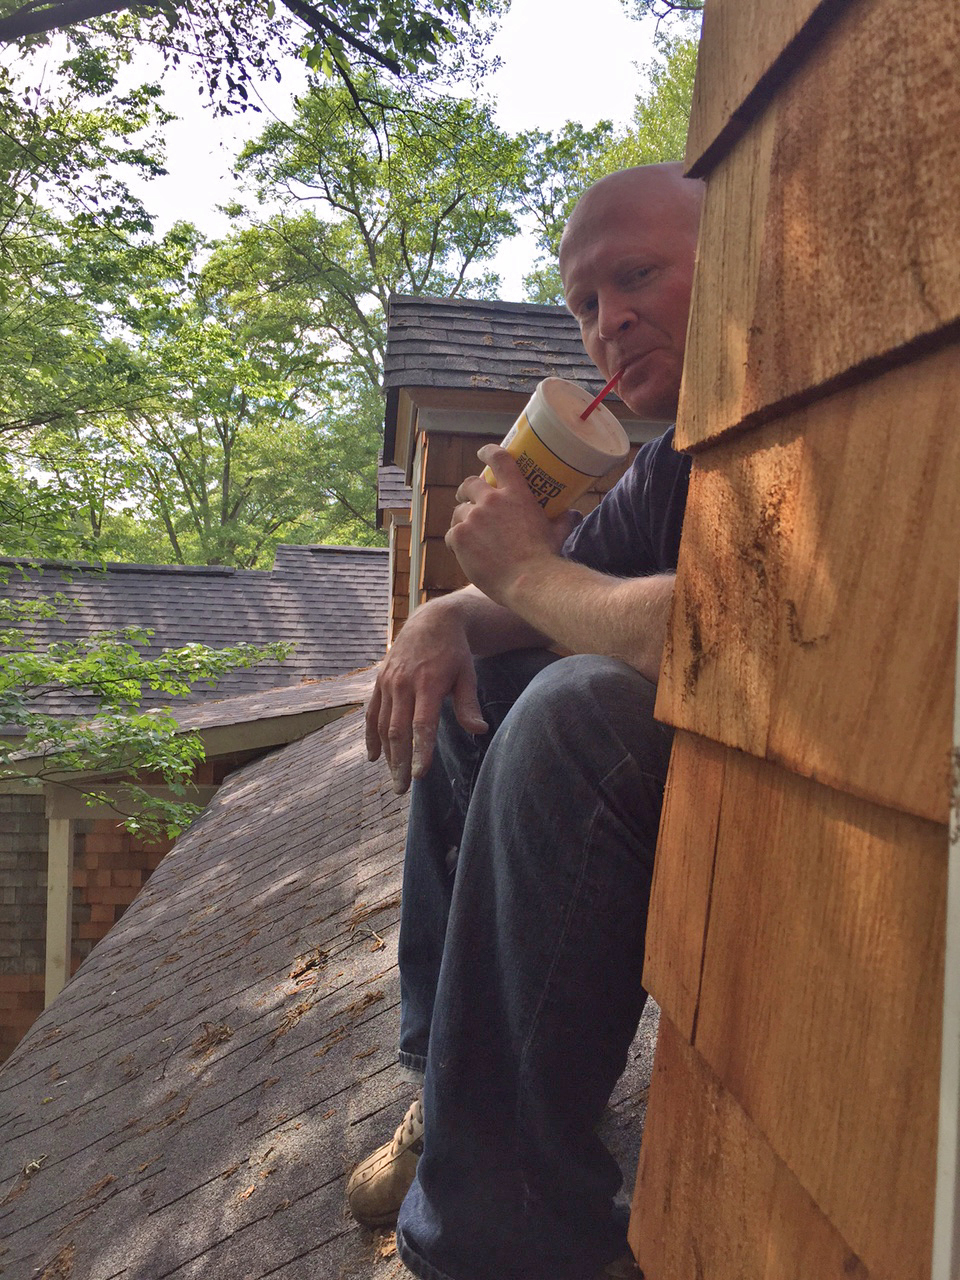
Whew! I guess it was worth it!

Advertisement

We’ve got the power!

It took a signed easement from one of our neighbors, a lot of underground boring, and a crew of Duke Power dudes with a bulldozer squeezing into the smallest part of our yard, but permanent power is ours! Hooray!

Whoa, Dozer!

Whoa, Dozer!

We see the light!

Our first glimpse of light at The Newton Nest!

This is the first time we have ever seen the inside of the Nest with the lights on and it’s an incredible feeling!

Going Gray!

Hooray — we’ve gone gray! 

No, I’m not talking about our hair color beginning to fade as a result of nearly eight months of home renovation (although, the lone long-locked Newton has noticed a few new silver strands). We have finally said goodbye to the patchwork shingles and painted the exterior of our house! We settled on a medium gray color for the cedar shakes and then called in reinforcements to help with the transformation.

The slightly more senior Mr. and Mrs. Newton (Matthew’s parents) joined the painting party and we were able to prime and paint the exterior of our little nest in two weekends’ time. Not too shabby for a bunch of amateurs—well, three amateurs and our fearless leader, Matthew’s father, Wayne, who owned his own paint contracting business for 30+ years… as the sole professional on site, he kept the rest of us from messing anything up! Painting all those shakes was no easy task and start-to-finish it took us a month of weekends if you count the prep work too, but we were strutting around with grins of accomplishment when it was all done!

We began by prepping the exterior (a lot more work than I thought!):

IMG_8527

Taping off the windows!

IMG_8440

Puttying all the little nail holes!

IMG_8453

Caulking windows!

IMG_8451

Double caulking!

IMG_8816

Triple caulking!

IMG_8466

Rooftop refreshment 😉

Here we go! Check out the power of a coat of paint:

IMG_8814

Shaking up the paint! (My staring totally helped…)

IMG_8535

Primer coat is on!

IMG_8611

Mr. Newton – head painter in charge – spraying more primer.

IMG_8609

Two Newtons and a dormer.

IMG_8567

Three Newtons and a dormer. 🙂

IMG_8542

All primed and ready for the final coat!

IMG_8626

Revving up the sprayer for the final coat!

IMG_8622

Matthew and his Momma taking a little break.

IMG_8631

Final coat of gray is on; ready to start painting all the trim along the roof!

IMG_8708

IMG_8694

IMG_8682

Trim is looking crisp and white!

IMG_8797

IMG_8787

IMG_8781

Oops! We almost forgot the garage…

IMG_8832

Goodbye, basketball goal!

IMG_8827 copy

Hello, Bat who was hiding underneath the goal. (Sorry little guy!)

IMG_8847

IMG_8843

IMG_8840


IMG_8921

All done!

IMG_8869

Hello, gorgeous gray! All that hard work paid off… we are really digging our Nest’s new look.

IMG_8868
IMG_8919

IMG_8916

IMG_8912

Many, many thanks to the Newtons for helping us with such a big job – we couldn’t have done it without them!!!

A few Eggs of Wisdom…

  • It’s true, many hands make light work.
  • Happy music and time with family makes even the hardest jobs more fun.
  • If you have a choice between rolling/brushing paint and using one of those handy sprayers, choose the sprayer every time! 😉

From Stoop to Porch

Nothing says, “Welcome, friends!” like a sweet little covered porch!

Truthfully, there wasn’t really anything wrong with our original front stoop; a sturdy set of stairs and a little landing leading right up to our front door. Totally functional? Yes. Something to remember? Ehhhh, not really.

Its lack-luster presence and barely-there overhang at the front door (hardly enough to keep a guest out of the rain as they ring the doorbell) just wasn’t exactly the warm welcome we wanted. So, with a few very simple changes/additions, our so-so stoop has become a precious porch!

We worked with our builder to design a simple, architecturally appropriate overhang that would shelter the entire front stoop and add a little extra curb appeal to the front. I could describe it all to you, but wouldn’t you rather see pictures? I thought so…

A few “before” pictures:

Before! In fact, this photo is so "before" that it was one of the very first photos we snapped as we were beginning the journey to buy the house (September 2014)... it was ours roughly one year later!

Before! In fact, this photo is so “before” that it is actually one of the very first photos we snapped way back when we were a couple of baby birds just beginning the journey to buy our Nest (taken September 15, 2014)… it was officially ours roughly one year later (we closed on September 25, 2015!).

The Newton Nest_Front Porch Remodel_IMG_6339

The Newton Nest_Front Porch Remodel_IMG_6653

The “after” pictures:

Well hello, pretty porch!

Well hello, pretty porch!

Side view!  You can see here how much farther the porch roof extends from the house. It now shelters the entire landing.

Side view! You can see here how much farther the porch roof extends from the house. It now shelters the entire landing.

New front door!

New front door!

Close-up of the tongue and groove ceiling.

Close-up of the tongue and groove ceiling.

And just in case you didn’t quite get the picture… here are a couple of side-by-sides:

Front Porch Before & After

Front Porch Before & After


How Appropriate

Ladies and Gentleman, we have chosen a paint color! (For the outside, at least. 🙂 )

8 paint swatch cards and 5 sample jugs later, we have stood close, stood back, squinted, discussed, and viewed them in nearly every hour of daylight… introducing the color chosen to grace the exterior of our nest:

Ta -daaaah! Sherwin Williams Gauntlet Gray

Ta-Daaah!  Sherwin Williams’ Gauntlet Gray it is.

Appropriately named for the “challenge” we’ve endured (Mostly kidding, it has been a lot of fun, too!) to bring the Newton Nest back to its former glory, Gauntlet Gray just seems like a fitting color in which to shroud our bundle of sticks.

Swatch testing!

Swatch testing!

We hope to paint the outside in just a few weeks—stay tuned!

Patchwork Perfect

Hallelujah – our cedar shakes are finally finished! The outside of our Nest has an interesting pattern these days, but after a lot of removing, replacing, and refurbishing, we have a solid exterior again.

Although we think a patchwork quilt is a thing of beauty, the Newtons definitely plan to paint the shakes to ensure that they all blend together soon; so choosing a paint color has become a top priority over the last few weeks…

As part of shaping up the outside, we have also replaced all the trim along the roofline. Initially, we were hoping to patch areas of rotten trim like we did with the shakes, but after some consideration, we decided that this would probably result in a “chopped up” look. Plus, removing and replacing all the trim with new, treated materials would be less labor intensive and weather evenly over time.

So, without further ado, here’s a look at our newly-thatched Nest:

The Newton Nest Cedar Shake Replacement Home Renovation IMG_8161

The Newton Nest Cedar Shake Replacement Home Renovation IMG_8162

The Newton Nest Cedar Shake Replacement Home Renovation IMG_8155

The Newton Nest Cedar Shake Replacement Home Renovation IMG_8156

The Newton Nest Cedar Shake Replacement Home Renovation IMG_8157

The Newton Nest Cedar Shake Replacement Home Renovation IMG_8158

The Newton Nest Cedar Shake Replacement Home Renovation IMG_8159


We had a crew of professionals who did the majority of the cedar shake repair, but the perfectionist of the Newton duo also learned to replace shakes so he could switch out the few sub-par shingles that missed the first cut.

The Newton Nest Cedar Shake Replacement Home Renovation IMG_8174

Matthew taking it one shake at a time.

The Newton Nest Cedar Shake Replacement Home Renovation IMG_7911

This didn’t make me nervous at all… #yikes!

The Newton Nest Cedar Shake Replacement Home Renovation IMG_8205

Once the cedar shake work was complete, Matthew washed the entire exterior in preparation for paint. Talk about a big job!

New trim along the roofline:

The Newton Nest Cedar Shake Replacement Home Renovation IMG_7737

The Newton Nest Cedar Shake Replacement Home Renovation IMG_7739

The Newton Nest Cedar Shake Replacement Home Renovation IMG_7741

The Newton Nest Cedar Shake Replacement Home Renovation IMG_7742

The Newton Nest Cedar Shake Replacement Home Renovation IMG_7744

In case you ever decide to try a little cedar shake repair of you own, here’s a sampling of the music playlist that kept us inspired:

  • Shake It Off – Taylor Swift
  • Shake, Rattle and Roll – Elvis Presley
  • If I had a Hammer – Peter, Paul and Mary
  • Shake Your Booty – KC and the Sunshine Band
  • Shake it Up – The Cars
  • Milkshake – Kelis
  • Shake It Off – Mariah Carey
  • Can’t Touch This (Hammertime) – MC Hammer
  • Our House – Crosby, Stills, Nash & Young

🙂

Cedar Fever—our shingles are here!

IMG_7374

Moving right along! Our pallet of Cedar Shake replacements has arrived (Boy, do they smell good!) and repairs are underway. Our plan is to salvage as much of the original Cedar Shake siding as possible and patch in wherever necessary.

“Feathering” these shakes into the existing siding is a painstakingly tedious job, but our guys seem to be making great strides each day. Provided we have good shakin’ weather, this project should be complete by next week.

Here’s a sneak peep at our Nest’s new feathers:

Our new shakes  bring all the boys to the yard!

Shake upgrades underway!

Matthew loves the smell of Cedar and progress in the morning...

Matthew loves the smell of Cedar and progress in the morning…

Out with the old, in with the new – brand new windows to take in the views!

This is a game changer, y’all! We searched and researched, discussed and debated window styles, brands, and what best suited the era and architecture of our little nest. If you’ve ever shopped for windows, then you know – it’s a lot to take in.

Matthew and I felt like we deserved a graduate degree in window terminology by the time we had made our final selection. Muntins, Mullions, and Mullings, oh my! The lingo is intense, but all very interesting…

So, for those of you who speak this language and are interested in the details of what we chose: Matthew and I went with Windsor brand windows, a double-hung, aluminum clad wood, architectural grade window with simulated divided light in a “six over six” light pattern with muntins (or grilles) on the inside, outside, and in-between the glass.

Or this:

Windsor Window

Basically, we went super traditional. We were set on keeping the new look as close to the original true divided light wood windows as possible. Windsor also gives you the option to have exterior trim added to the window at the factory, which was very appealing to us since none of the original window trim was salvageable. Brand new windows + trim =  instant gratification! Easy decision. 🙂

Although most of the original windows were far beyond repair, we were able to save two of the most special ones and have them restored by a local company. The little round one in our master bedroom and the master bathroom window with a diamond pattern were definitely worth keeping!

Here’s a look at the removal and installation process:

Removing the old windows!

Removing the old windows!

aIMG_7299

aIMG_7307

First window is about to go in...

First window is about to go in…

Yay! Master bedroom window is in.

Yay! Master bedroom window is in.

All front windows are installed.

All front windows are installed.

aIMG_7324

aIMG_7348

Rear windows going in! (This is our Great Room / rear entrance.)

Rear windows going in! (This is our Great Room / rear entrance.) We added the round window after we vaulted the ceiling in this room and added two casement windows in place of a bank of three double hung windows because our TV will go against this wall. 🙂


Side yard windows are in!

Side yard windows are in!

All rear windows are installed.

All rear windows are installed.

aIMG_7343

View from the inside (Formal Living Room).

View from the inside (Formal Living Room).

Master Bedroom

Master Bedroom

Great Room / Kitchen

Great Room / Kitchen

Master bathroom window was restored, but hasn't been installed yet. Can't wait to see this one go in!

Master bathroom window was restored, but hasn’t been installed yet. Can’t wait to see this one go in!

Miss Pepper has found her new favorite vantage point... no squirrel is safe!

Miss Pepper has found her new favorite vantage point. Look sharp, Aberdeen Drive! She takes her Neighborhood Watch duties very seriously…

Up on the rooftop…

…click, click, click. That’s the sound of our roofers, not St. Nick.

Just in time for Christmas, we have a brand new runway for Santa’s sleigh! Well, that’s not the only reason we are replacing the roof, but it seems like good timing, right?

As you know by now, our little nest hasn’t exactly been water tight over the years and most recently, after removing all the plaster ceilings, we realized that a leaky roof was part of the problem. None of the leaks were terrible, in fact, without removing the ceilings, we probably wouldn’t have known for a long time that we had a slowly growing problem because all the little drips were being absorbed into the attic insulation. We were hoping to avoid replacing the roof, but truthfully, I think we are a little relieved to have it done now instead of kicking that can down the road. We’re looking at it as an “insurance policy” for all the work we’re doing on the inside…

Scraping off three layers of old shingles!

Scraping off three layers of old shingles!

Waterproof barrier is on (the bright green stuff).

Waterproof barrier is on (the bright green stuff).

New shingles going on!

New shingles going on!

Santa, is that you?

Santa, is that you?

IMG_7135

New roof! Front view.

New roof! Front view.

New roof! Rear view.

New roof! Rear view.

Saddle up Santa, we’re all ready for you!
(Hint, hint: we like power tools and home improvement gift cards!)