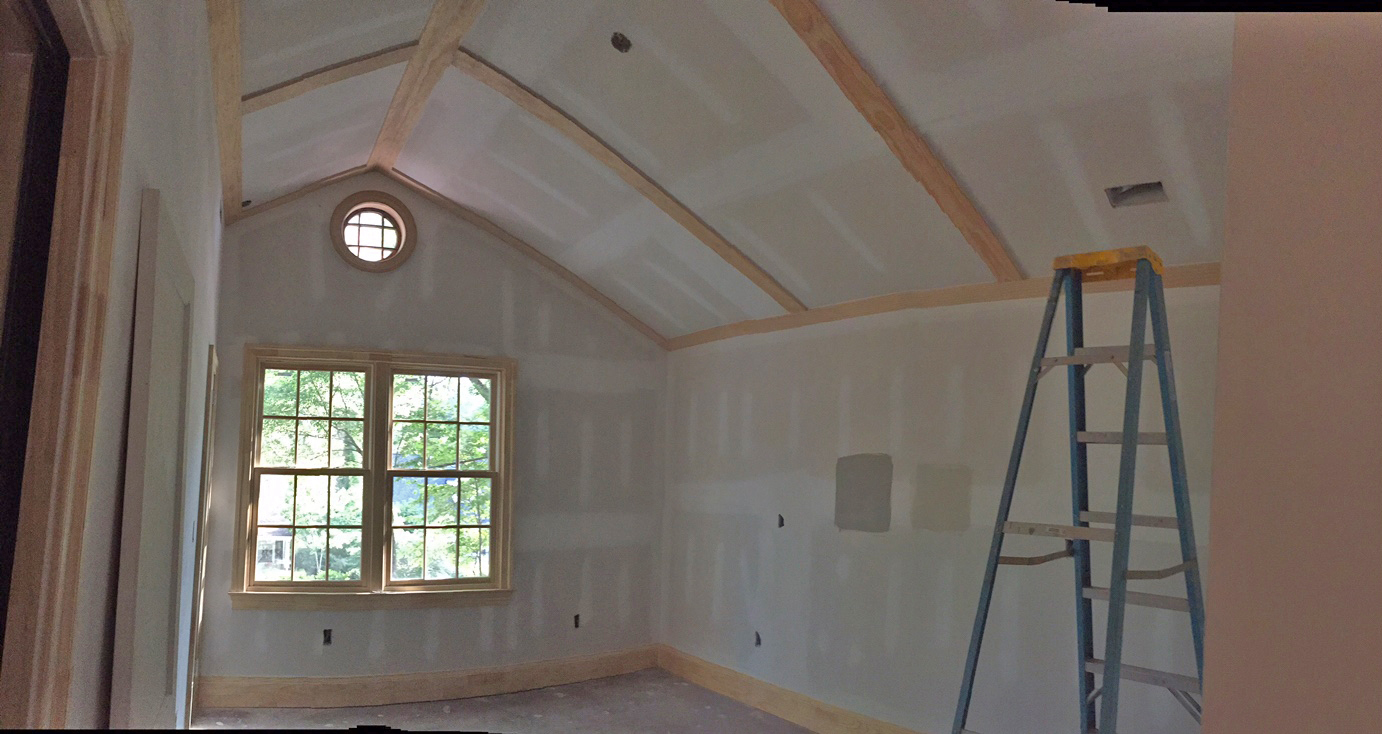
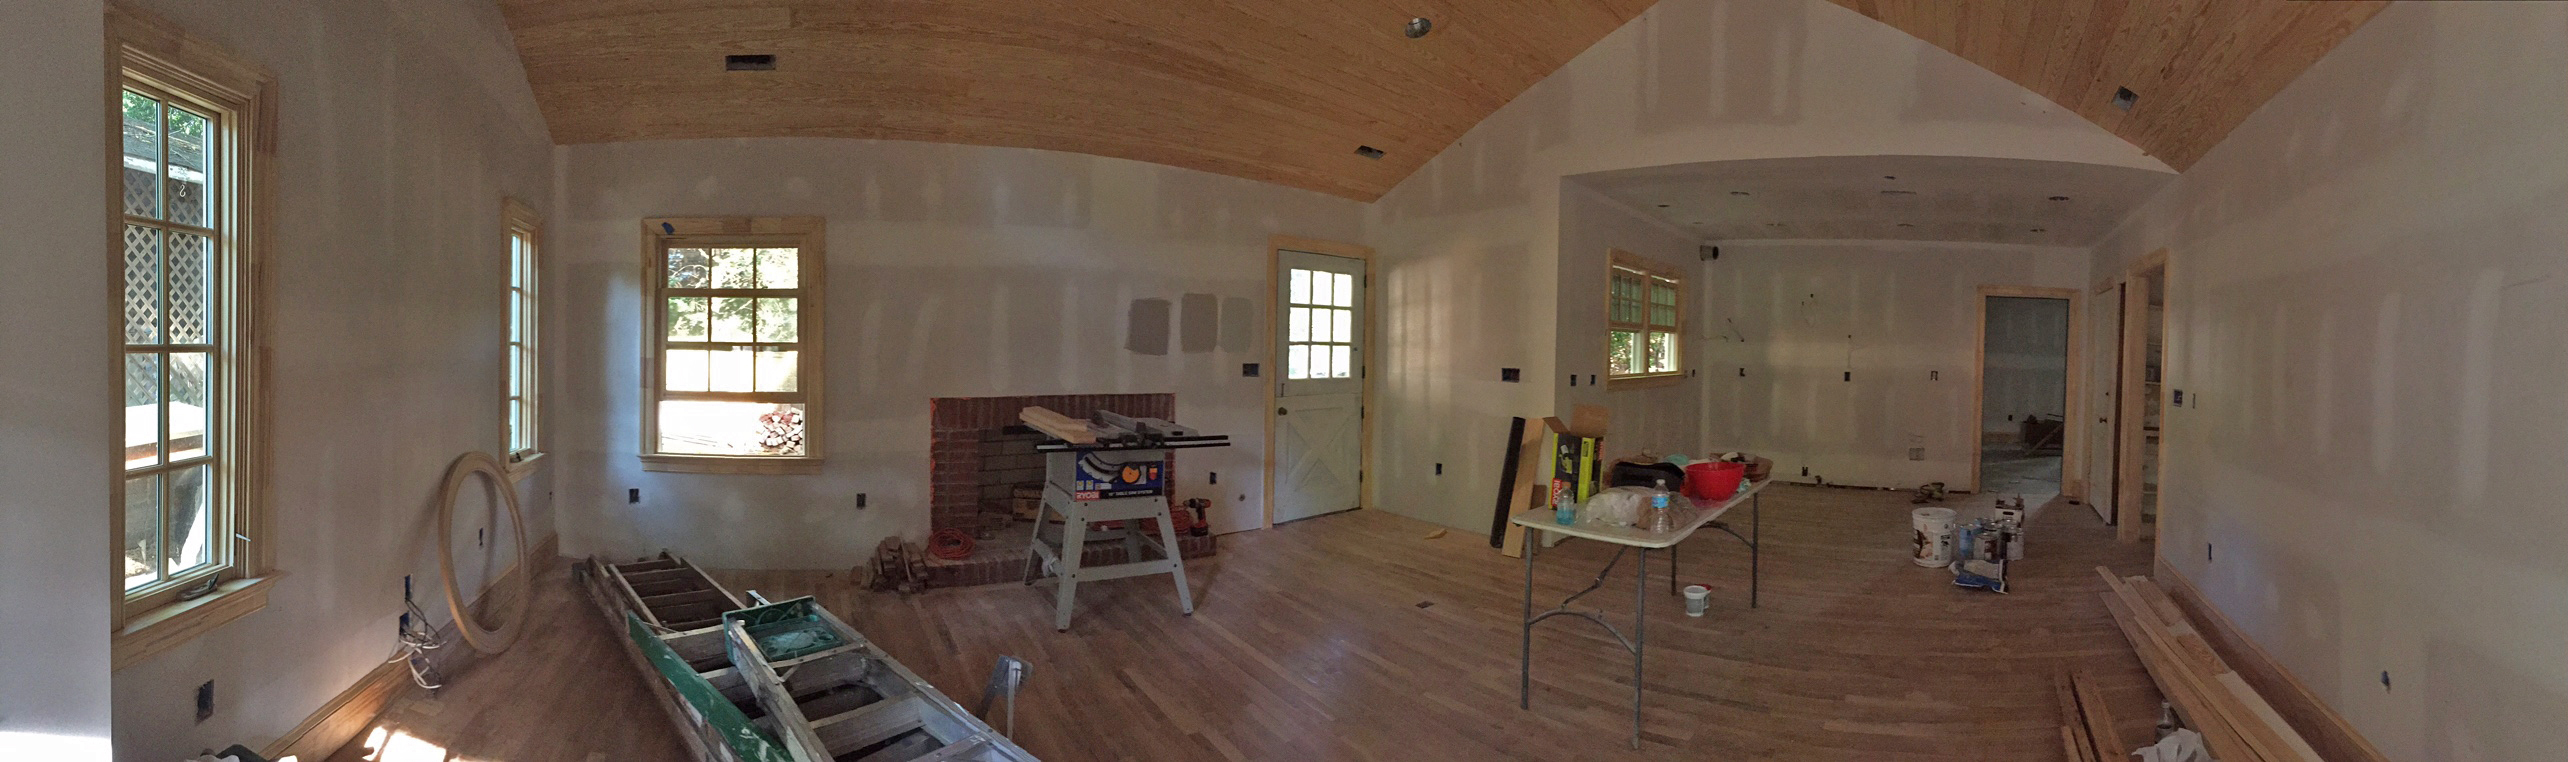
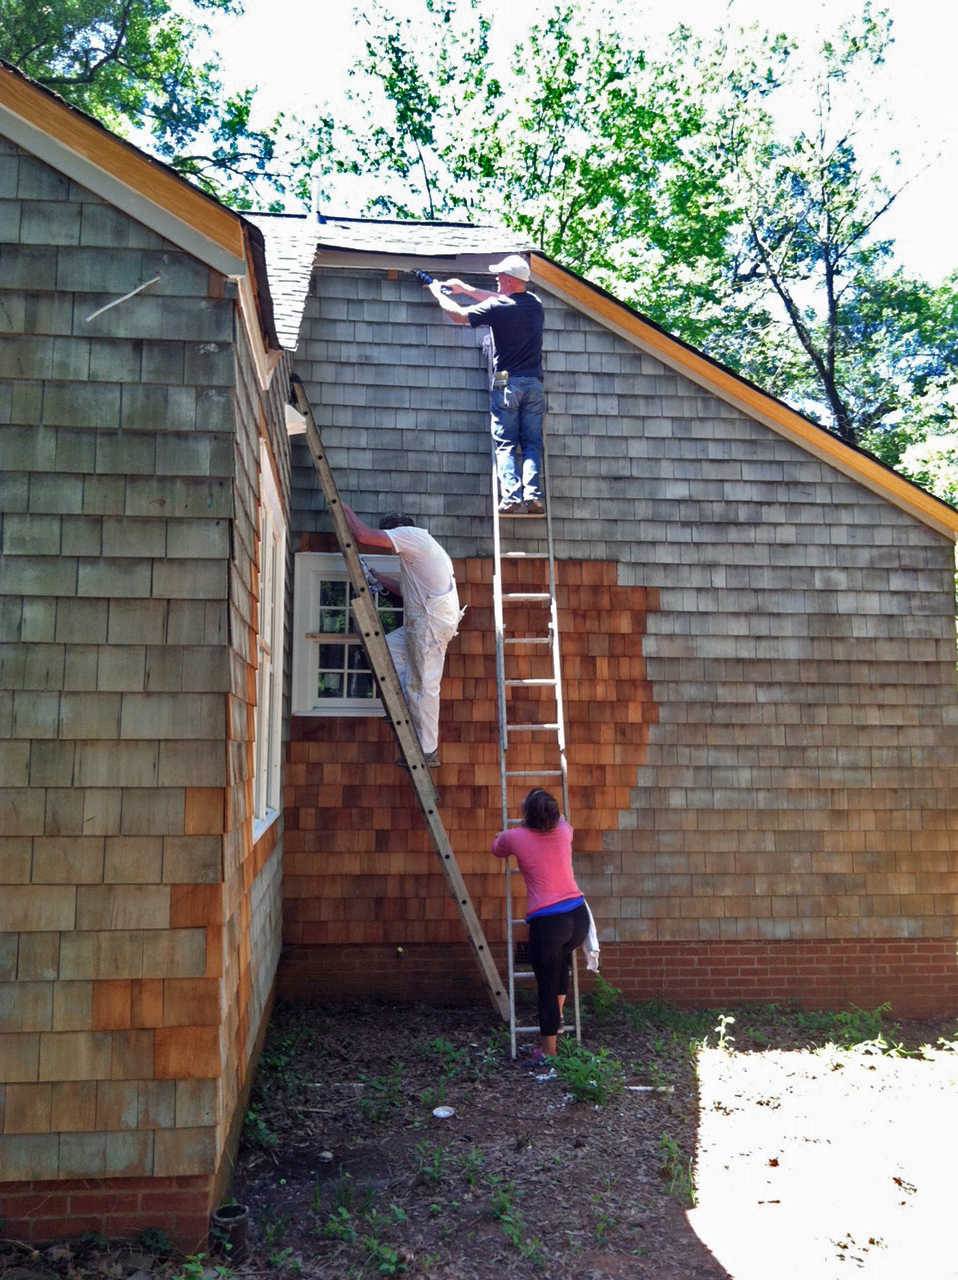
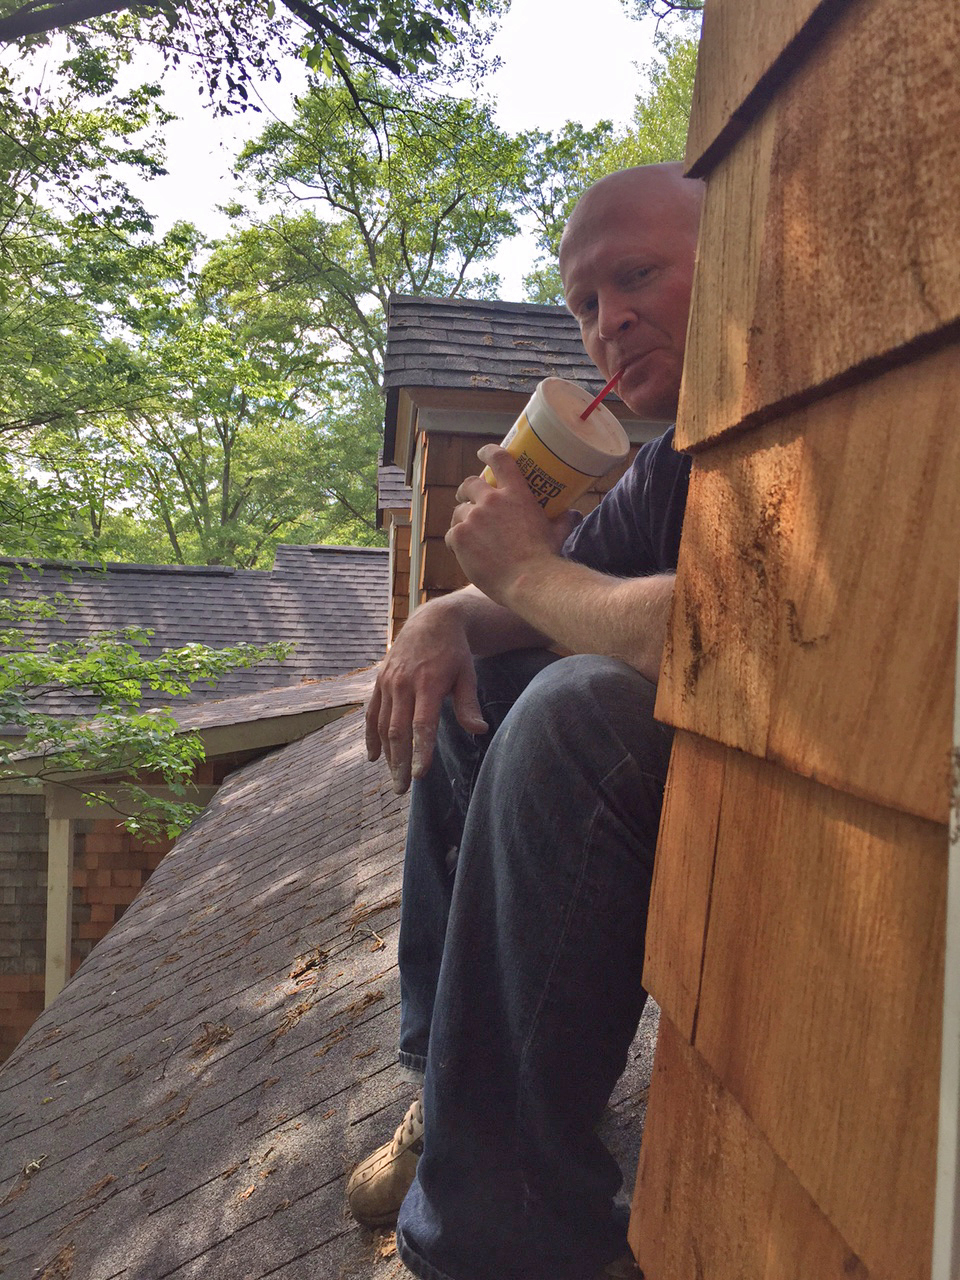
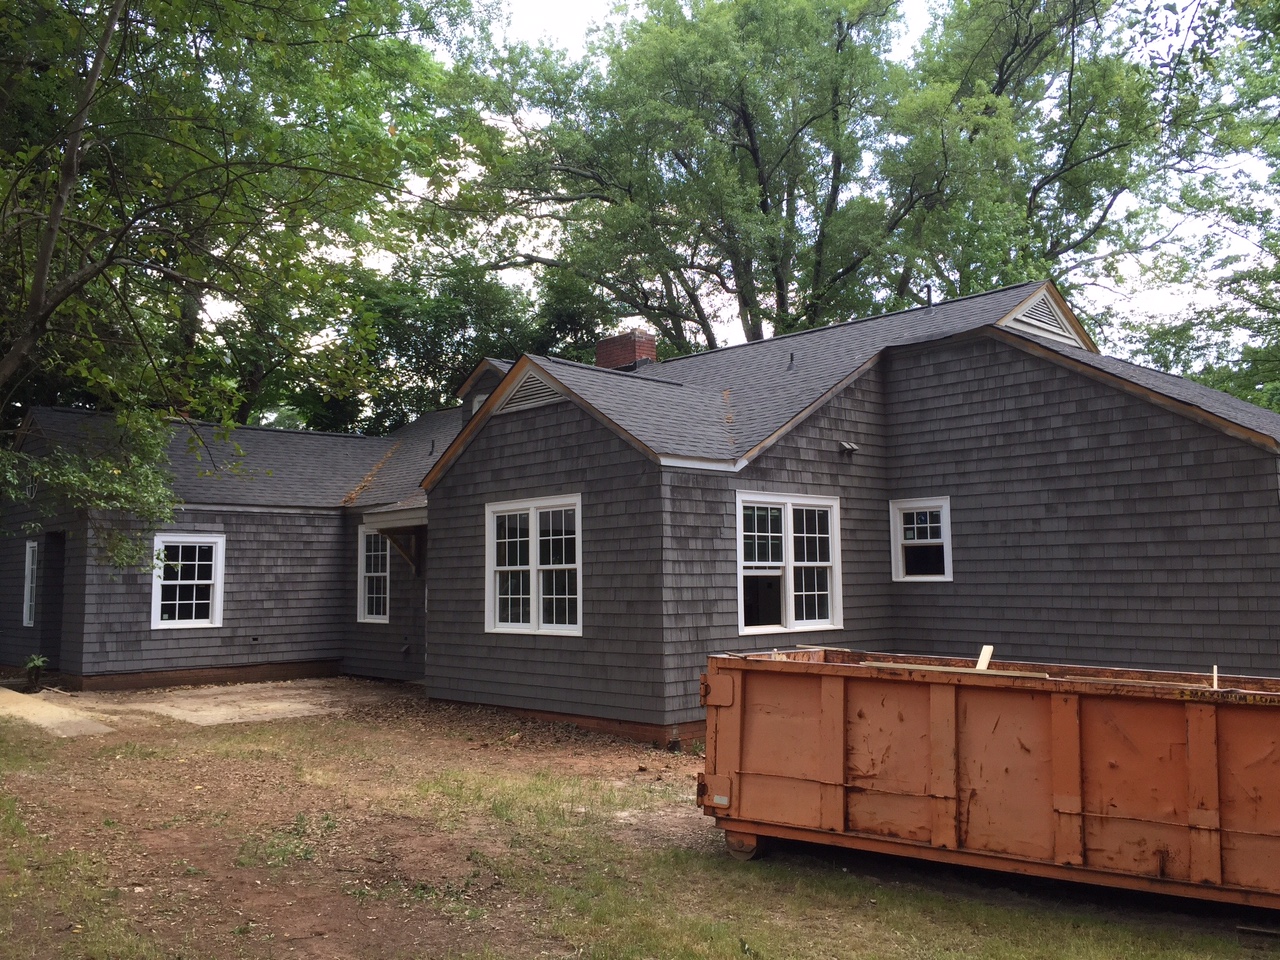
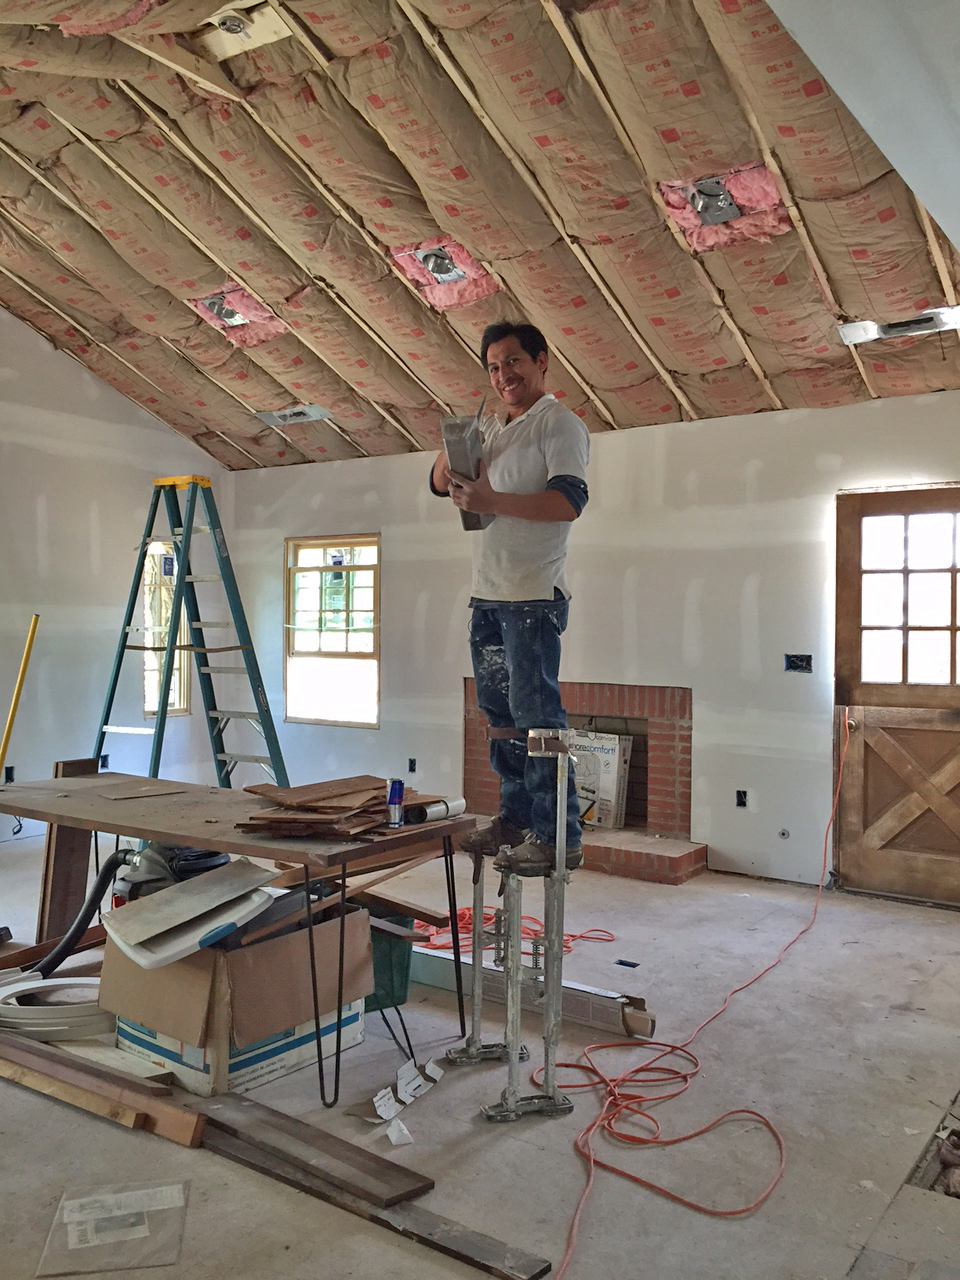
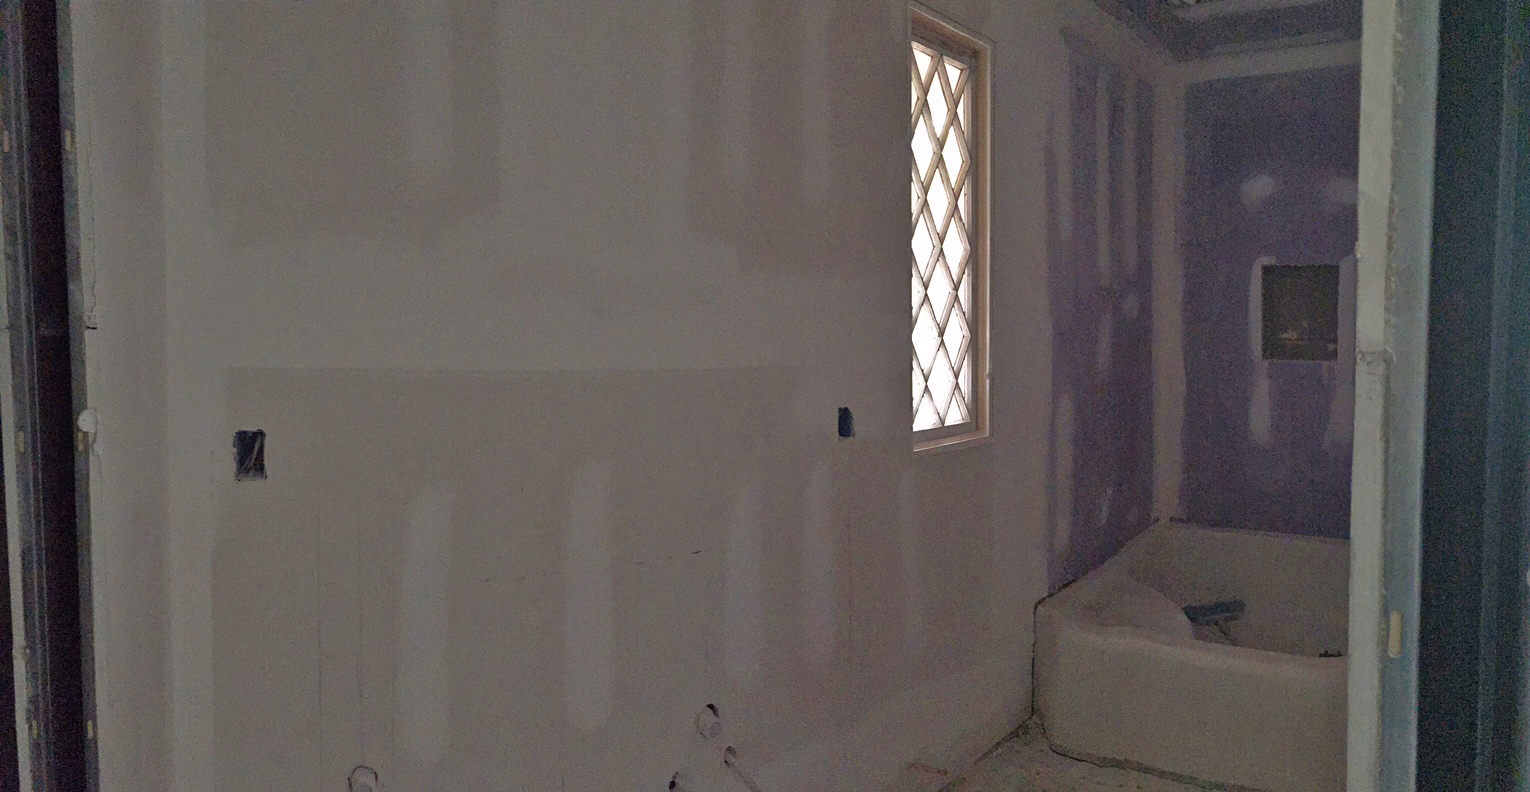
Fill. Putty. Caulk. Sand. Repeat… as with the outside paint job, the prepping proved to be the hardest part! To say the least, painting an entire house from ceilings to baseboards is quite a challenging (read: sanity testing) experience. I can’t say that either of us have ever – literally – started from scratch with bare sheetrock and trim in every inch of a house, so it was eye opening to realize just how many nail holes must be filled and how many coats of paint it takes to get to the final coat. We prepped for days before we popped the lid on our first can of paint. Fortunately, our painting crew returned and we had lots of help! Matthew’s father, Wayne, carried the team (again!) through more than two weeks of painting frenzy. He was our MVP for sure!
Endless Prepping:

Putty Man Matthew
(With the help of his momma!)
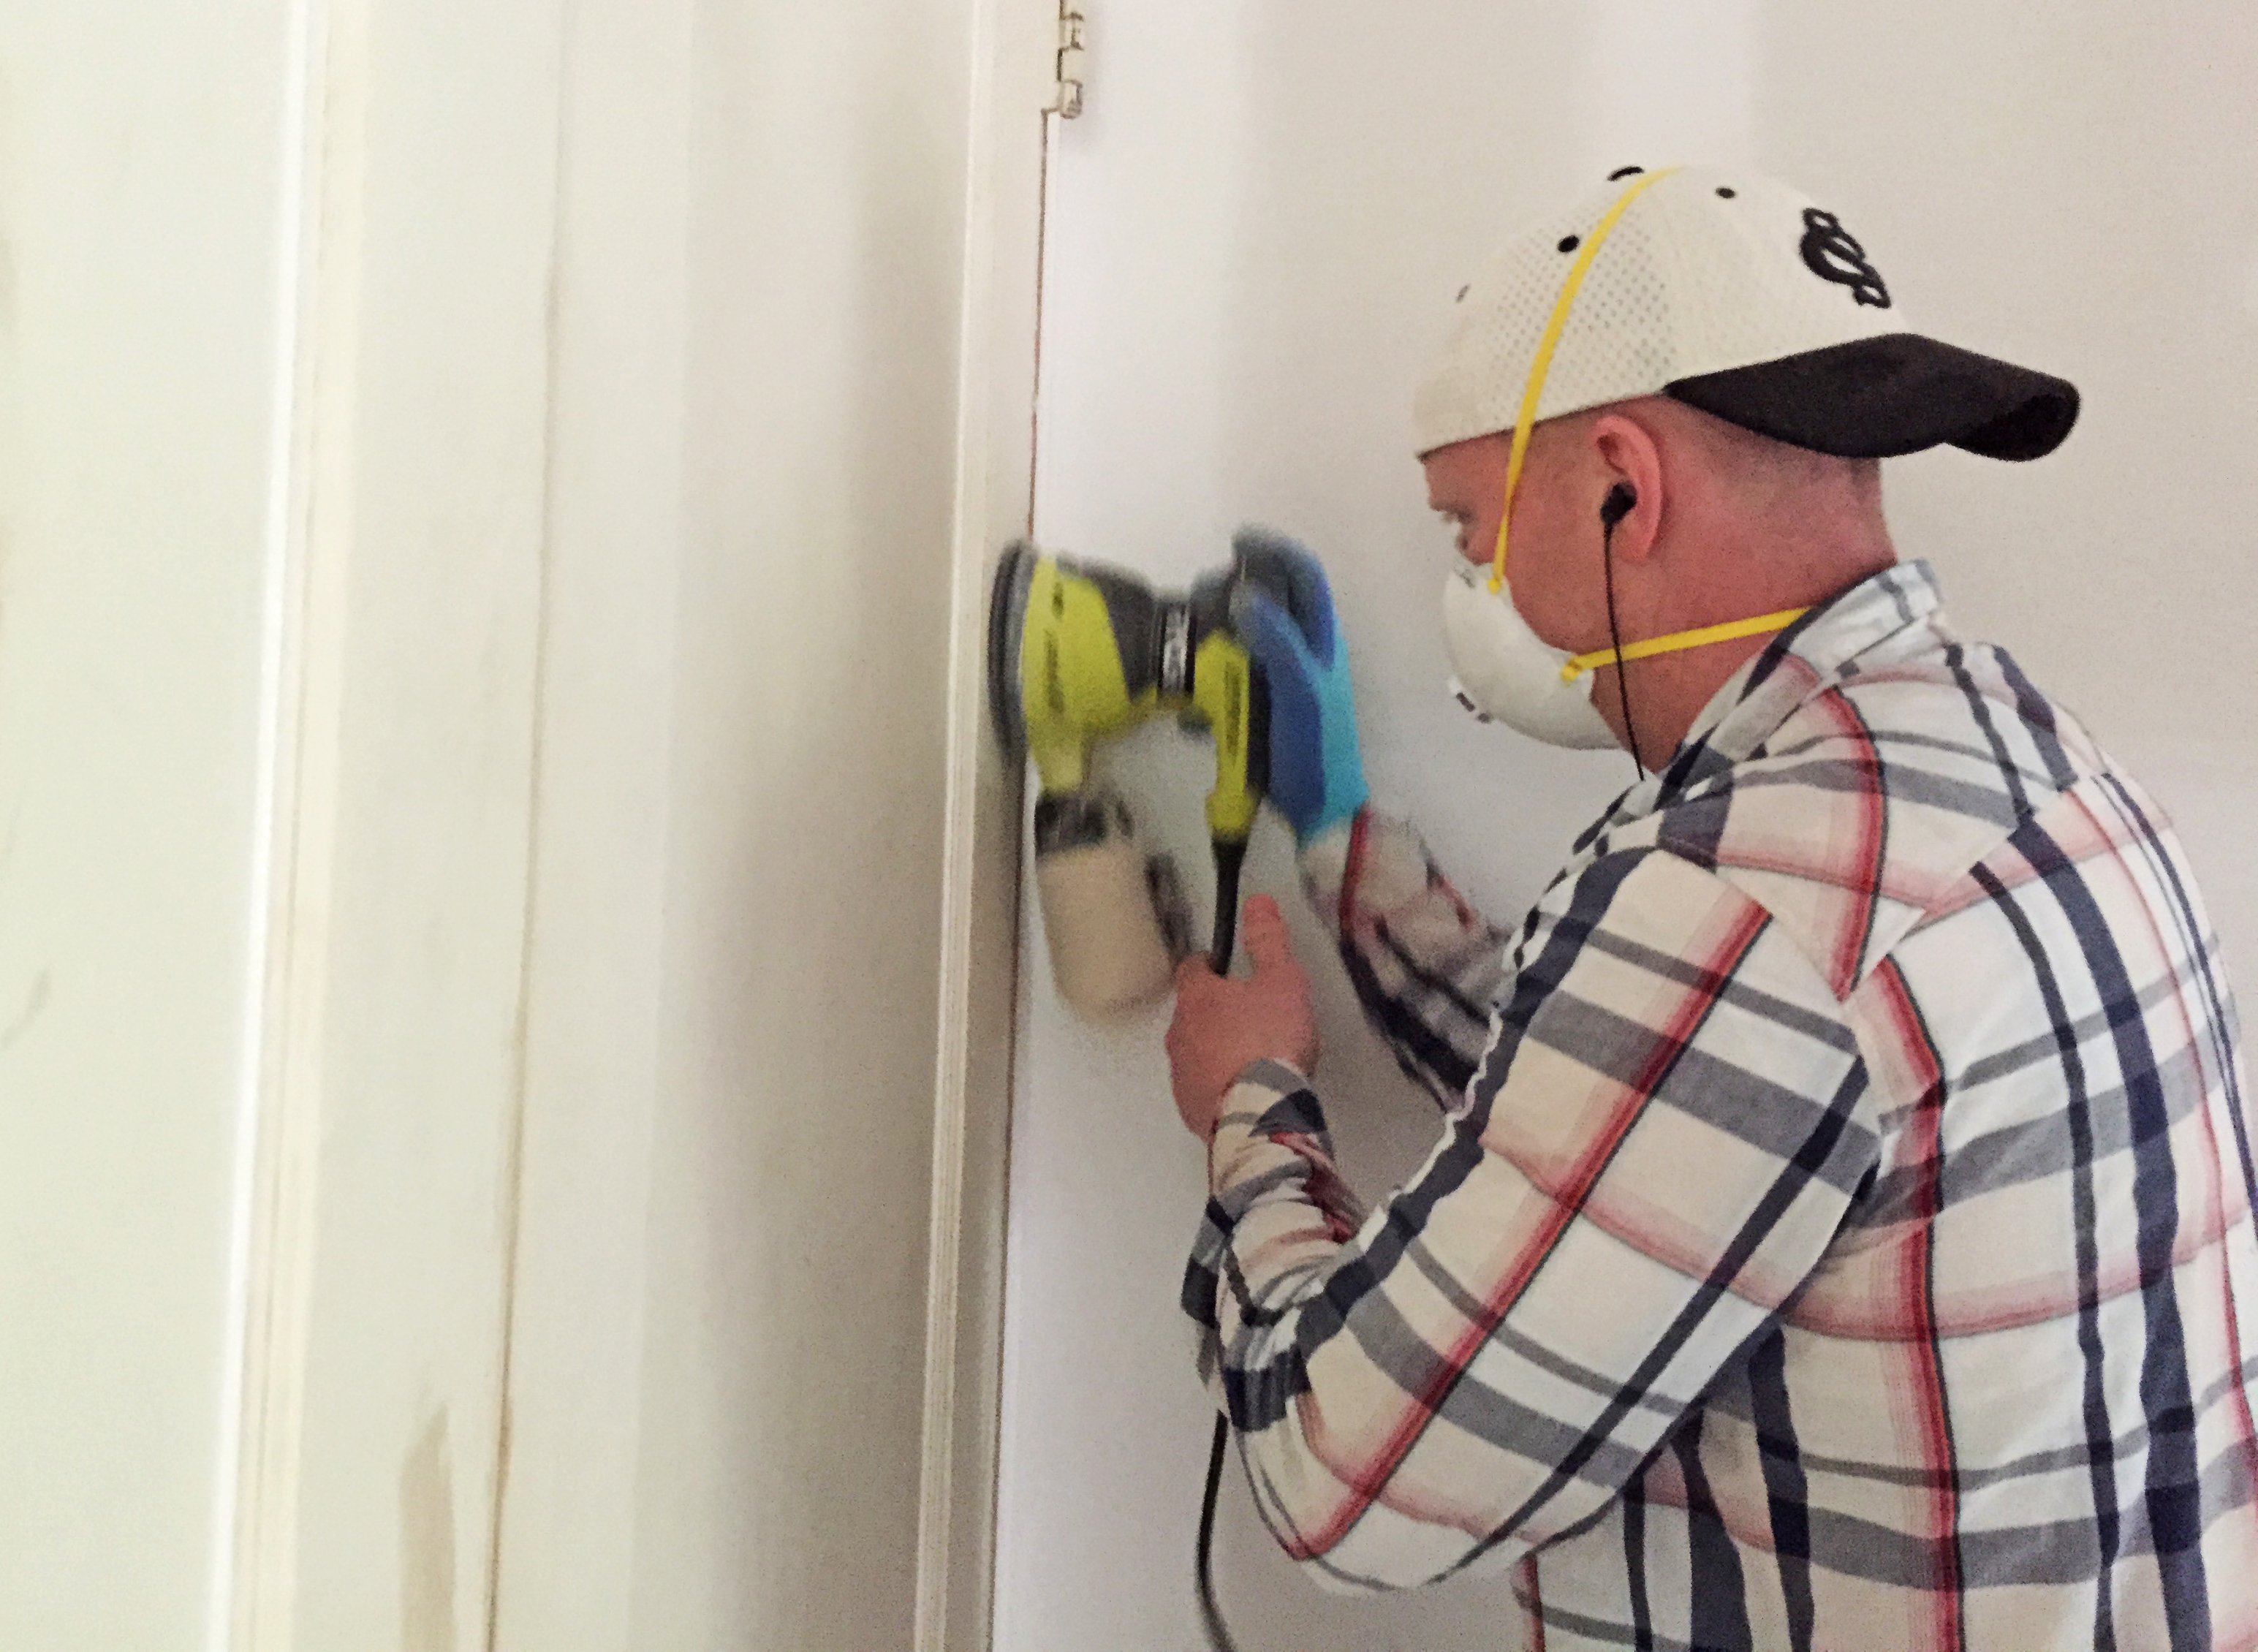
Power Sanding

Hand Sanding (still powerful).

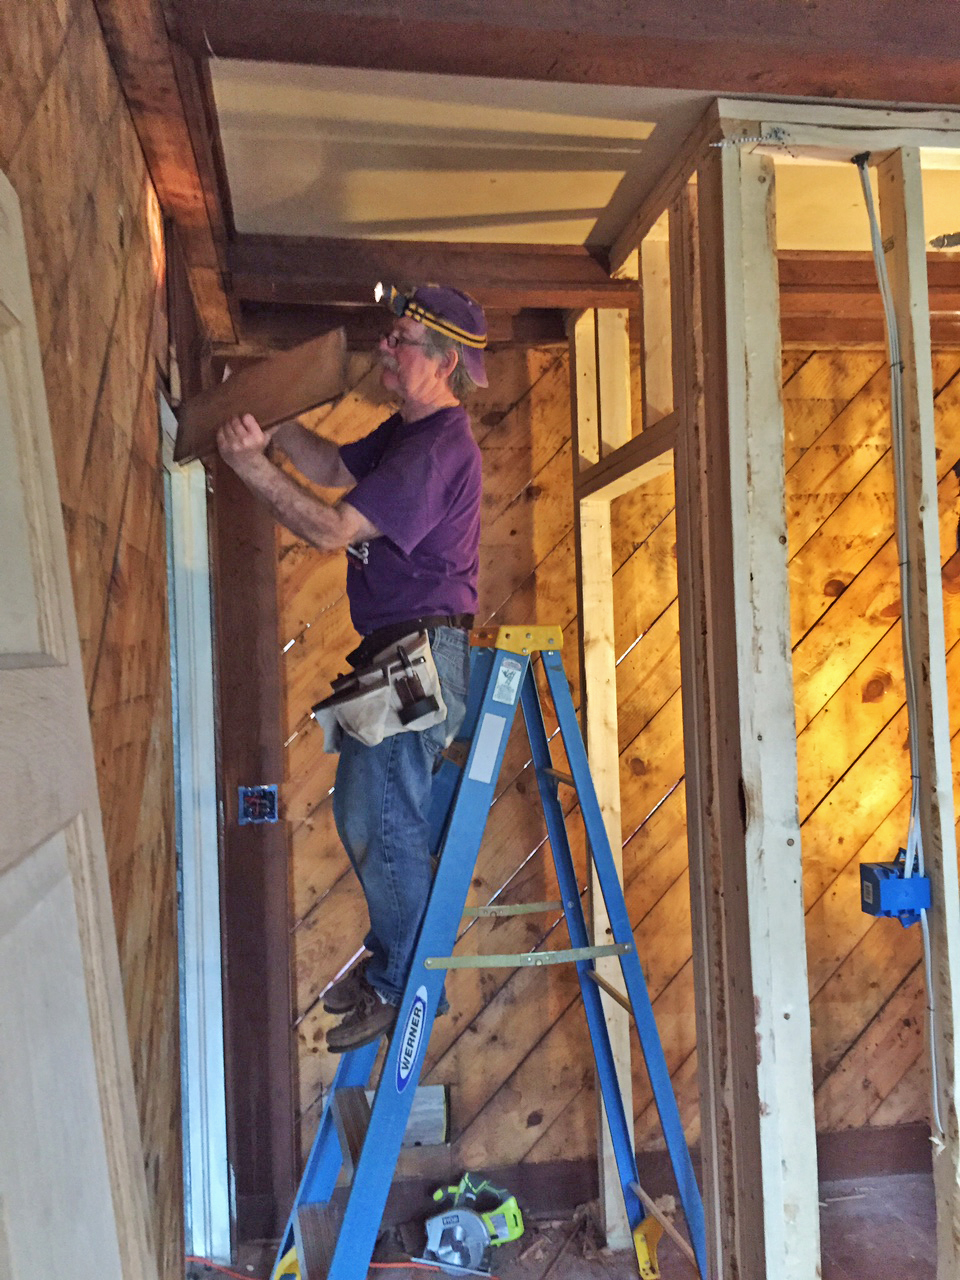
Baseboards for days…

Caulking all the seams!

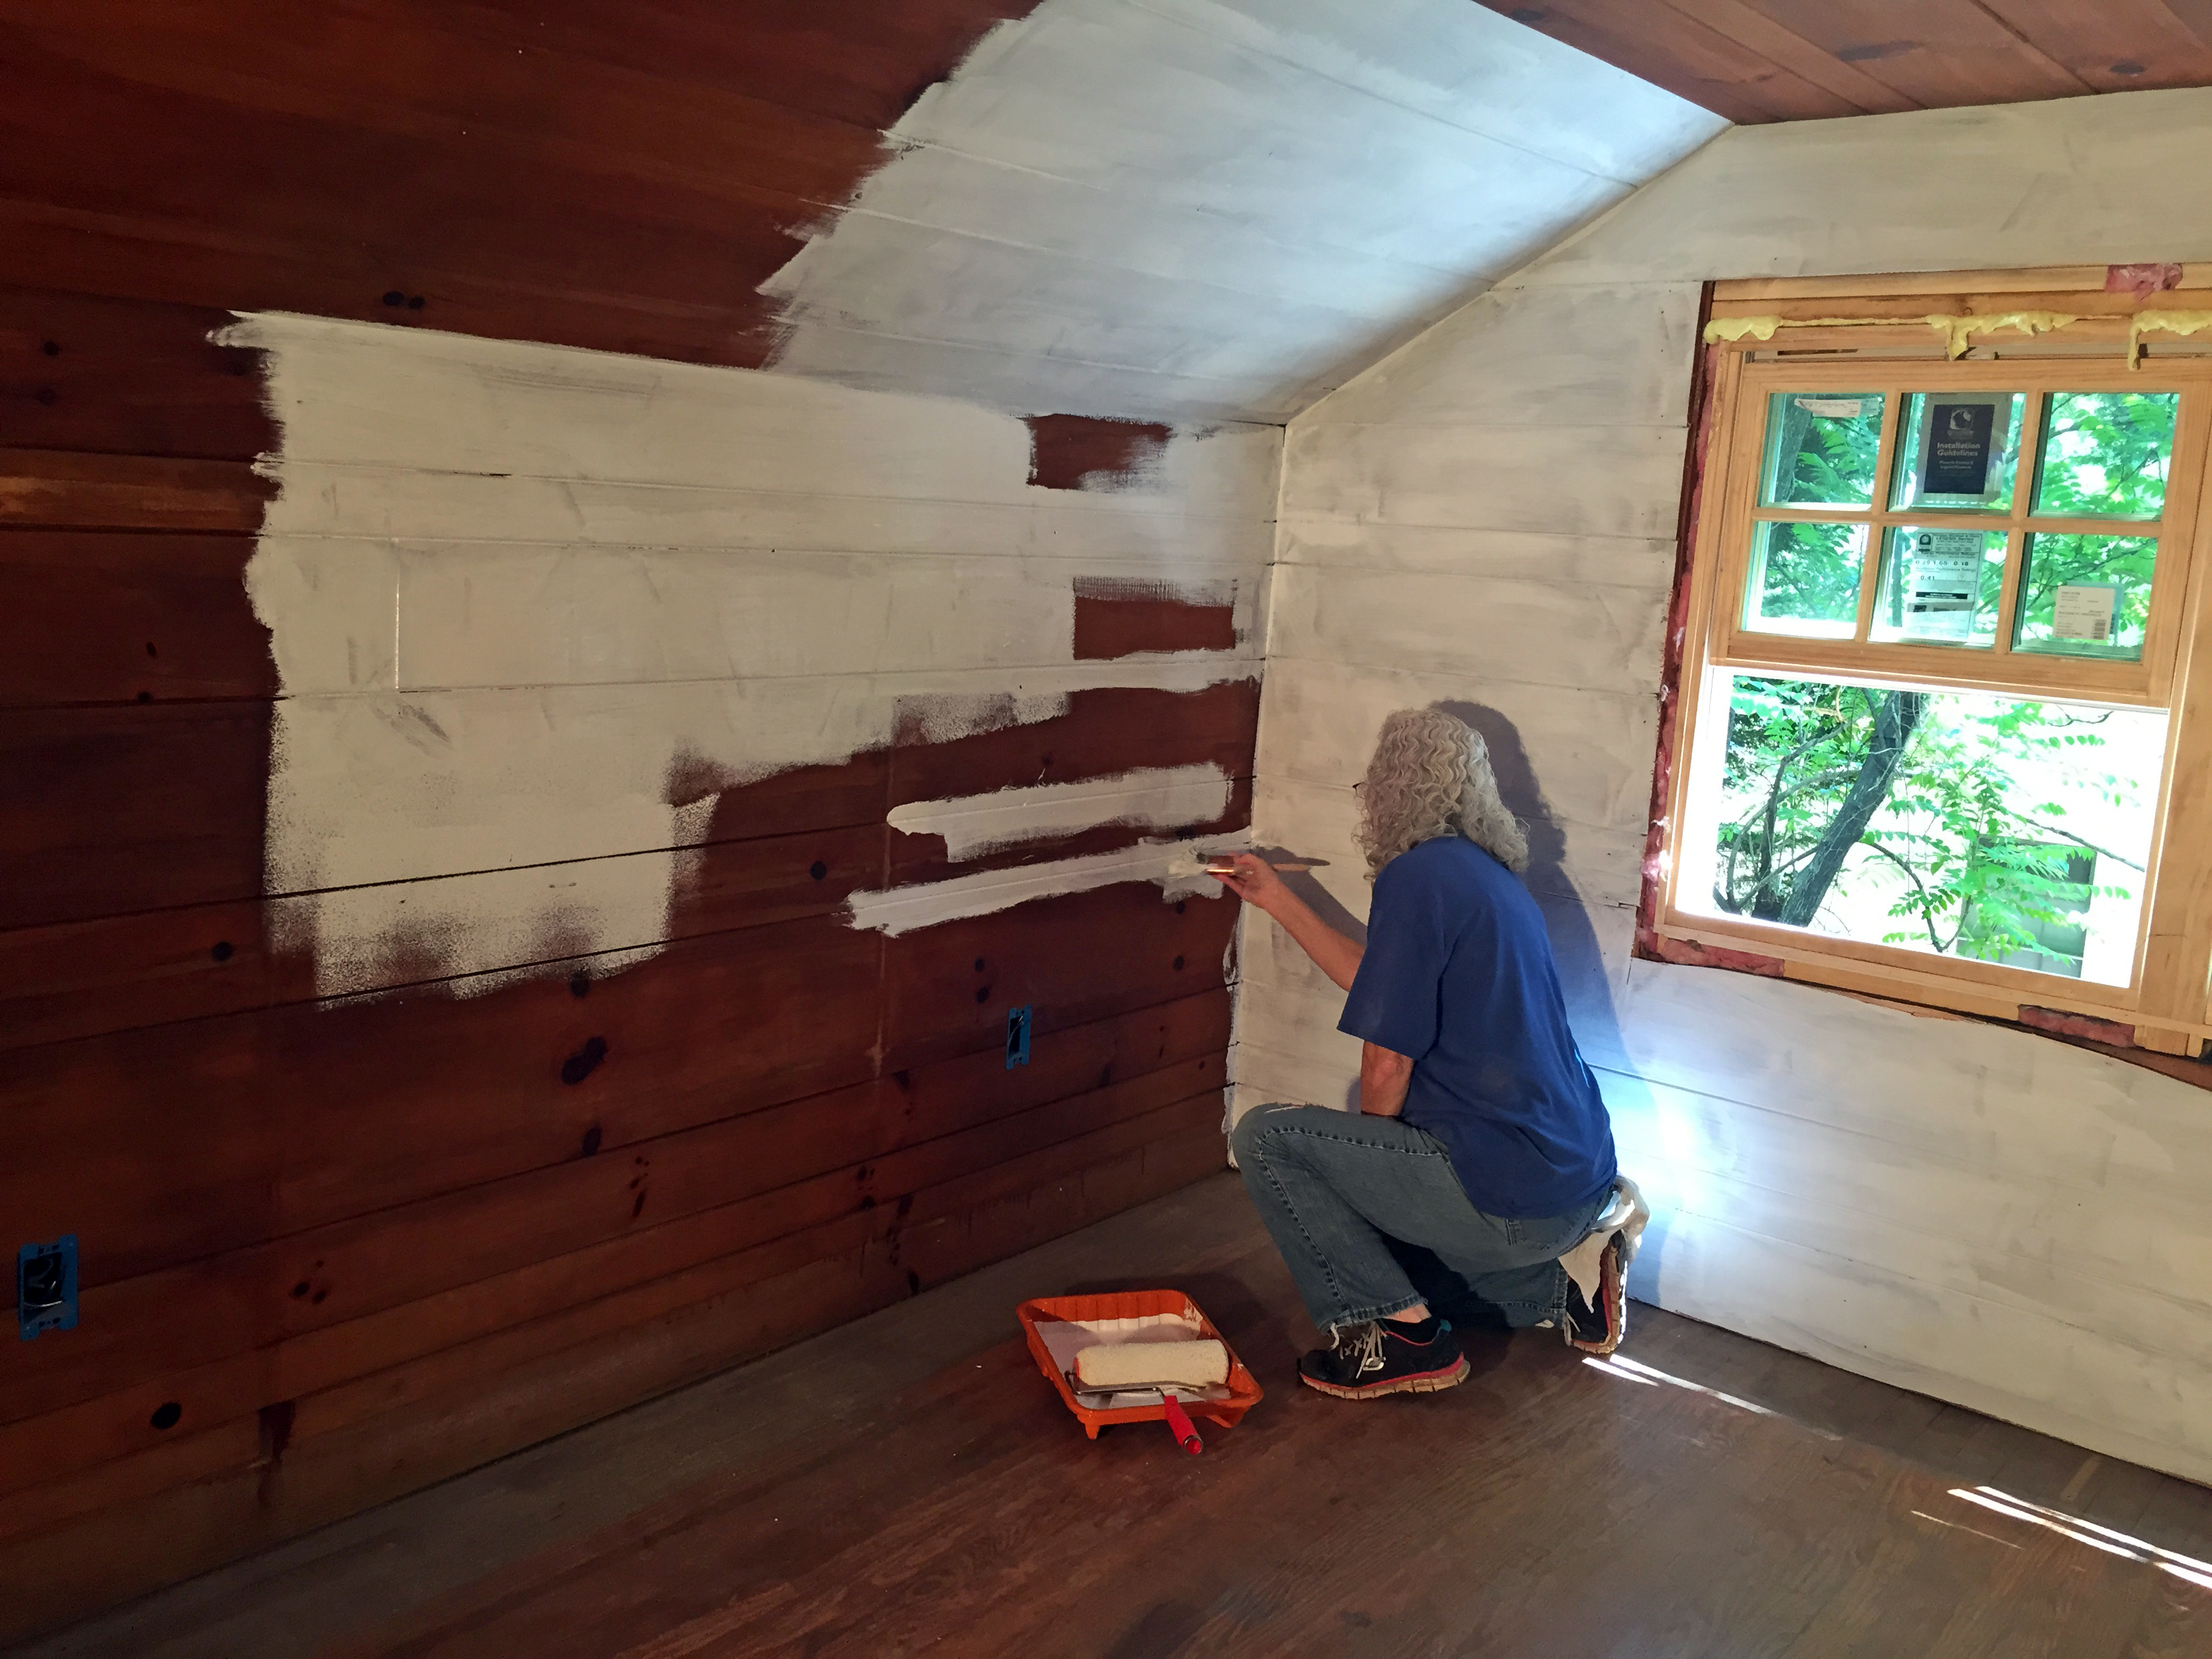
Finally, a paint brush… putting on the primer coat upstairs.

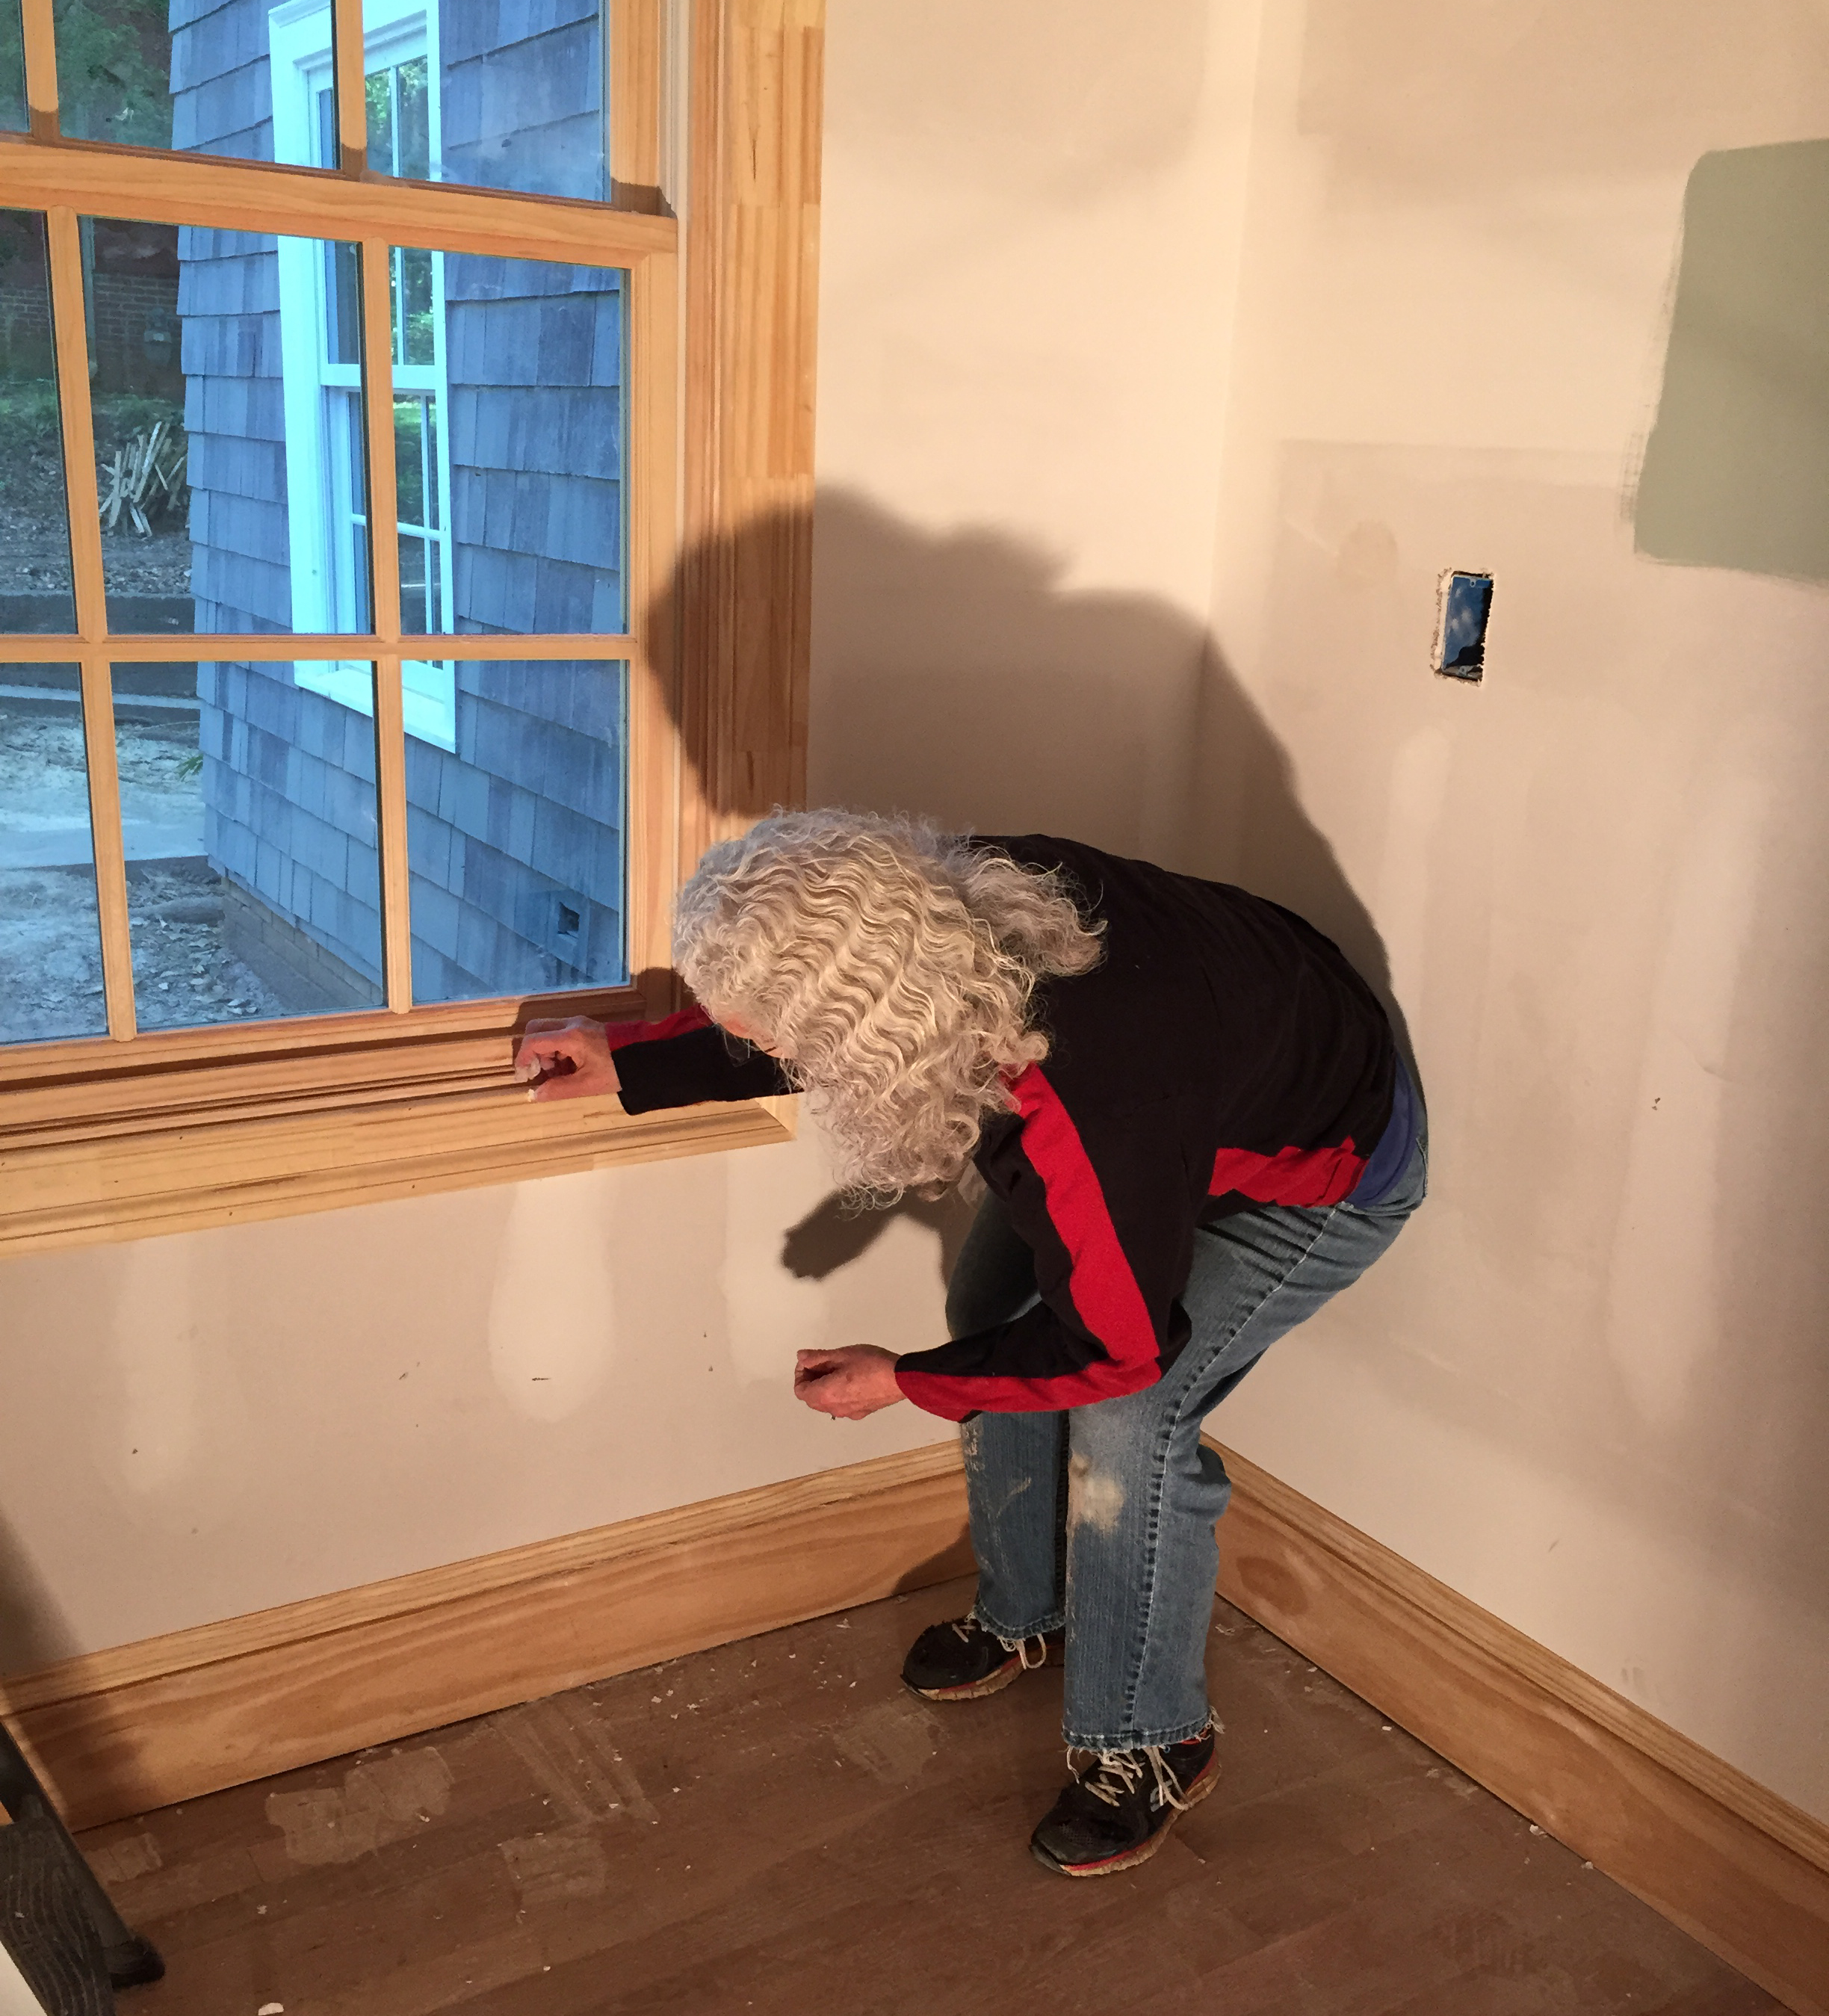
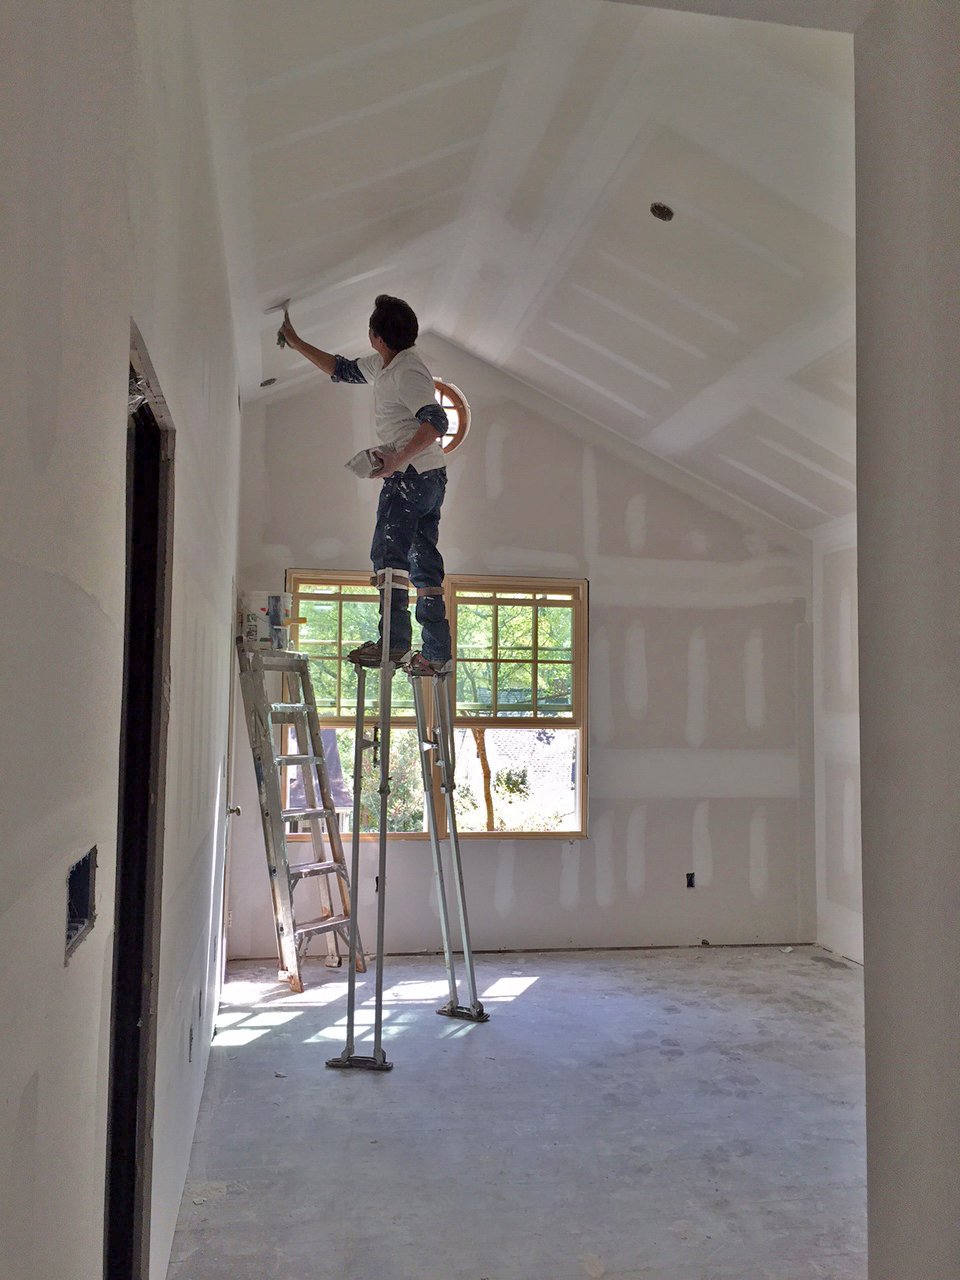
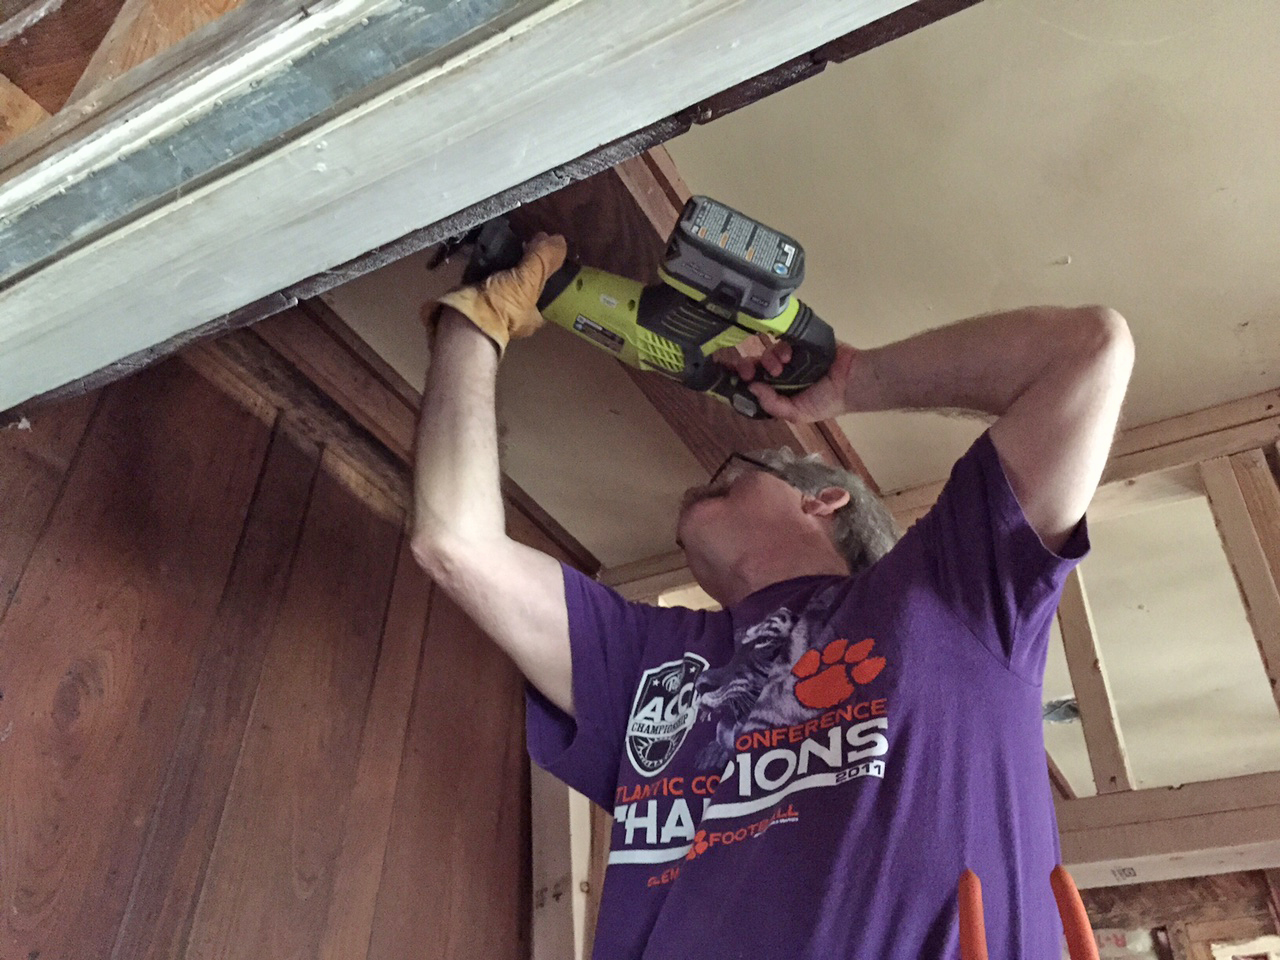
How many Newtons does it take to paint one corner?
Thank goodness for good help!
The Boss and The Master. 😉

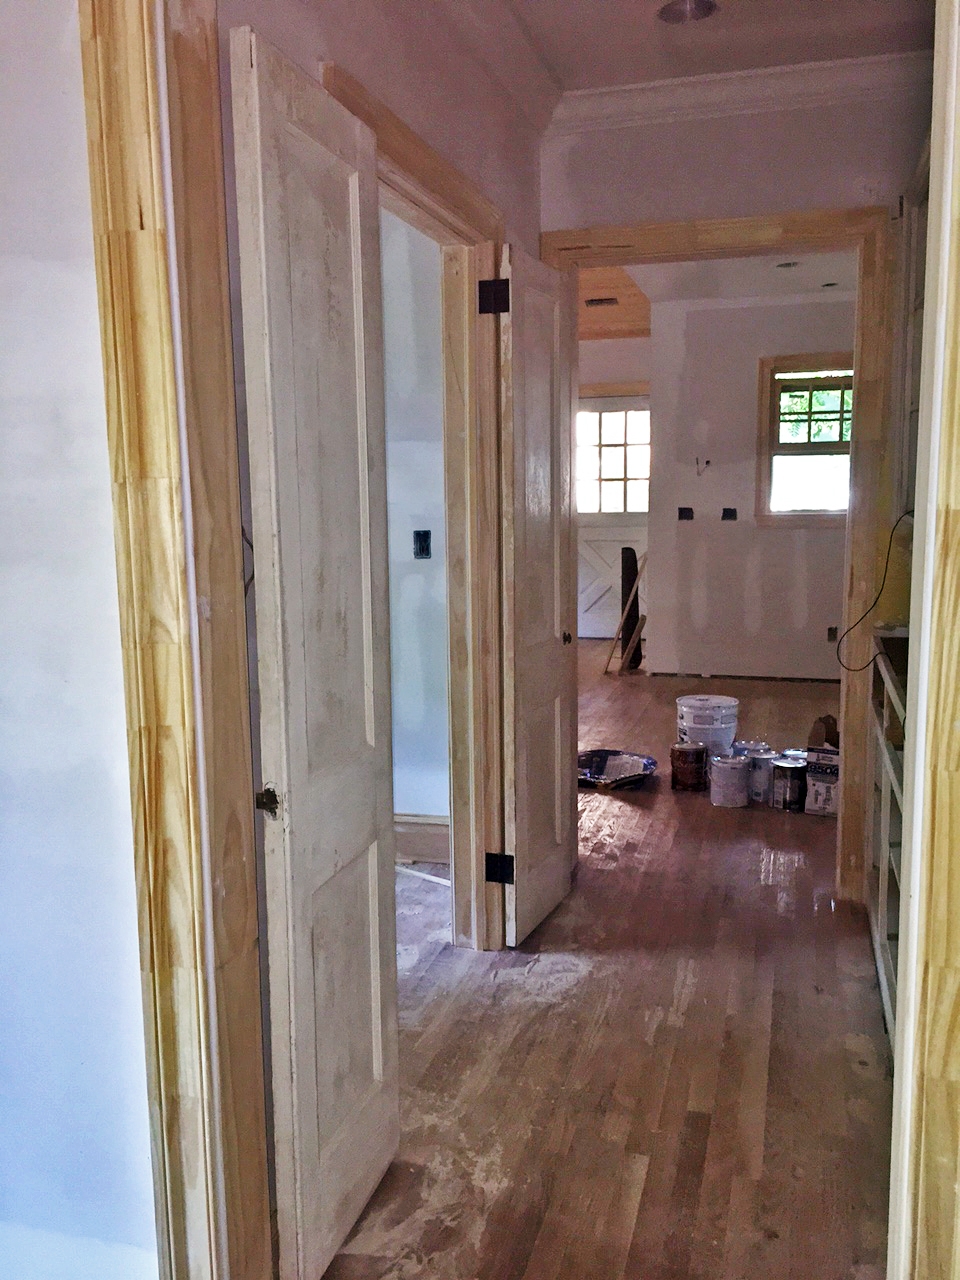
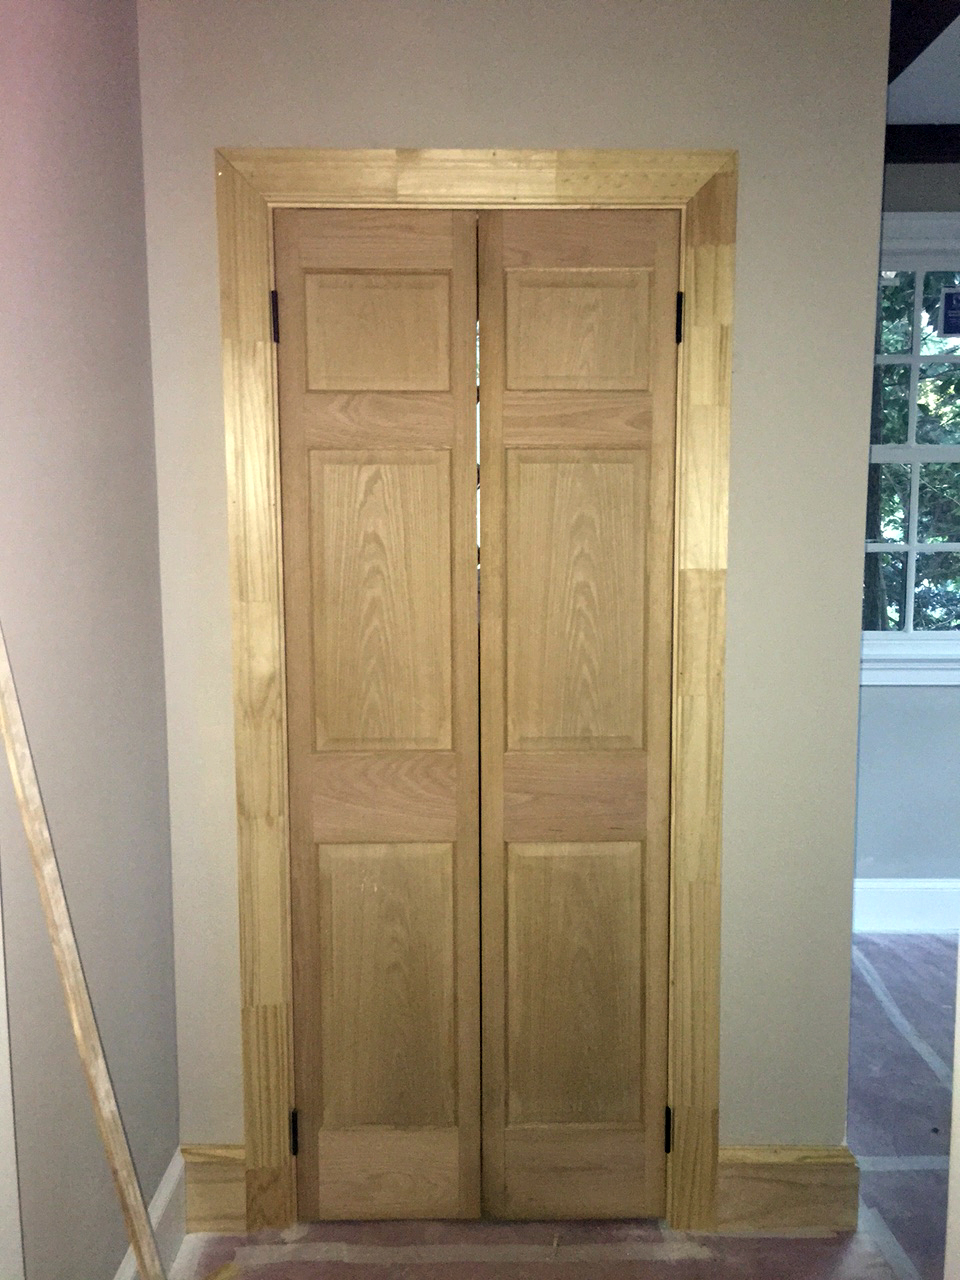
Scraping all the original doors.

Bringing them back to life!
![Bringing out the big [spray] guns!](https://thenewtonnest.com/wp-content/uploads/2015/07/img_8755.jpg)
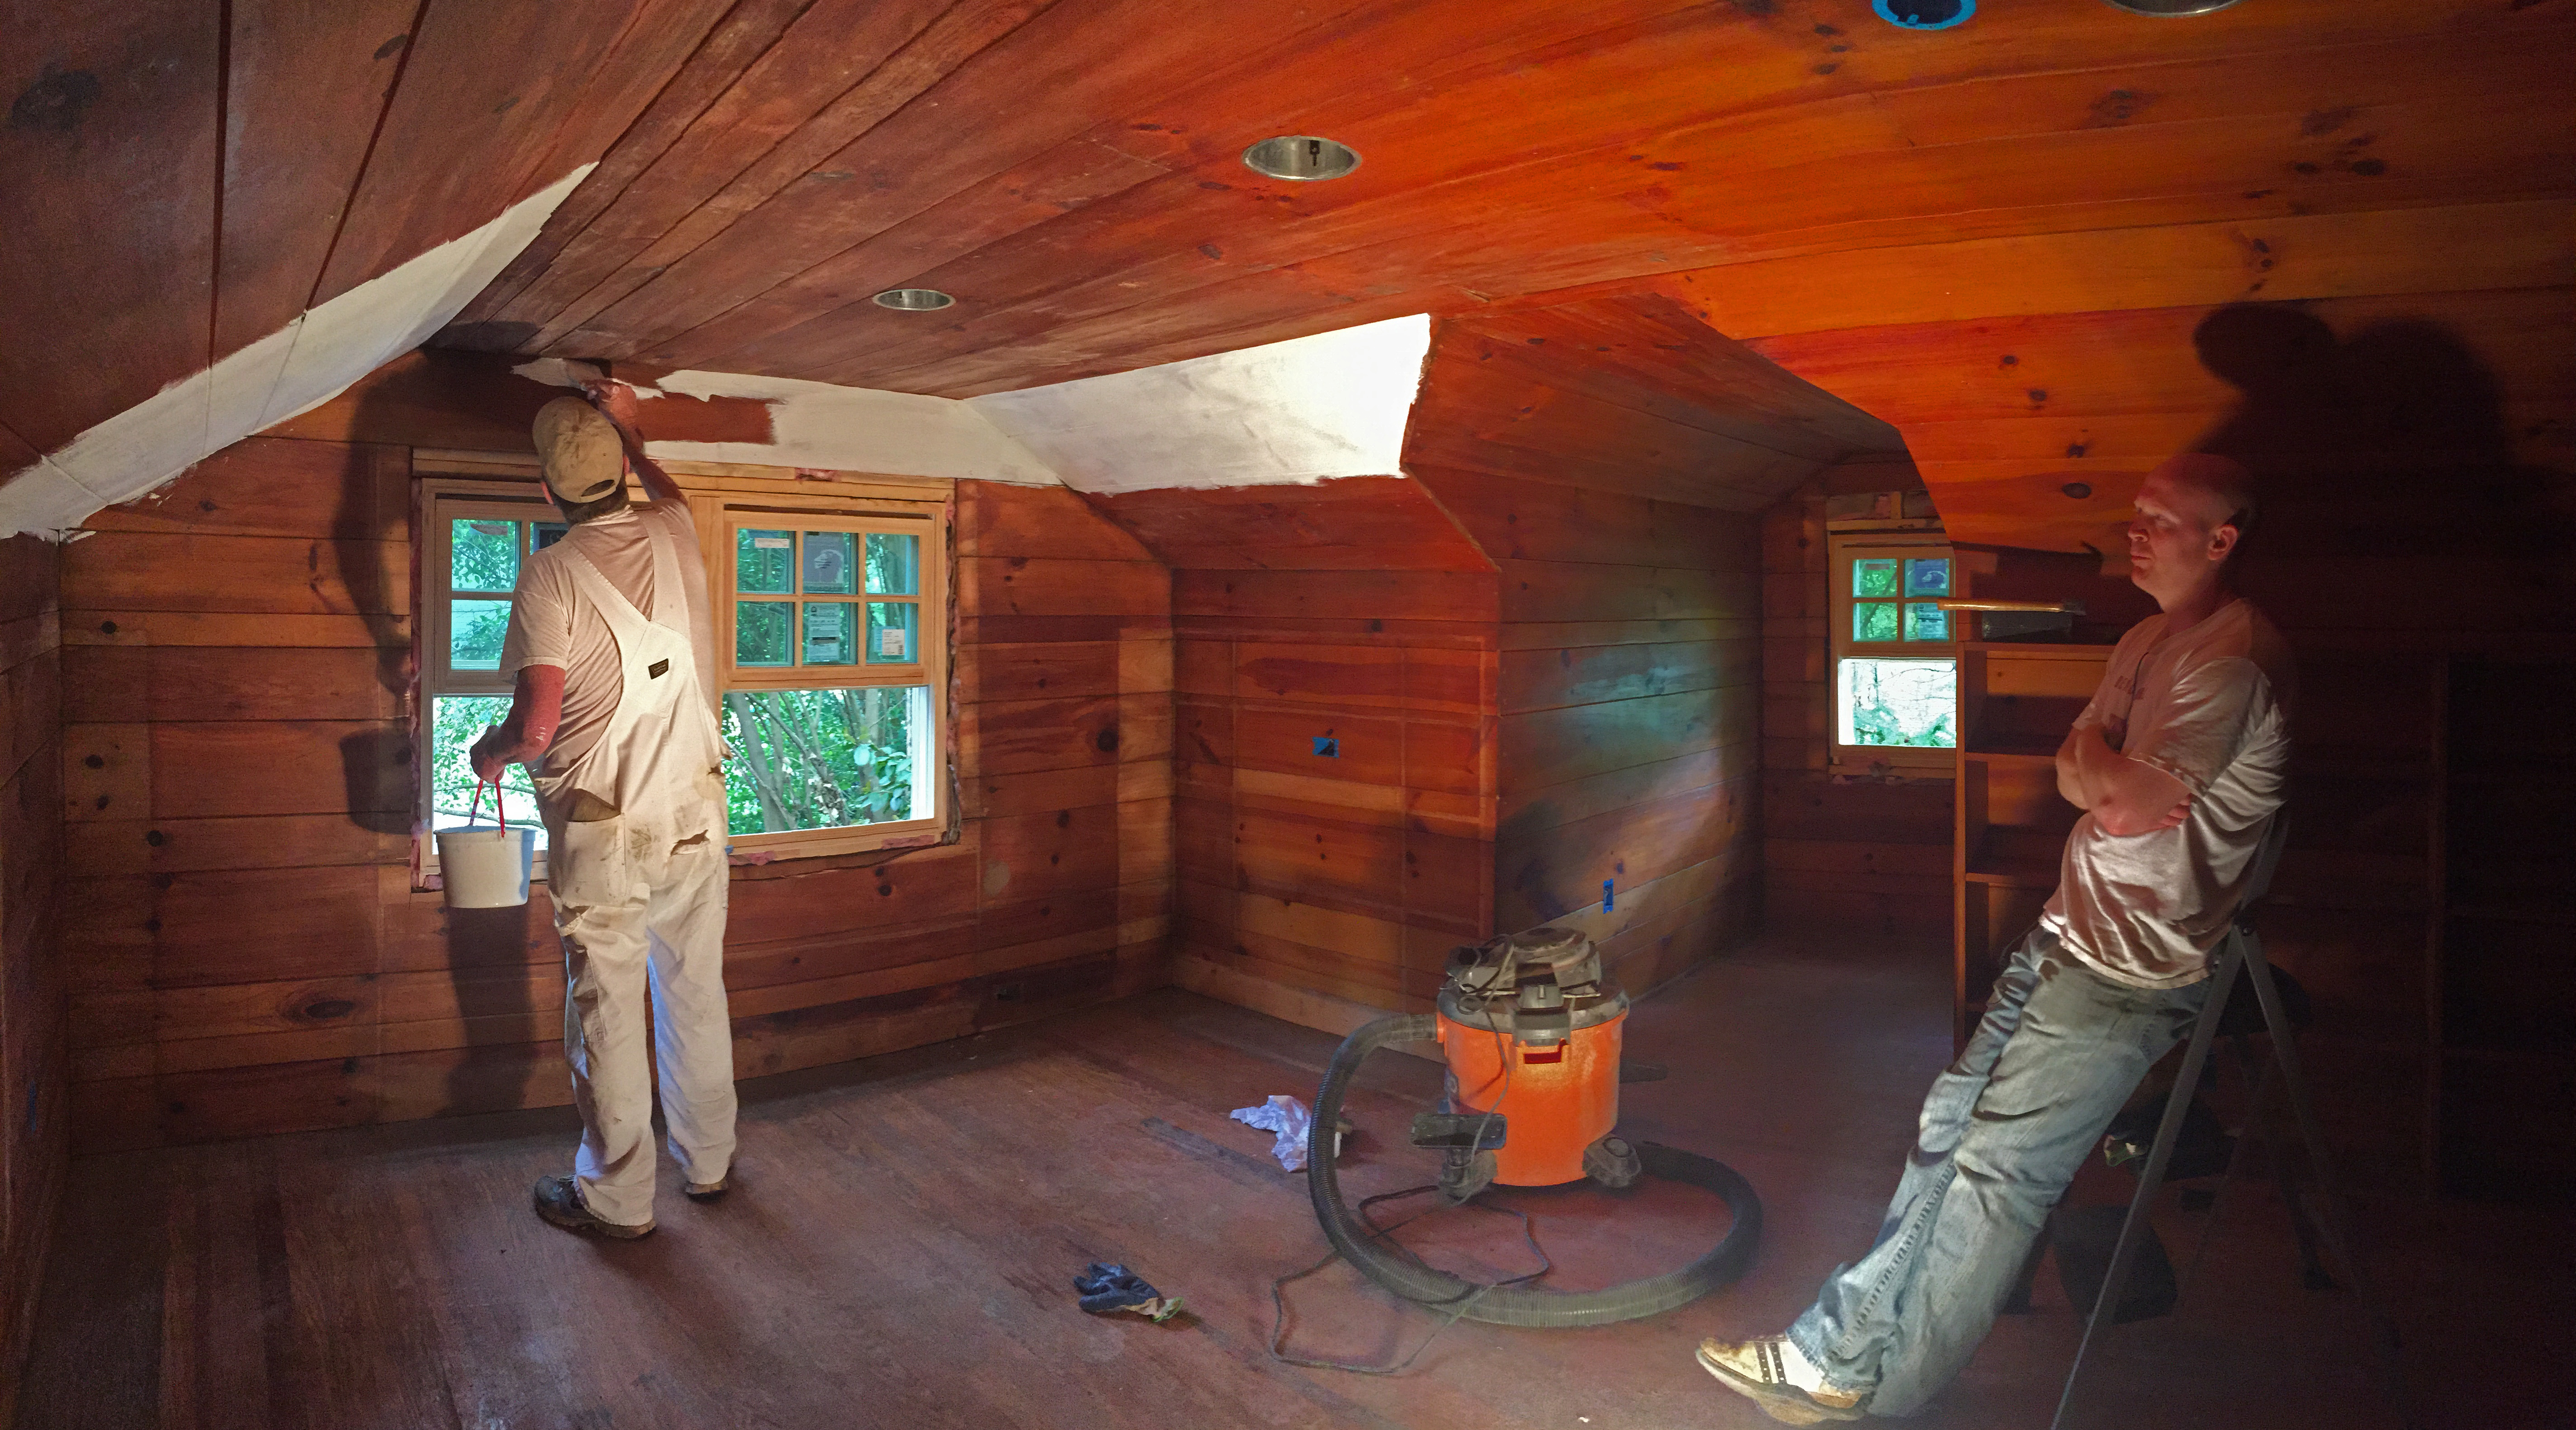
Bringing out the big [spray] guns!
Nest Neutrals:

Our final selection!
The Transformation:


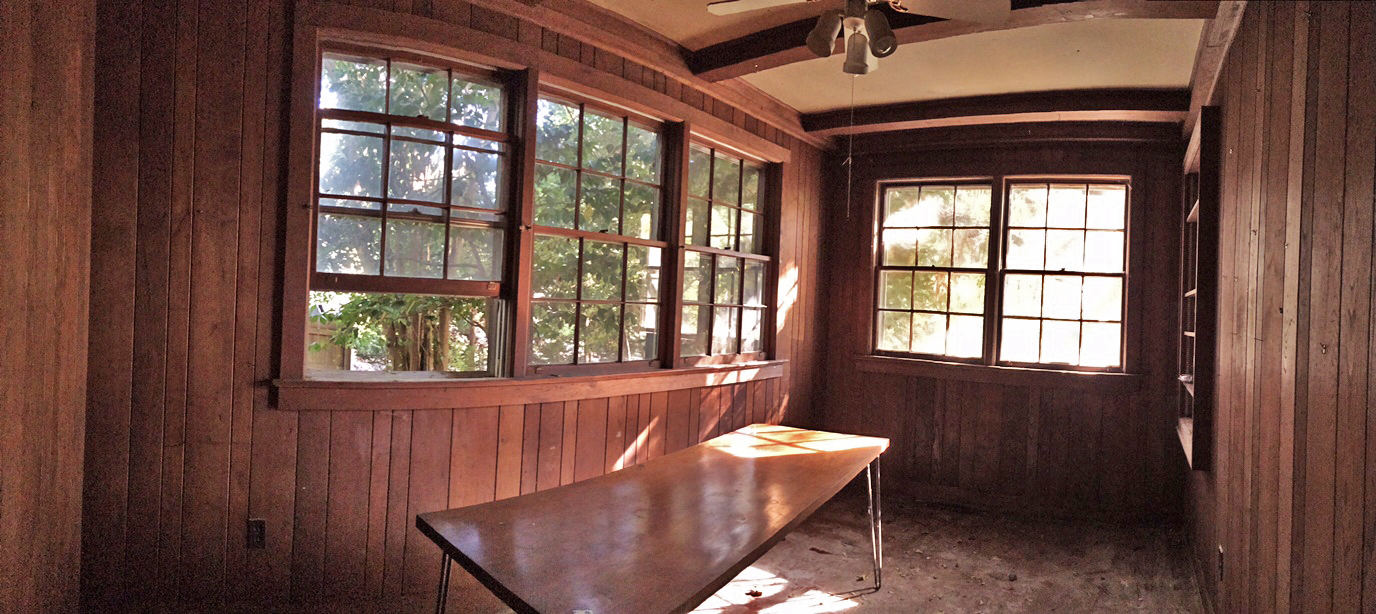
Our biggest challenge in the painting project was making the formal living room suit our style… the wormy chestnut built-ins were very nice, but the heaviness of the dark wood just didn’t agree with the rest of our house. So, brace yourselves wood lovers, we painted it. (I know, I know; you’re horrified.)
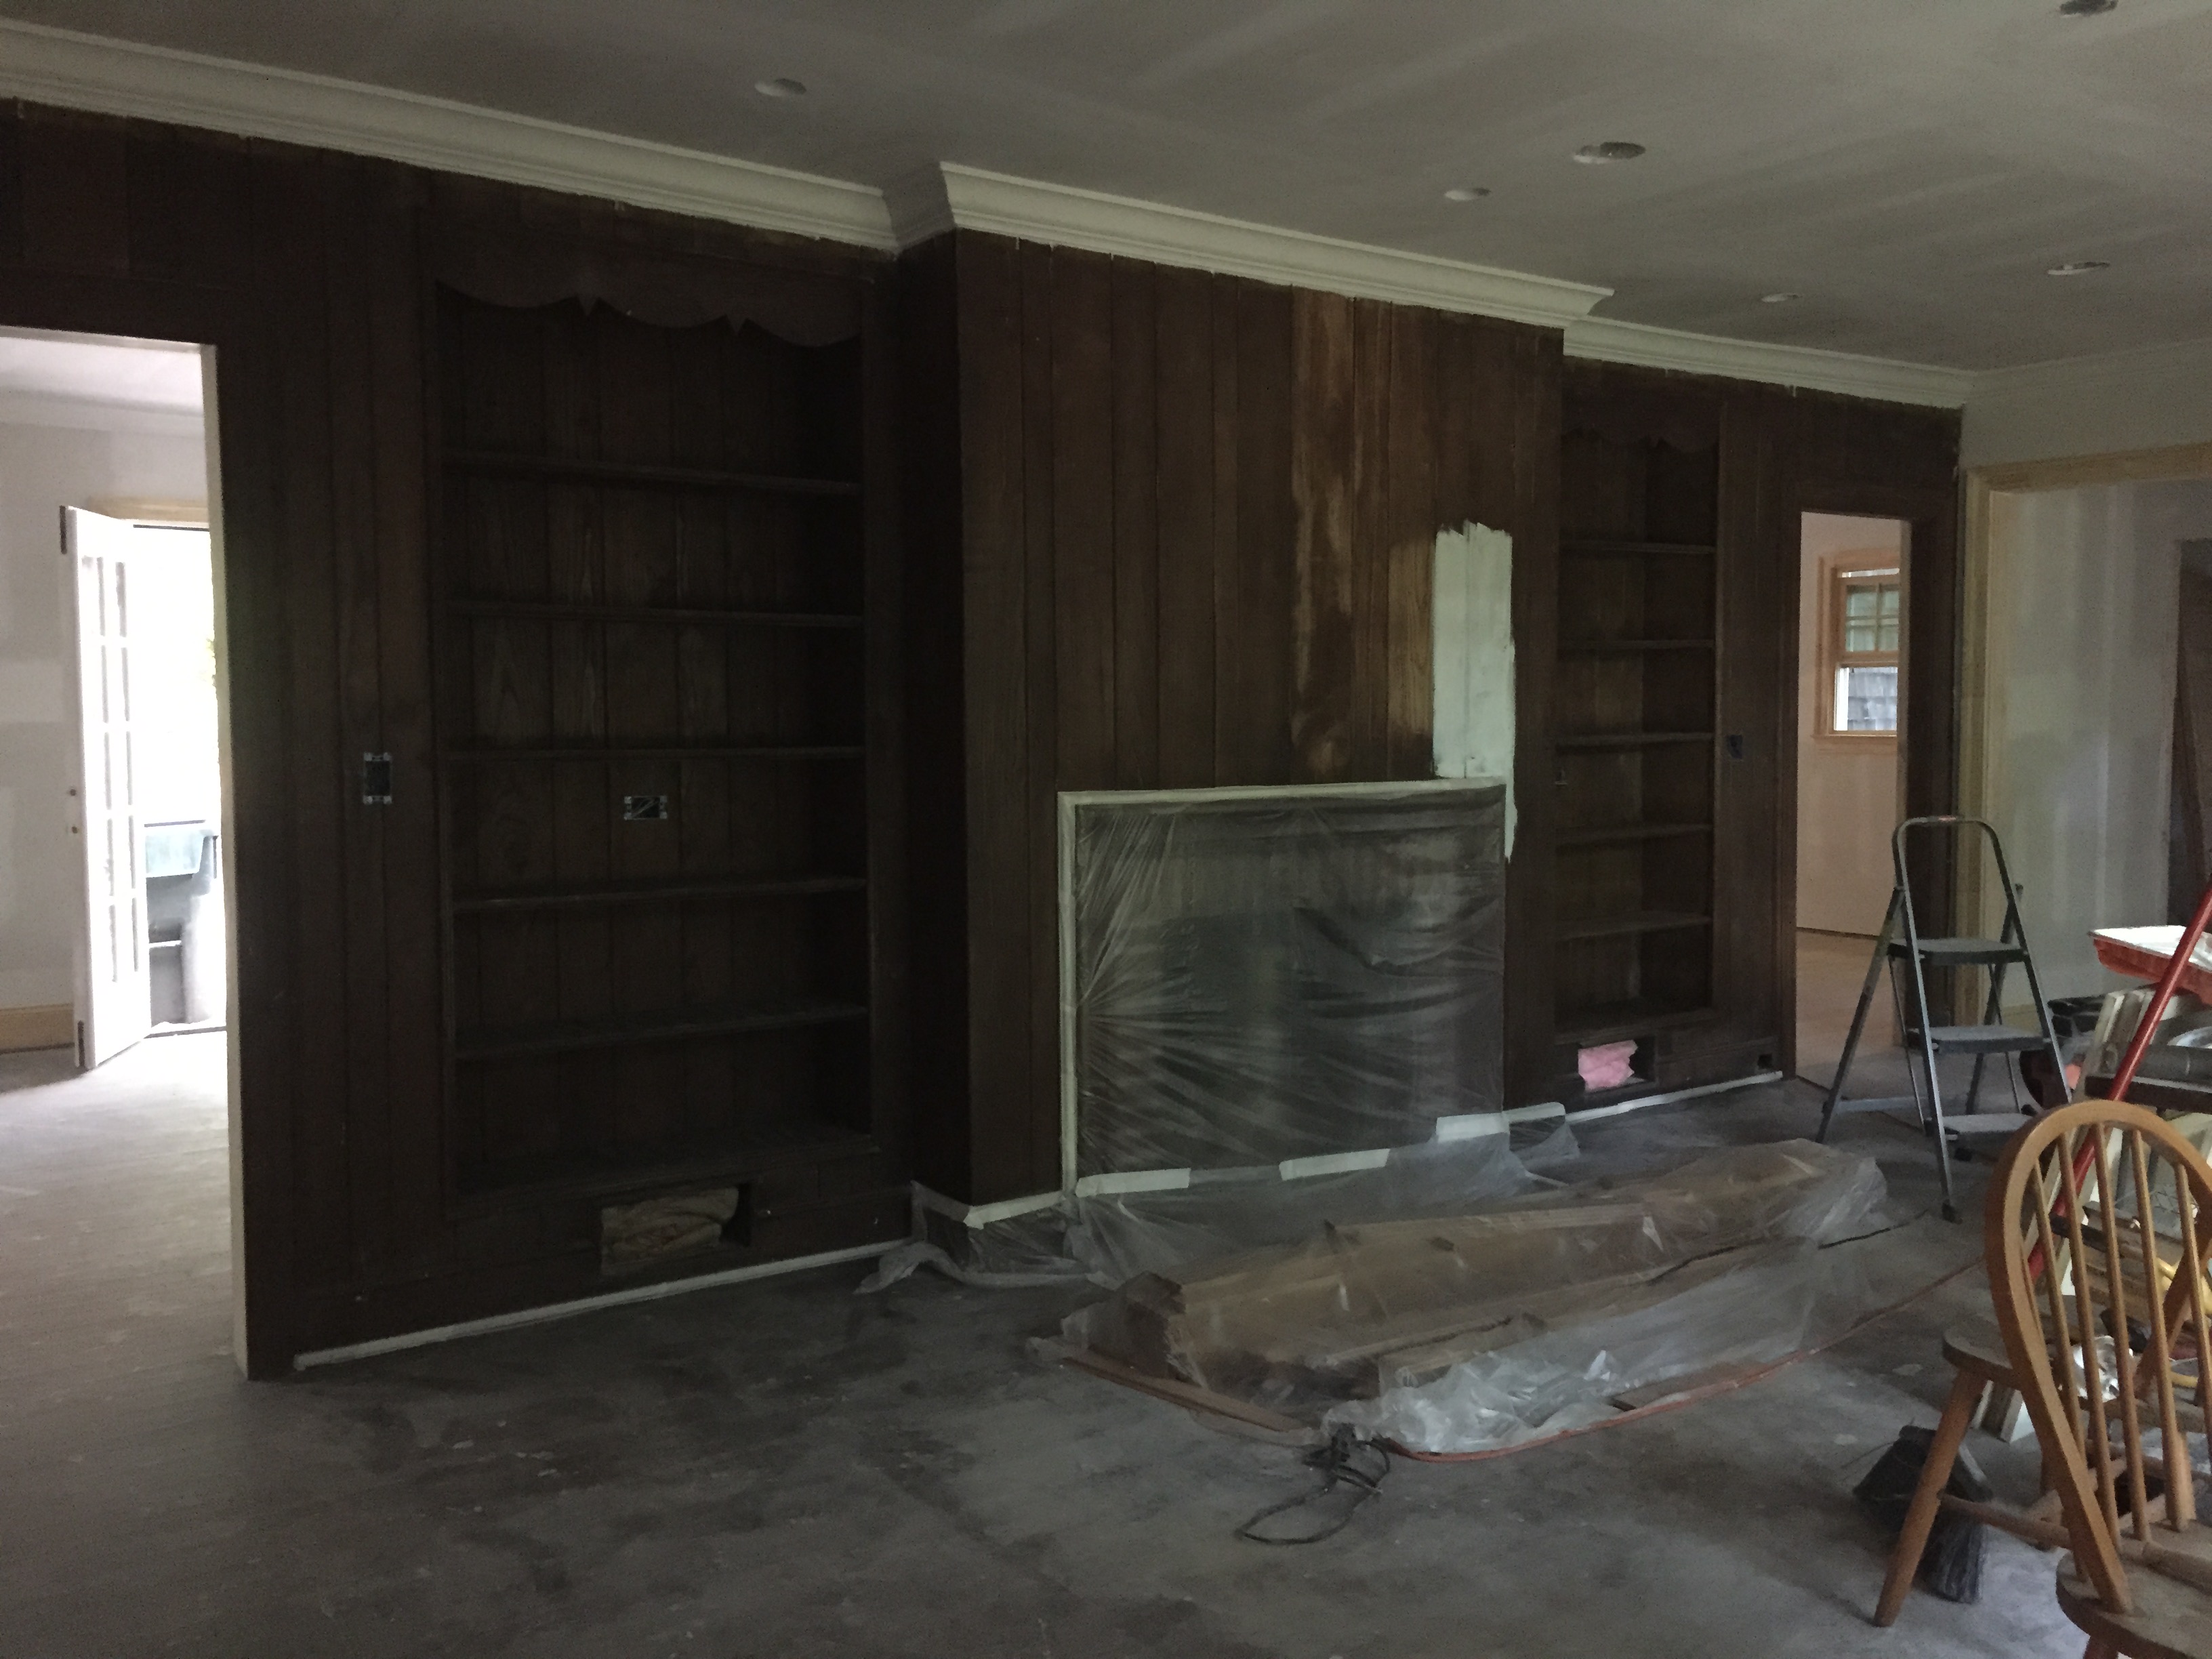
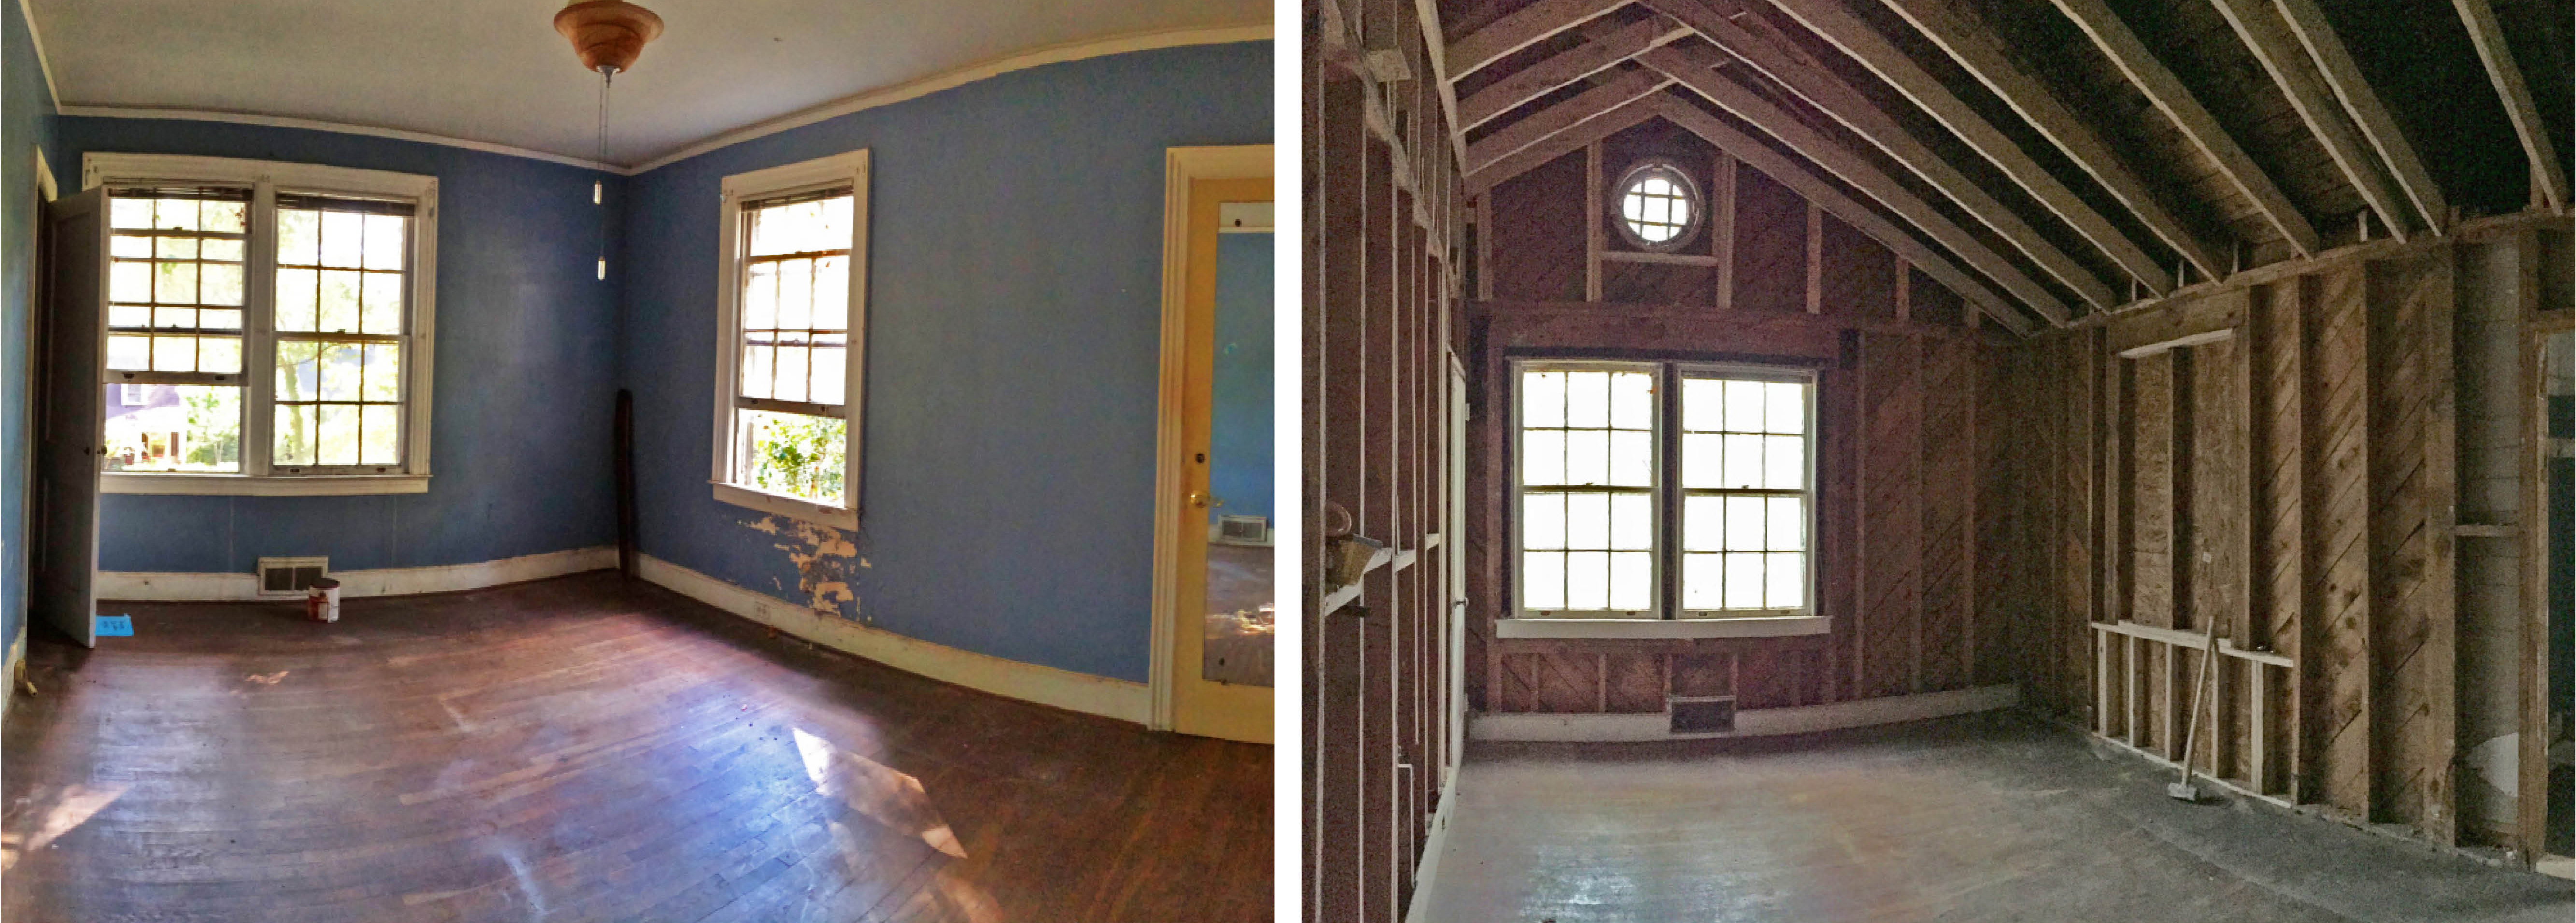
A reminder of what the dark woodwork looked like… not bad, but a little dreary for our taste.

No turning back!
While the whitewashed woodwork certainly brightened up the room, a new problem surfaced… despite many coats, the paint just amplified all the little holes and imperfections in the wood. It literally looked like someone had splattered black paint all over whitewashed wood. It wasn’t pretty. Enter: The Peacock Twins (my mom and her twin sister, Julie.)
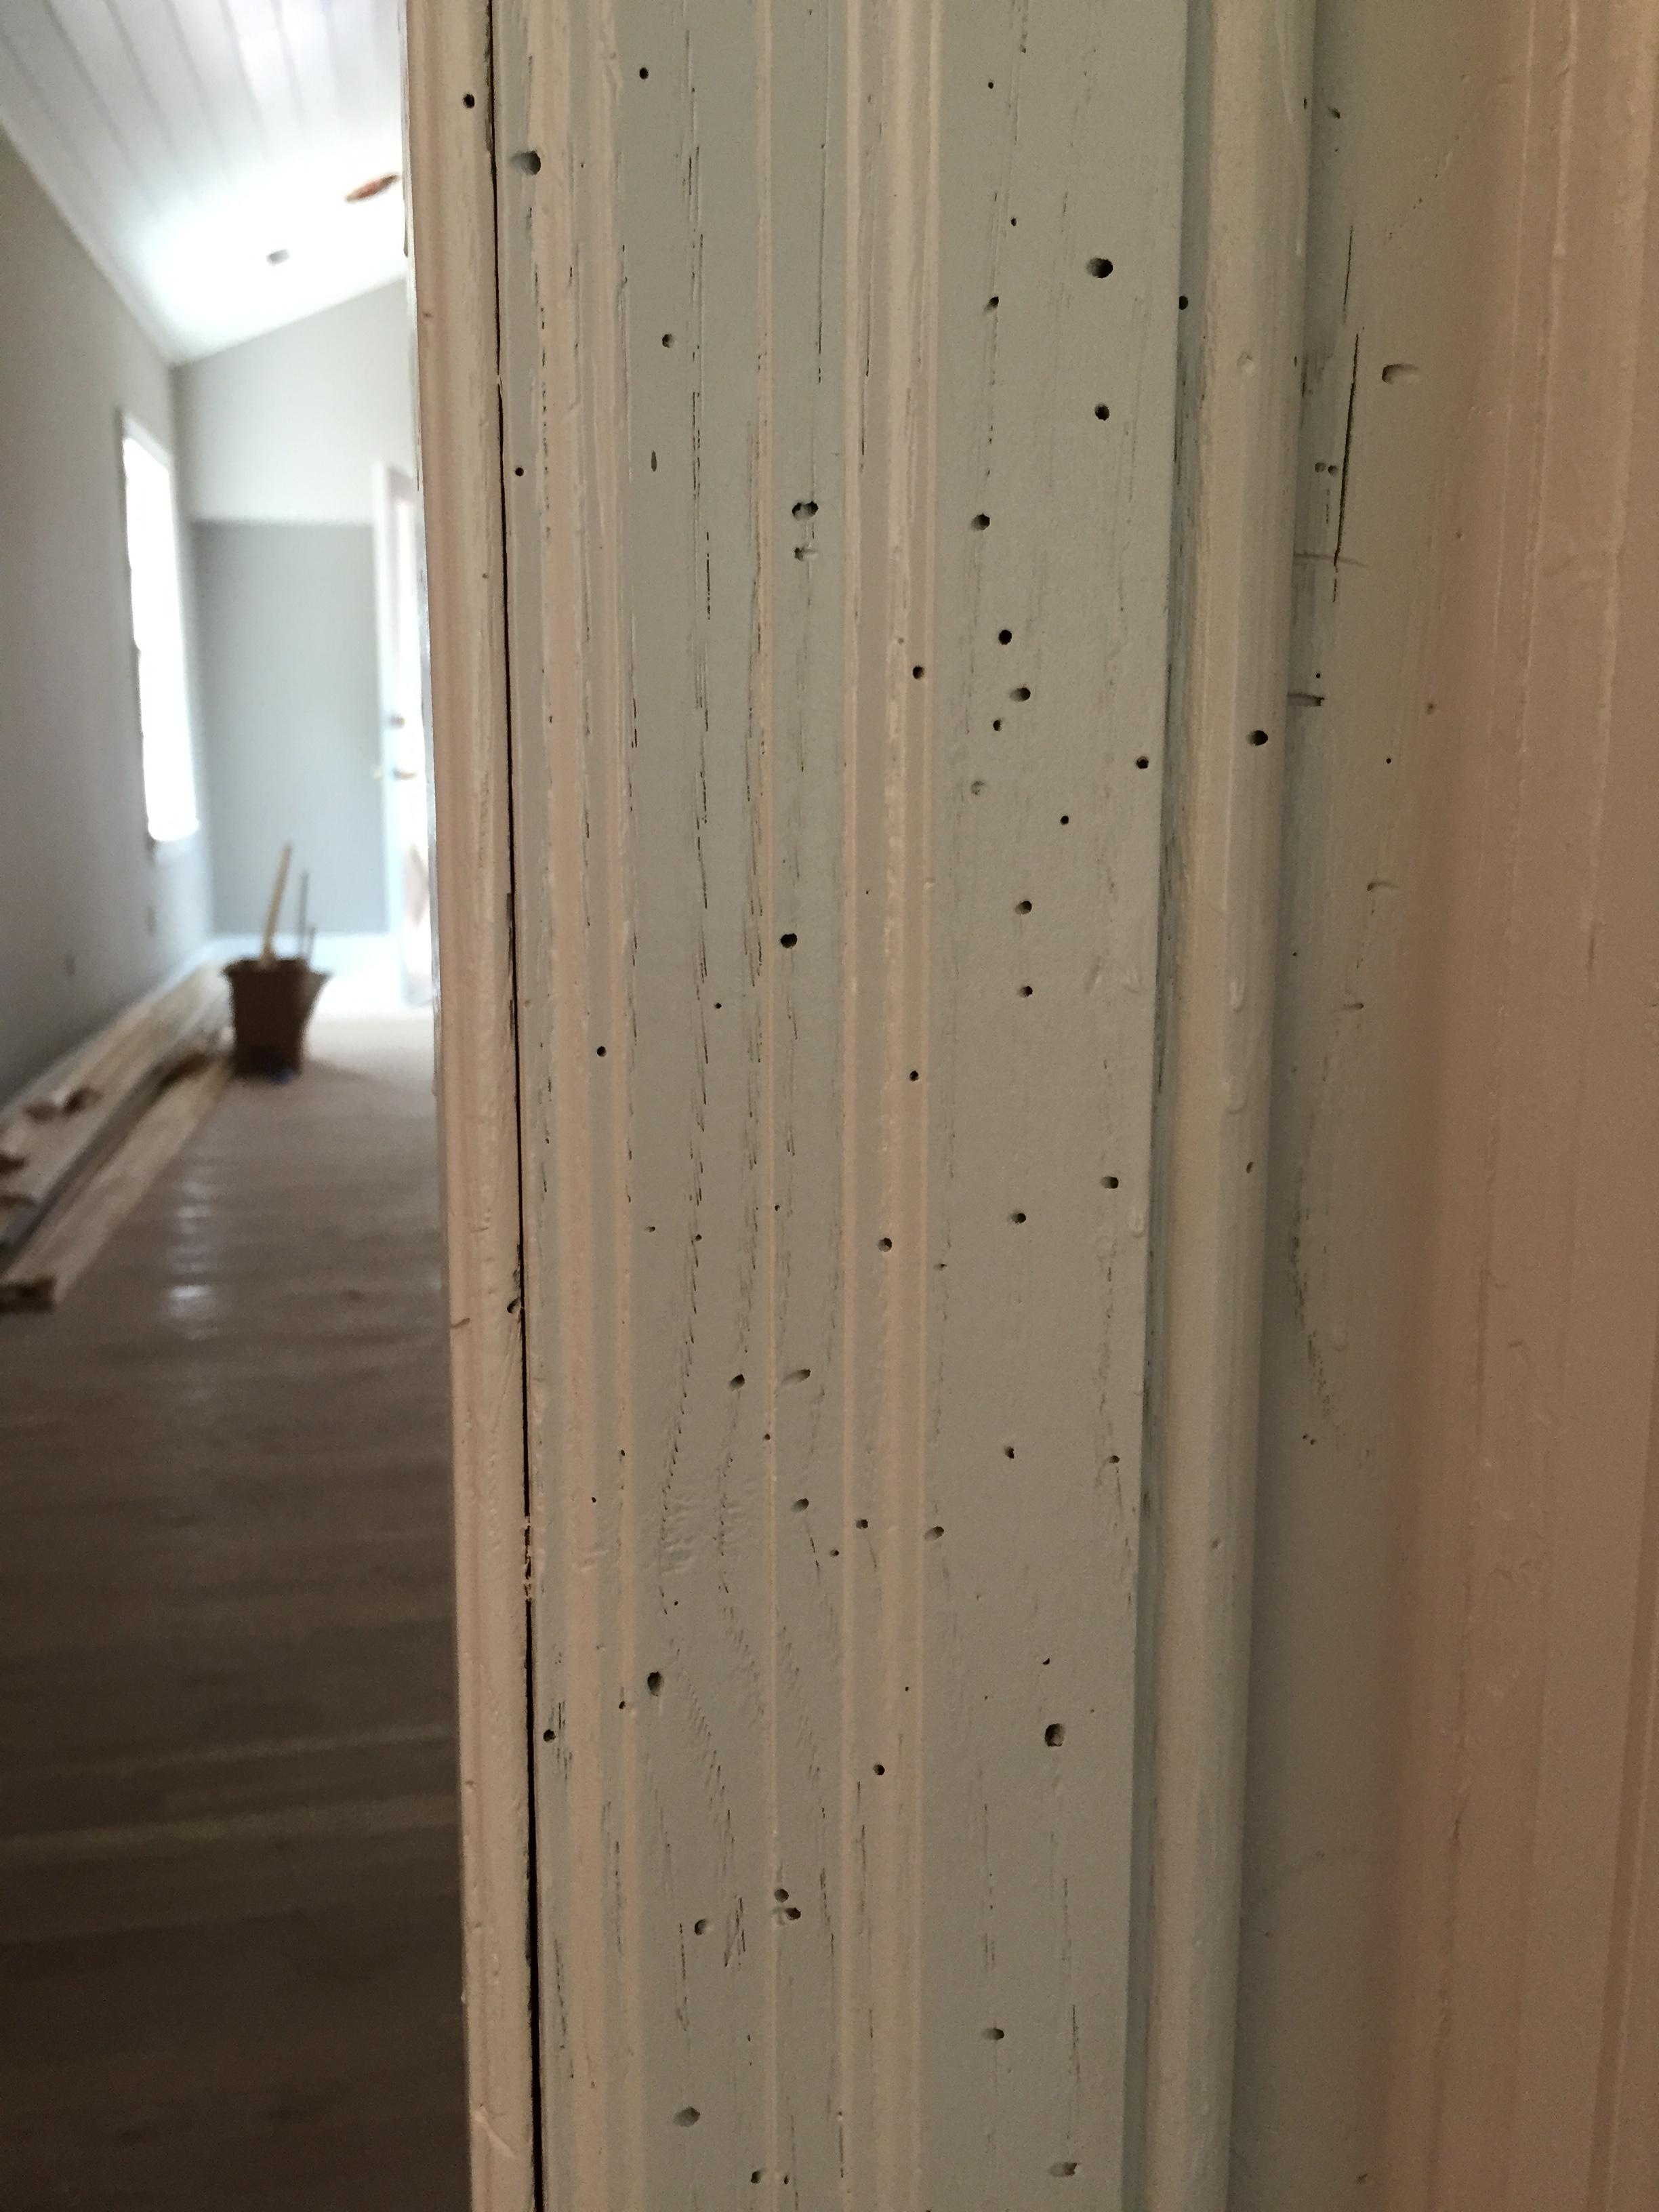
Holes, holes, and more holes! Yuck!
As with many times in my life, my mother came to the rescue! She and my Aunt Julie helped me spackle and putty every single hole. Seven hours and 30 raw finger tips later, things were looking much better and my spirits lifted. FINALLY, this disjointed room was coming together. I spent the next few evenings after work sanding away to make sure it was smooth before the final coat of paint.

Peacock twins to the rescue!

Filled, primed and ready for paint!
So, here it is, the big reveal:

Ta-daaah!

Although painting the wormy chestnut was a really tough decision, we feel like this is an improvement that brightens the room and makes it feel less disjointed.
Despite the long days and our struggle with “to paint or not to paint” the woodwork, we are oh-so-happy with the final product! (And overjoyed to retire our brushes for a while!!!)


