Our H2O is ready to go!
That’s right. Our old pipes are gone and they’ve been replaced with all new plumbing. We made quite a few changes to the original plumbing layout, so here’s the run down:
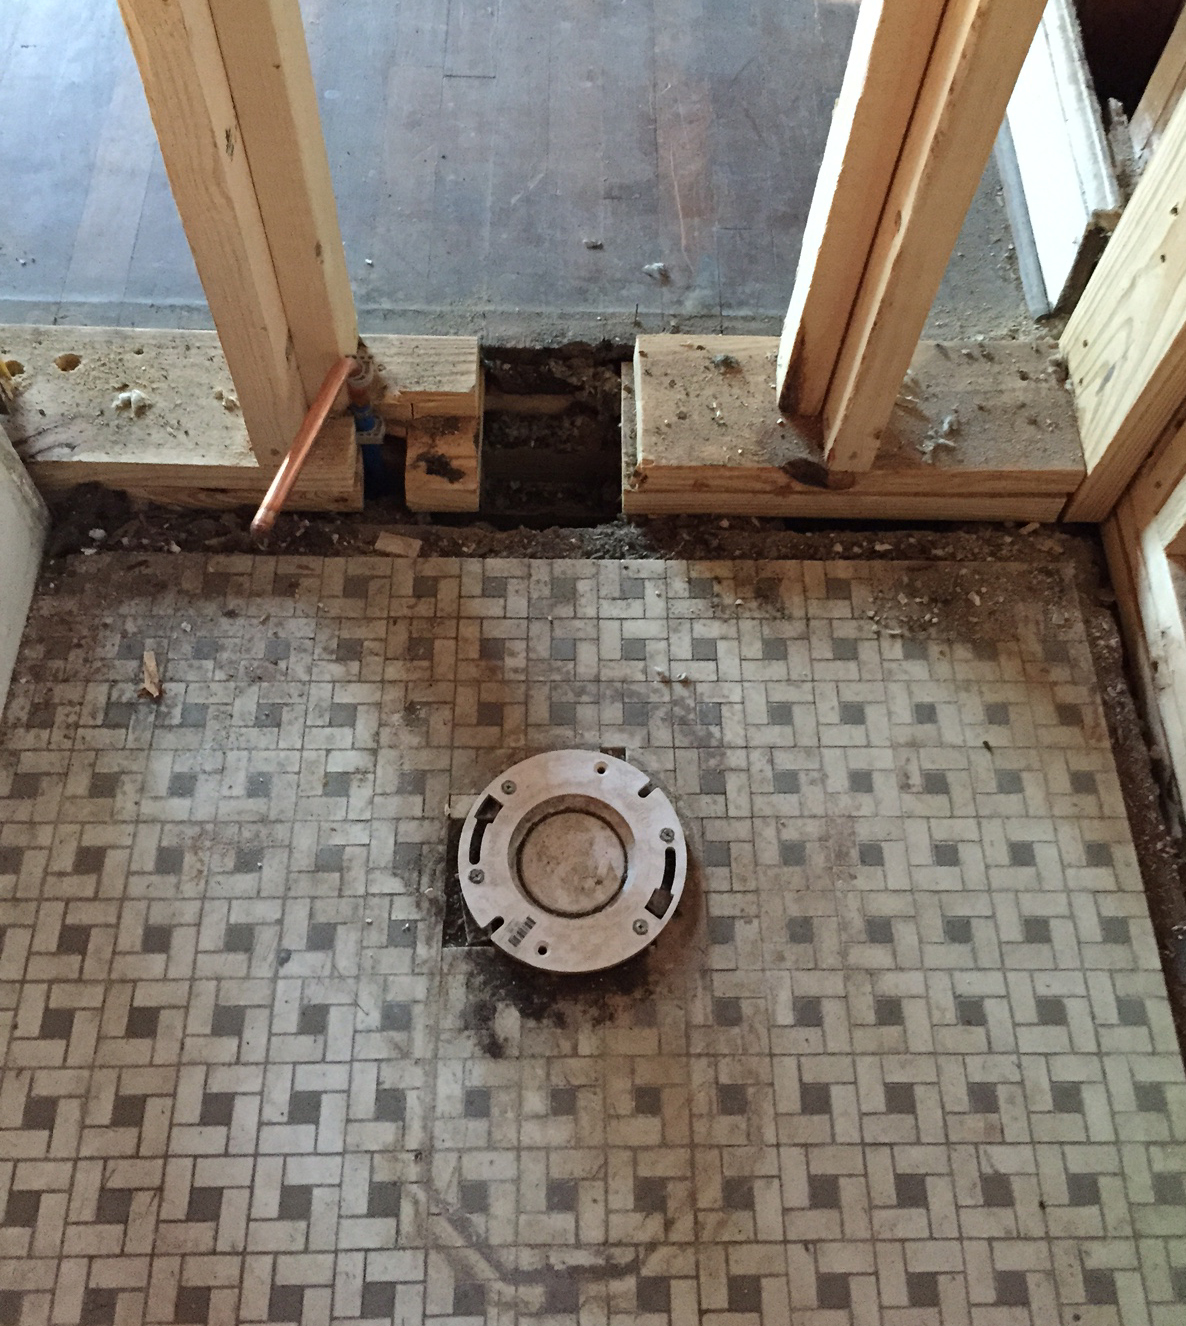
- We added a tiny powder room tucked into the corner of the office, located just off the formal living room and kitchen. This addition will give us a bathroom that is convenient to the most high-traffic living spaces. Adding the waste pipe for the toilet was a little tricky because the office/powder room was once a porch (closed in by a previous owner) and it has a concrete floor that is nearly six inches thick! Needless to say, drilling a hole through that baby required a little extra brawn. Our plumber might not agree, but we think it was worth the additional effort. 🙂
- We added a shower head to the hall bath which was only a tub with a hand-held spray attachment.
- We said goodbye to the two old, rusty water heaters in the basement and replaced them with a tankless system. Energy efficiency and an endless supply of hot water? Yes, please!
- We added plumbing for his-and-hers dual sinks in the master bathroom.
- We relocated the laundry room. (To make way for a large master closet, oh yeah!)
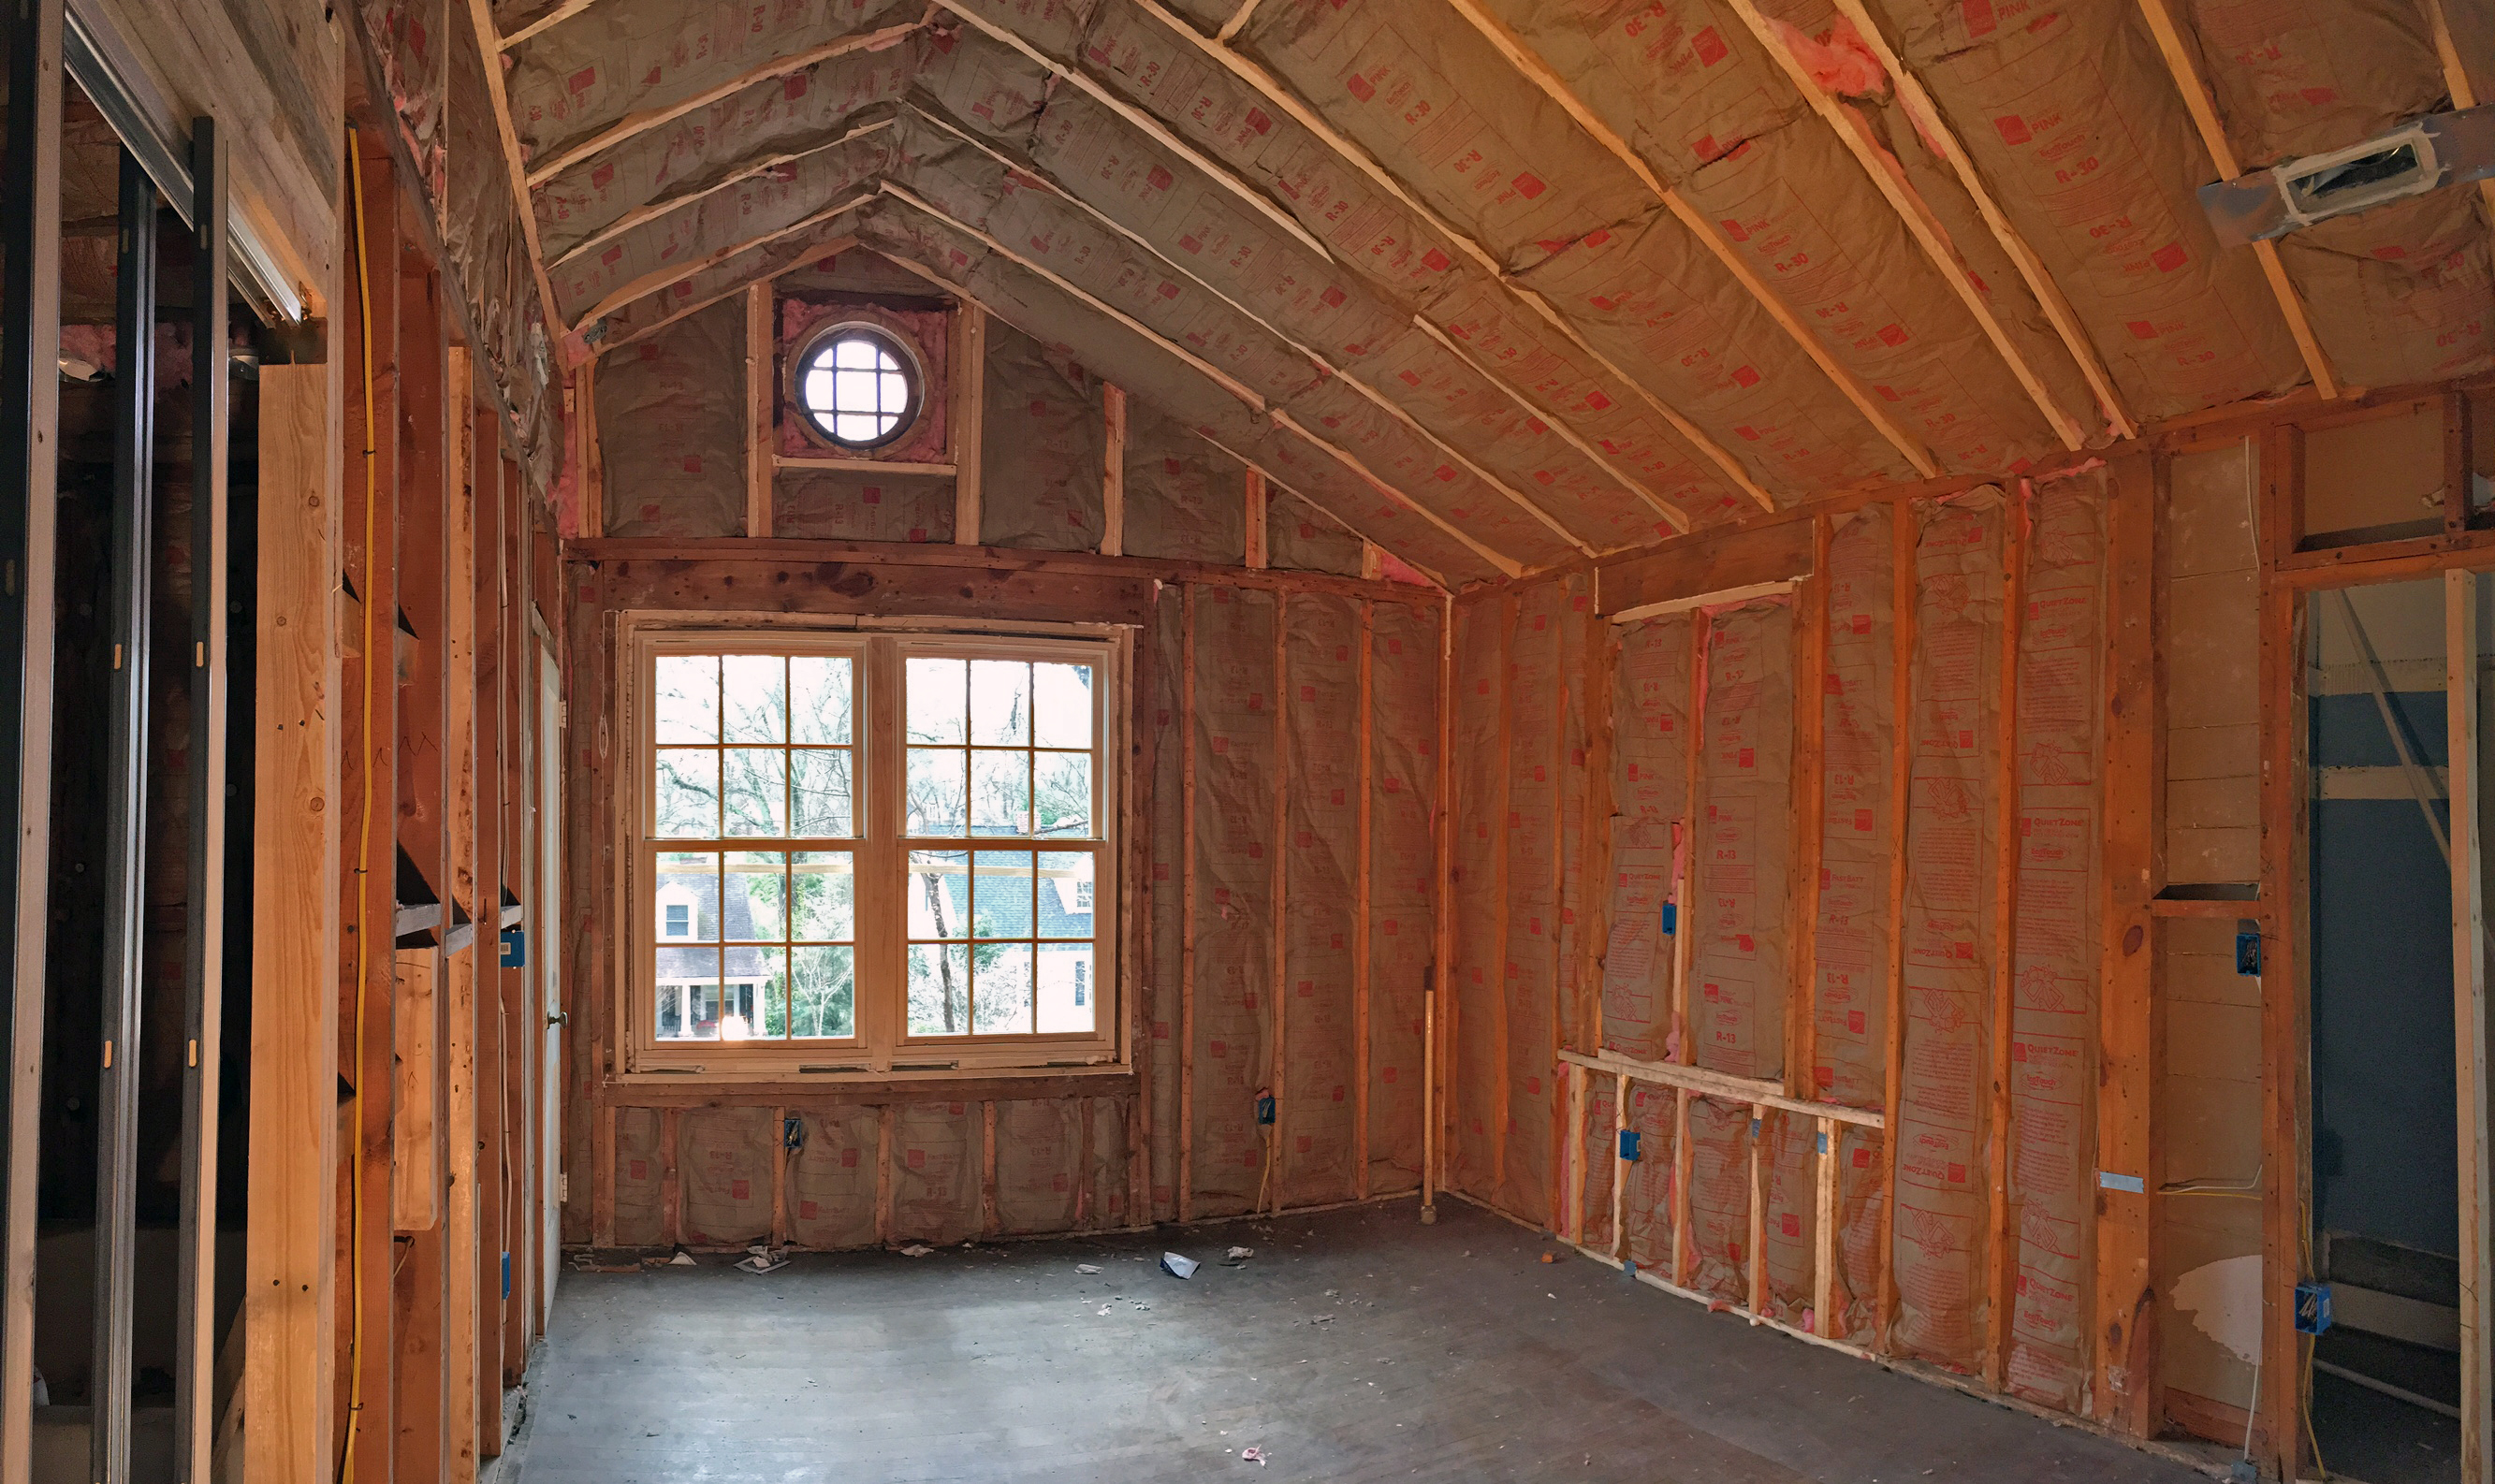
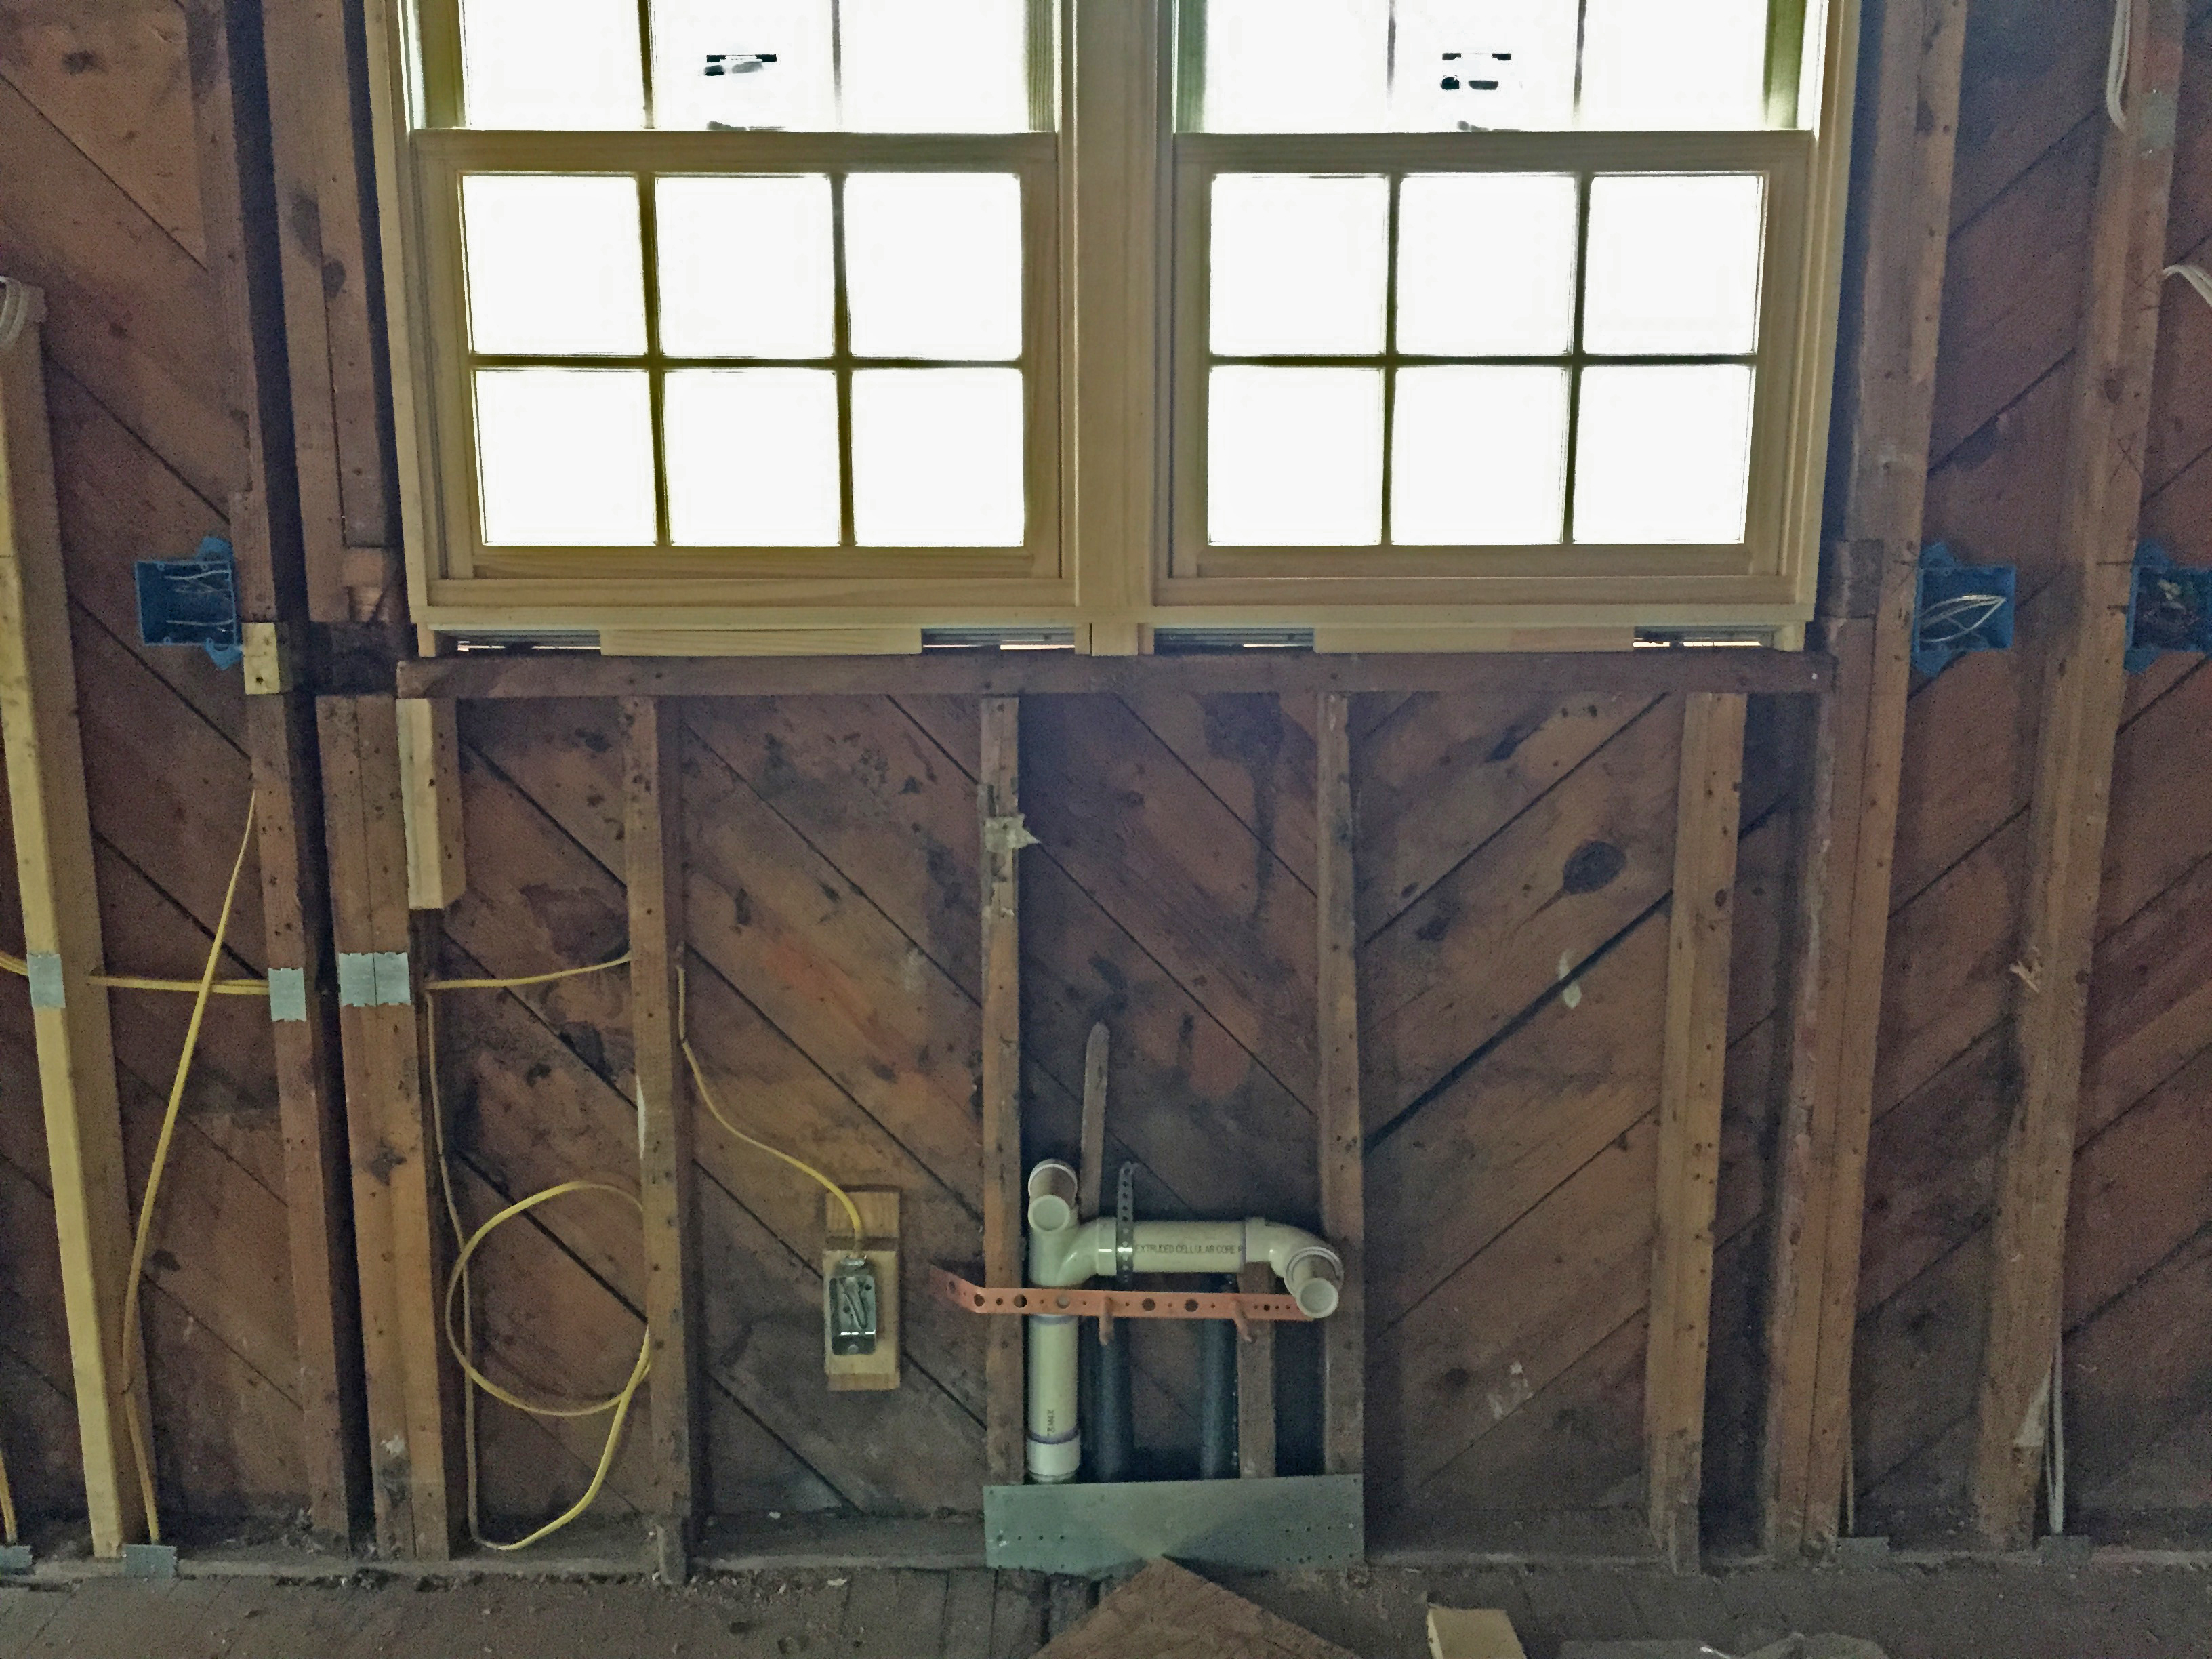
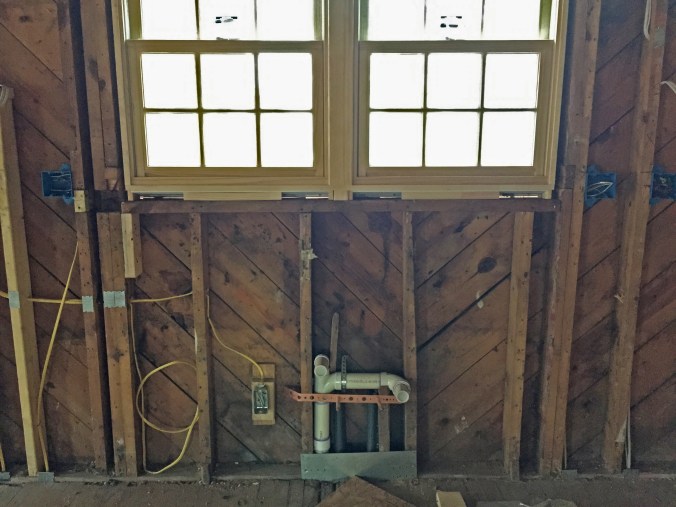
- And, lastly, we had our plumber stub-in hot/cold water and a waste pipe upstairs to give us the option to add a half bath to the bonus space upstairs should we decide we want to do that down the road.

Hello, new toilet hookup!
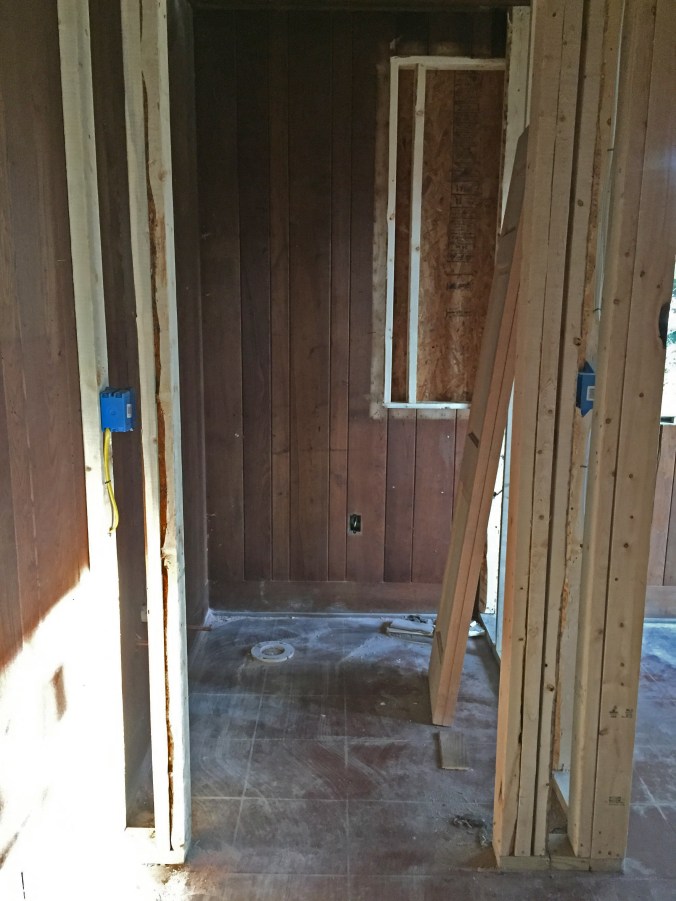
Our itsy-bitsy powder room! (You can see the toilet rough-in on the floor in the far left corner.)
Kitchen sink rough-in.

Hall bathroom shower is in!
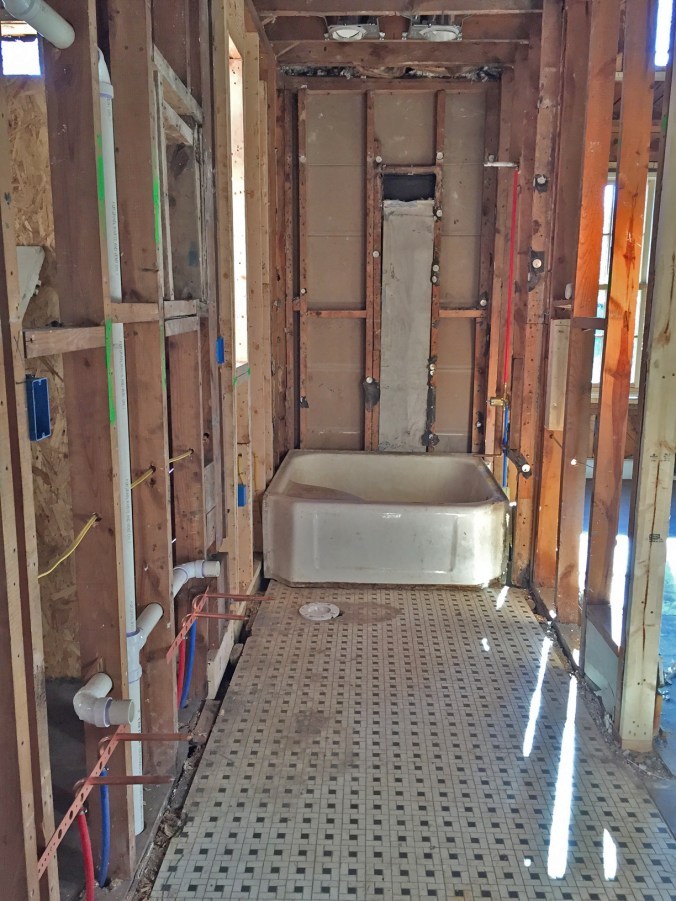
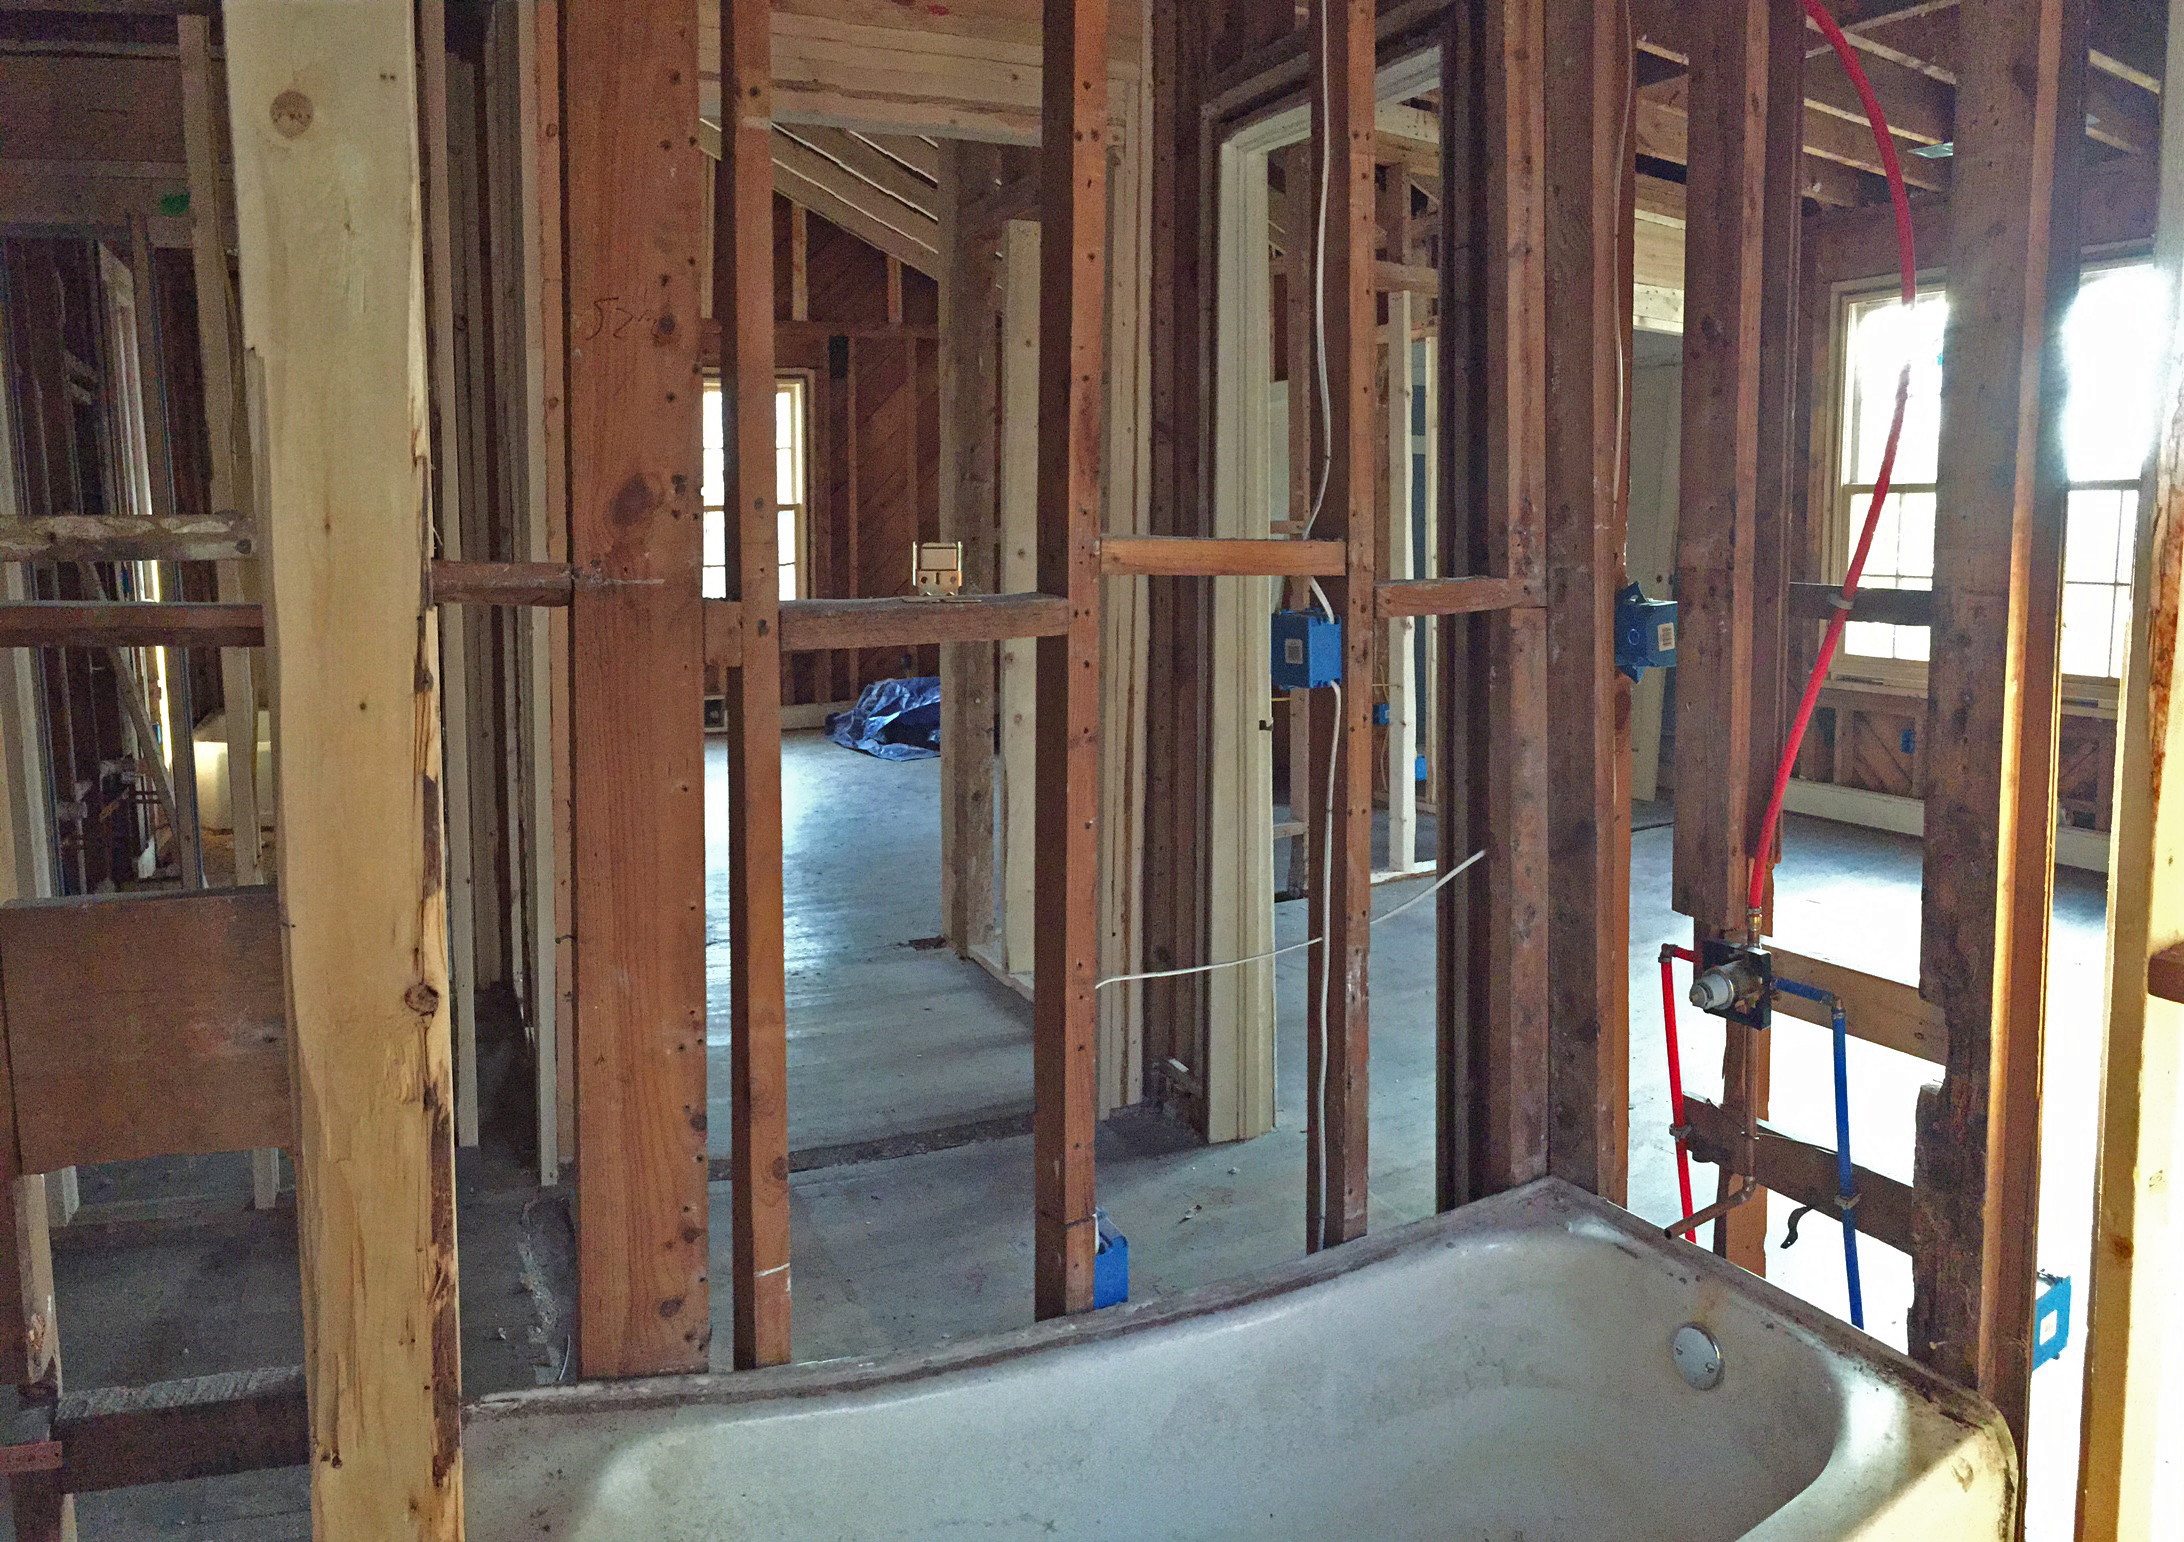
Master bathroom plumbing.

Laundry!

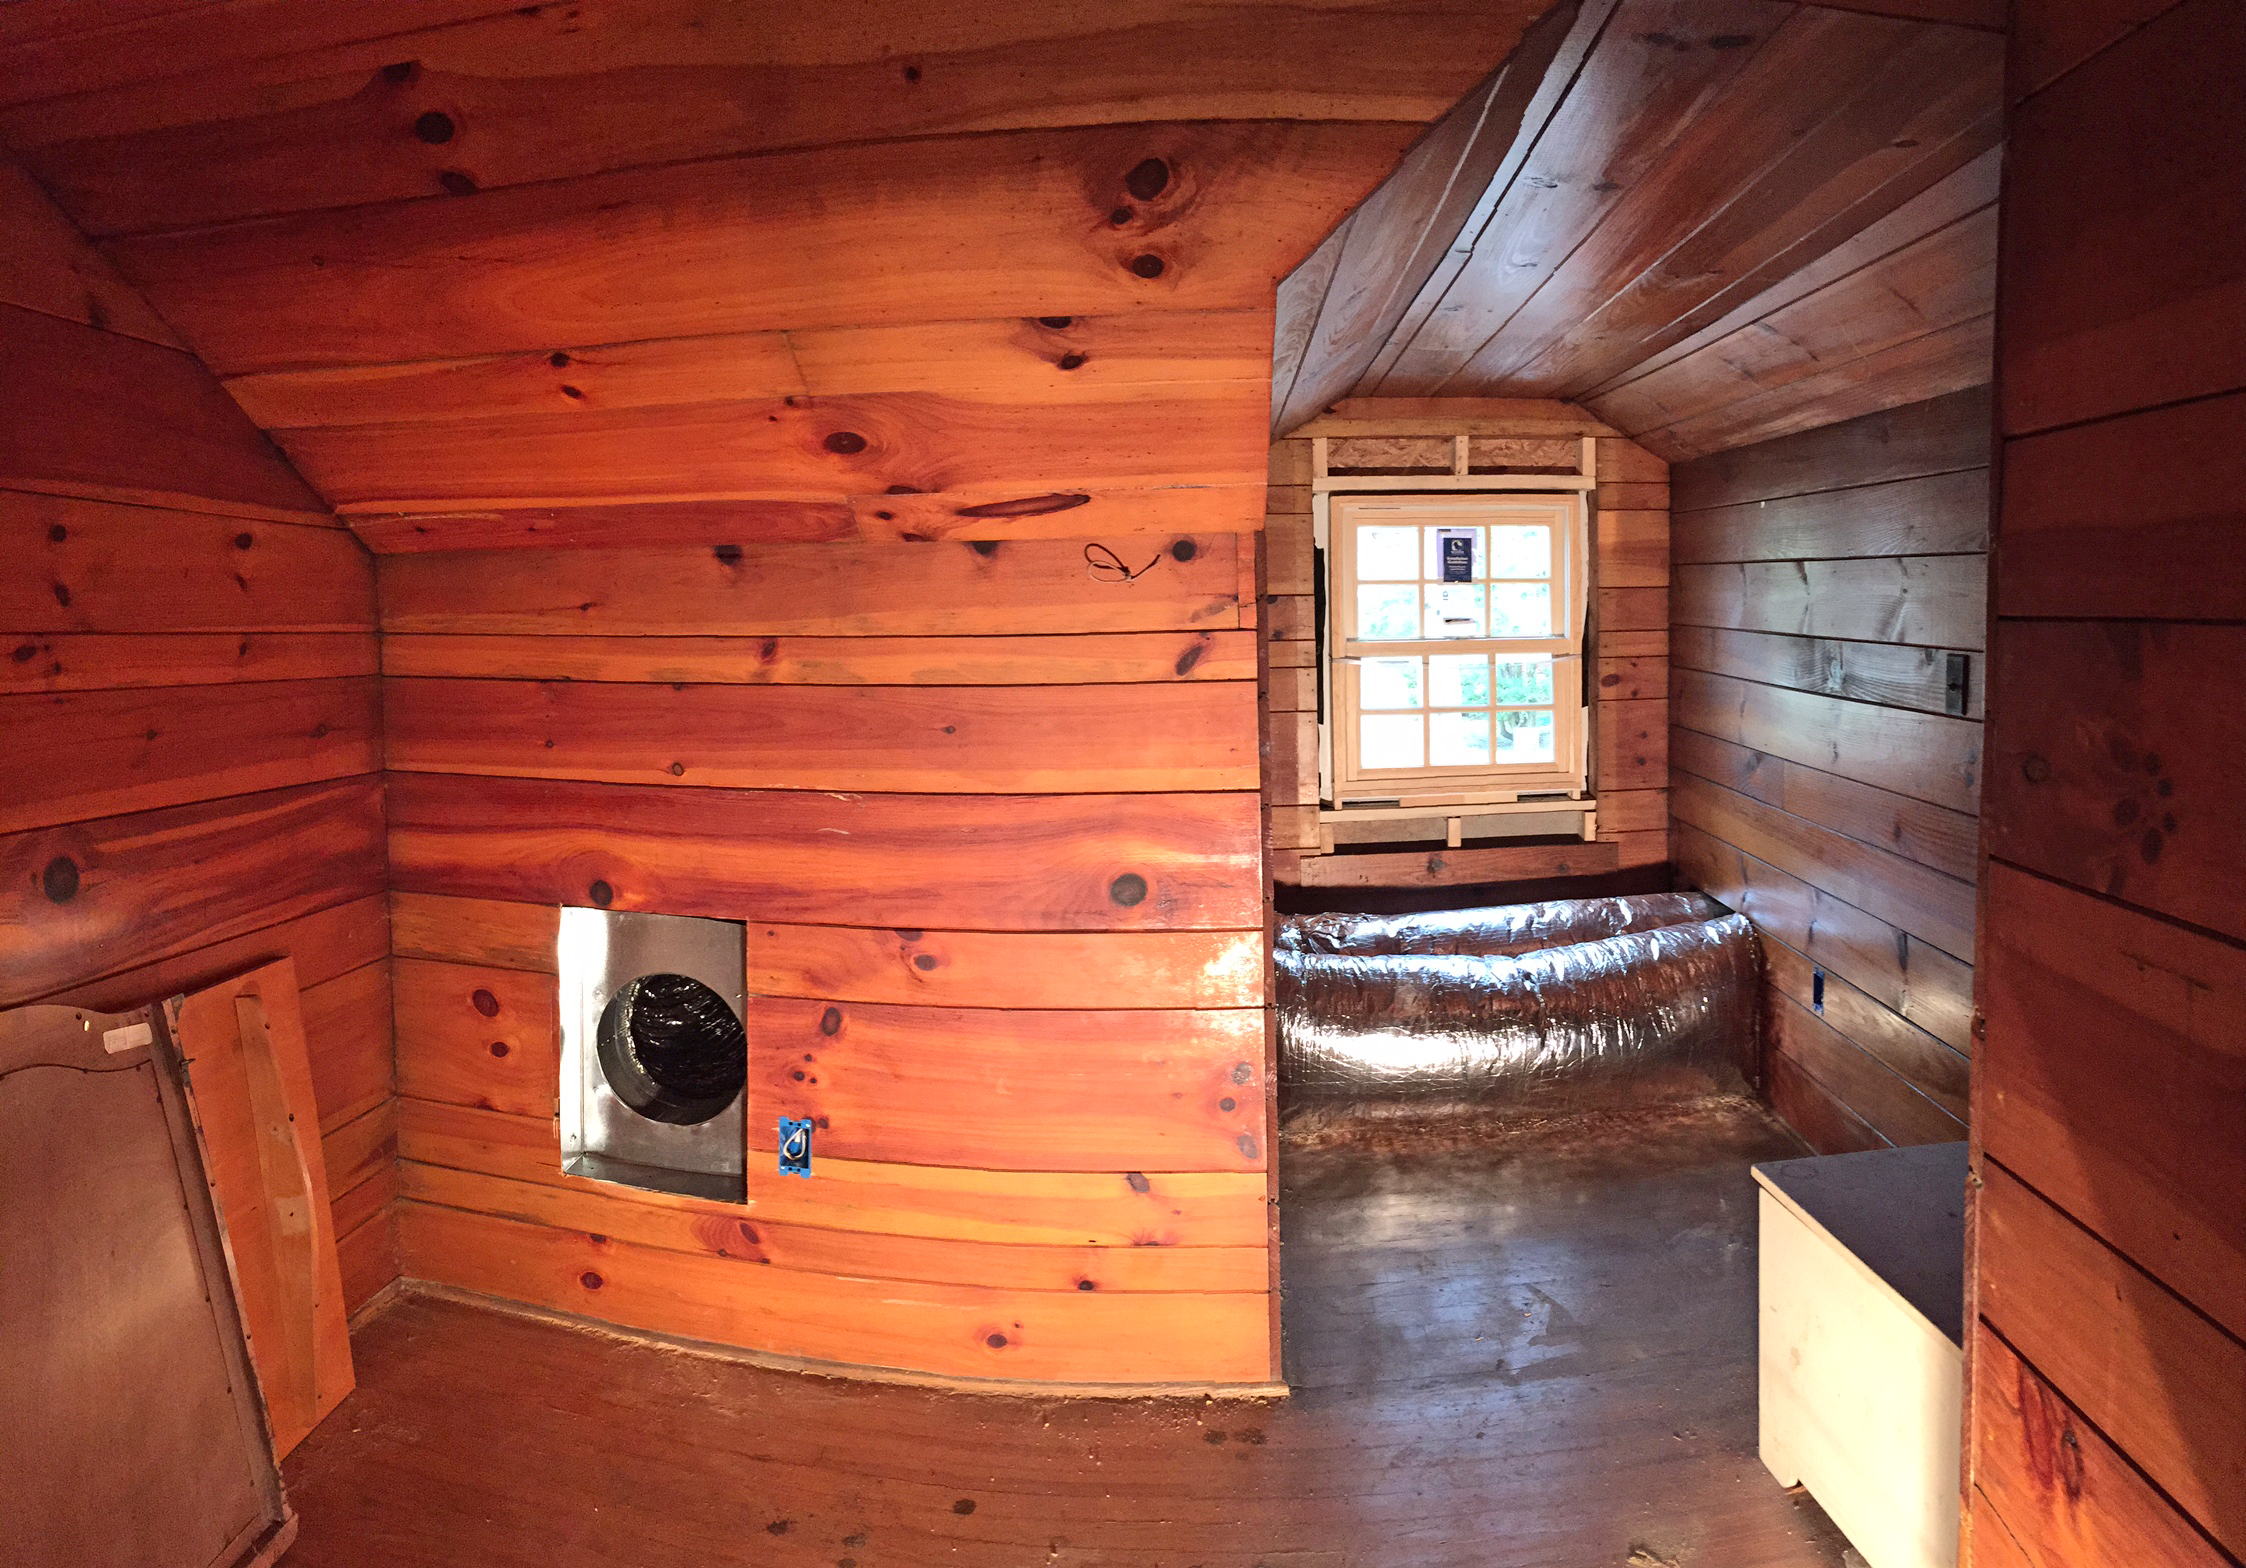
Pipes for our upstairs “maybe one day” bathroom. 🙂
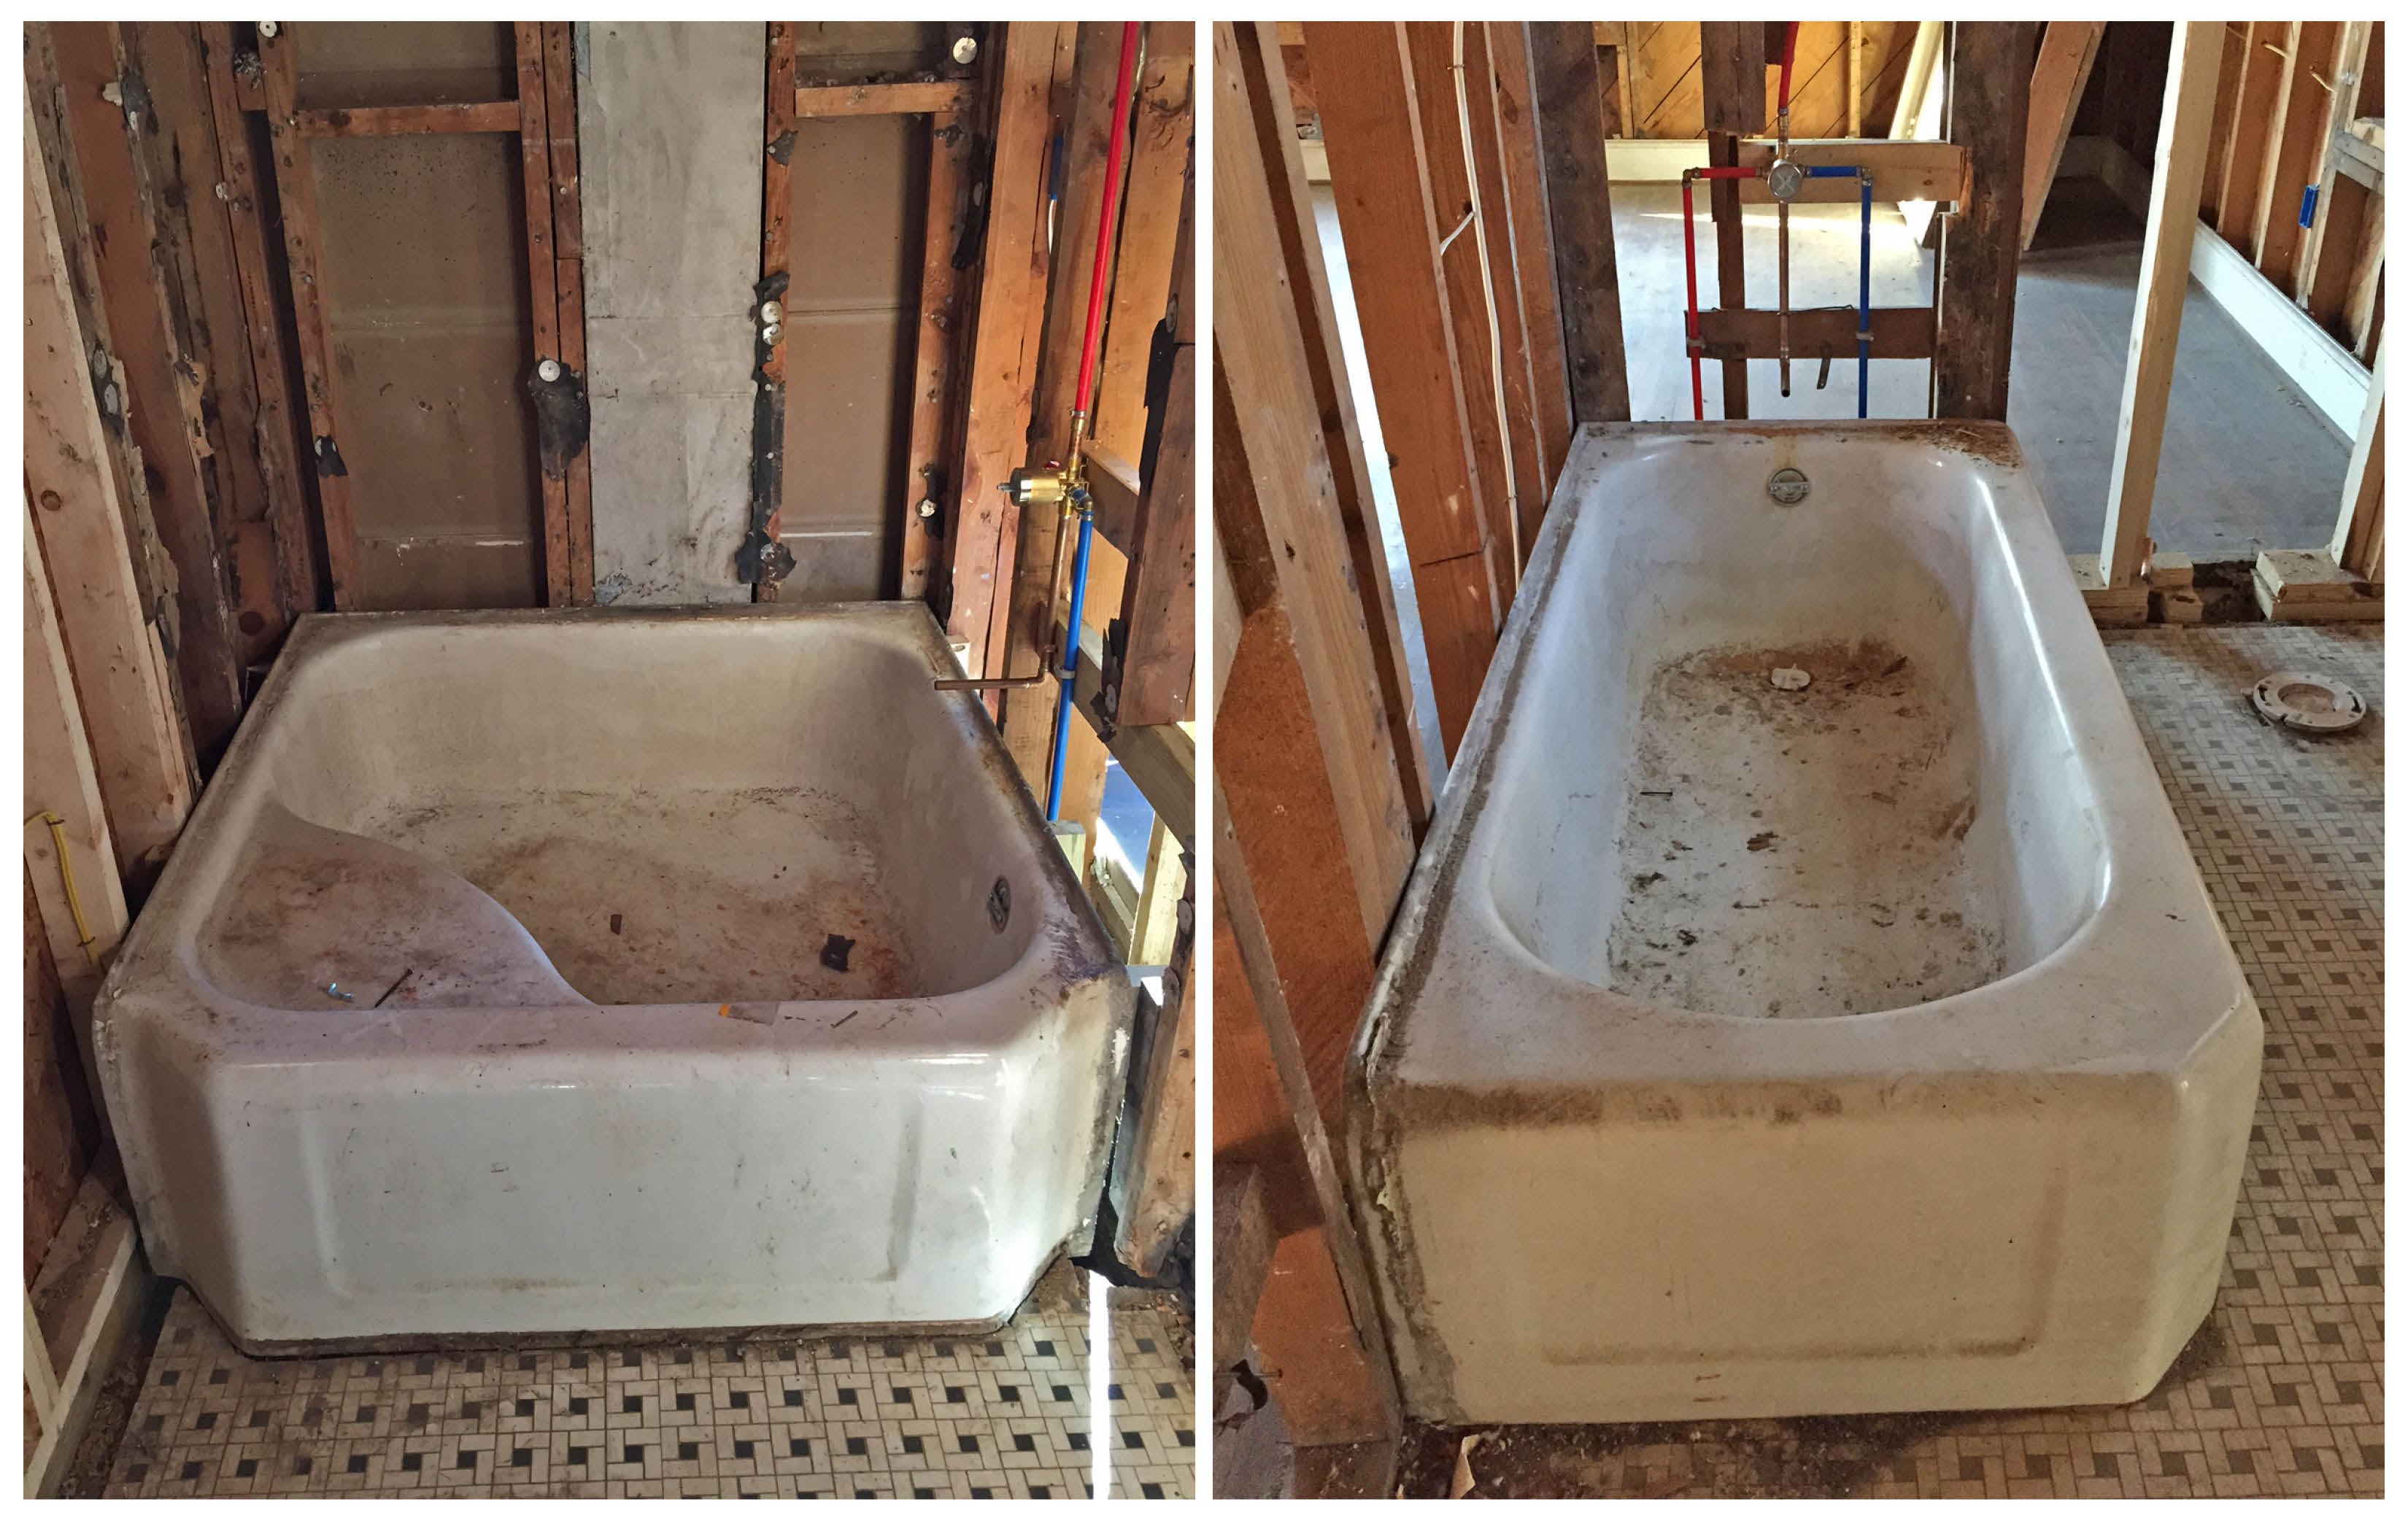
So, as you can see, we have replaced everything! Well, almost everything… the only plumbing items being spared are the original cast-iron tubs. They need a good cleaning and to be reglazed, but we think they’re pretty special. (And they’re also pretty heavy, so leaving them in place is easier on everyone! ha!)

Master Bath | Hall Bath
Replacing the water line from the street to the house was always in the plan, but the biggest “question mark” during this whole re-plumbing process was whether or not the waste/sewer pipes leading from the house to the street (which are buried underground) were in good shape. Many times with old houses like ours the underground pipes have cracks, debris, roots that have grown into them, and all kinds of other problems that can be an expensive fix. So, we had a professional come use a nifty little camera scope tool to take a gander at our pipes… miraculously, we passed muster and did NOT have to dig up and replace our waste line! Hallelujah!!

Water line trench… thank goodness we didn’t have to dig up the waste line, too!
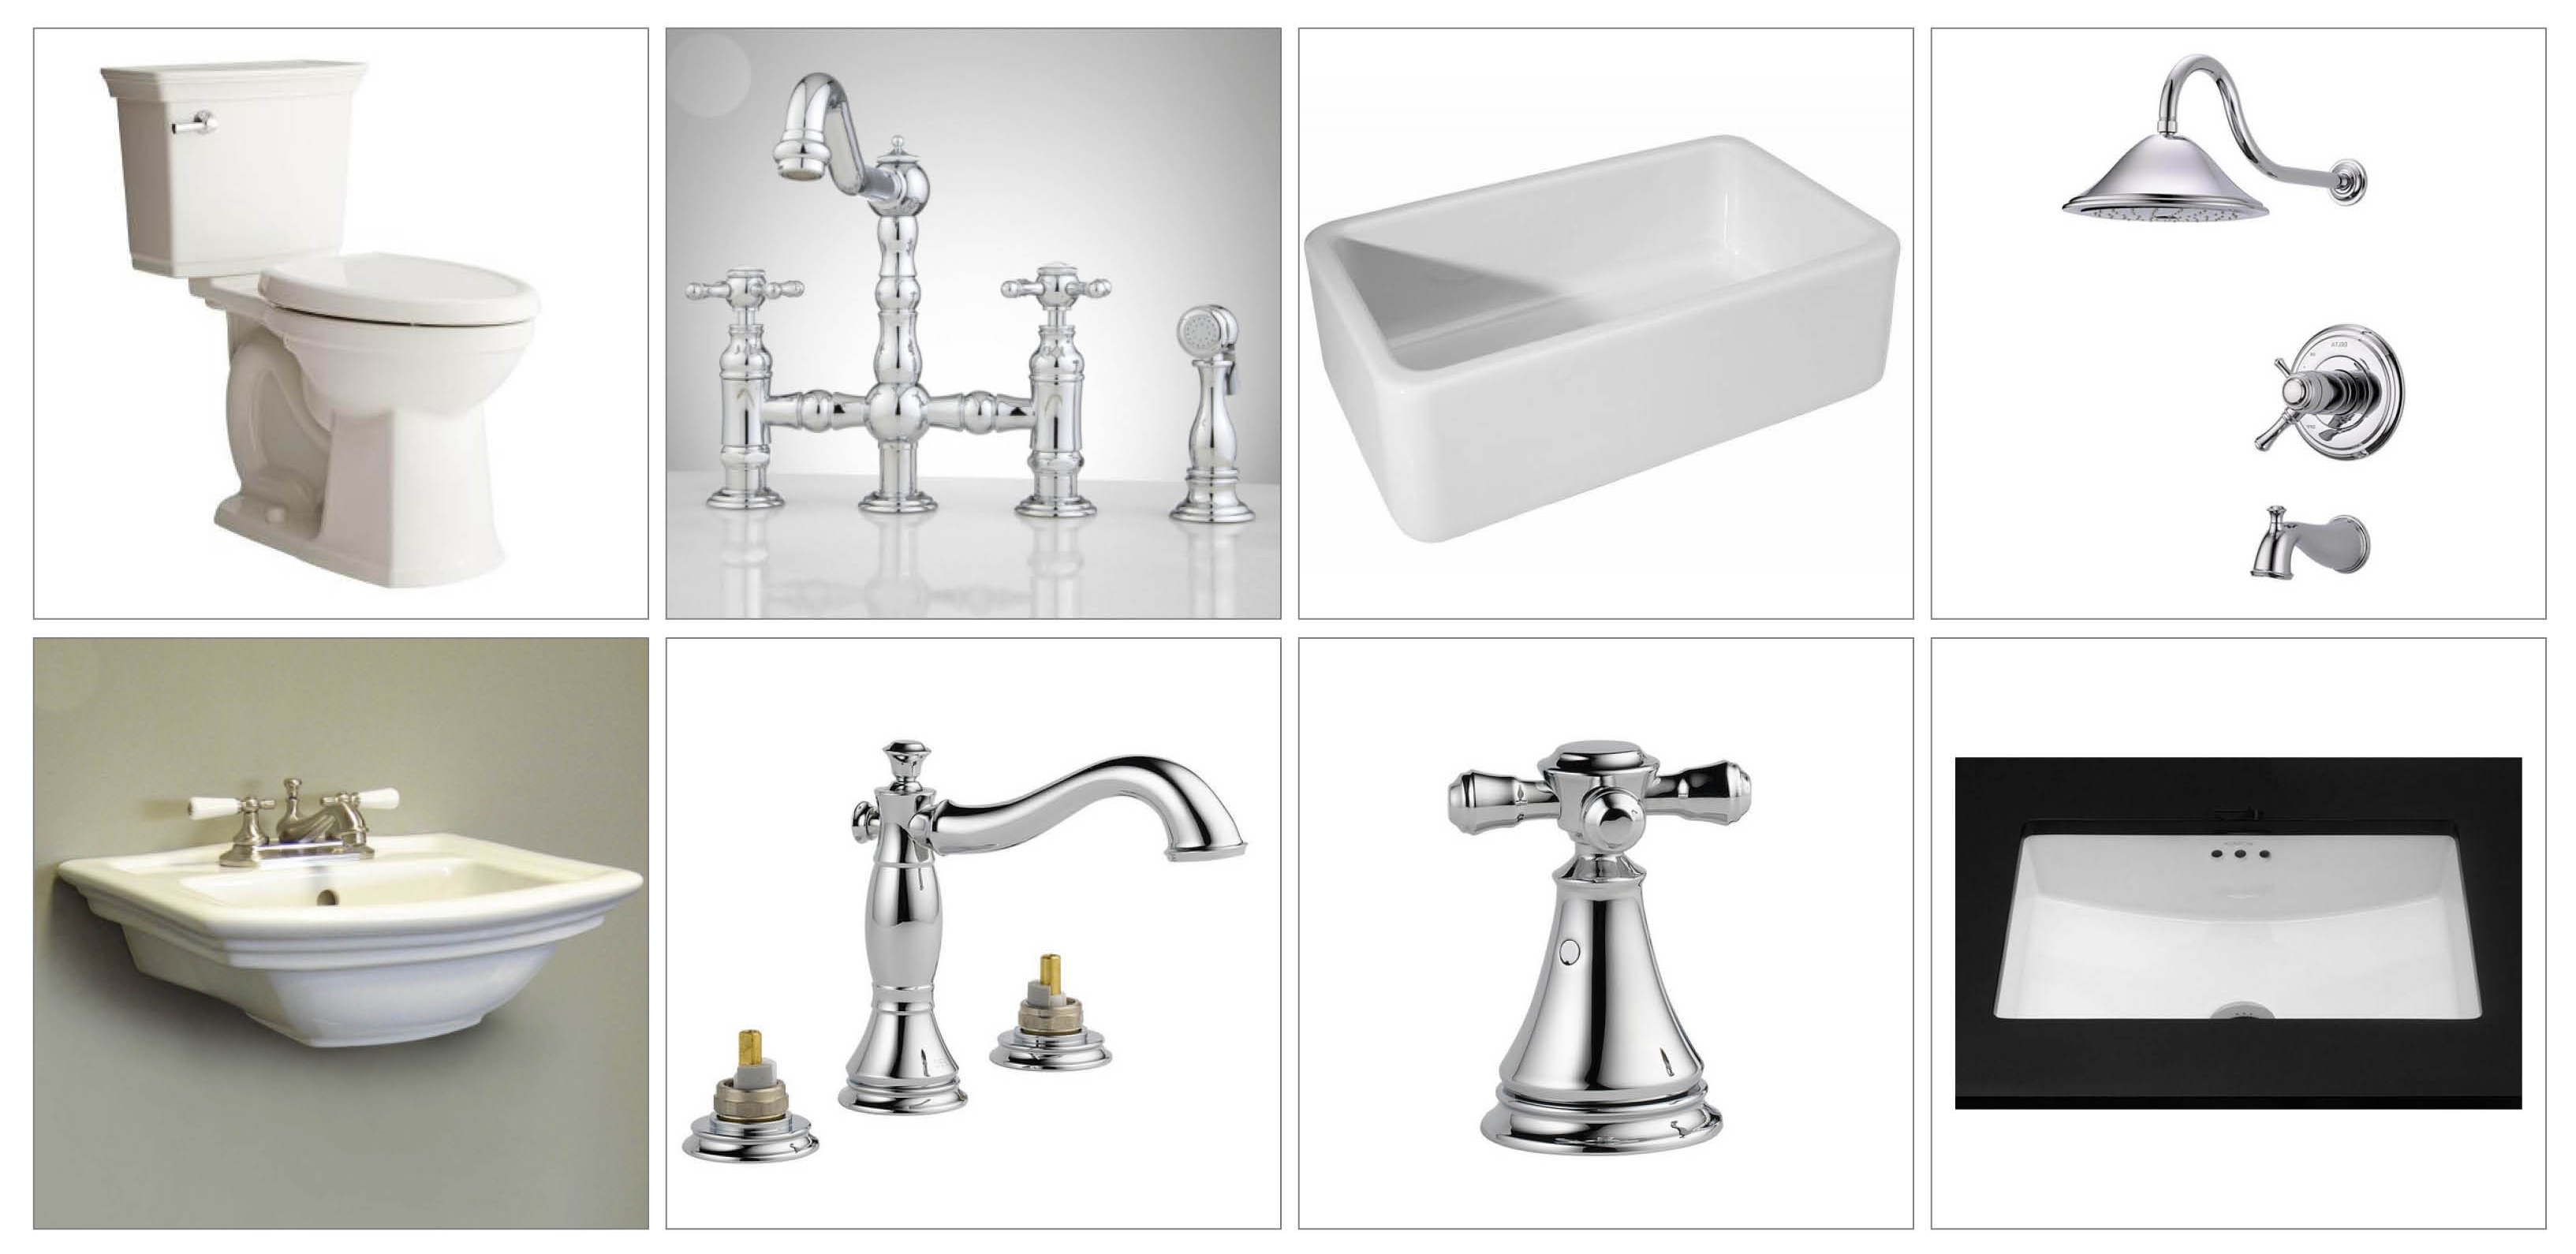
Now, all this pipe talk is a little boring, but as part of this exercise, we got to make our plumbing fixture choices, too. Finally! We get to pick out some “pretties” for the house! Here’s a glimpse of what we chose:

Plumbing pretties!!
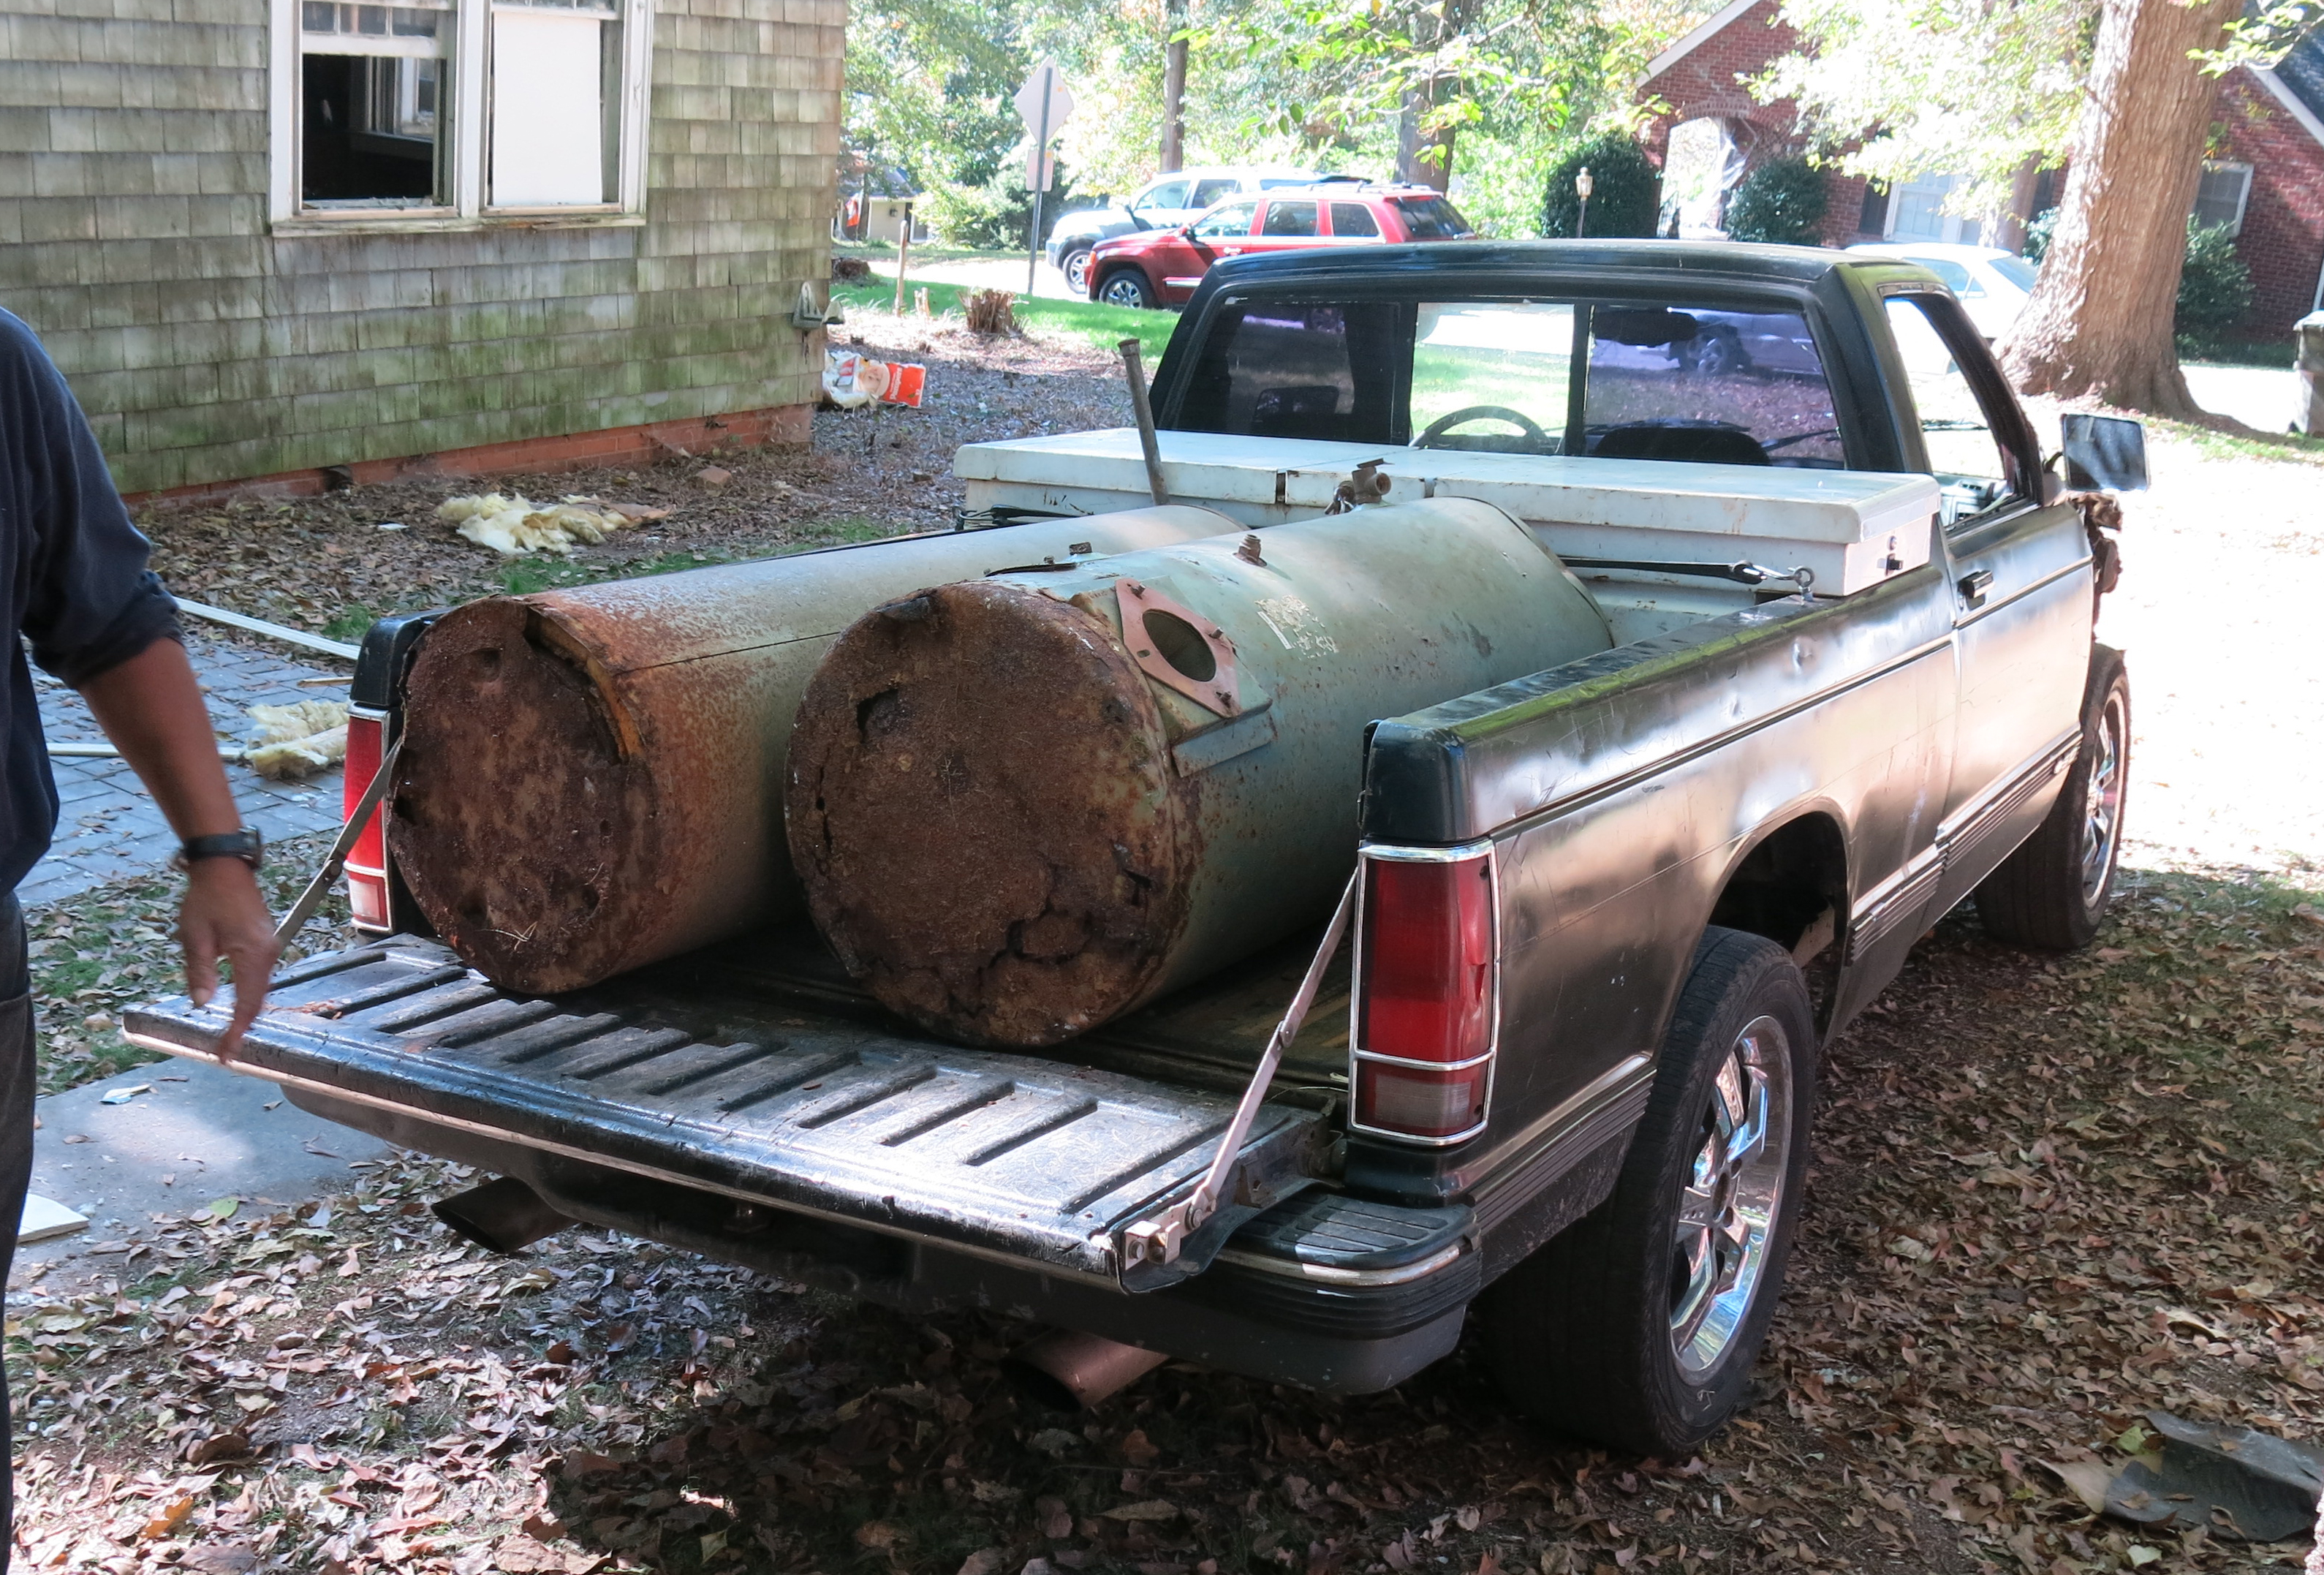
As a fitting finish to the plumbing update…… let’s all wave goodbye to the Nest’s old, nasty hot water heaters!

A couple of local scrappers took these beauties off our hands.
Hooray for new pipes!
Make our day! Share this post: