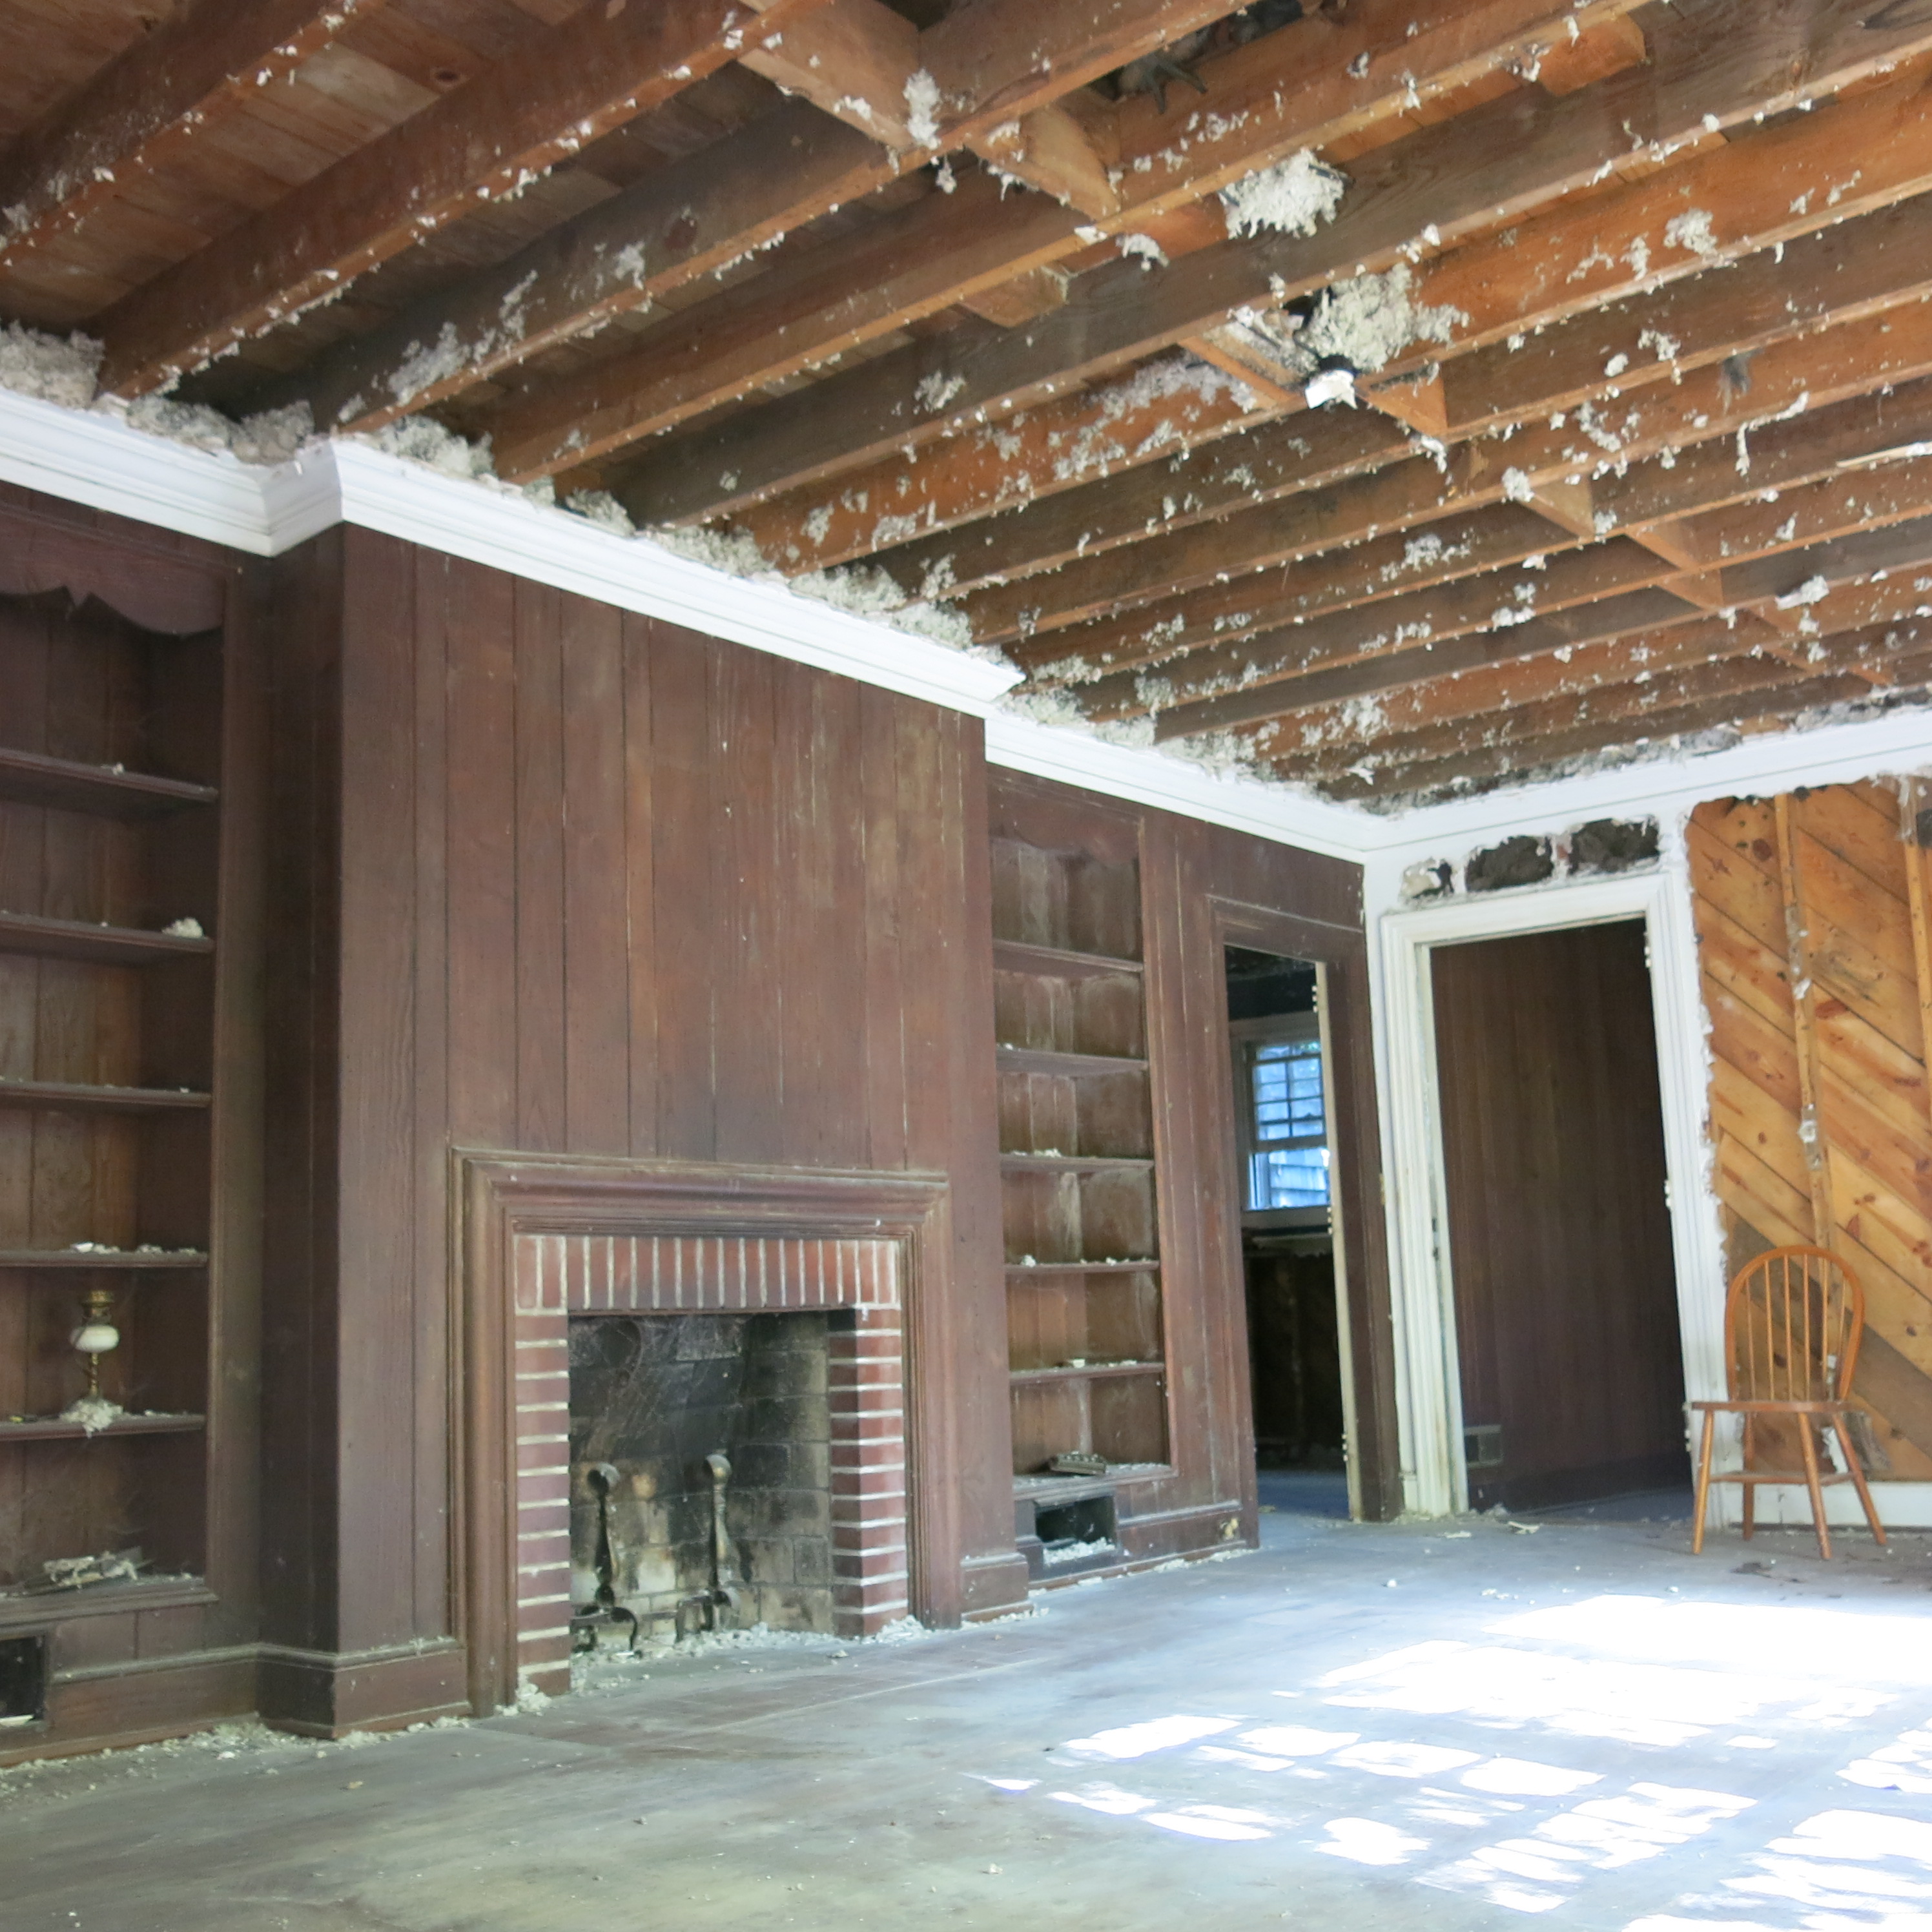
We think our Nest has lots of special features, but one of these is a certain type of wood paneling that has my dad – the master forester – seeing hearts. It’s called Wormy Chestnut… or as Richard Harper calls it, “a true relic.” Apparently, this woodland artifact is basically extinct and wormy chestnut lumber is an extremely rare find these days…and Matthew and I [GASP] wanted to paint it. So, in swooped the mighty mustachioed forester to rescue the Chestnut lumber in all its wormy glory from those who seek to whitewash its beauty beyond recognition!
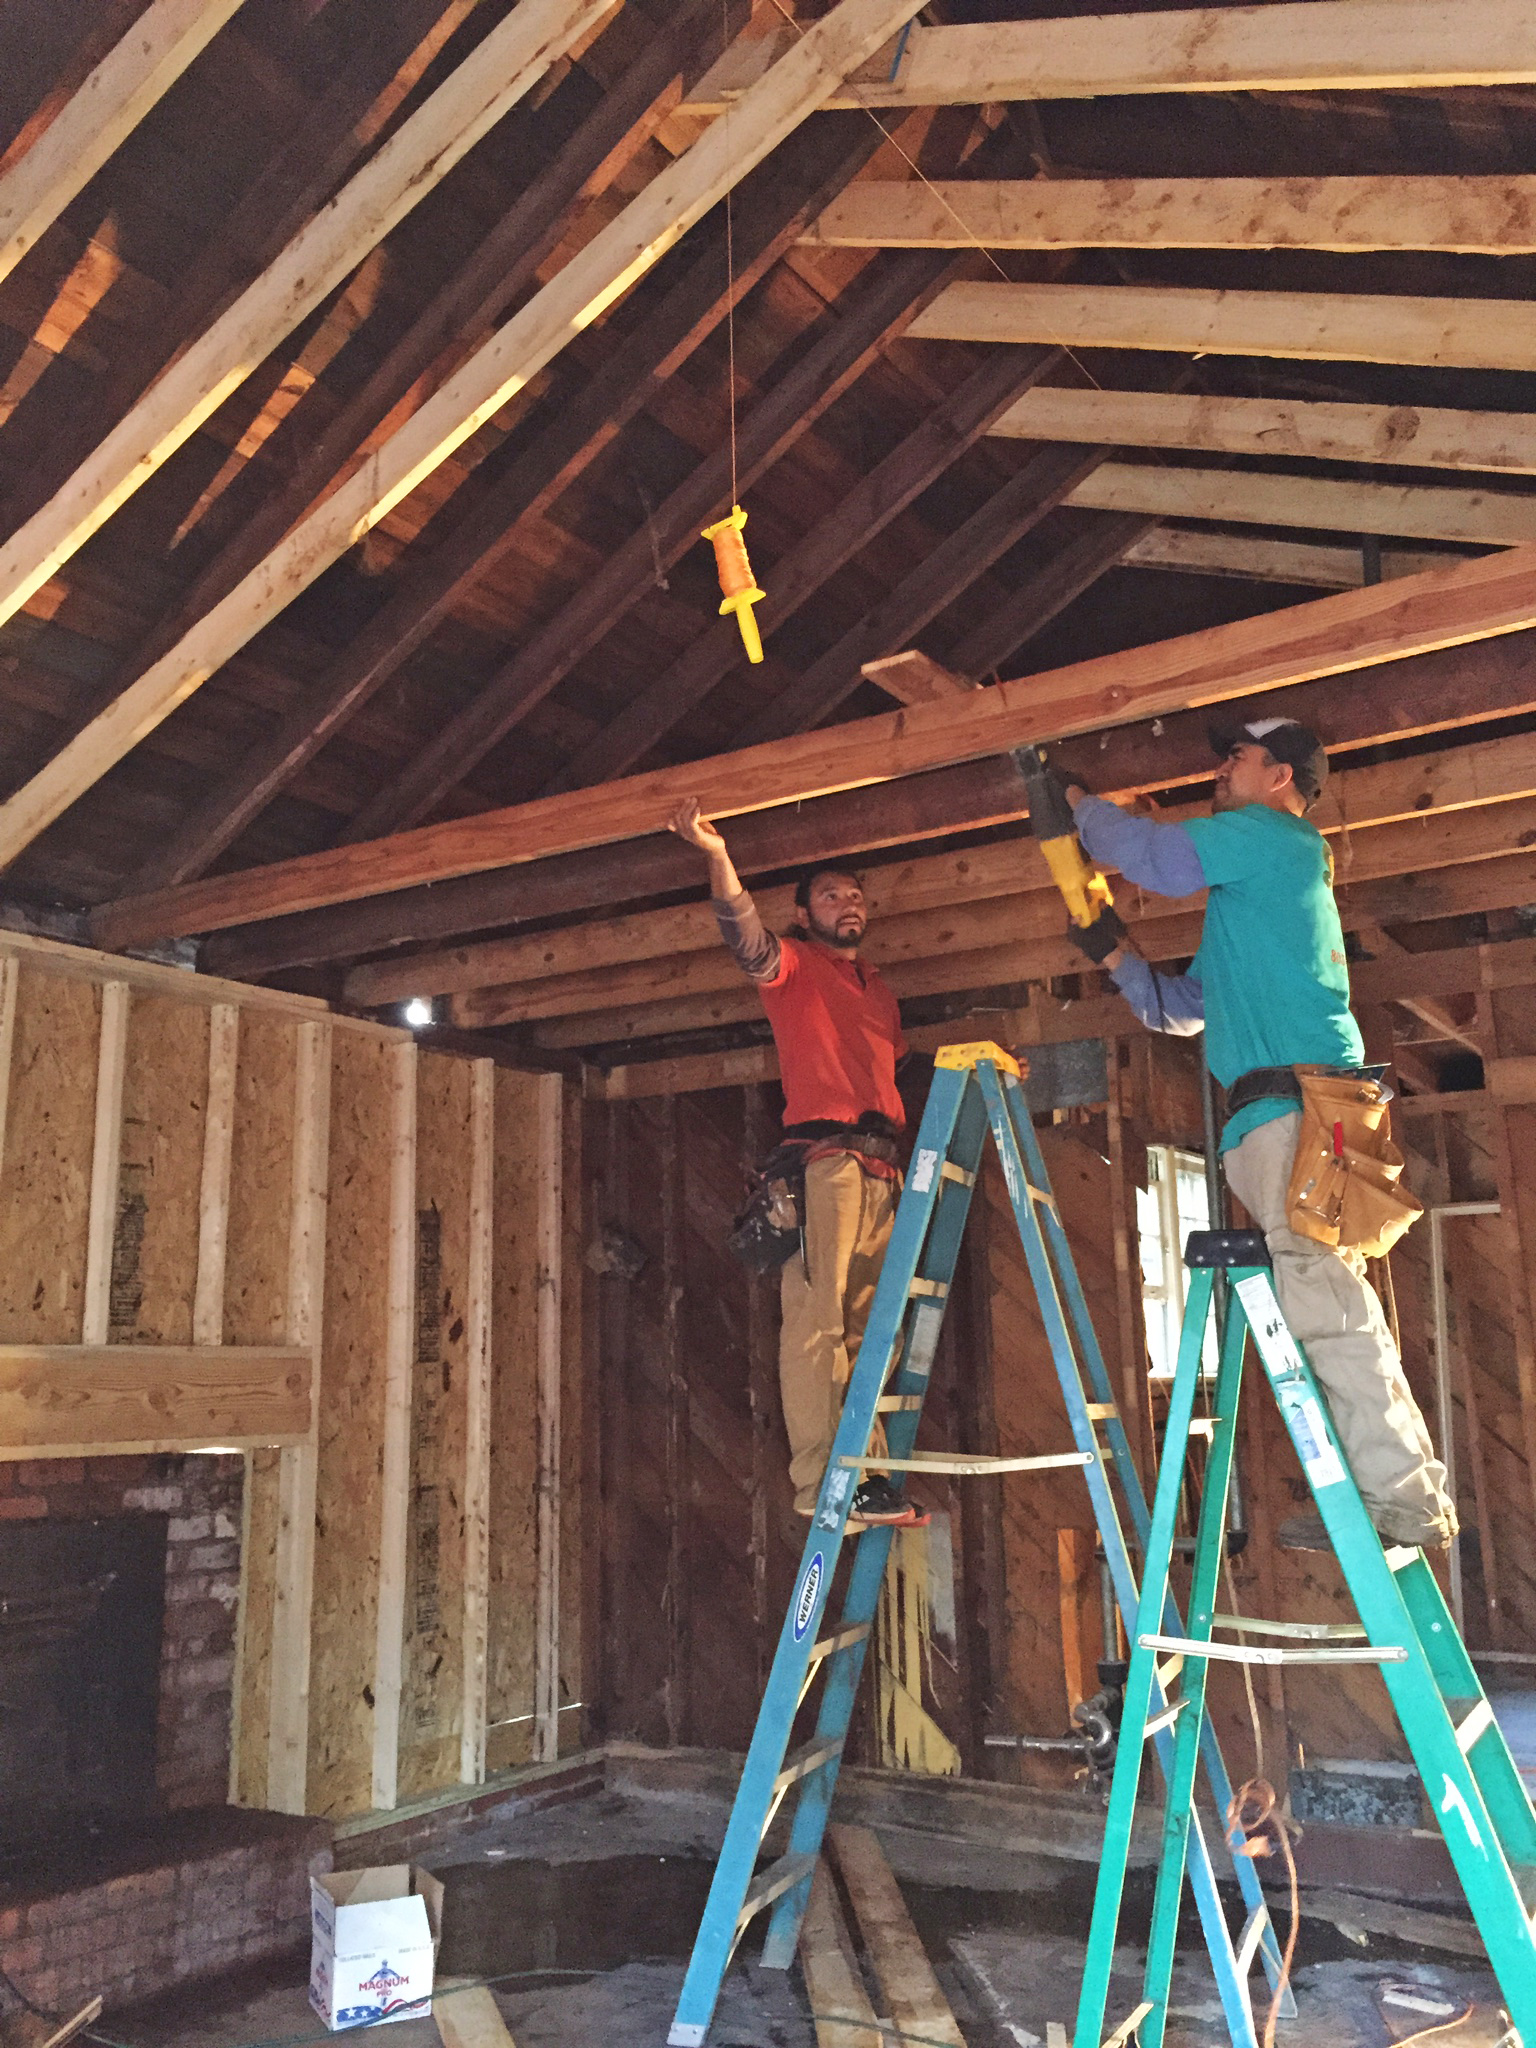
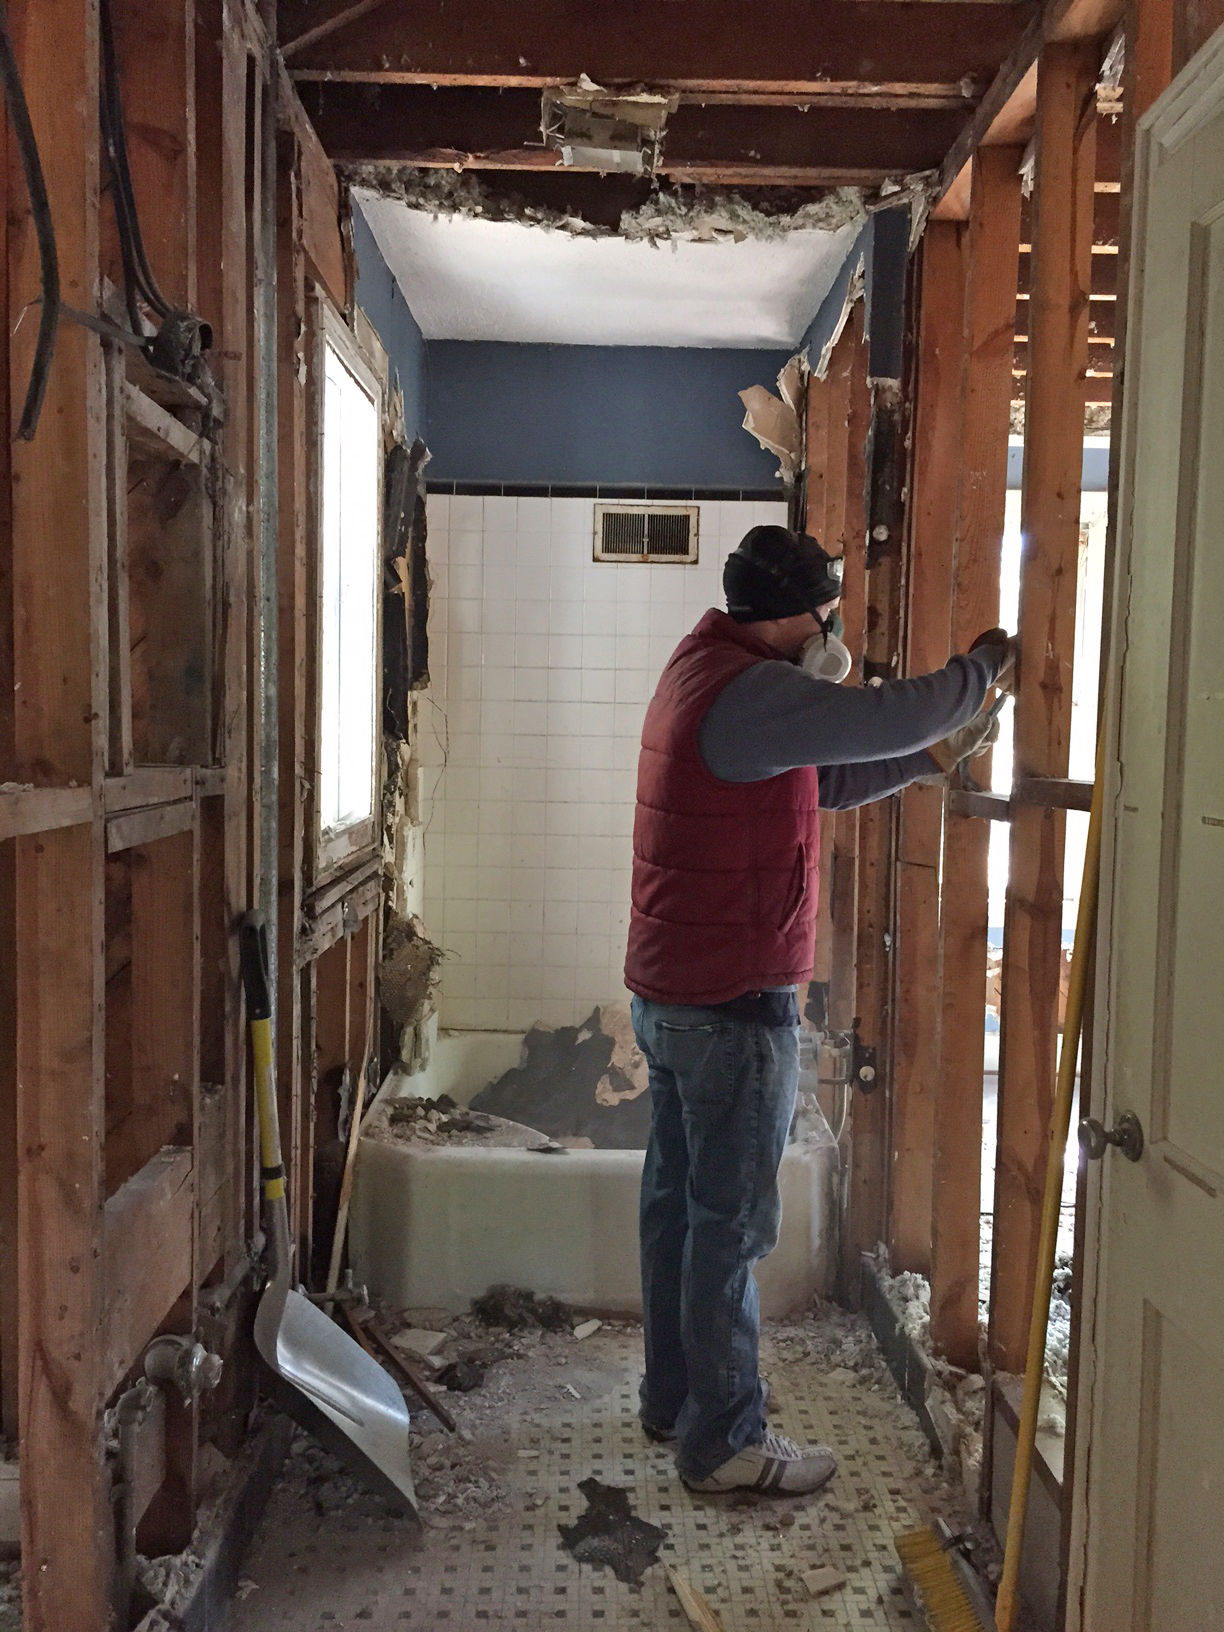
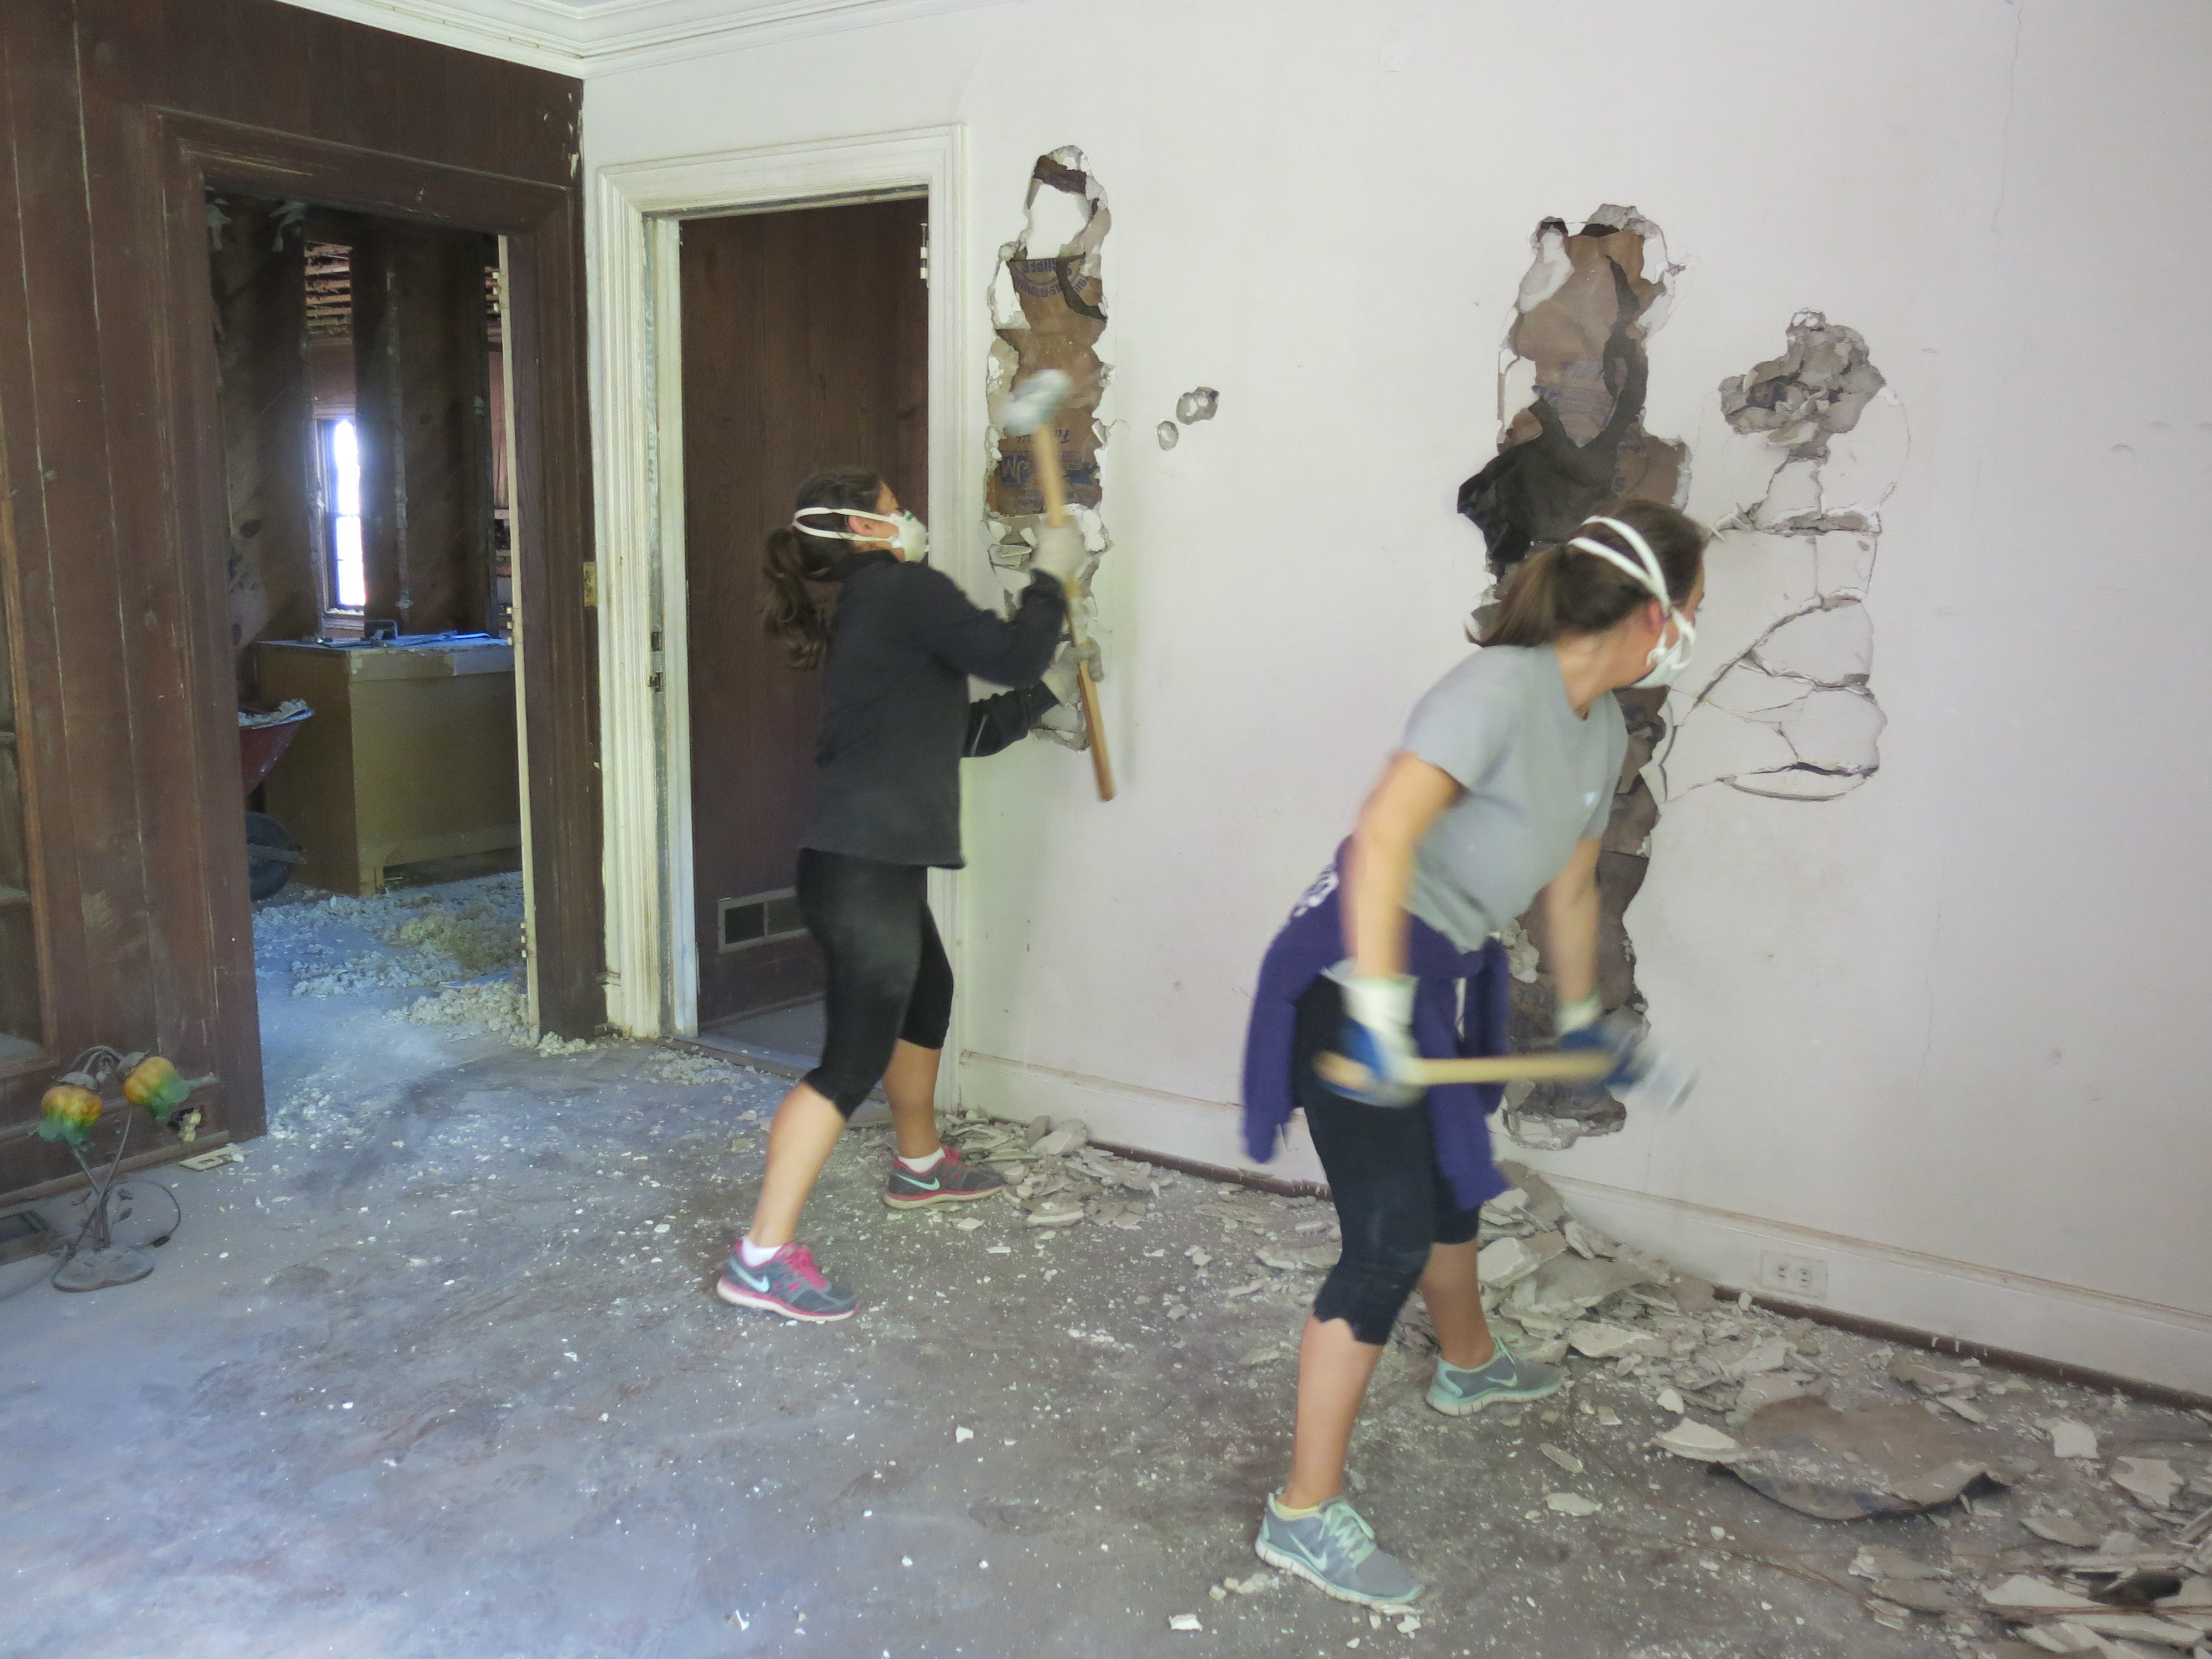
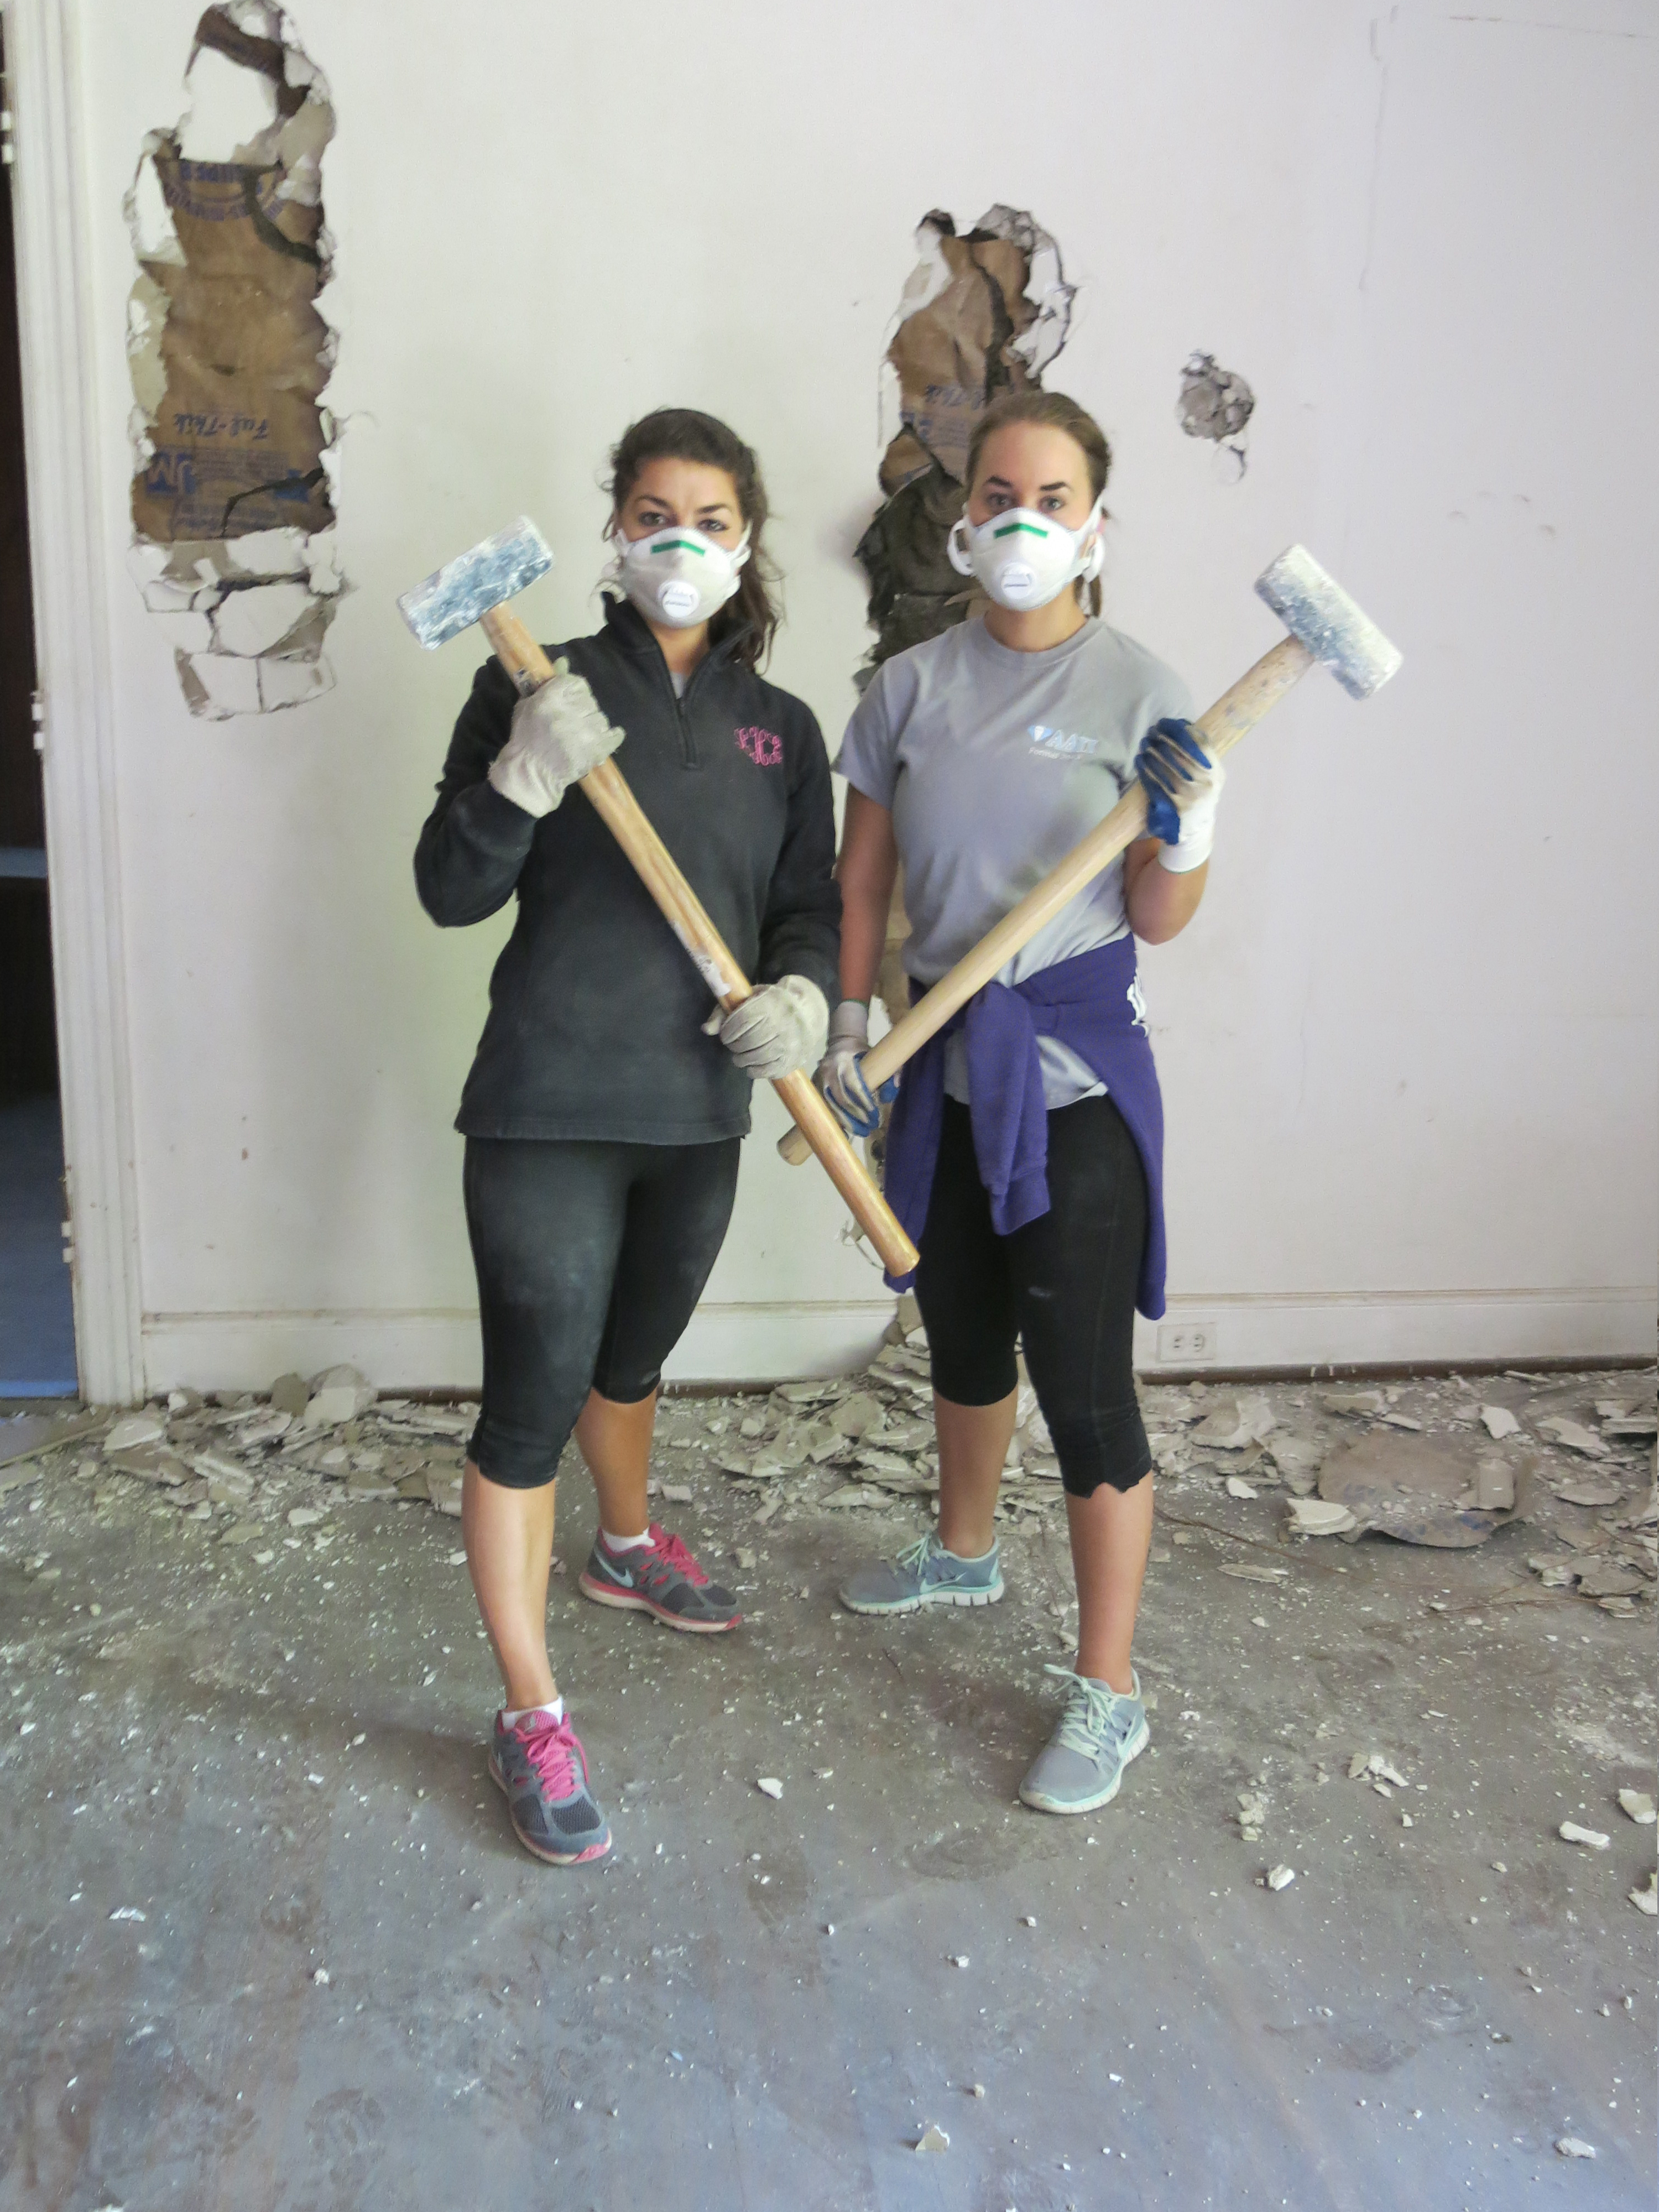
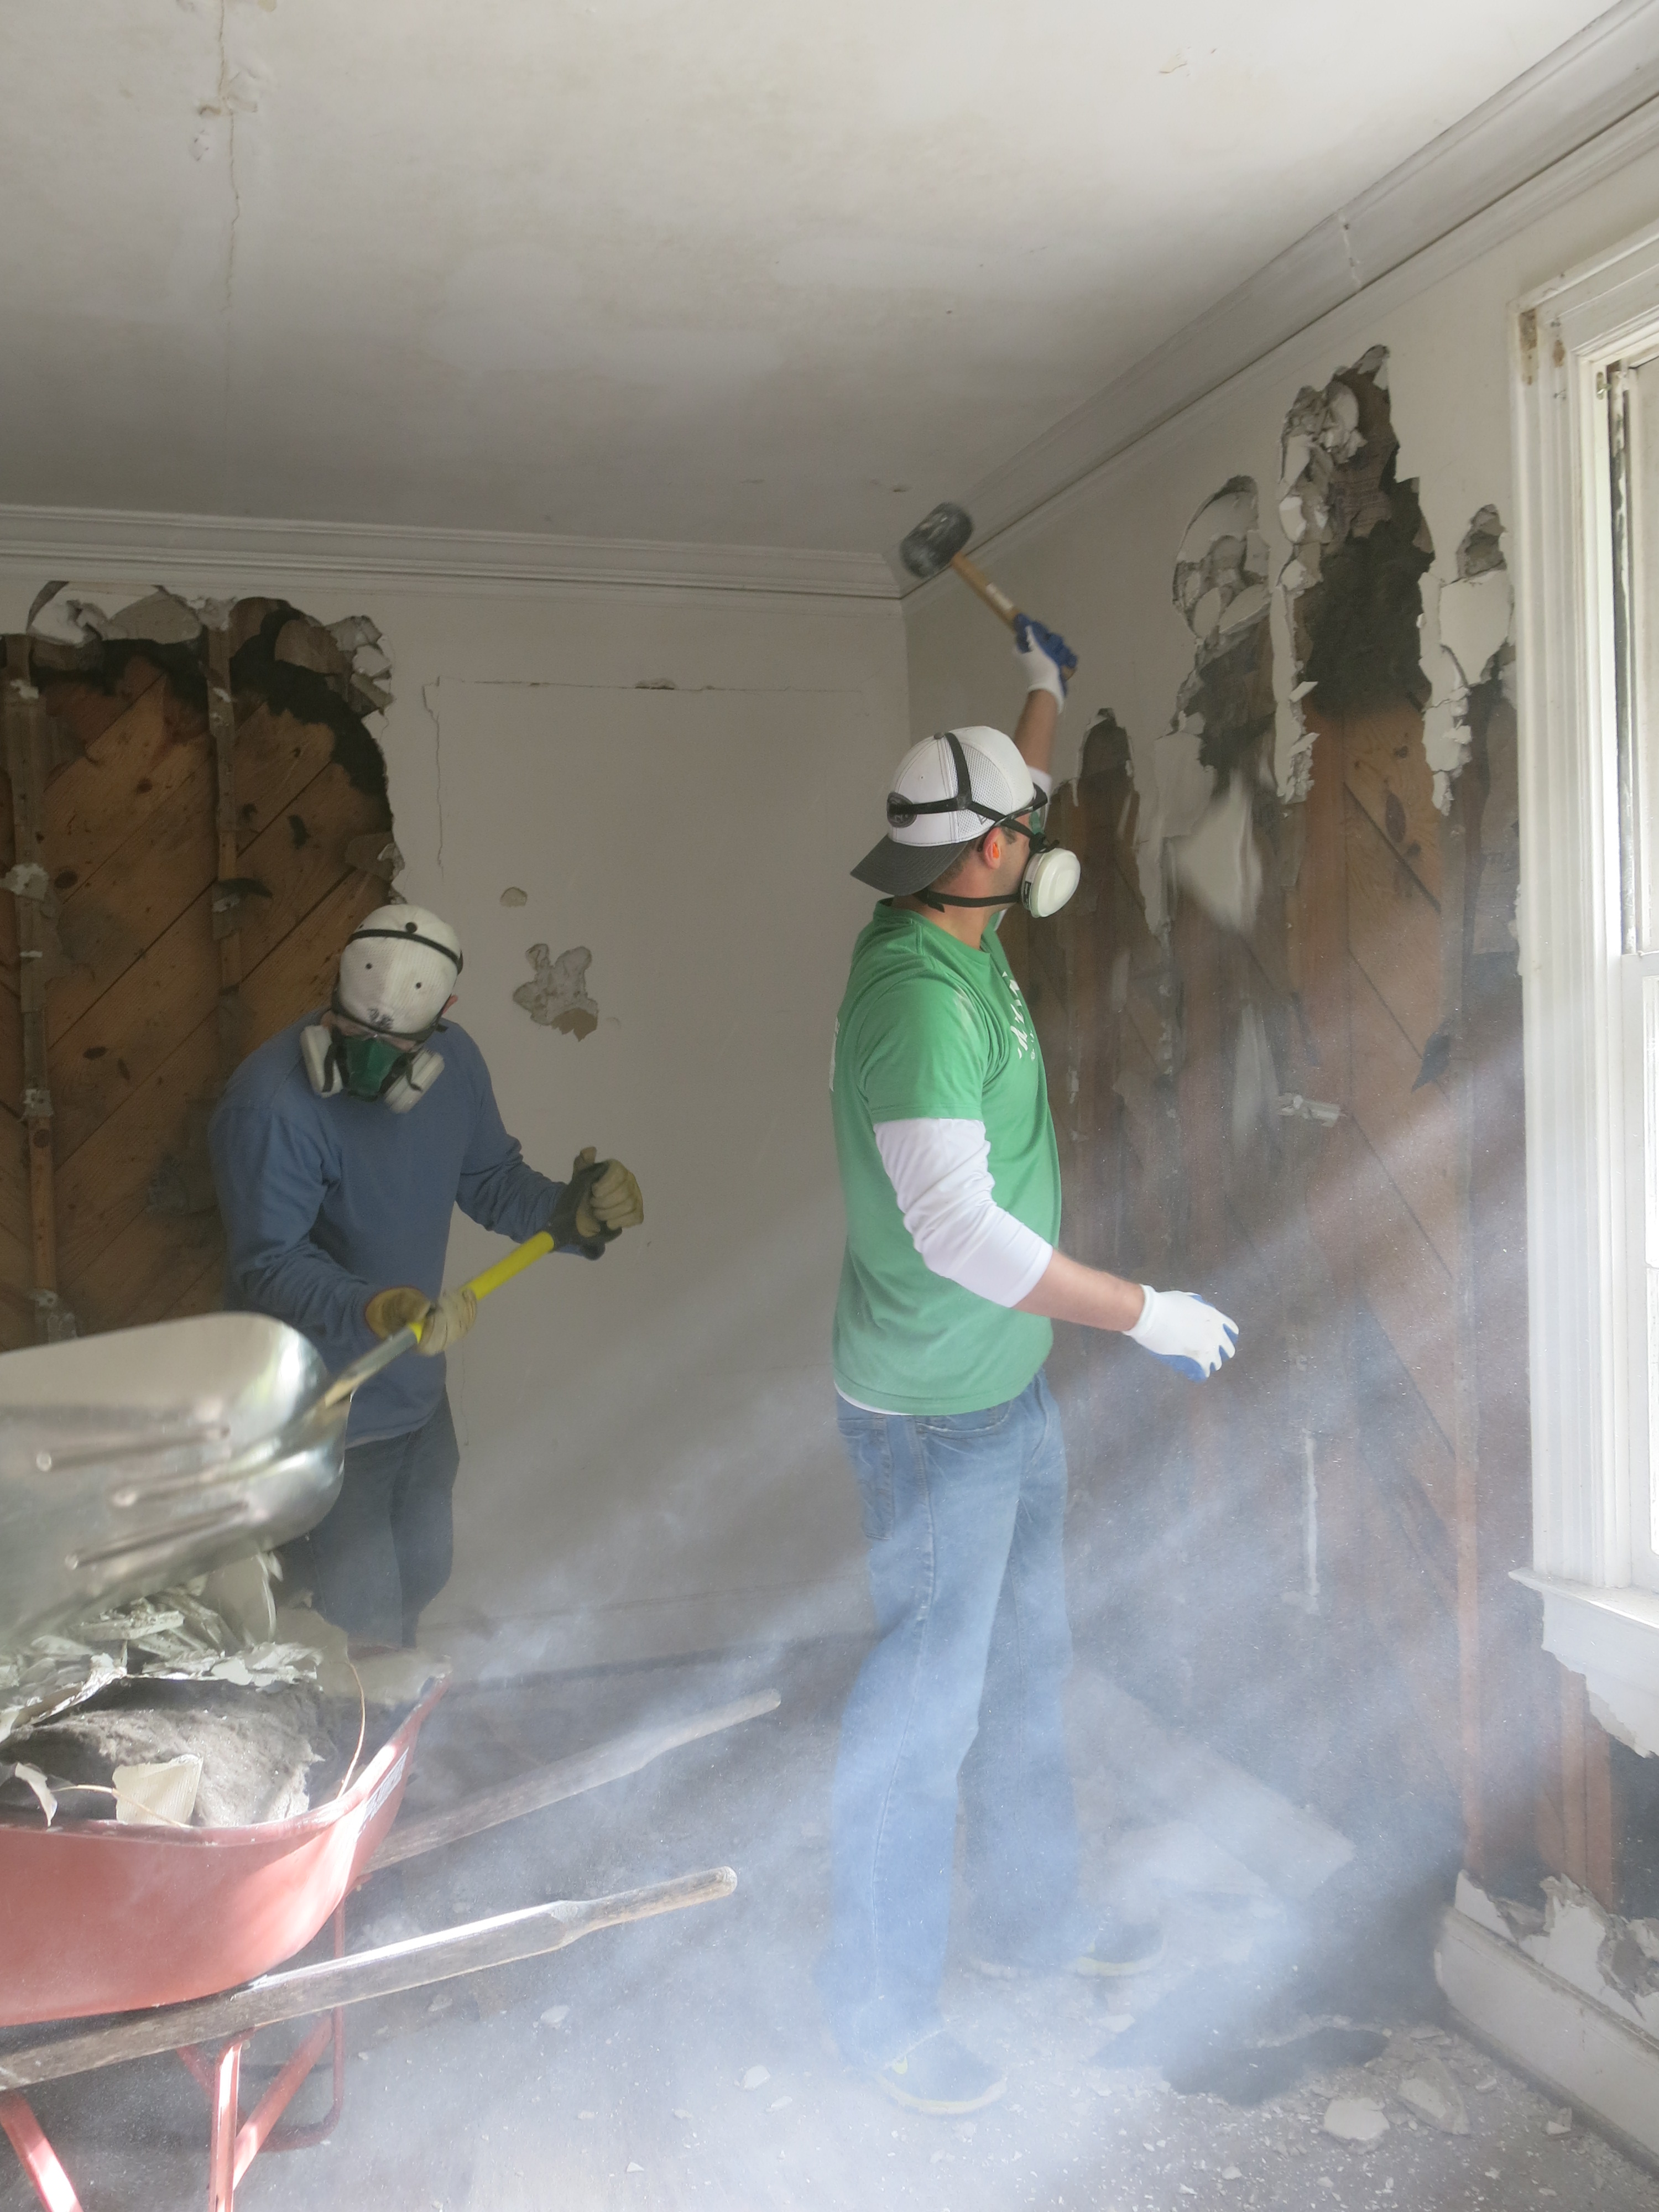
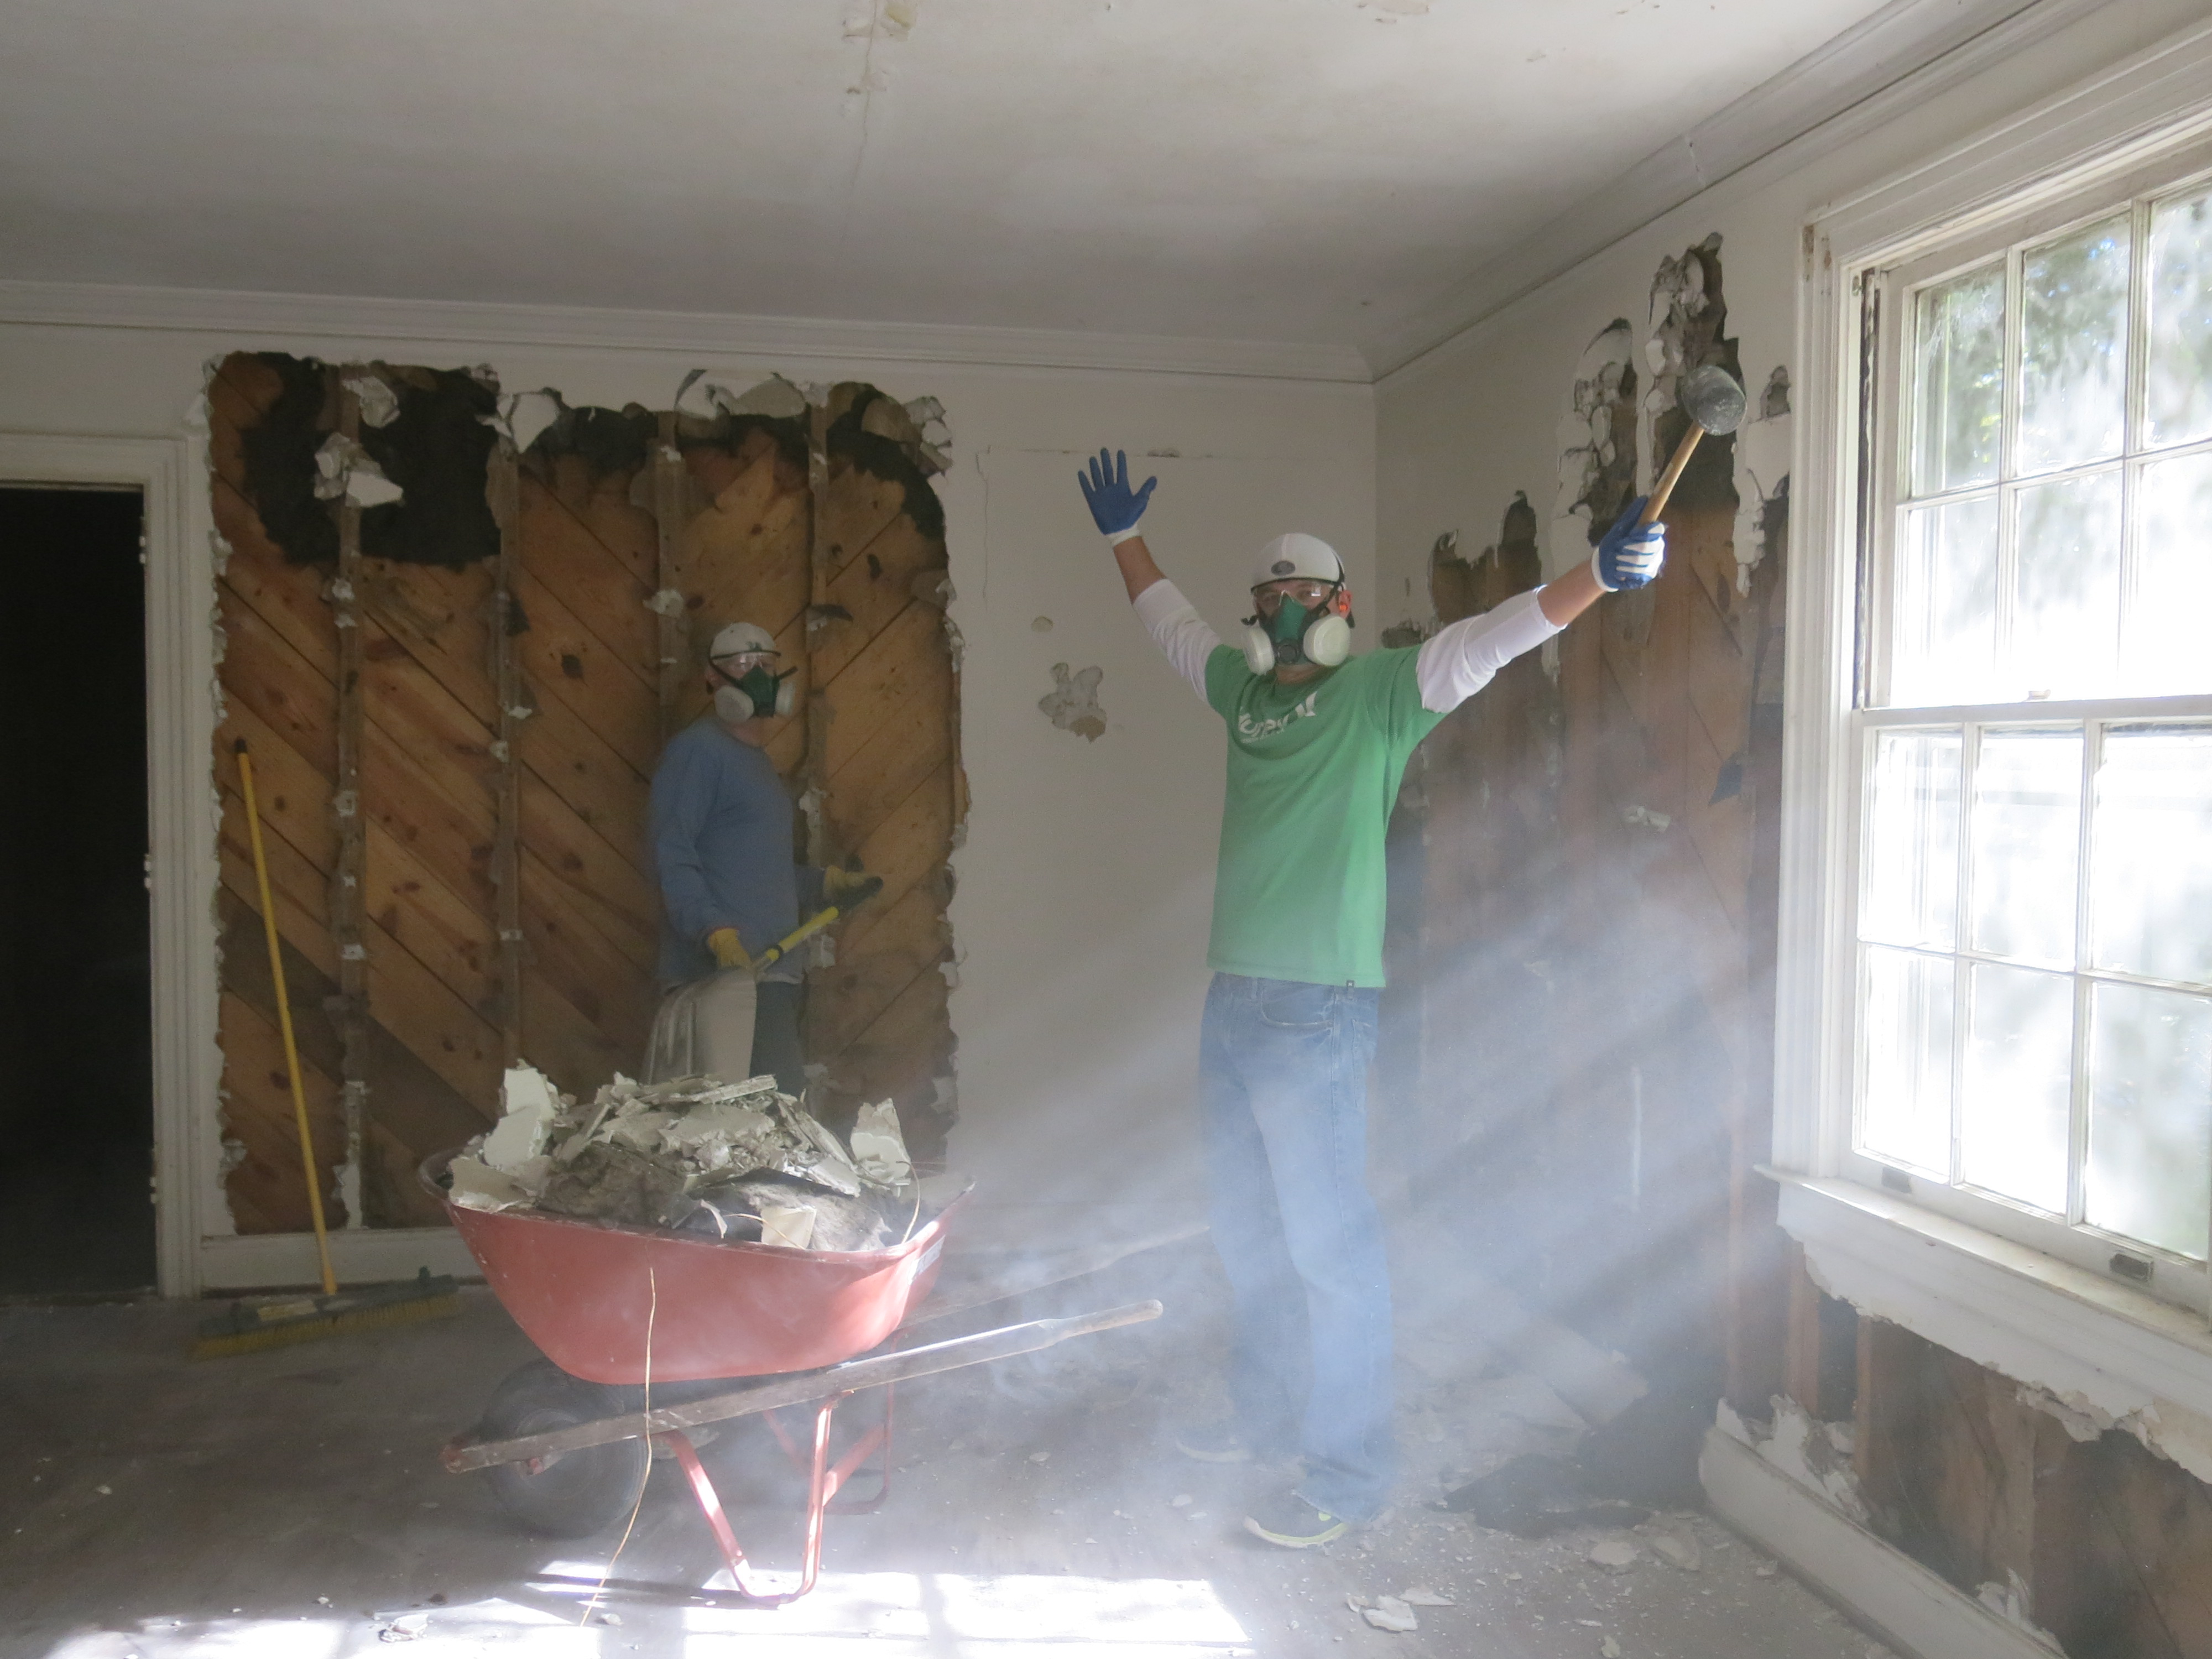
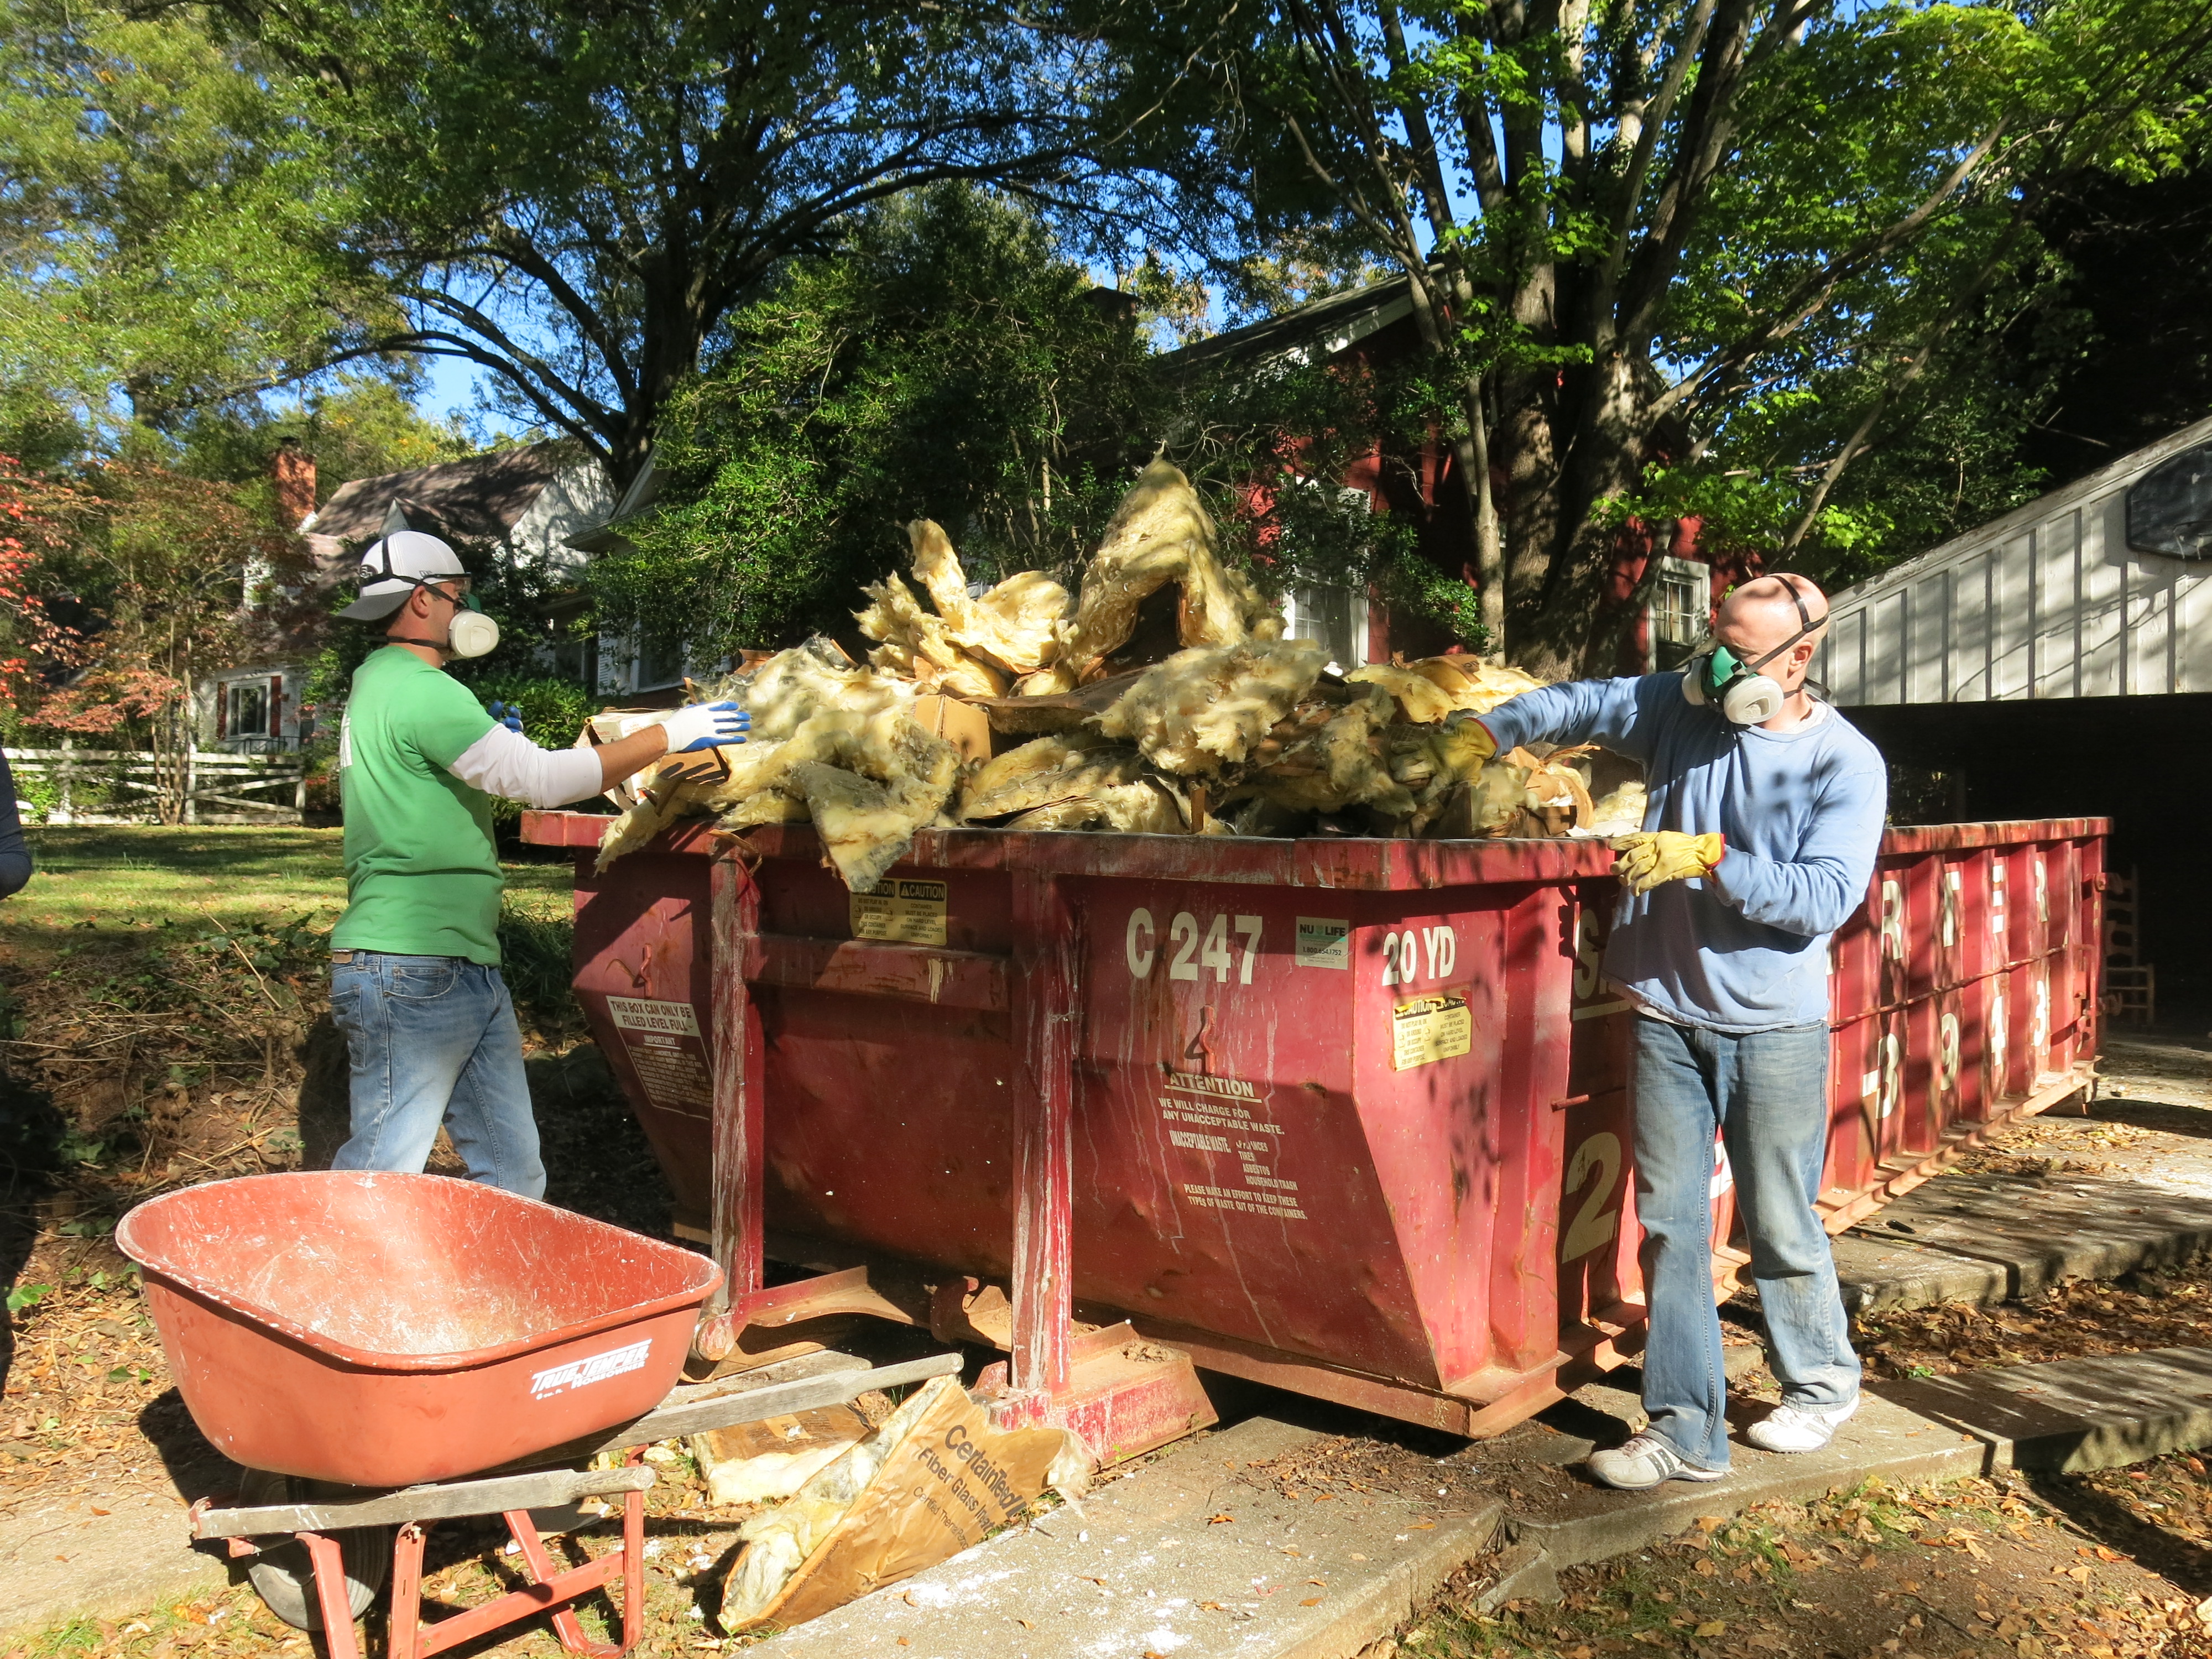
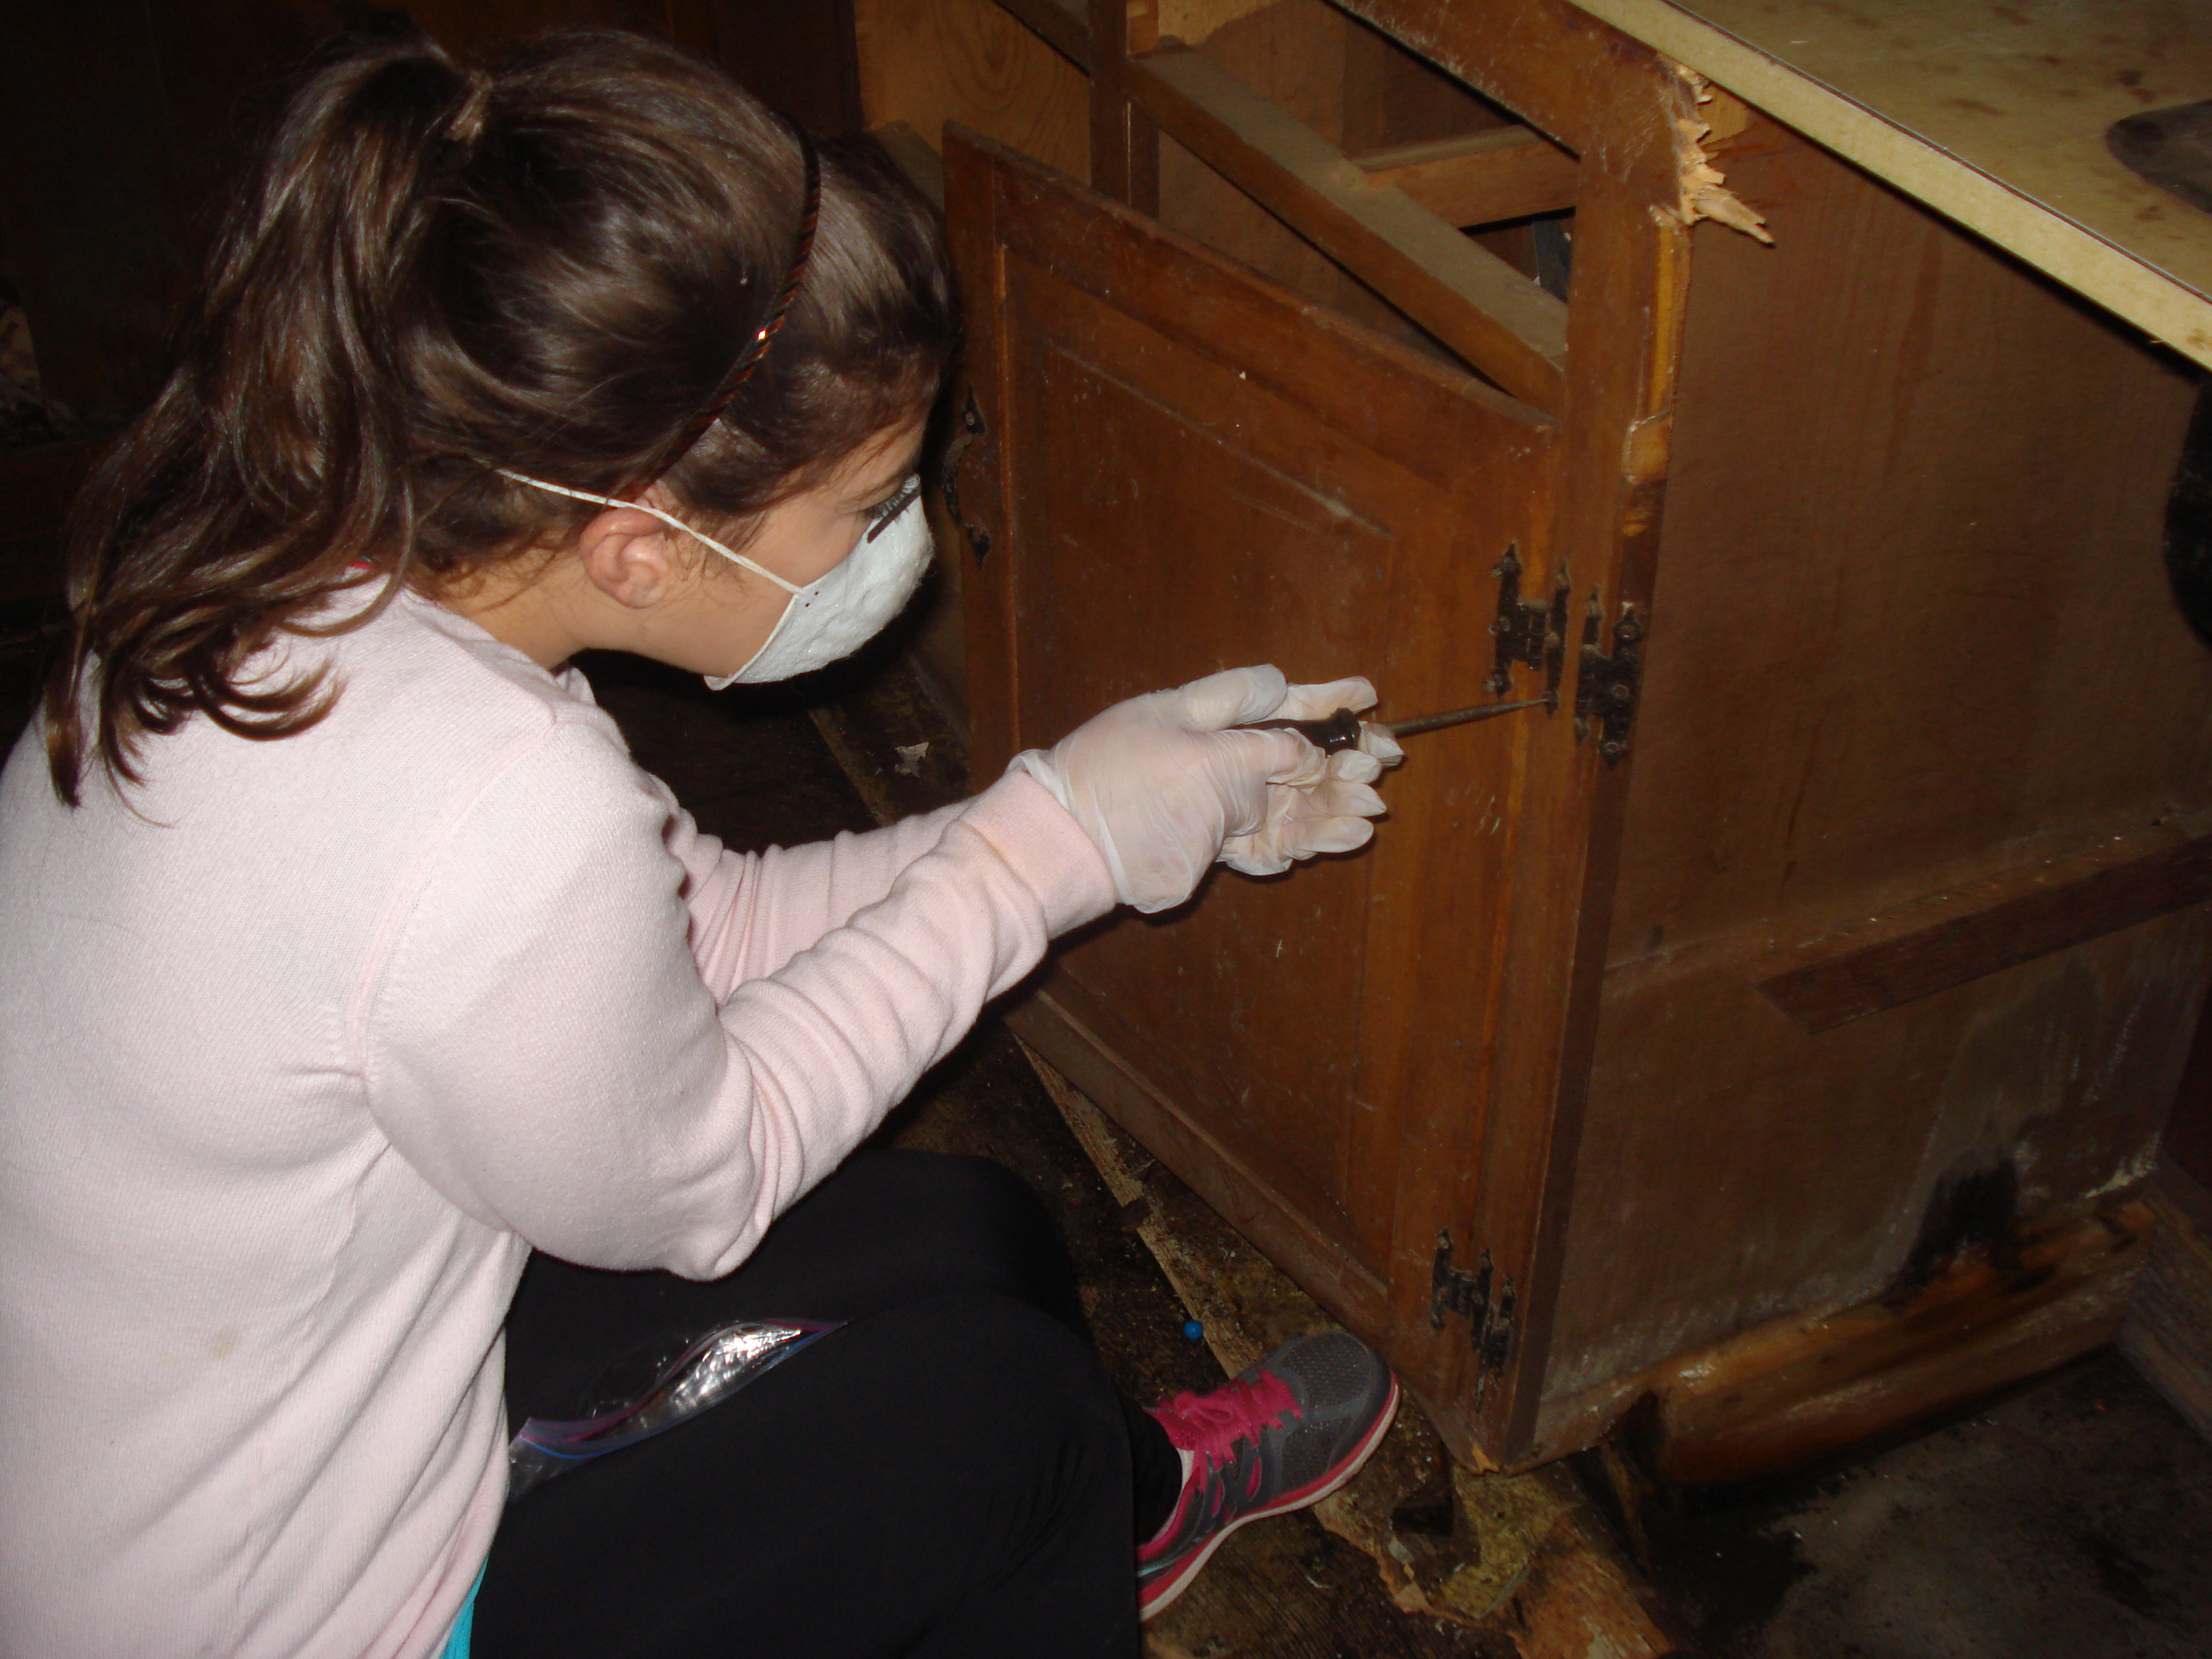
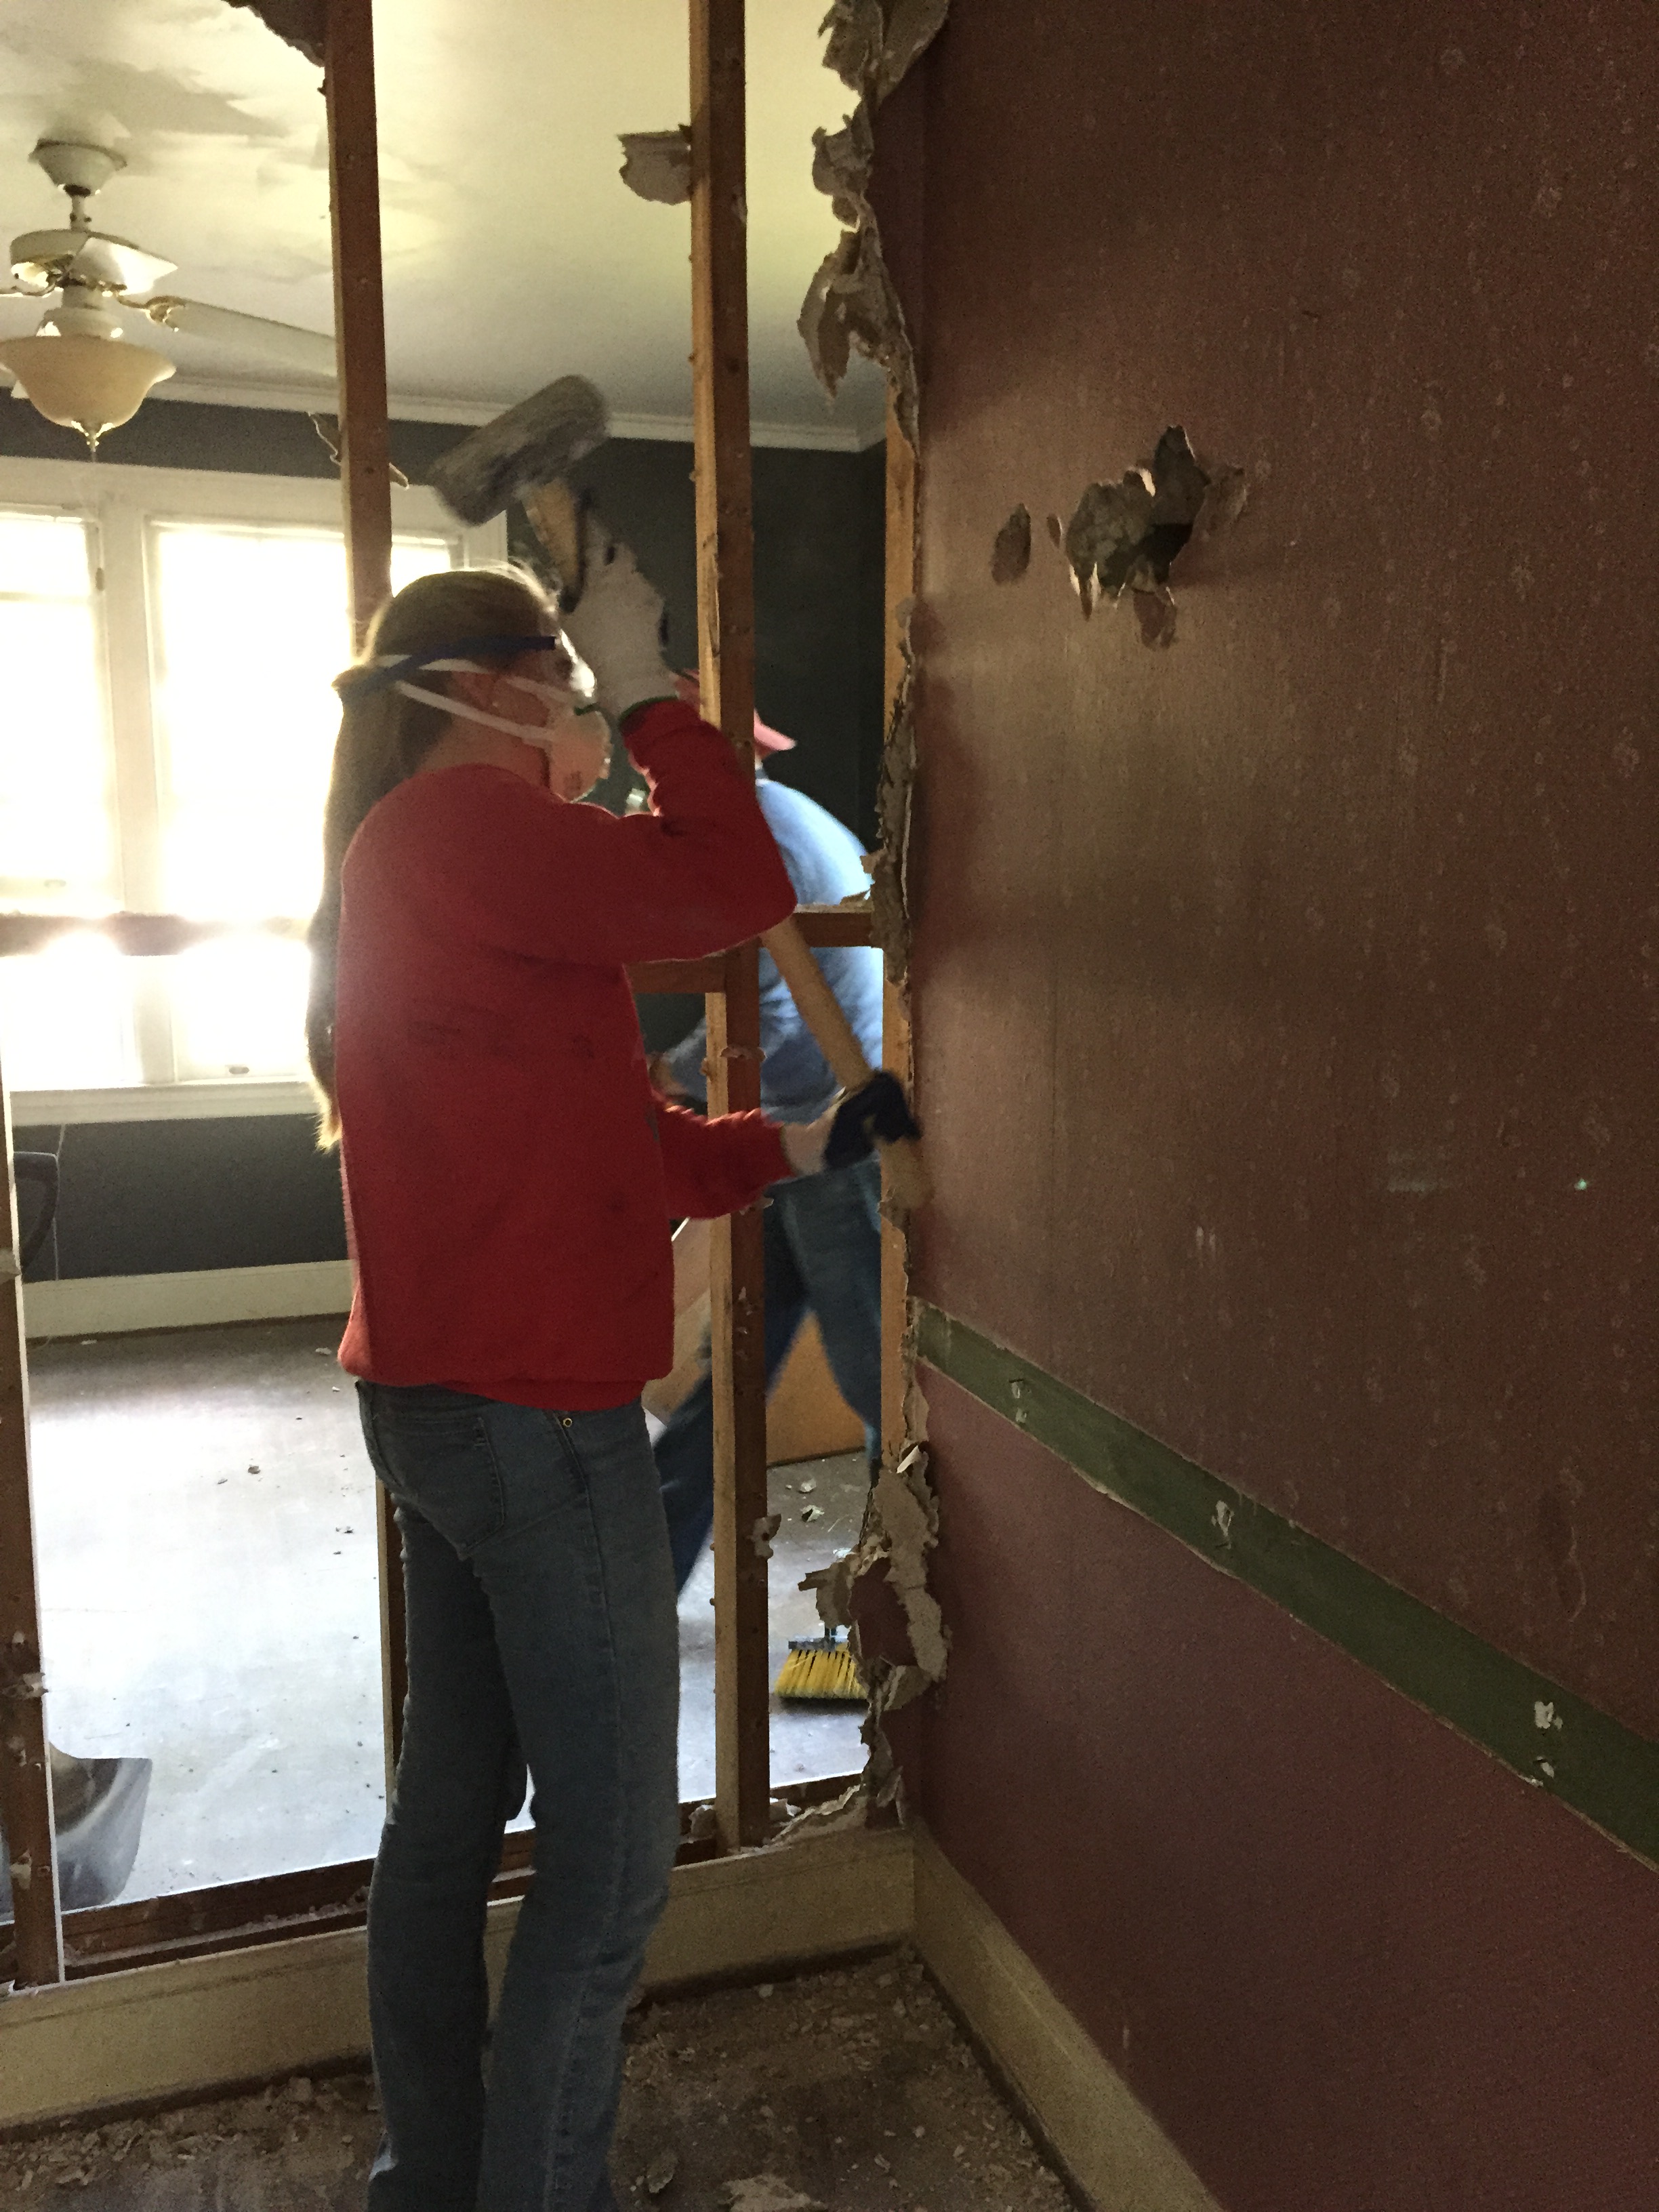
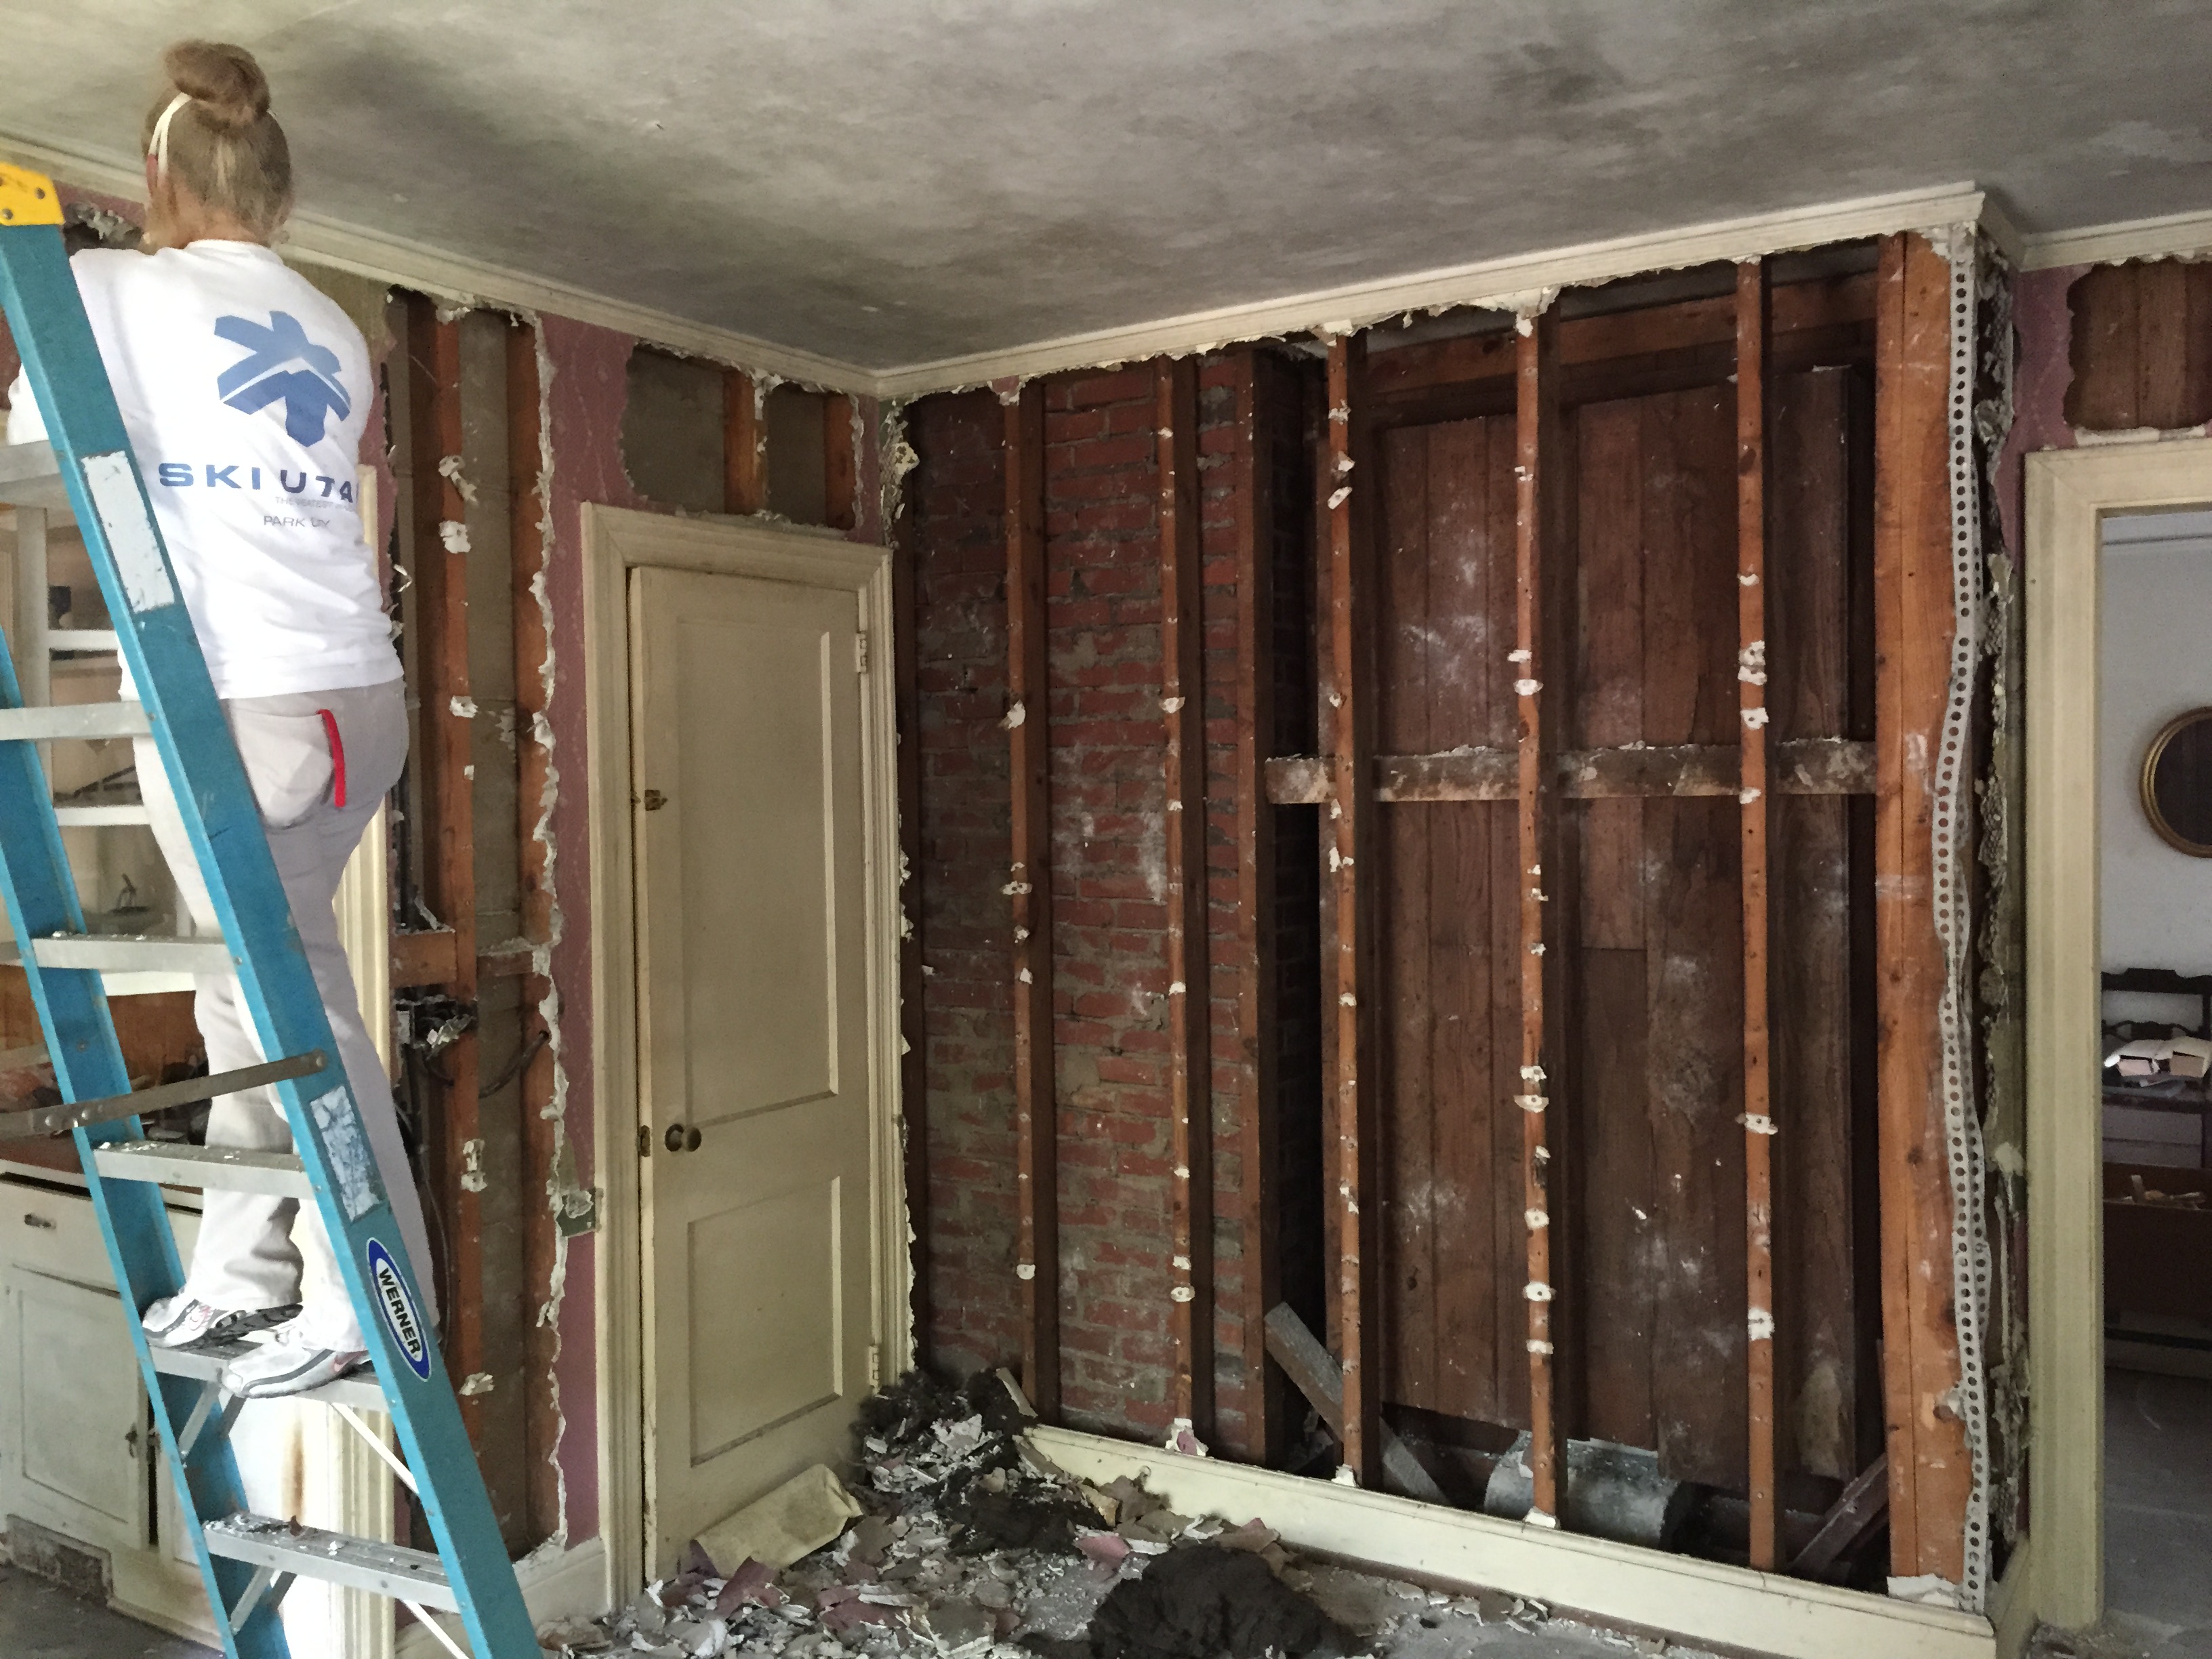
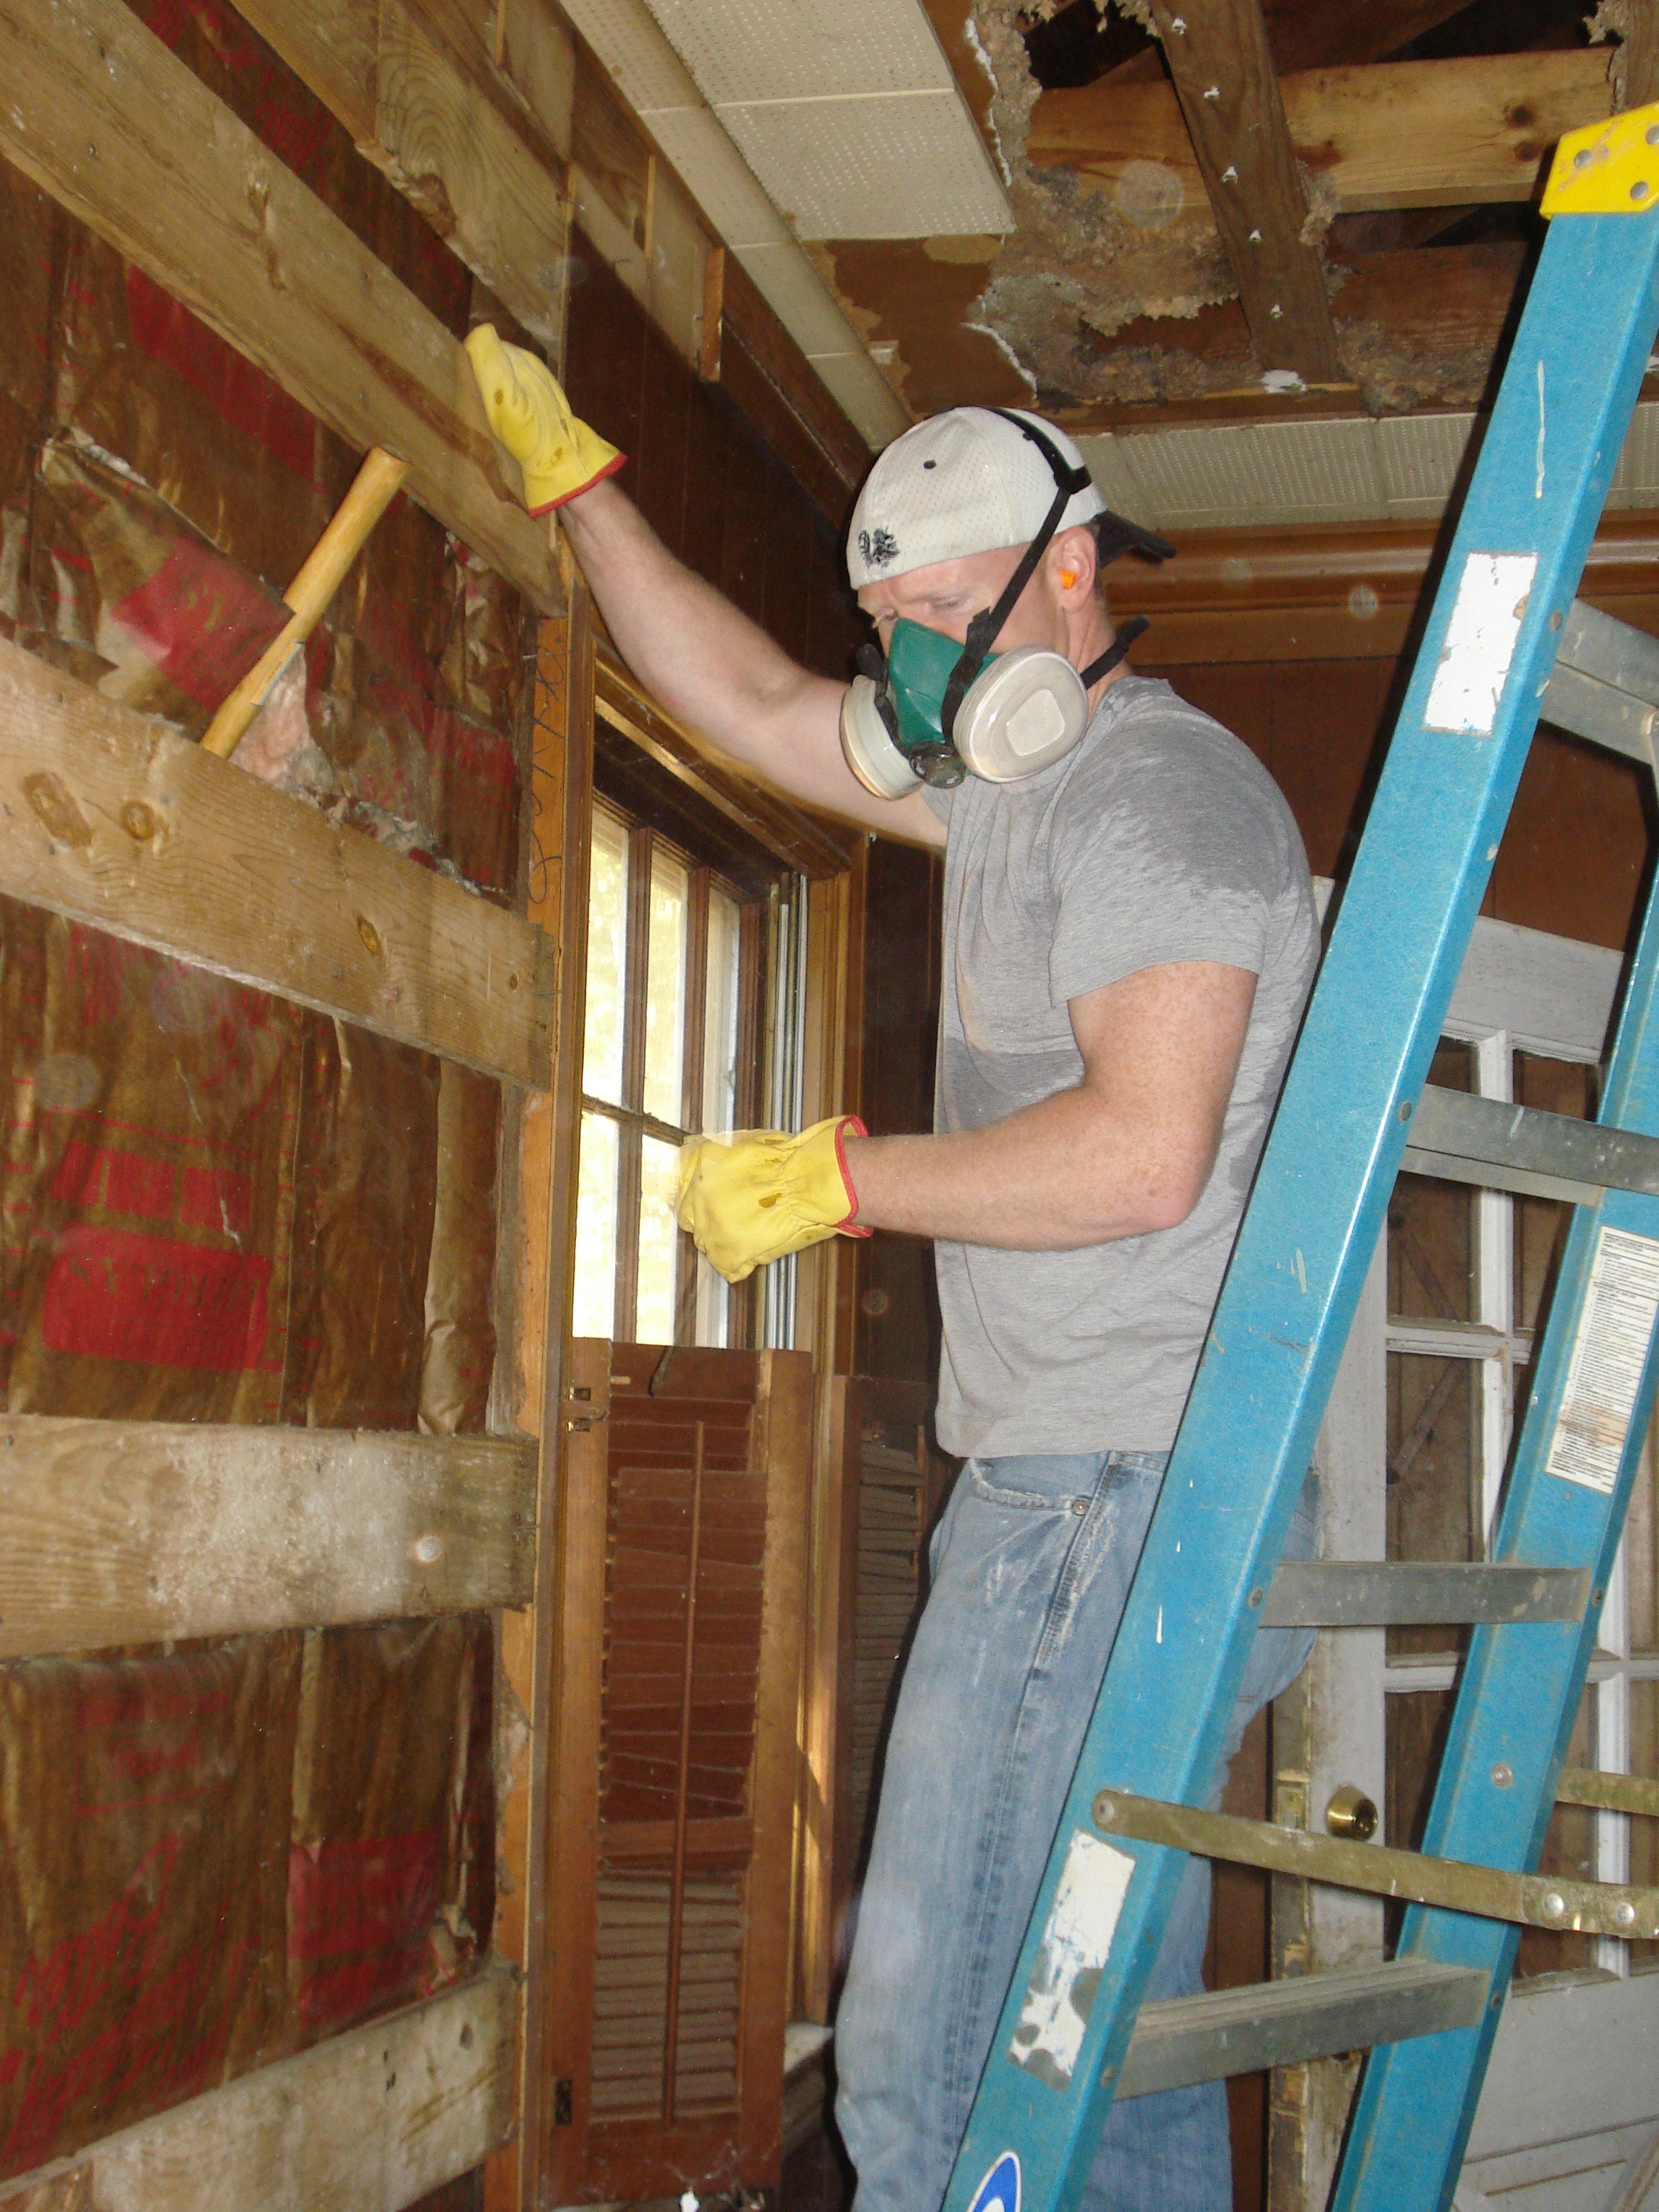
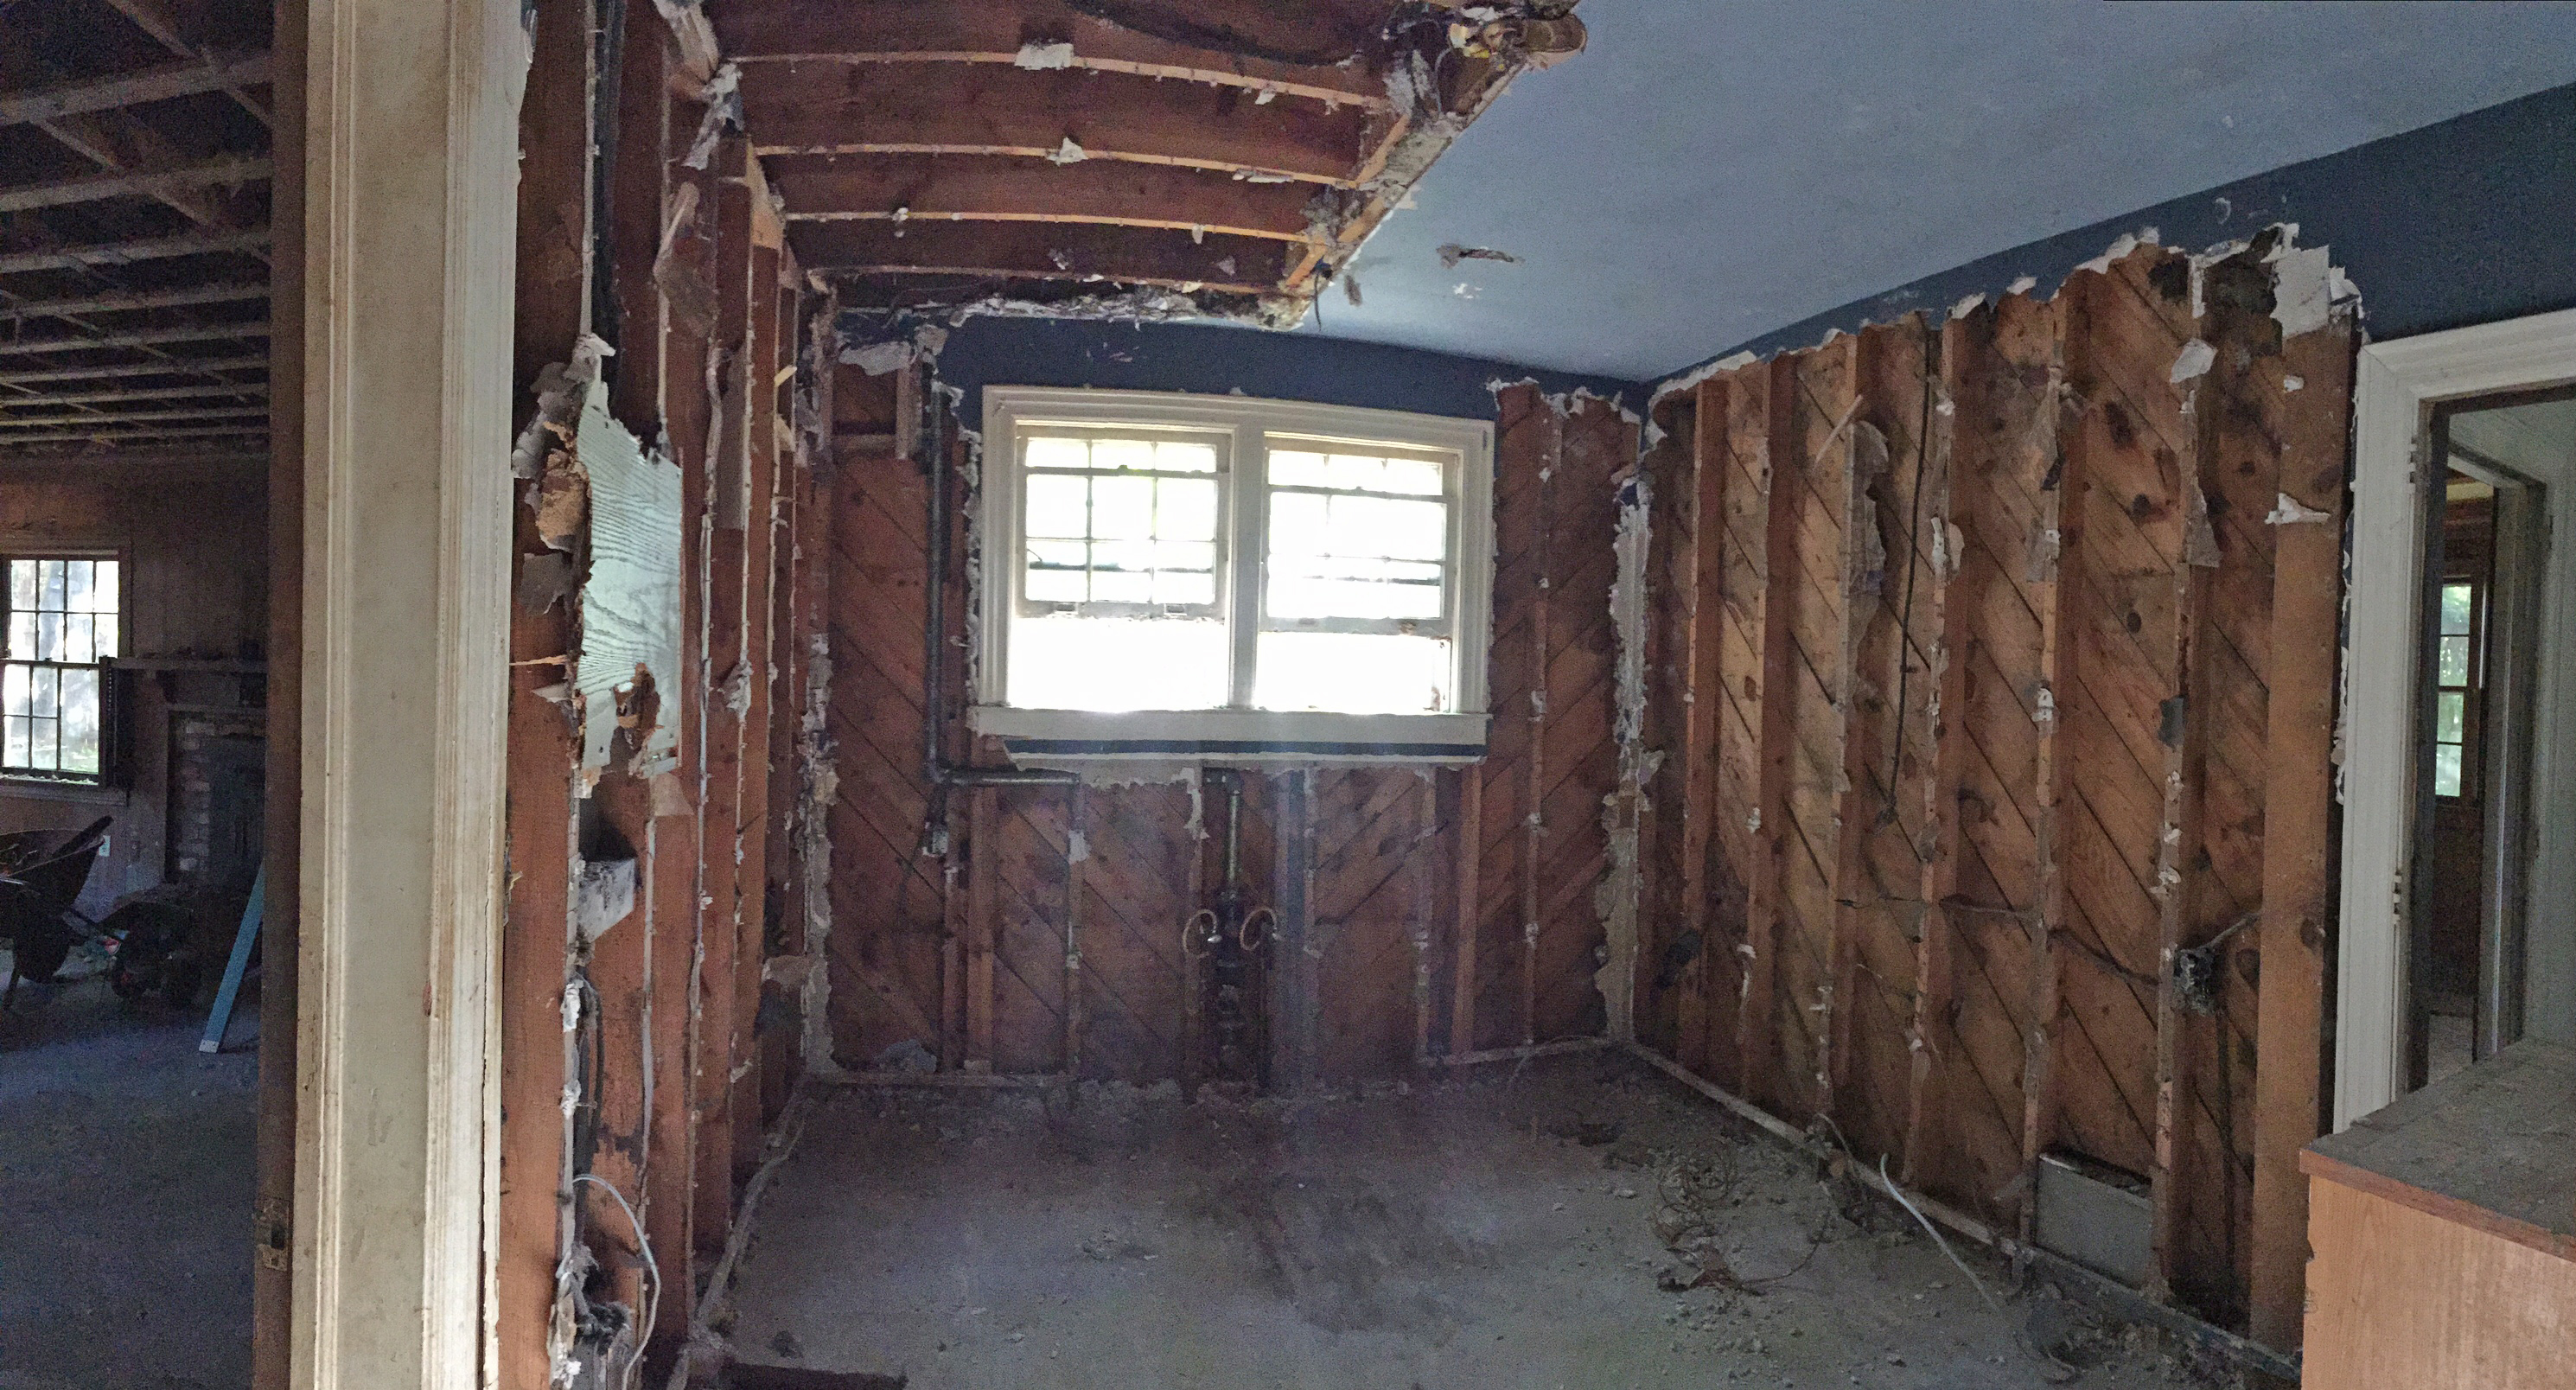
The room we call our office was paneled floor-to-ceiling with the “good stuff,” so in lieu of covering up something so special with paint, we decided we would rather share the Wormy Chestnut with someone who really appreciates it! It took a few tries to discover a method of removing the tongue and groove boards with little damage (because they are so old, they’ve become fairly brittle), but the forester finally landed on a crude-but-effective system of prying each board away from the wall about an inch and then using a saws-all to cut through the nails holding it to the wall. Then his trusty nail puller (me) dutifully pried out the remaining nails.
What will the forester do with his loot? Well, he’s not sure yet, but Matthew and I have a feeling it will be something very special and maybe a little piece of it will make it’s way back to the Nest one day 🙂
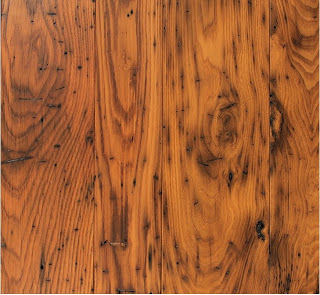
Close-up of the grain and pattern of American Wormy Chestnut.
In case you would like to know more about why Chestnut lumber, especially Wormy Chestnut, is so rare, here’s a little explanation from the Nest’s very first guest blogger:
So… what’s so special about the American chestnut?
Before the turn of the 20th Century, American chestnut was a dominant hardwood tree in the eastern United States occurring mostly in the Appalachians from Maine to Mississippi. Some of the largest trees reached heights almost 100 feet with diameters over 9 feet occurred right here in the Southern Appalachians which occupied 25 to 40 percent of the lower cove forests. Large crops of its sweet nut were enjoyed by humans and were a major contributor to wildlife forage.
Unfortunately, an Asian chestnut tree imported to the U.S. around 1900 carried a bark fungus commonly called the chestnut blight. The American chestnut had little resistance and the blight virtually girdles the tree killing it. By the 1930s, an estimated 3 billion trees had died.
The wood is somewhat rot resistant and many trees lay on the forest floor for years before being salvaged, hence the “wormy” effect of the lumber where insects bored throughout the tree; a.k.a. wormy chestnut.
The wood was strong, light, and was widely used for construction, furniture, and decorative trim. It has a true brown patina – not too light, not too dark… just right to warm a room – chestnut! My favorite is a room paneled with variable width boards that have been left to age to its natural brown patina.
Small shoots of American chestnut are still living throughout the Appalachians, but are soon attacked by the chestnut blight before reaching a few feet tall. Hybrids are being developed to resist the blight. One live chestnut hybrid in the Clemson area is almost 18 inches in diameter and about 60 feet tall – there is still hope!
So, what really is so special – it is a relic of a once great tree important to the forest, and… well… I just like it!
Richard Harper
Professional Forester, Retired
There you have it, folks! Straight from the Forester’s mouth.
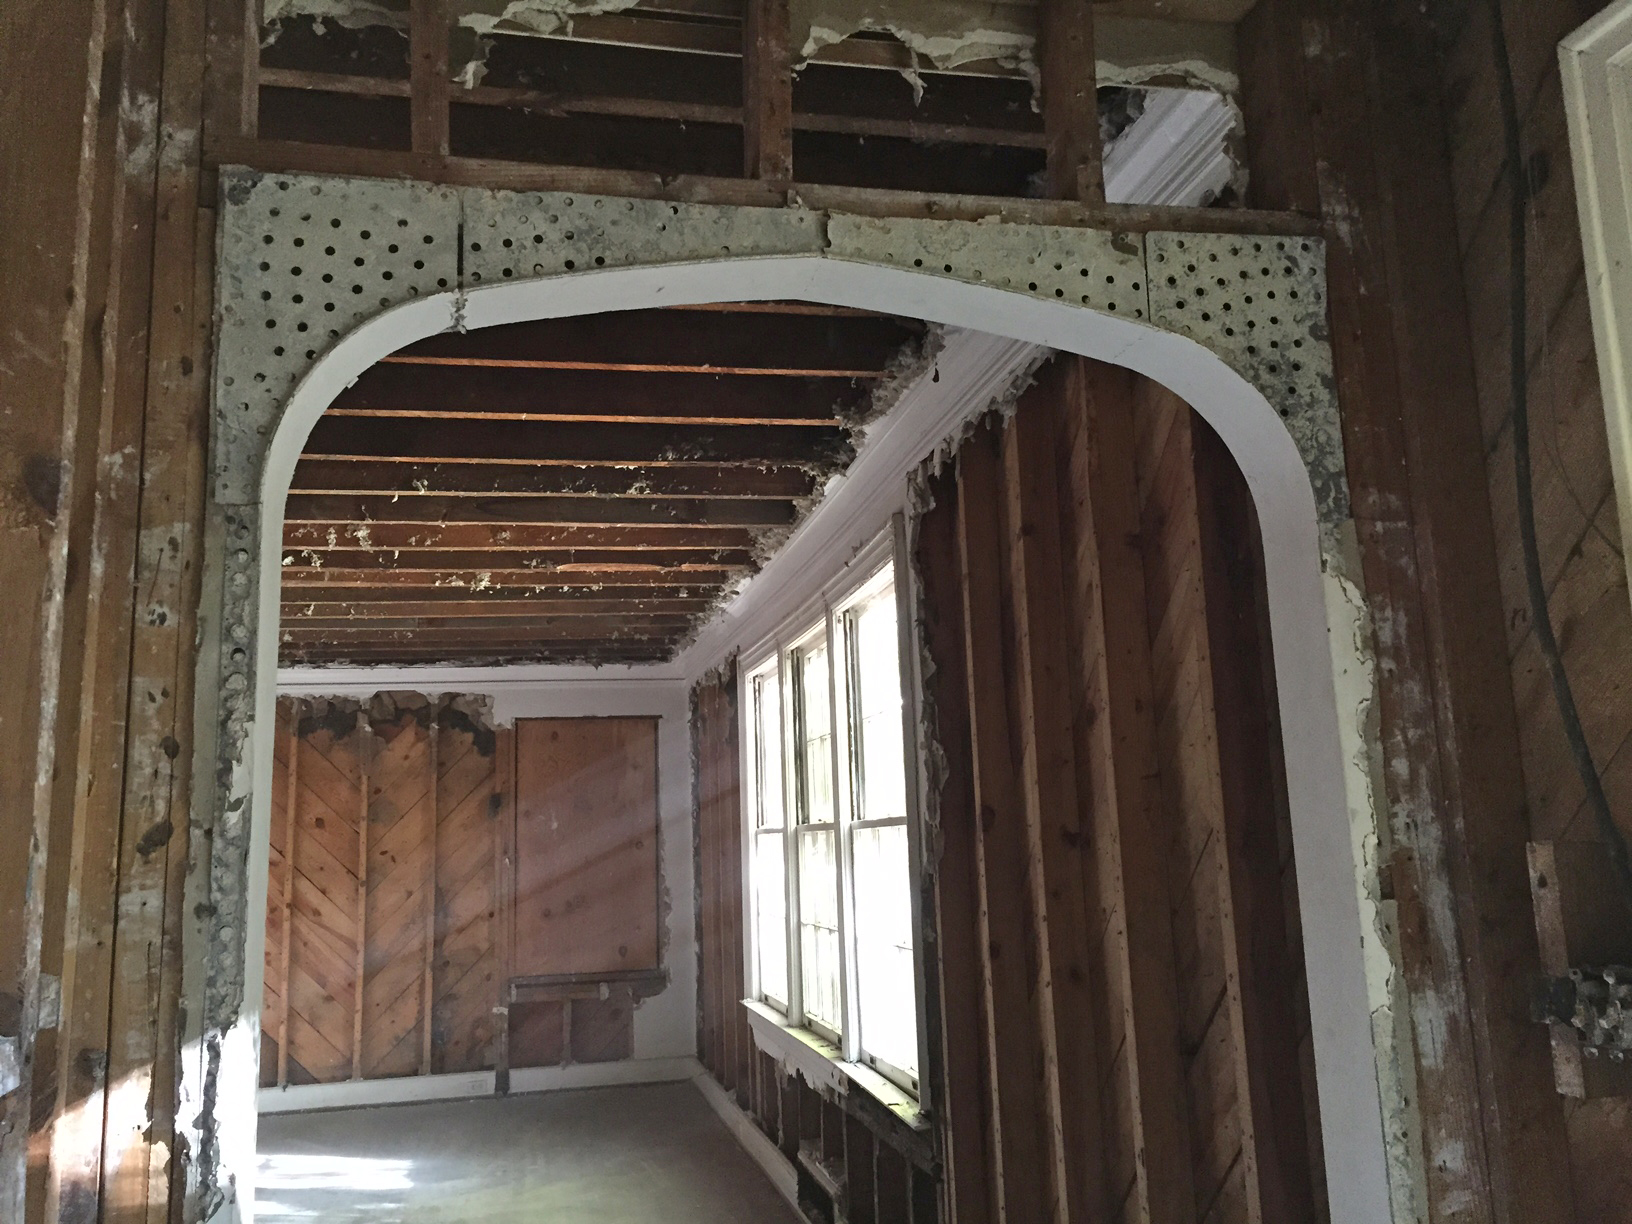
Here are a few photos of the removal process:
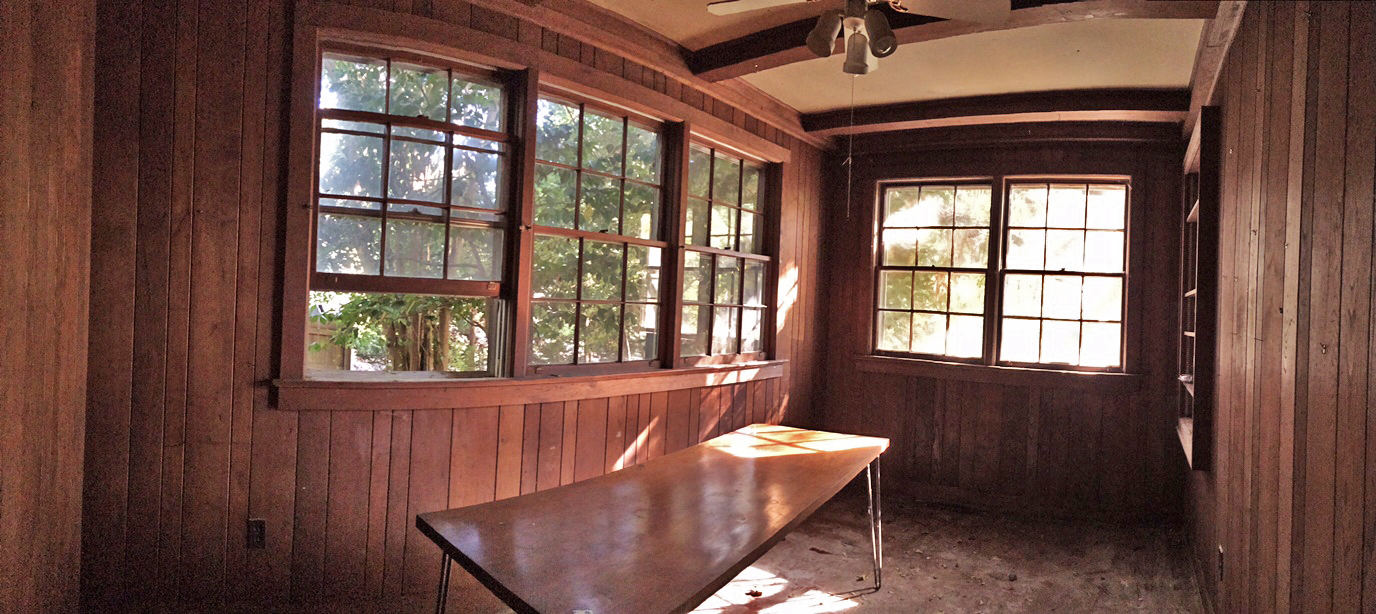
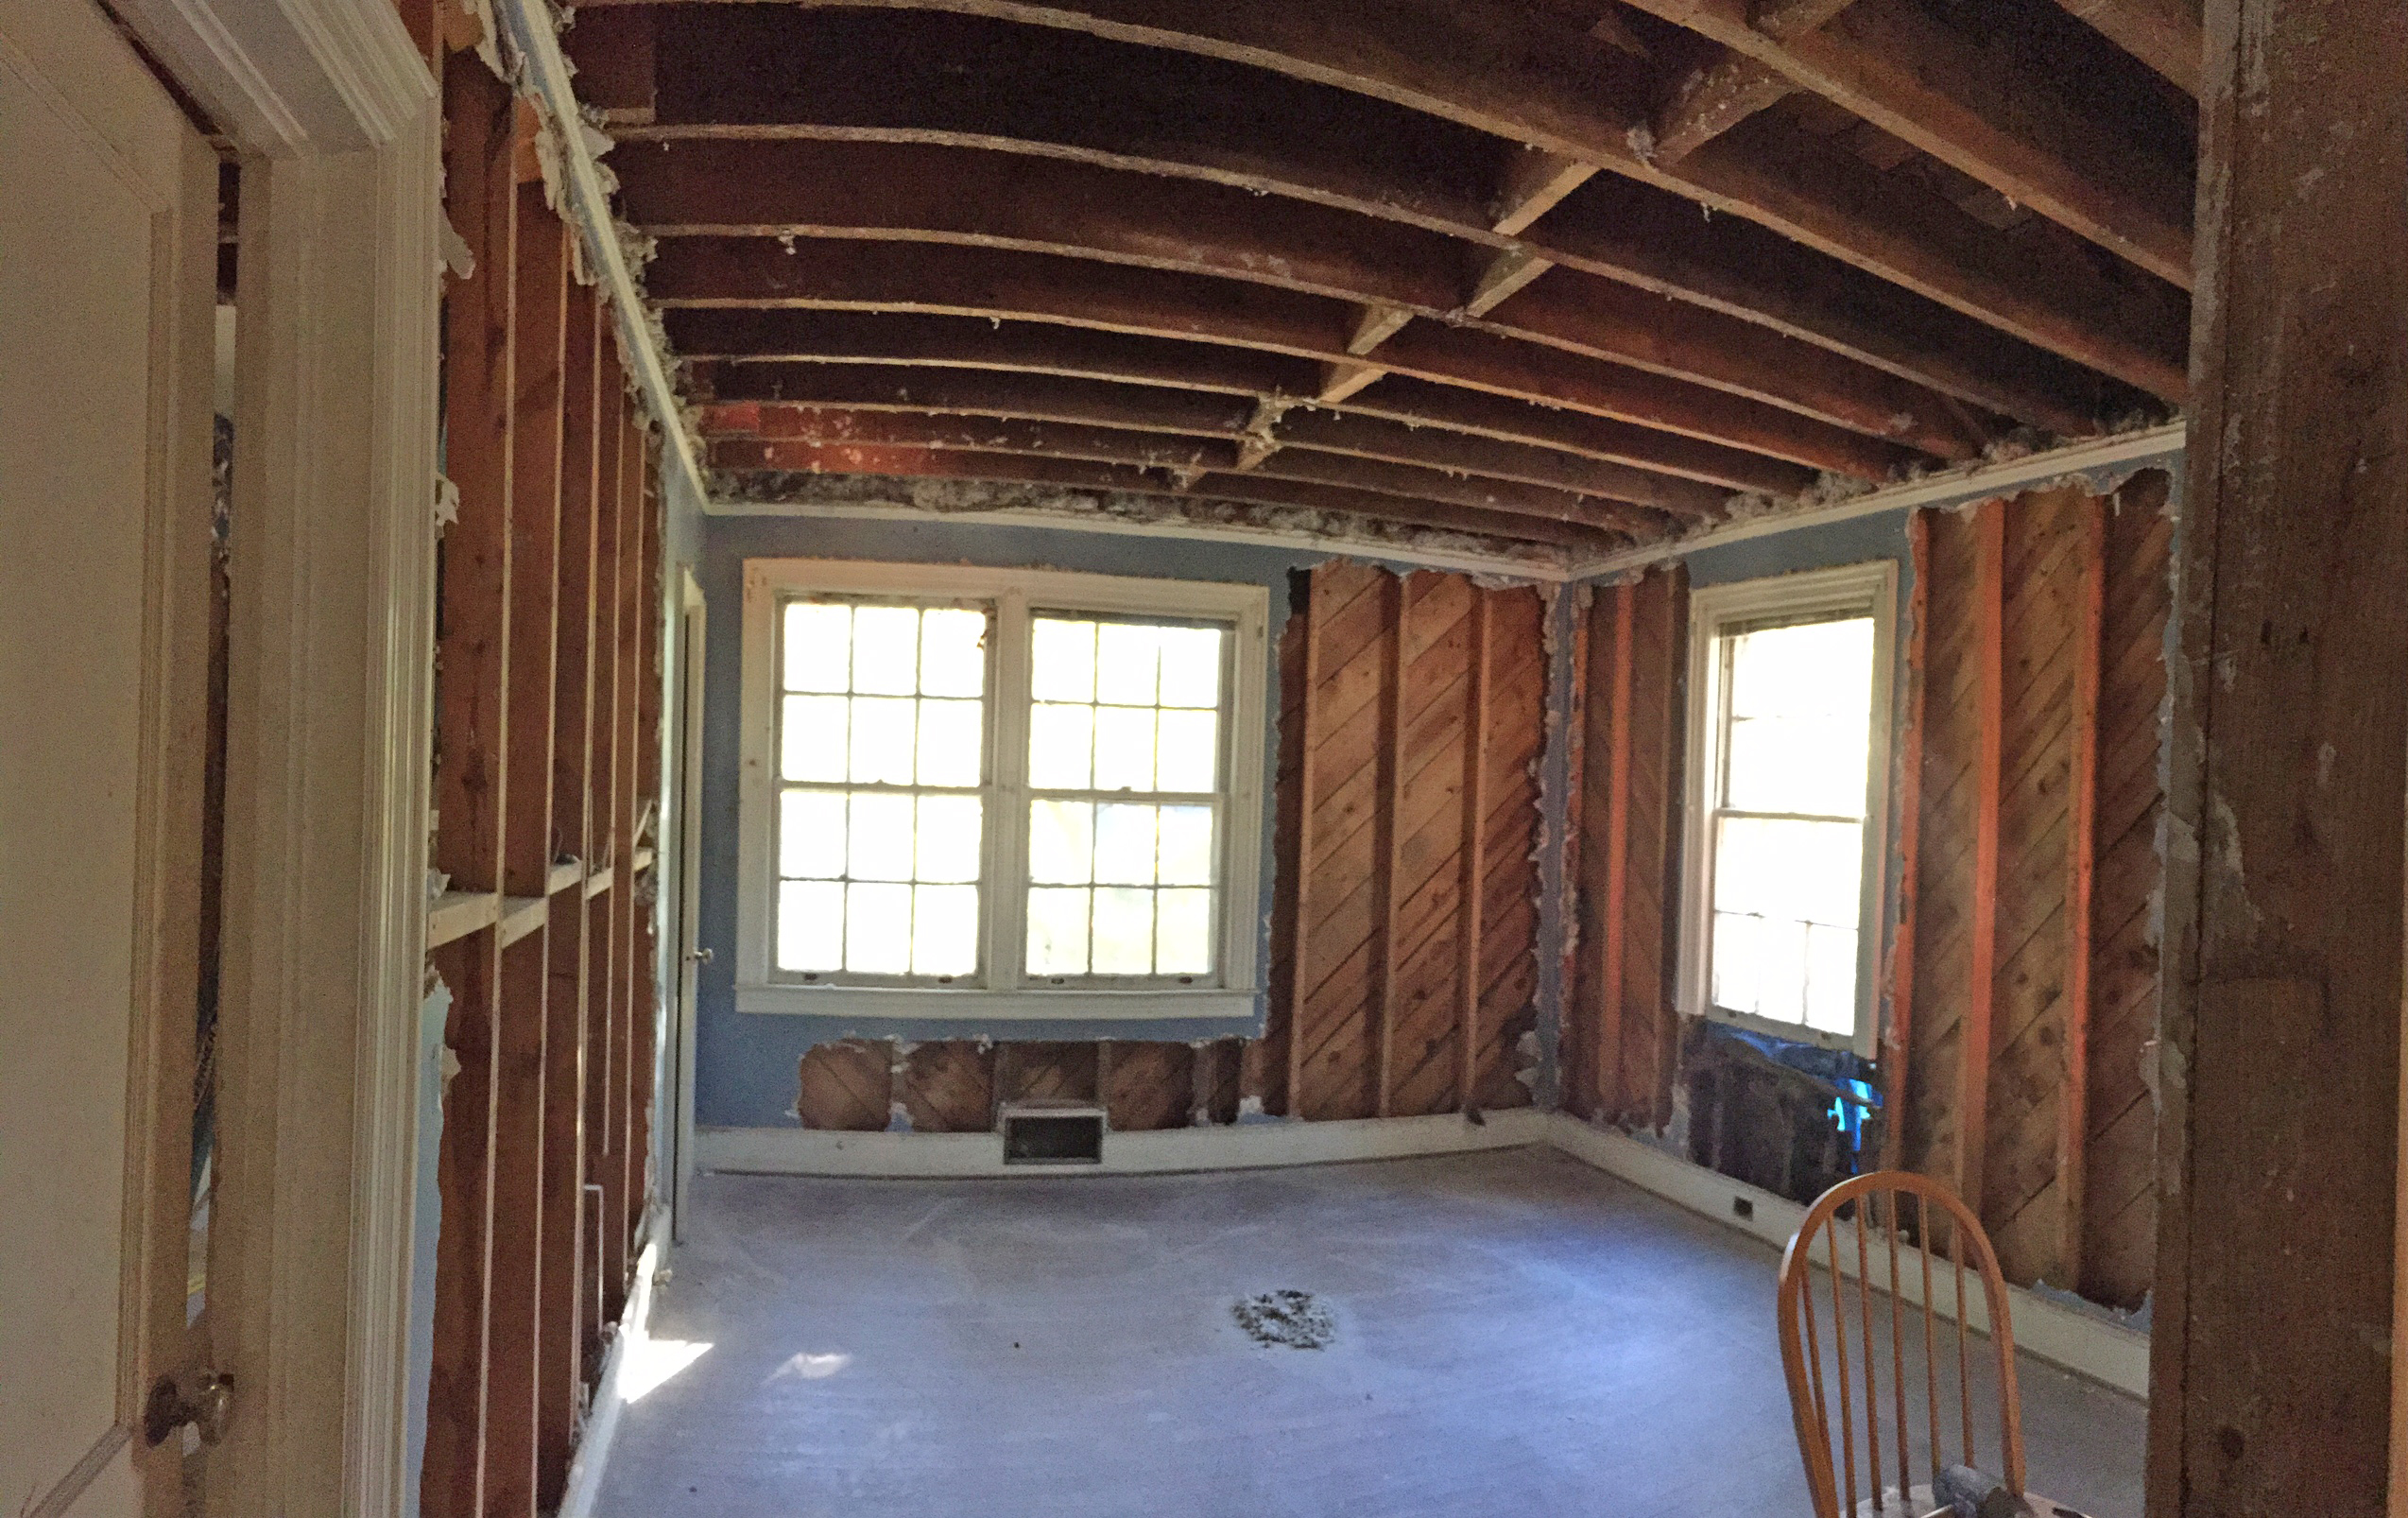
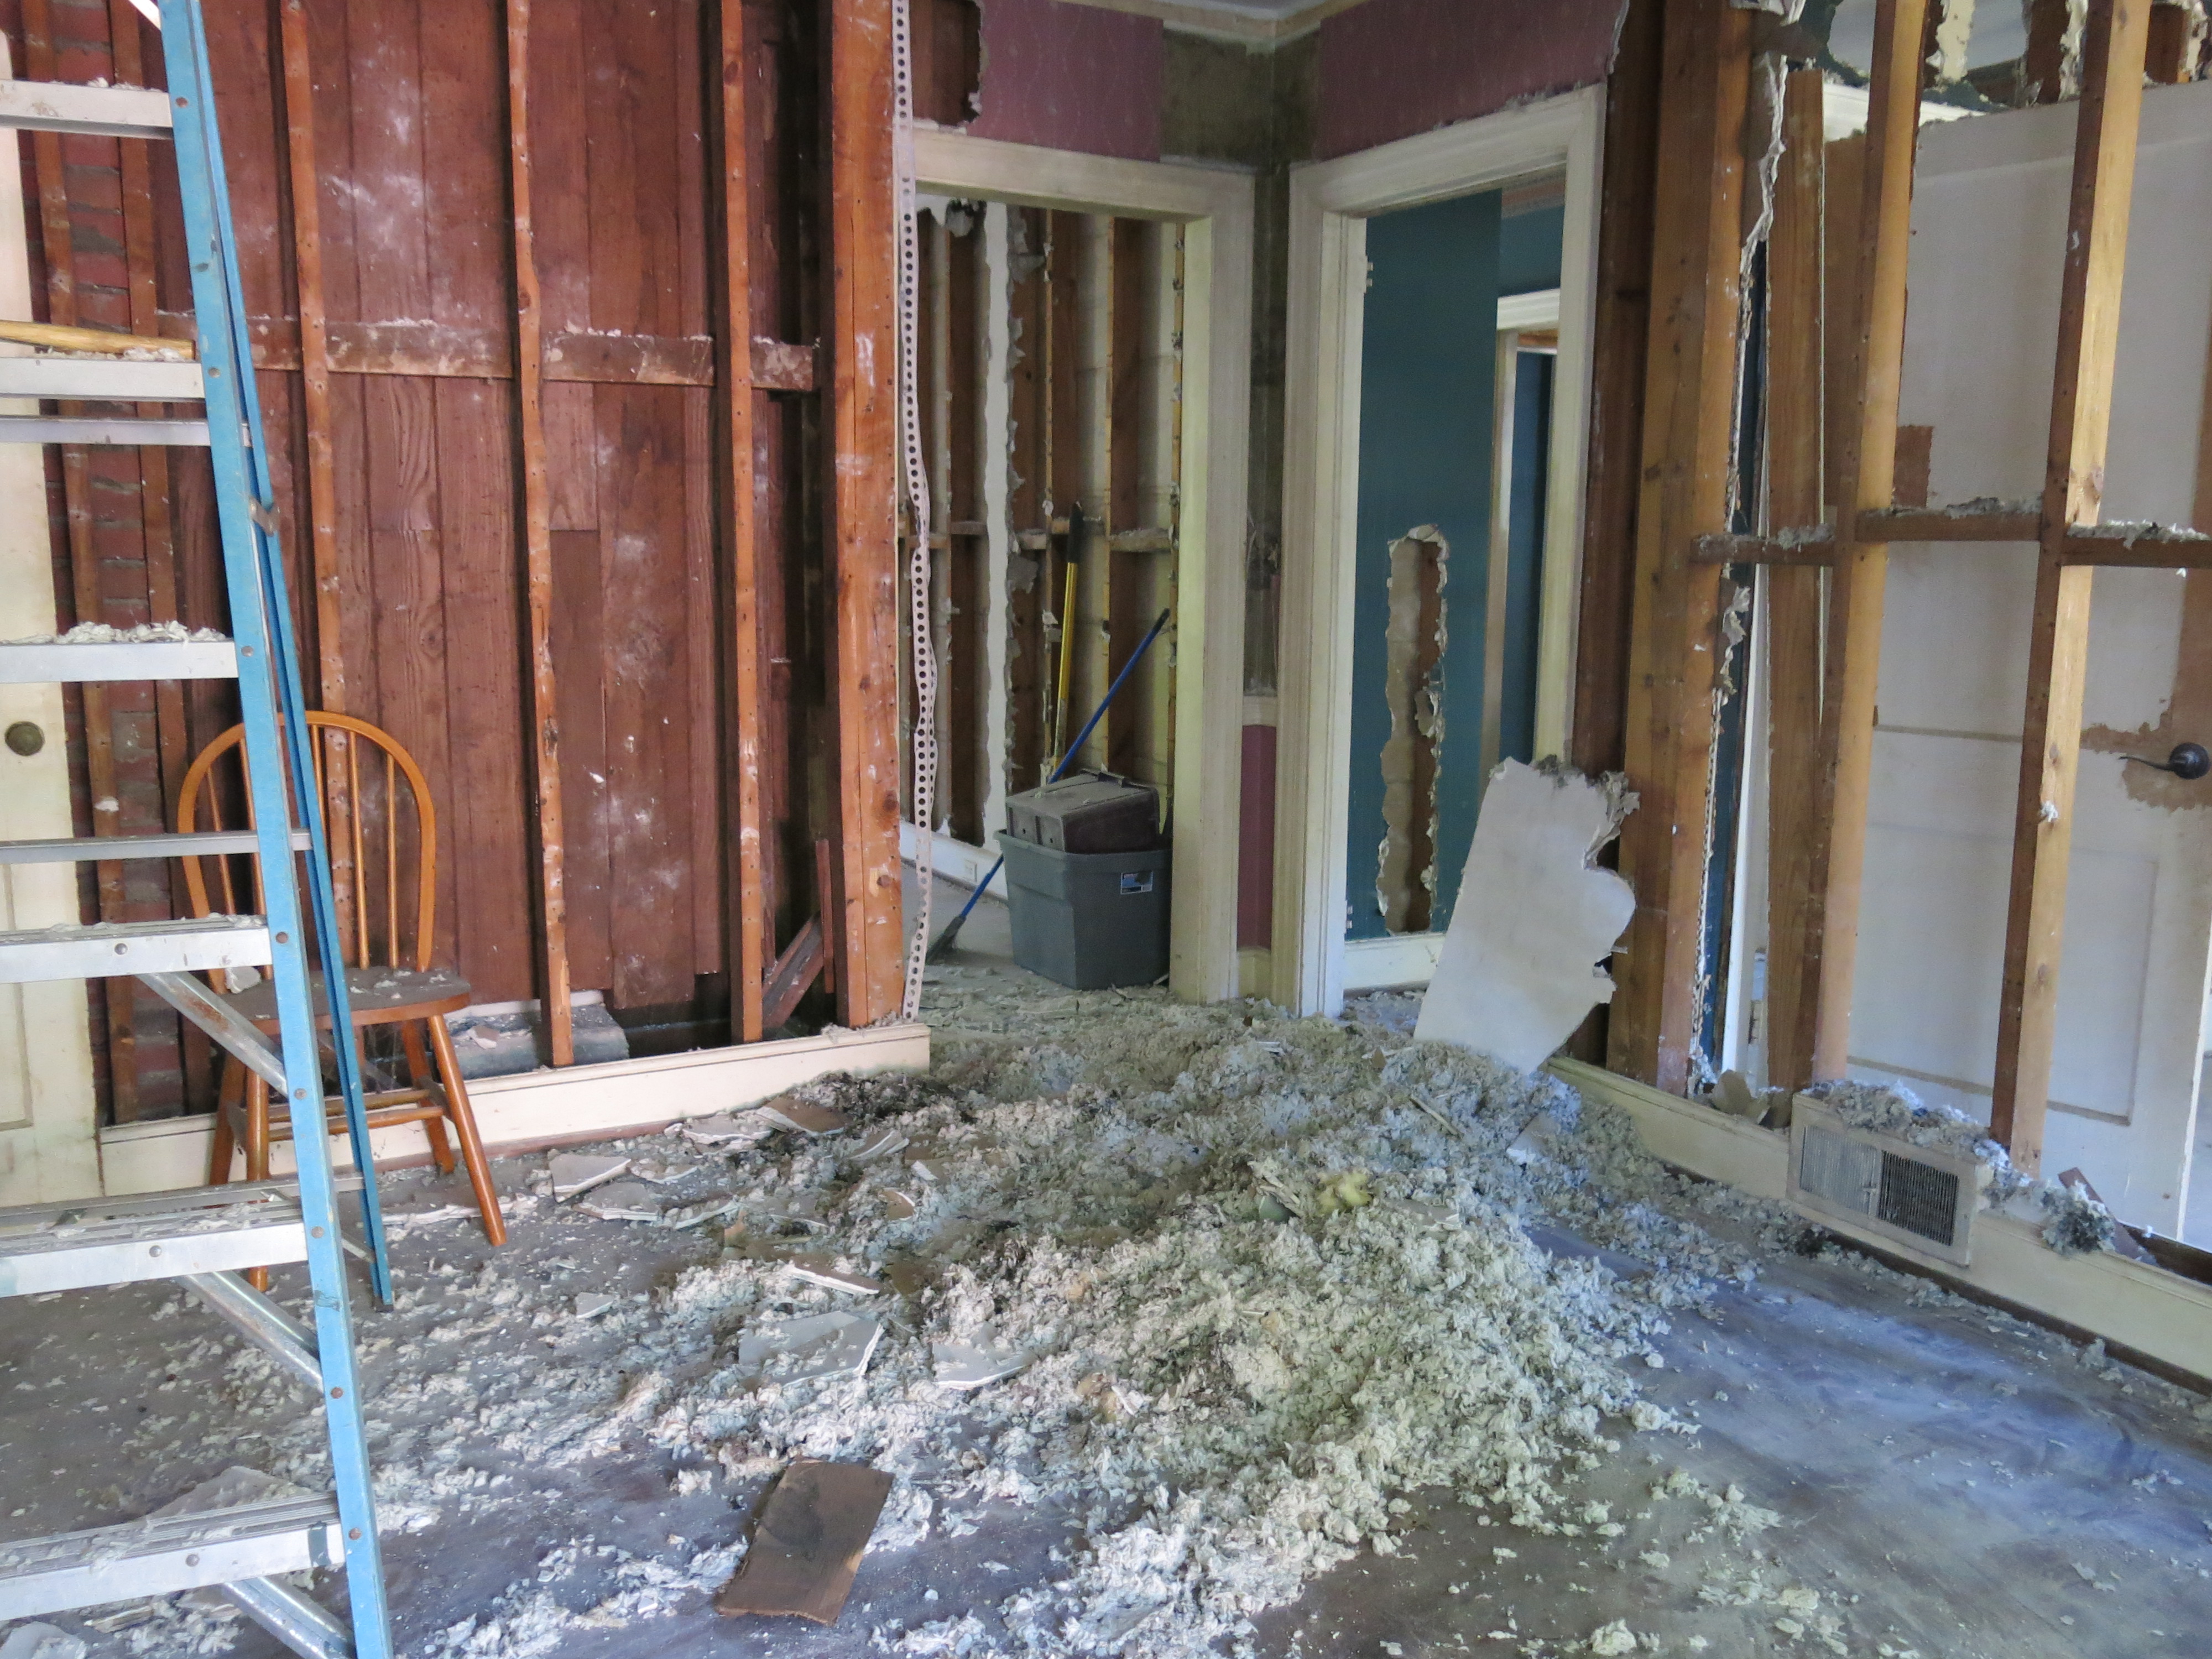
A “before” picture of the Wormy Chestnut walls.
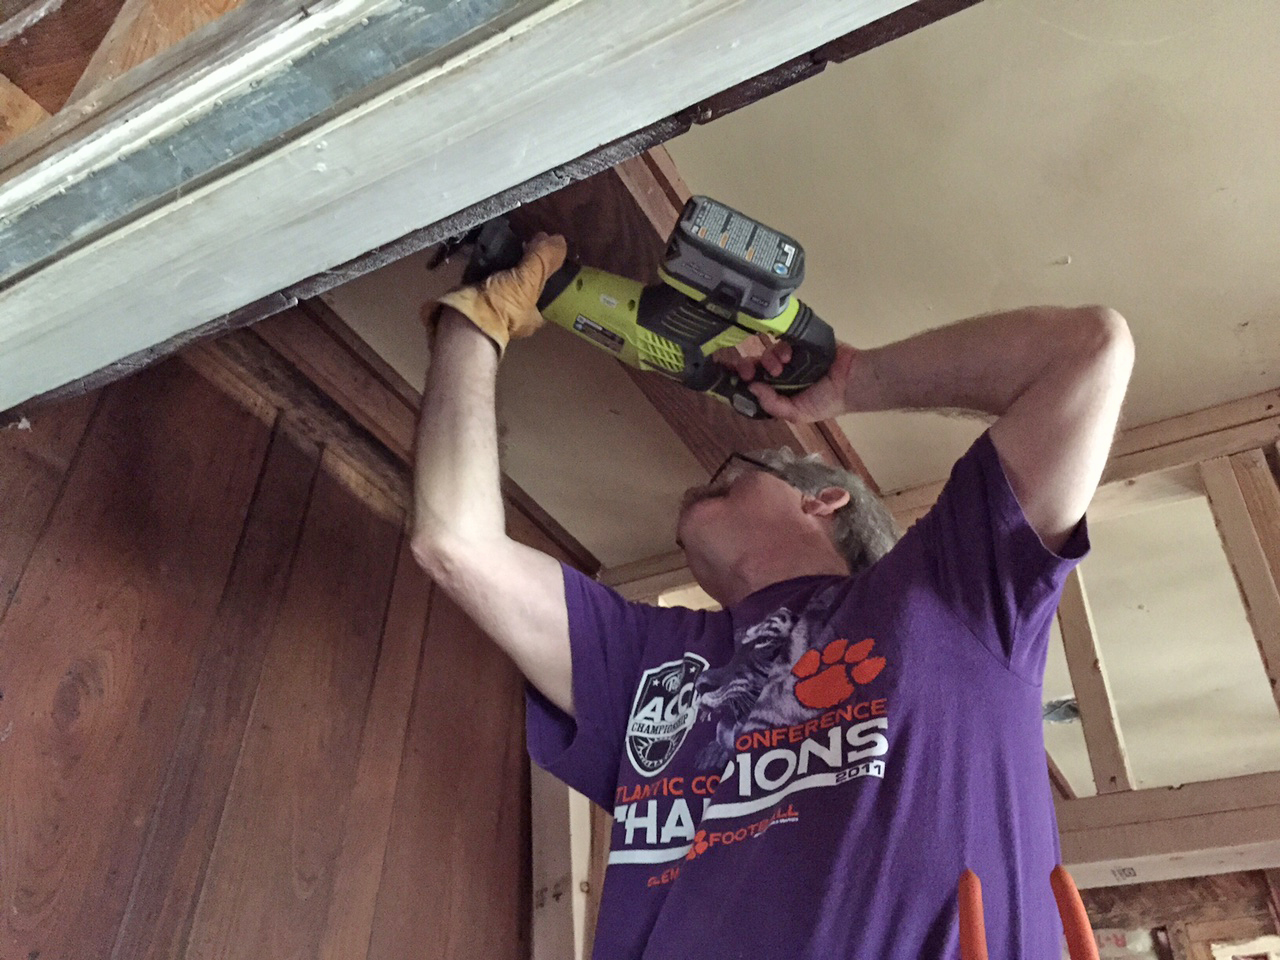
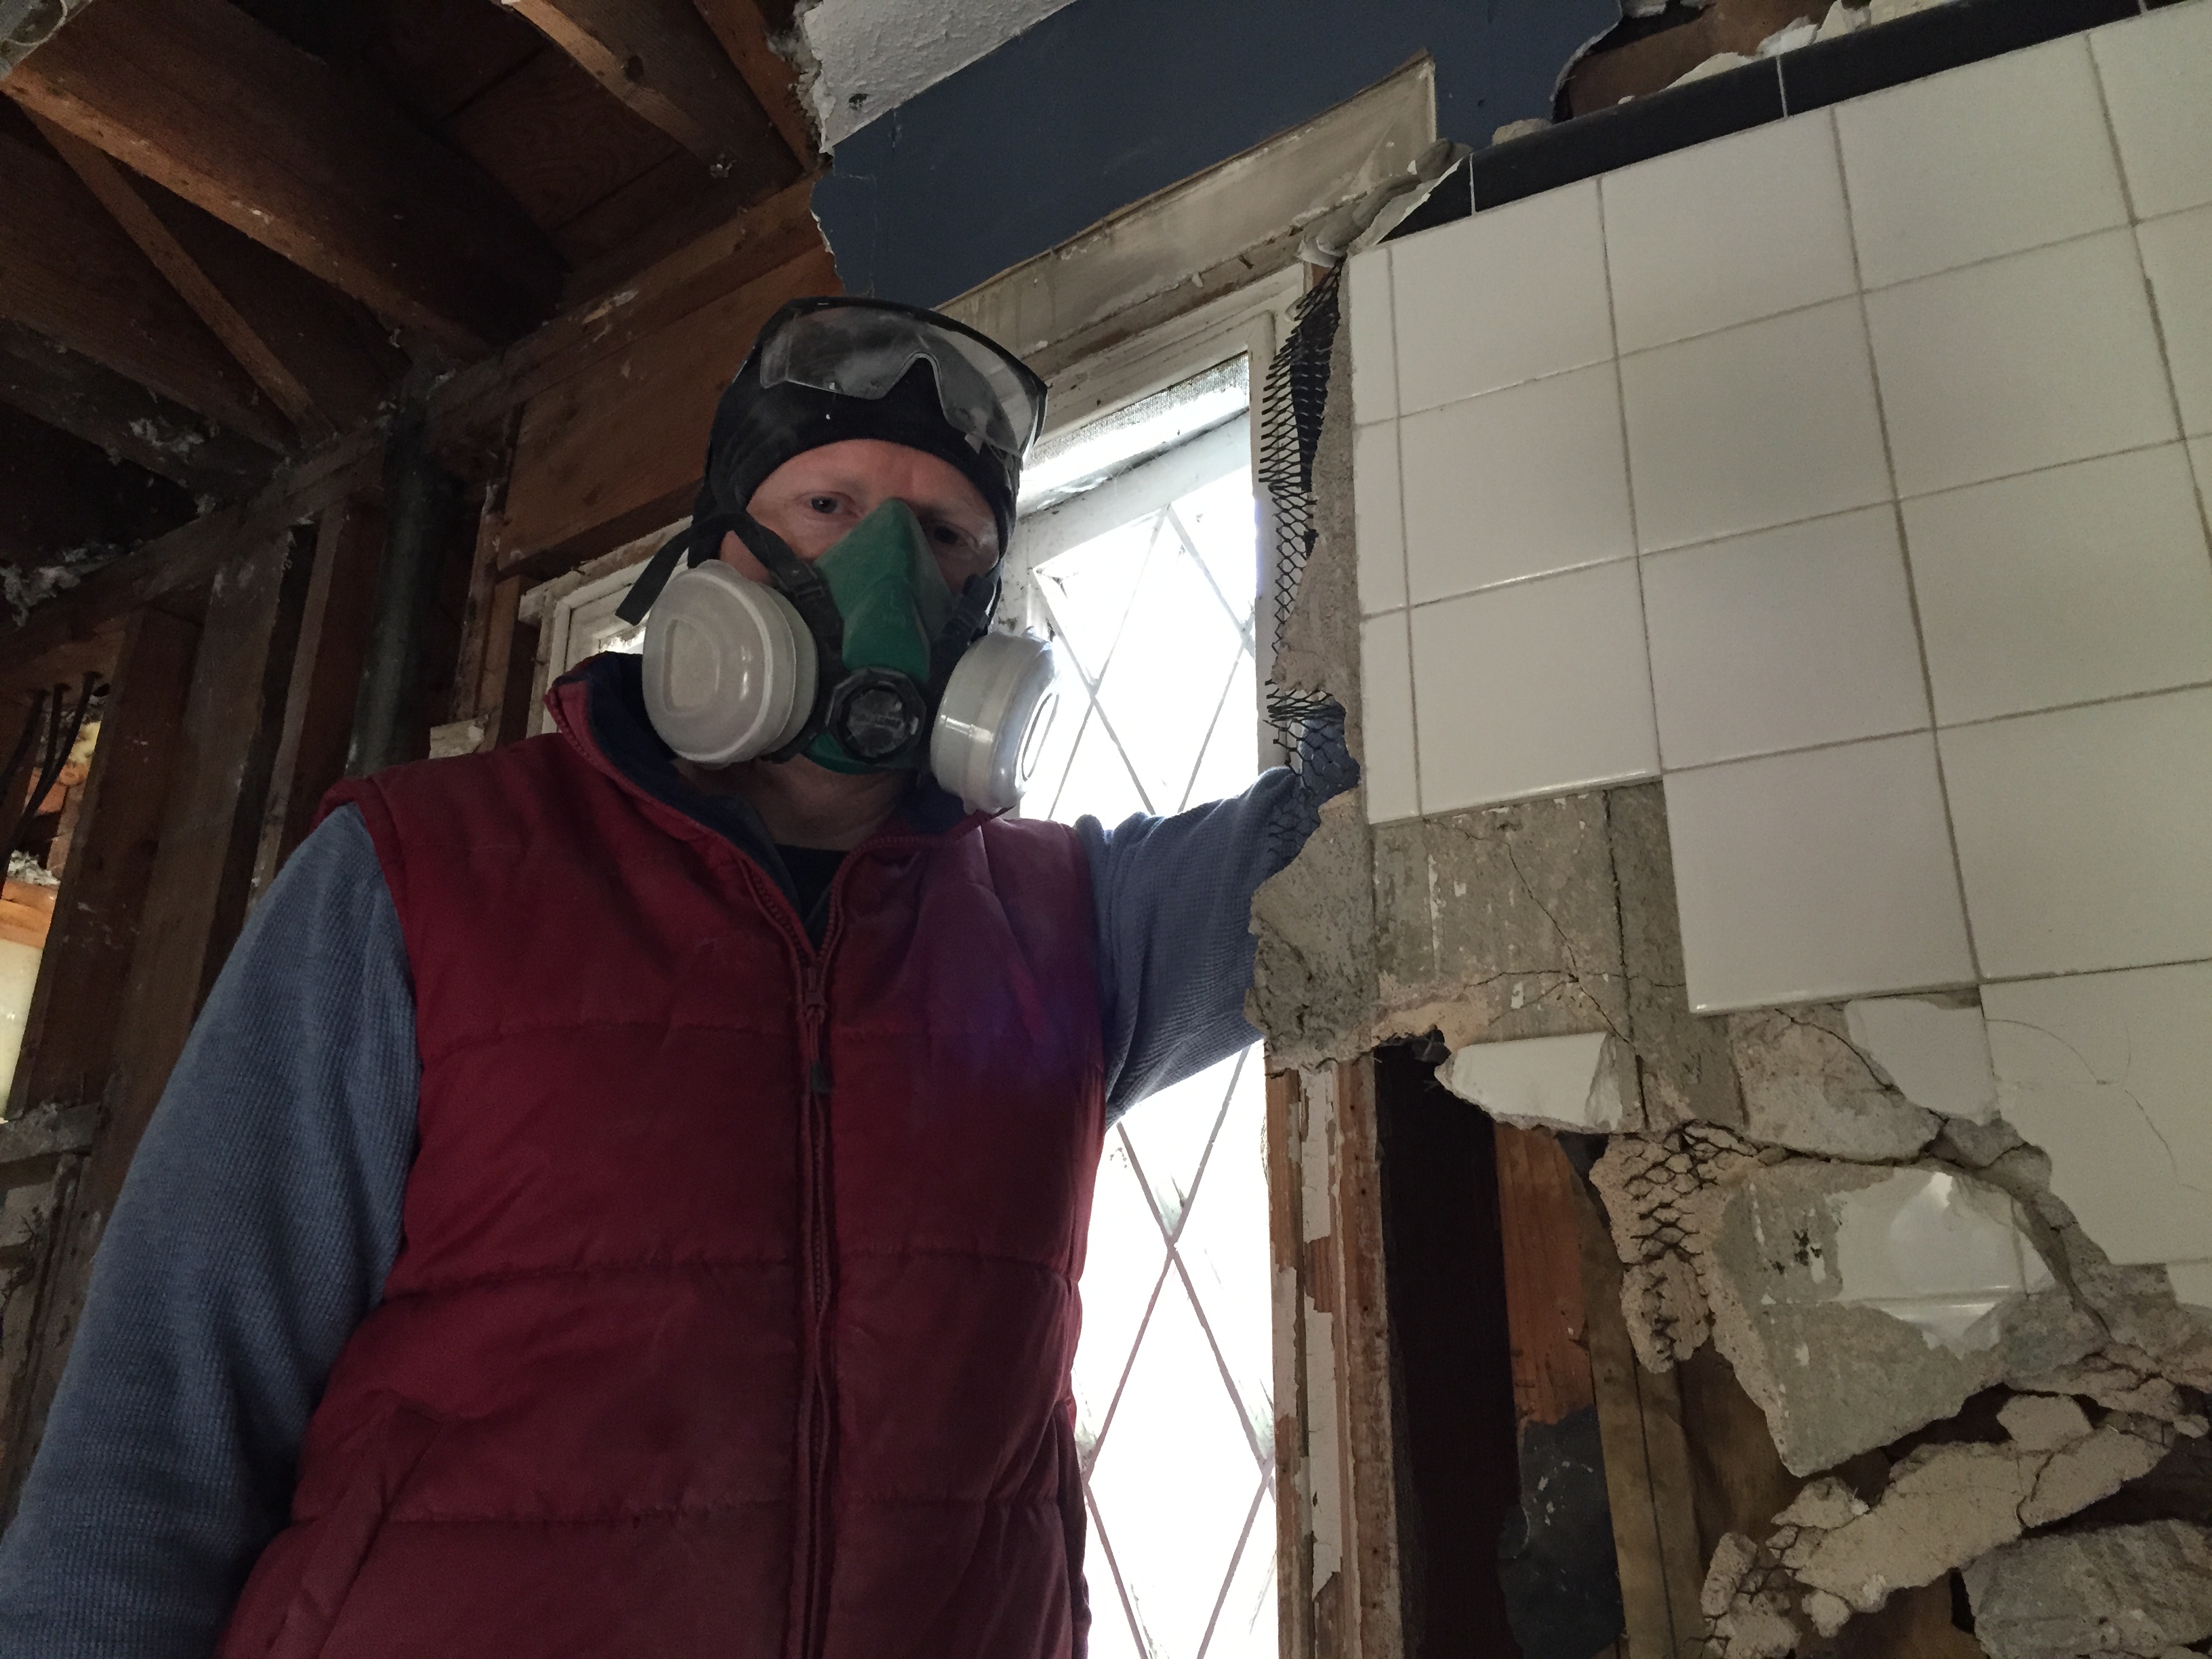
Getting started!

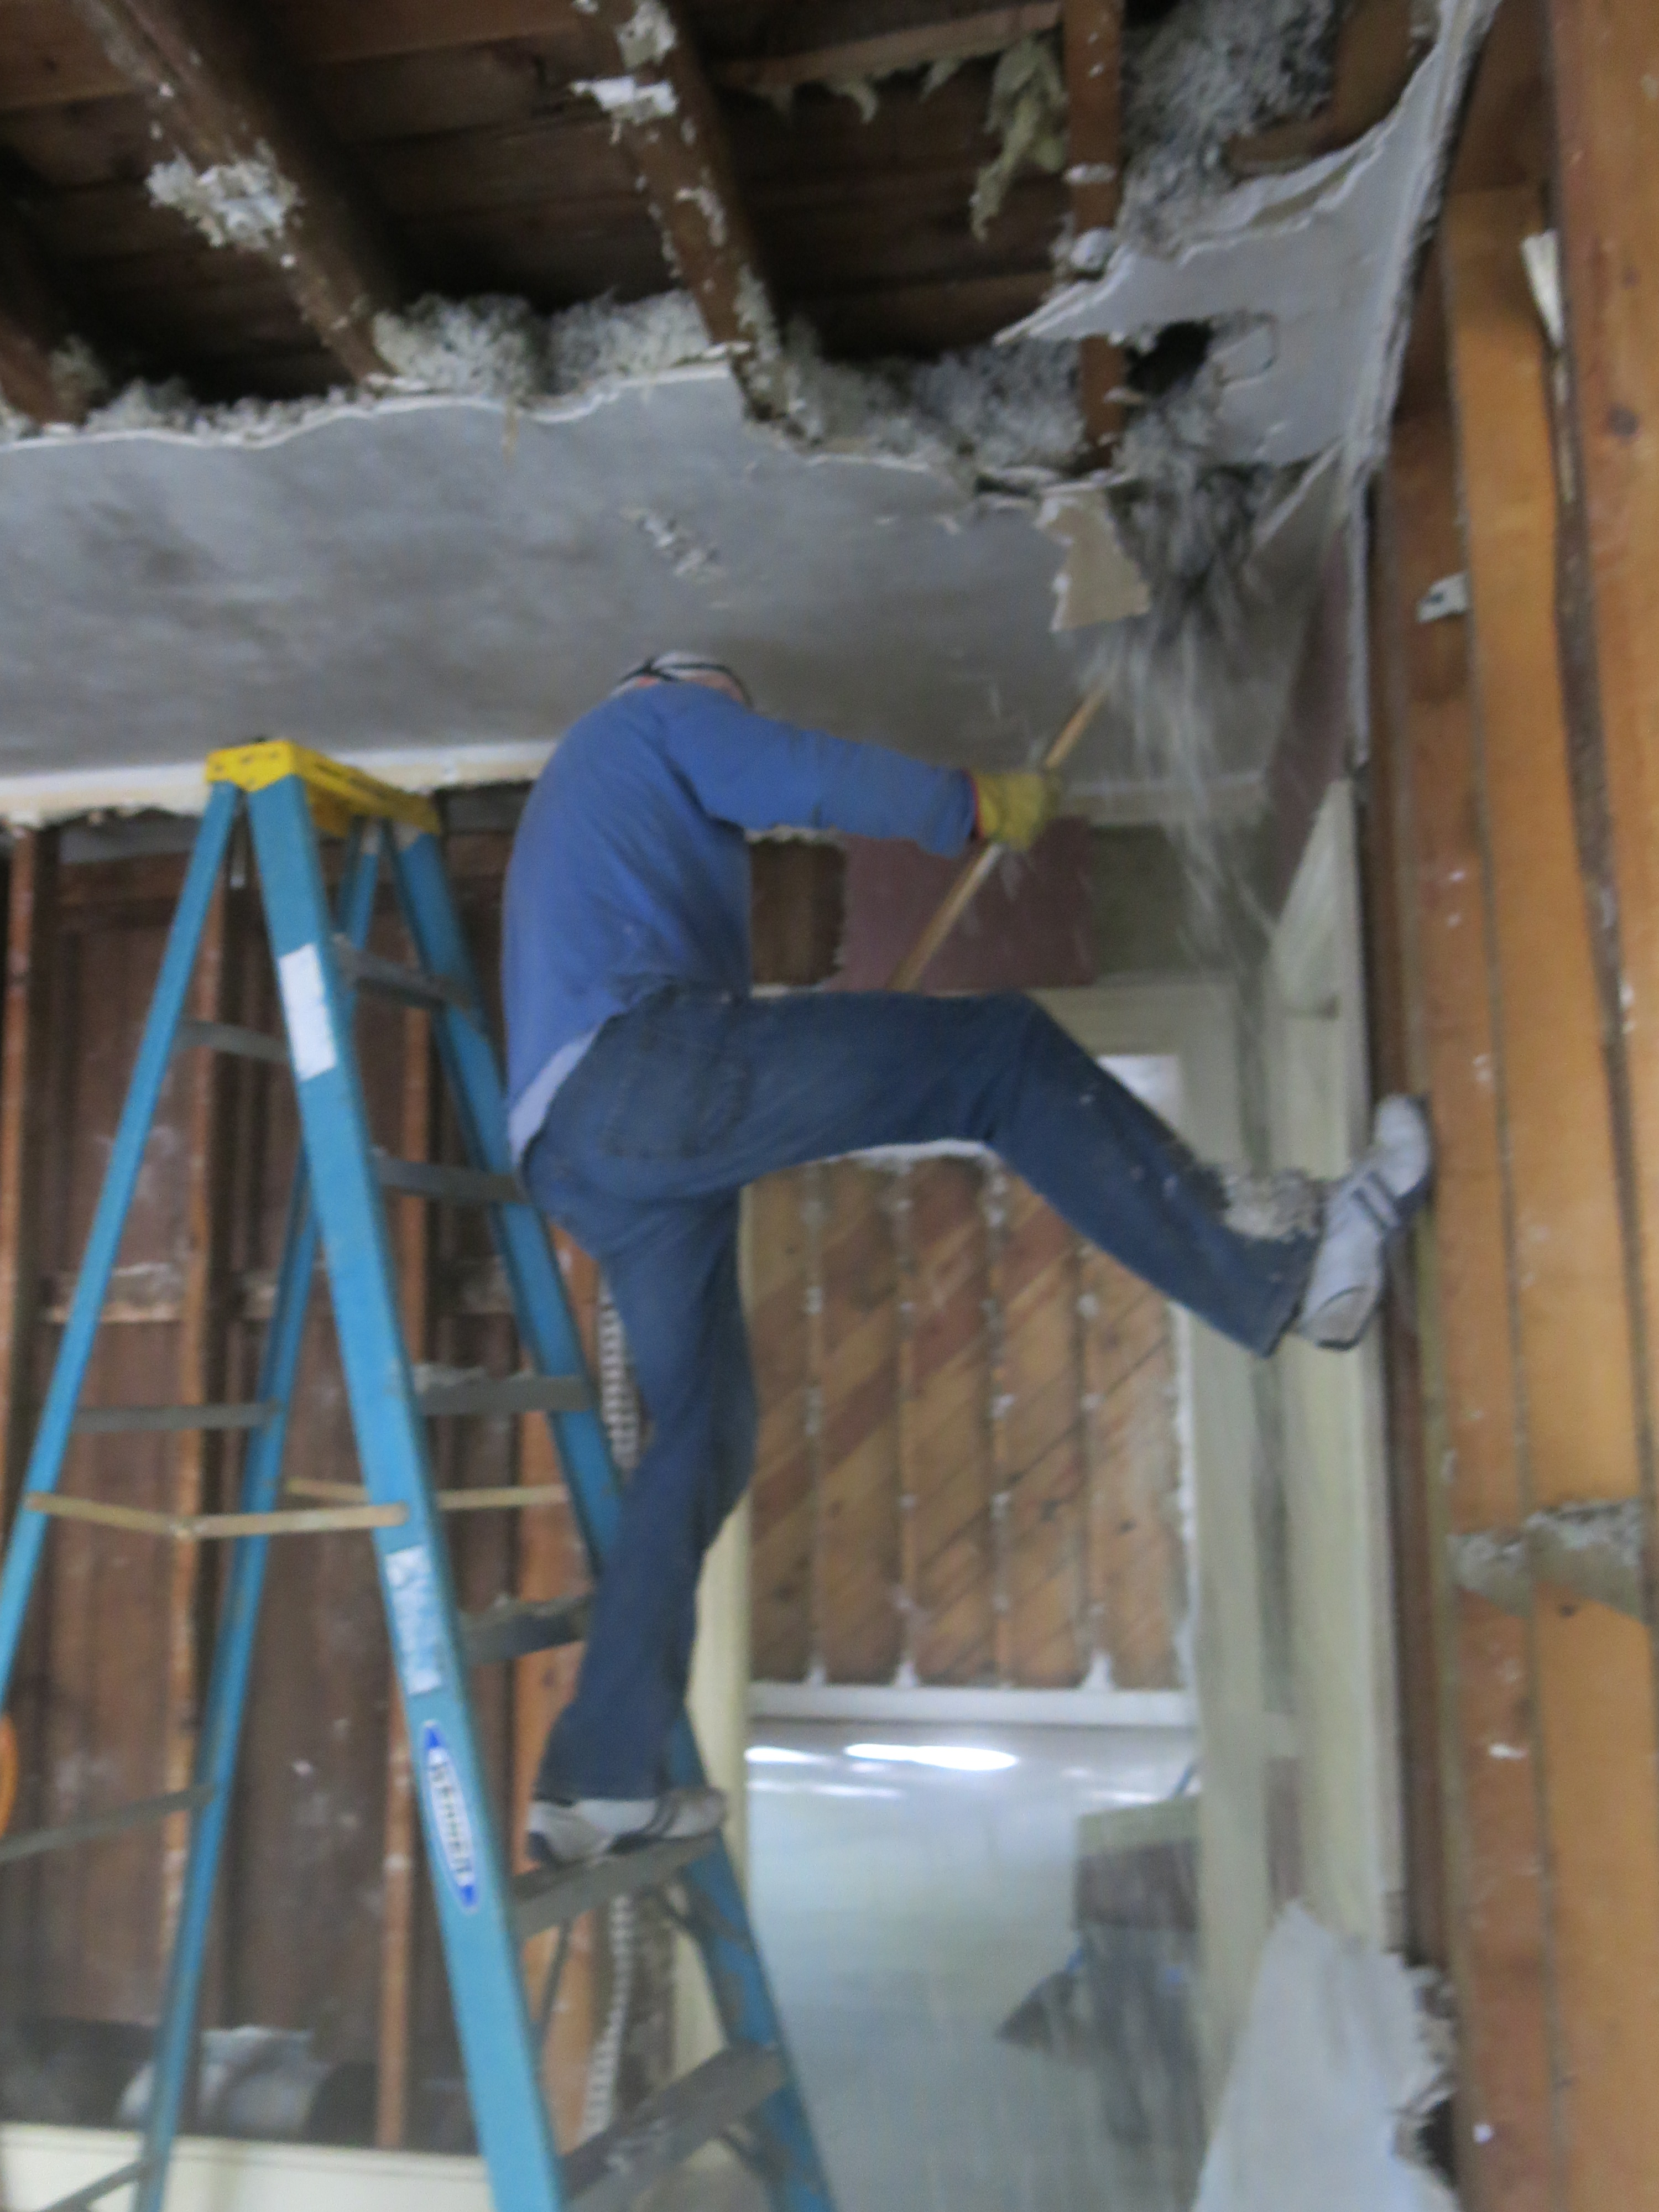
Saws-alling with a smile! 🙂
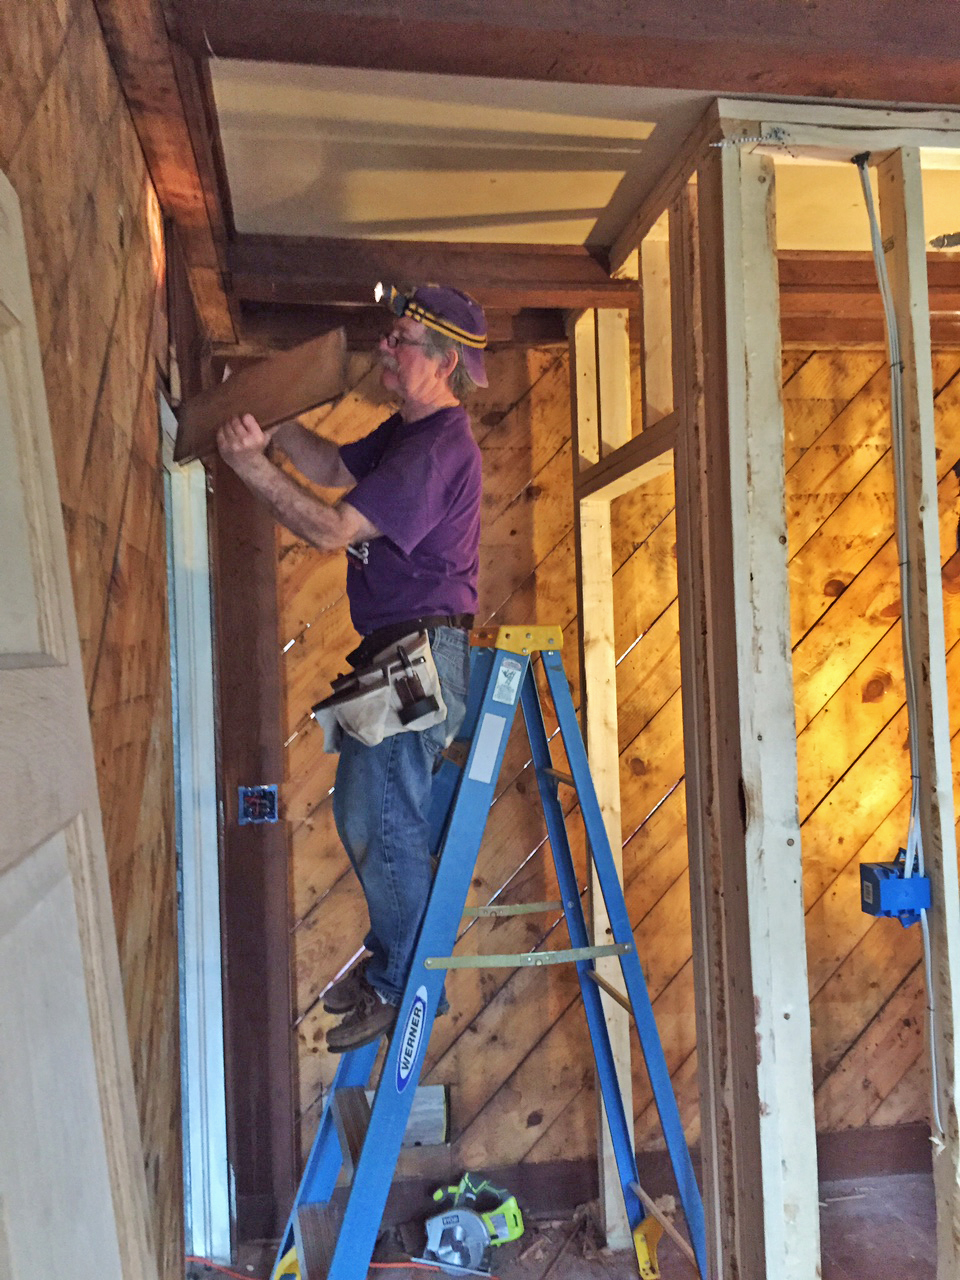
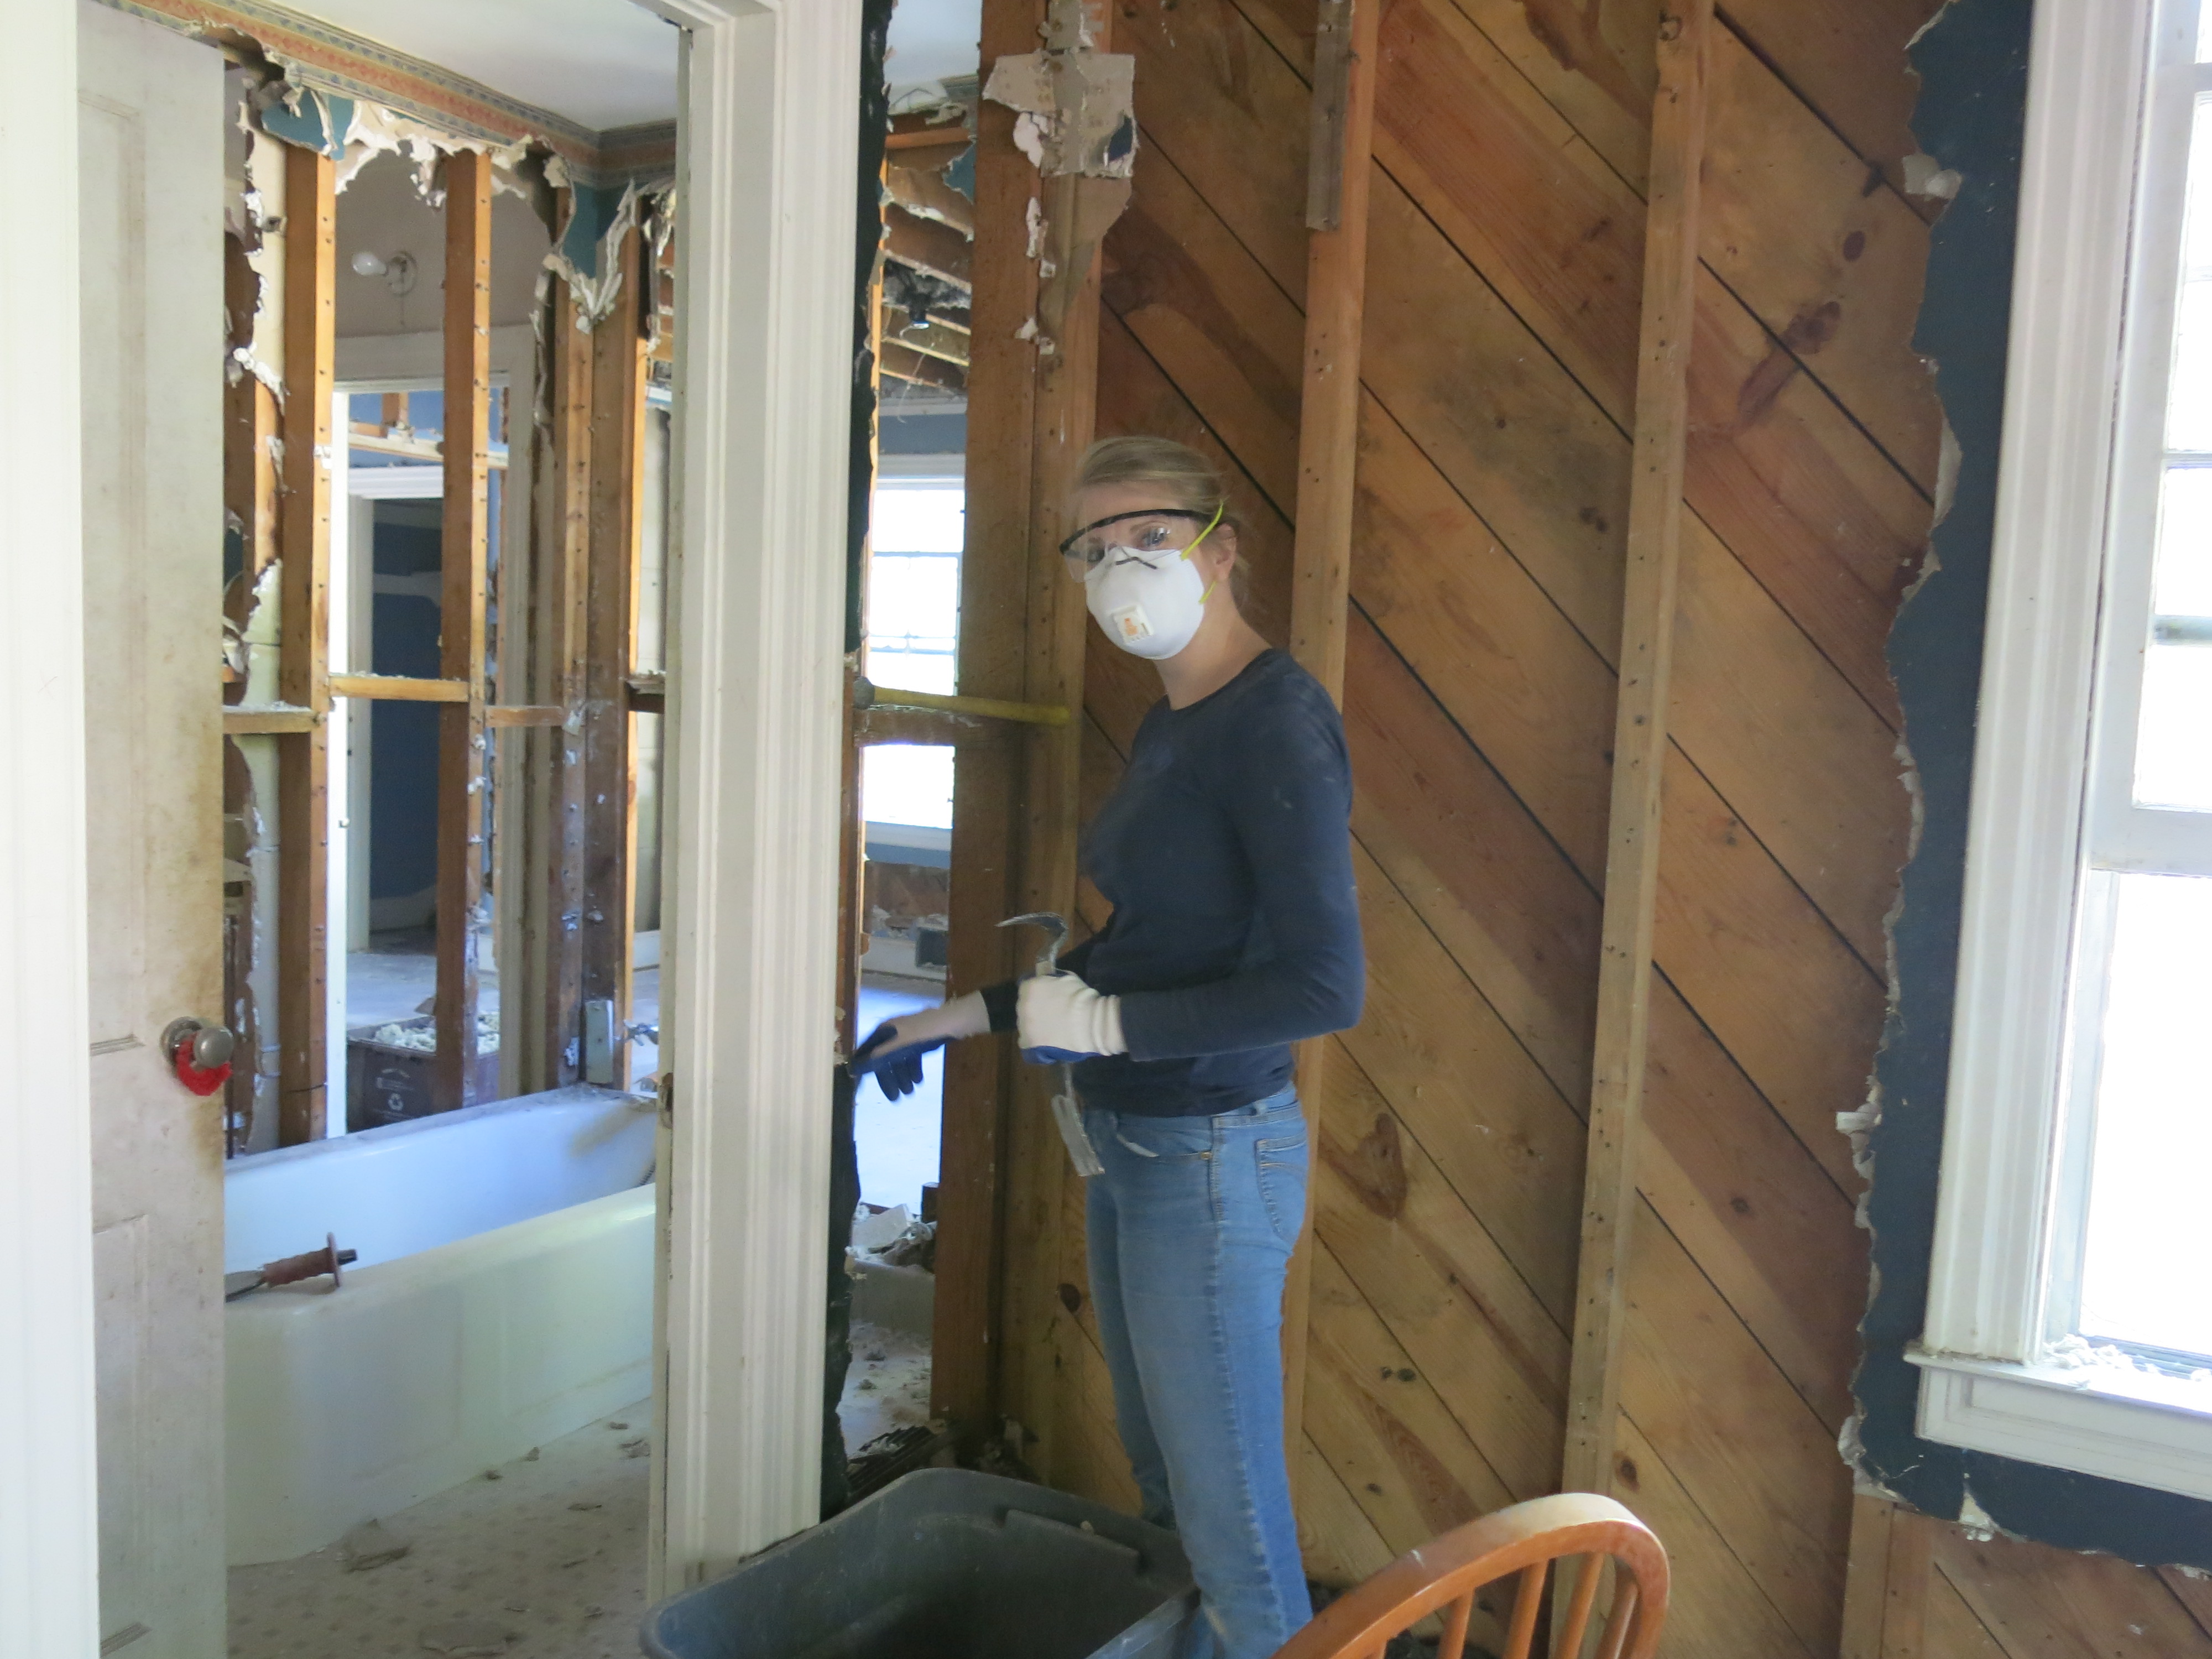
Pulling off the last few boards.

The loot!
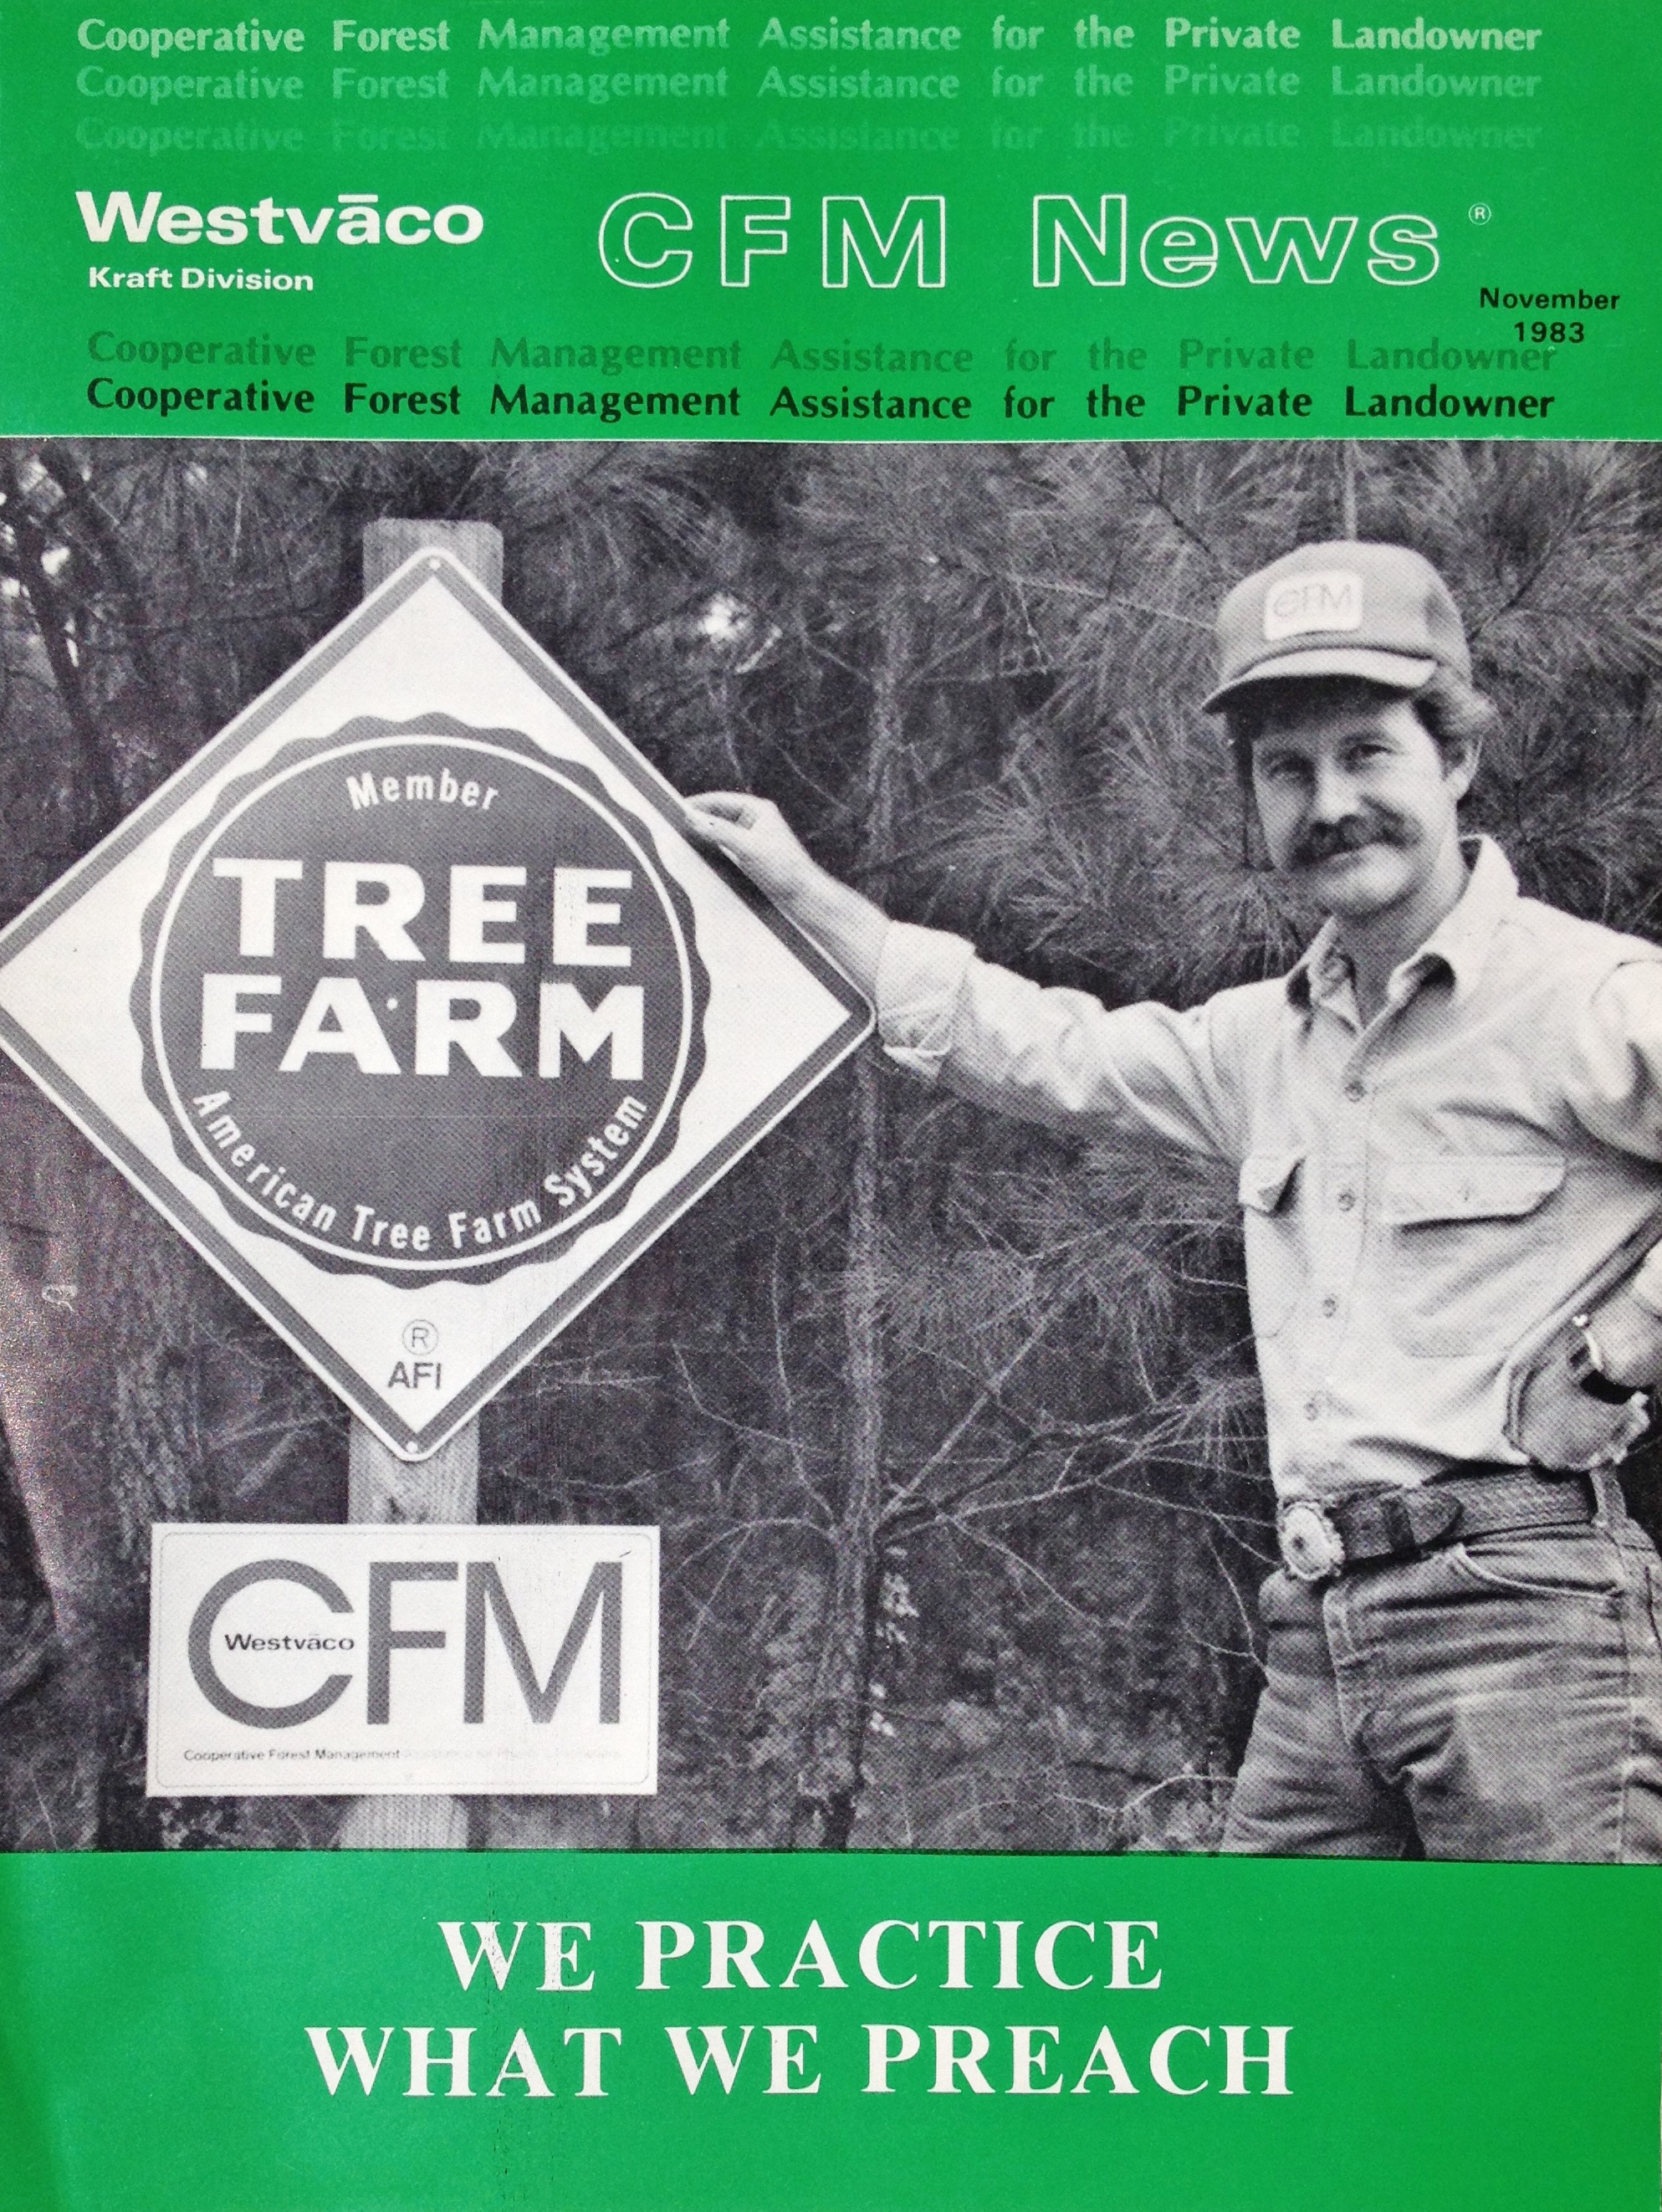
Here’s a little Forester Flashback of Richard in his early forestry days. He’s on the cover of Westvaco CFM News magazine, November 1983.