Two weeks later, framing is complete. And it is GLORIOUS!
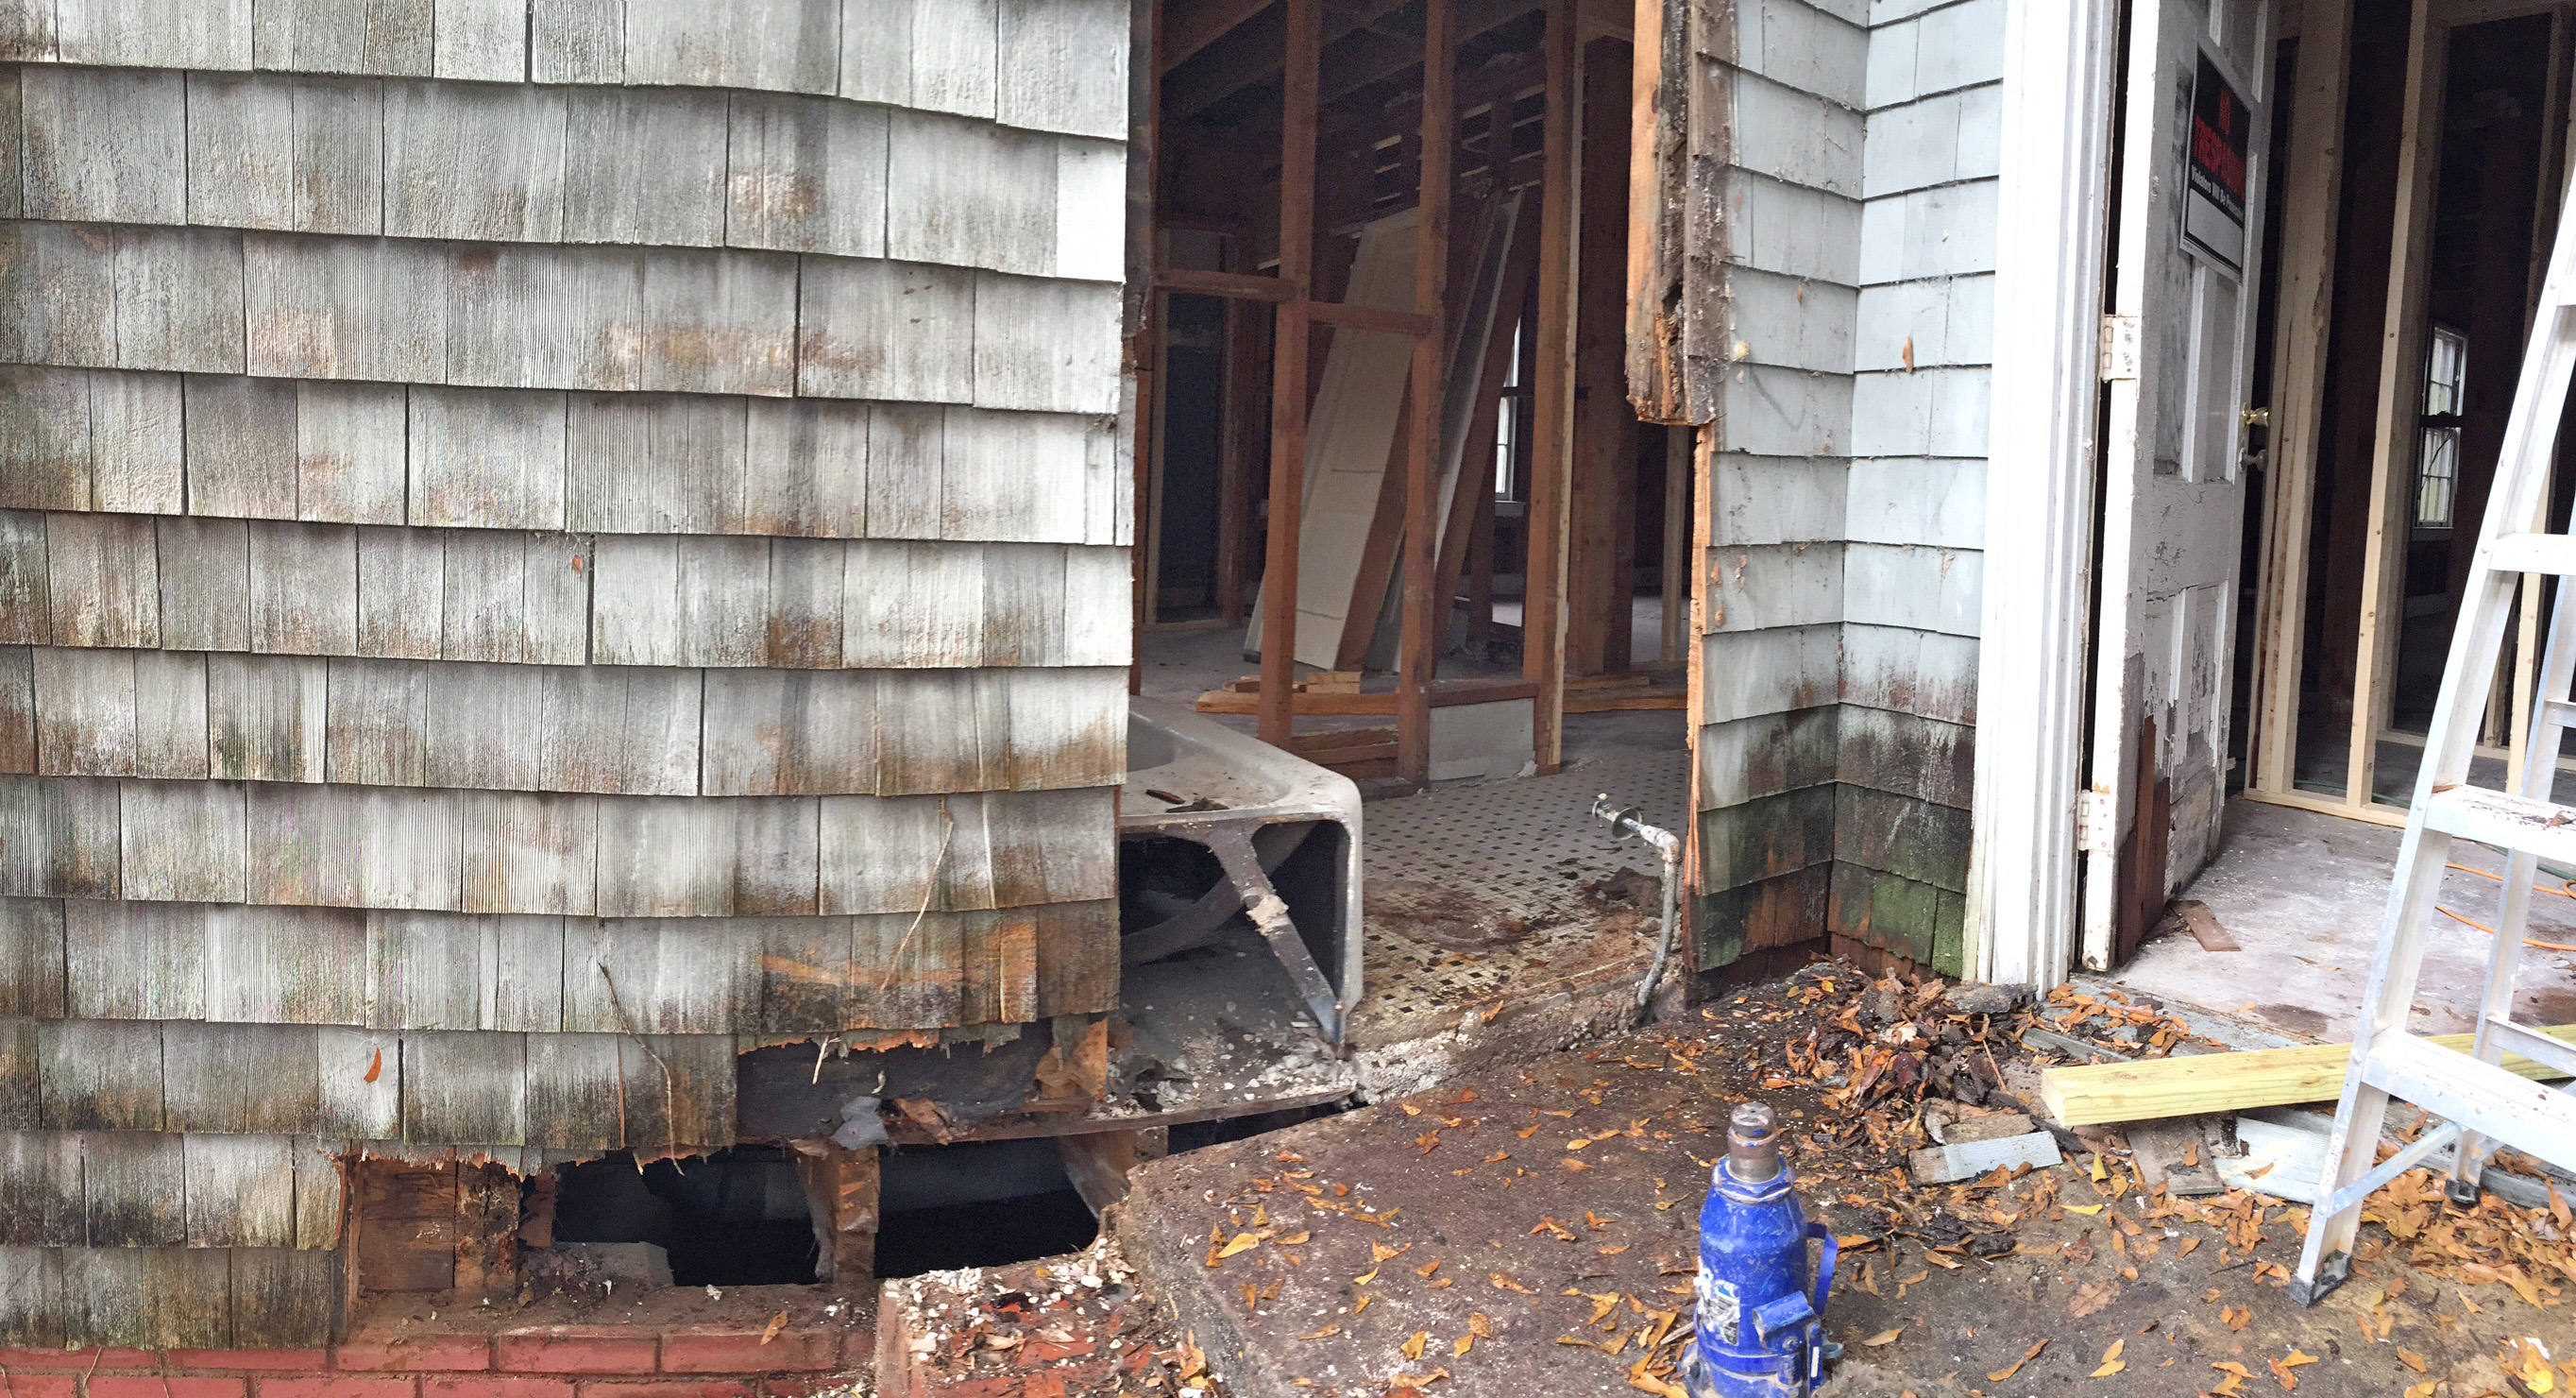
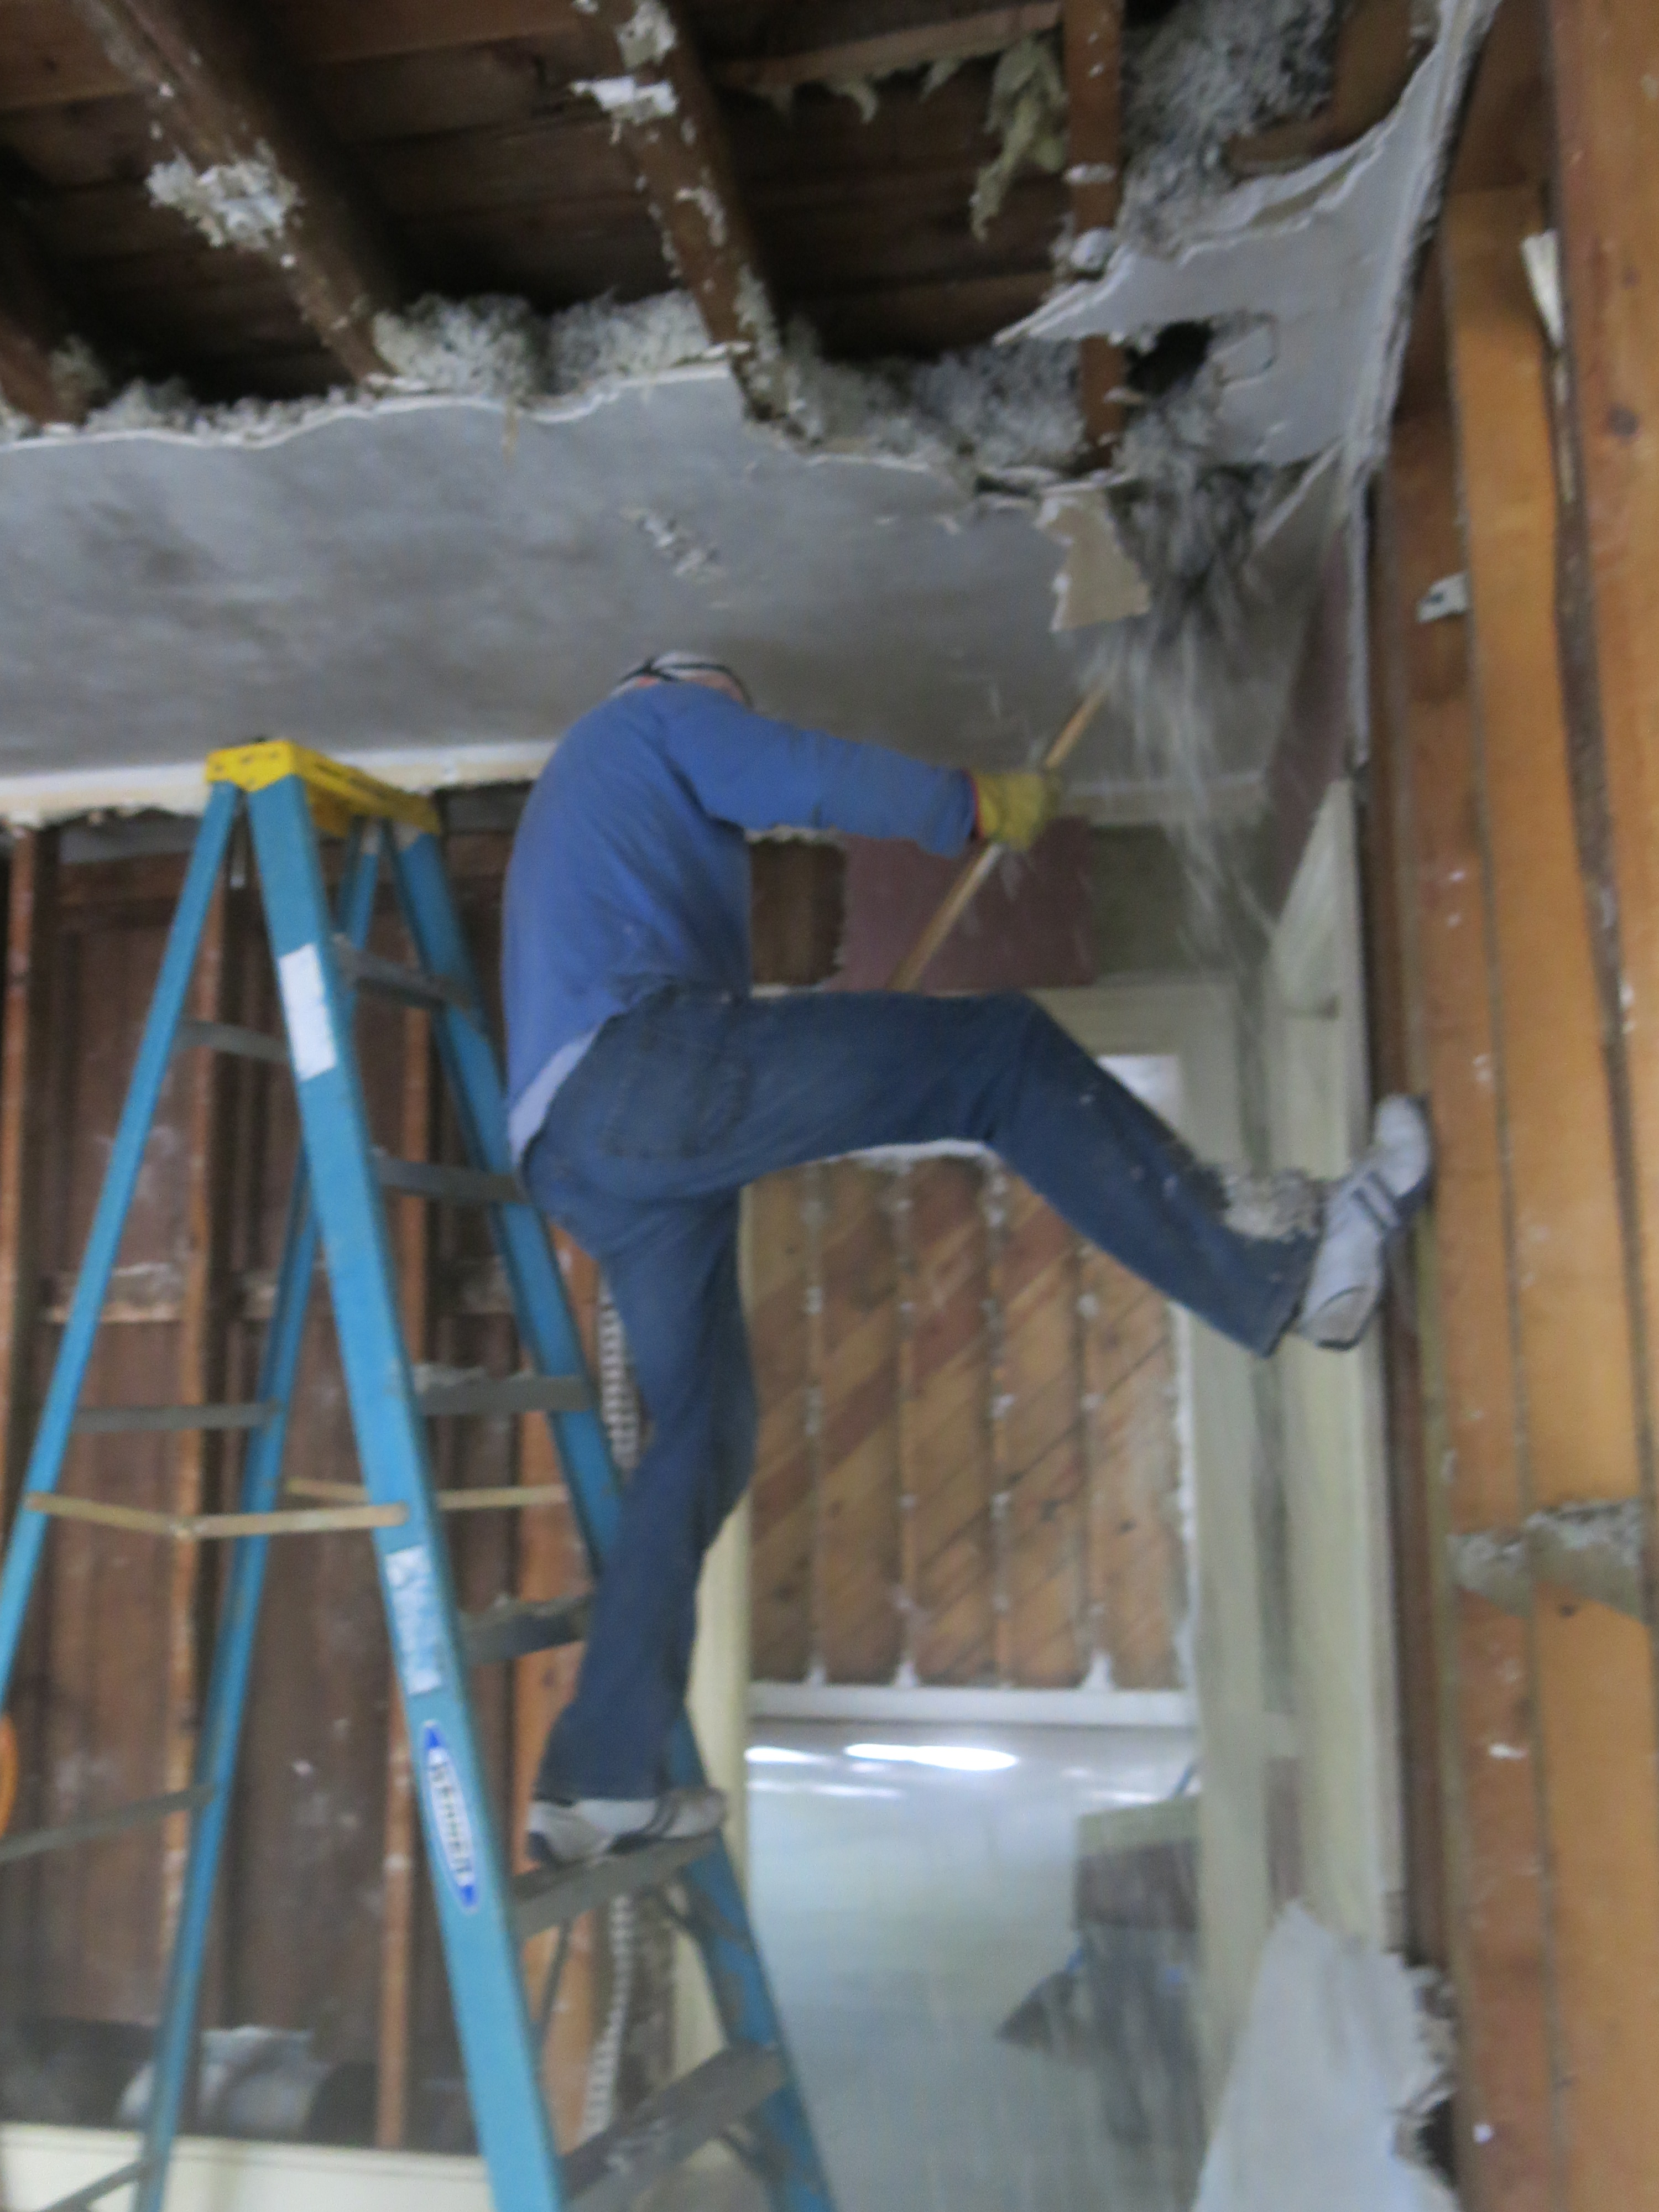
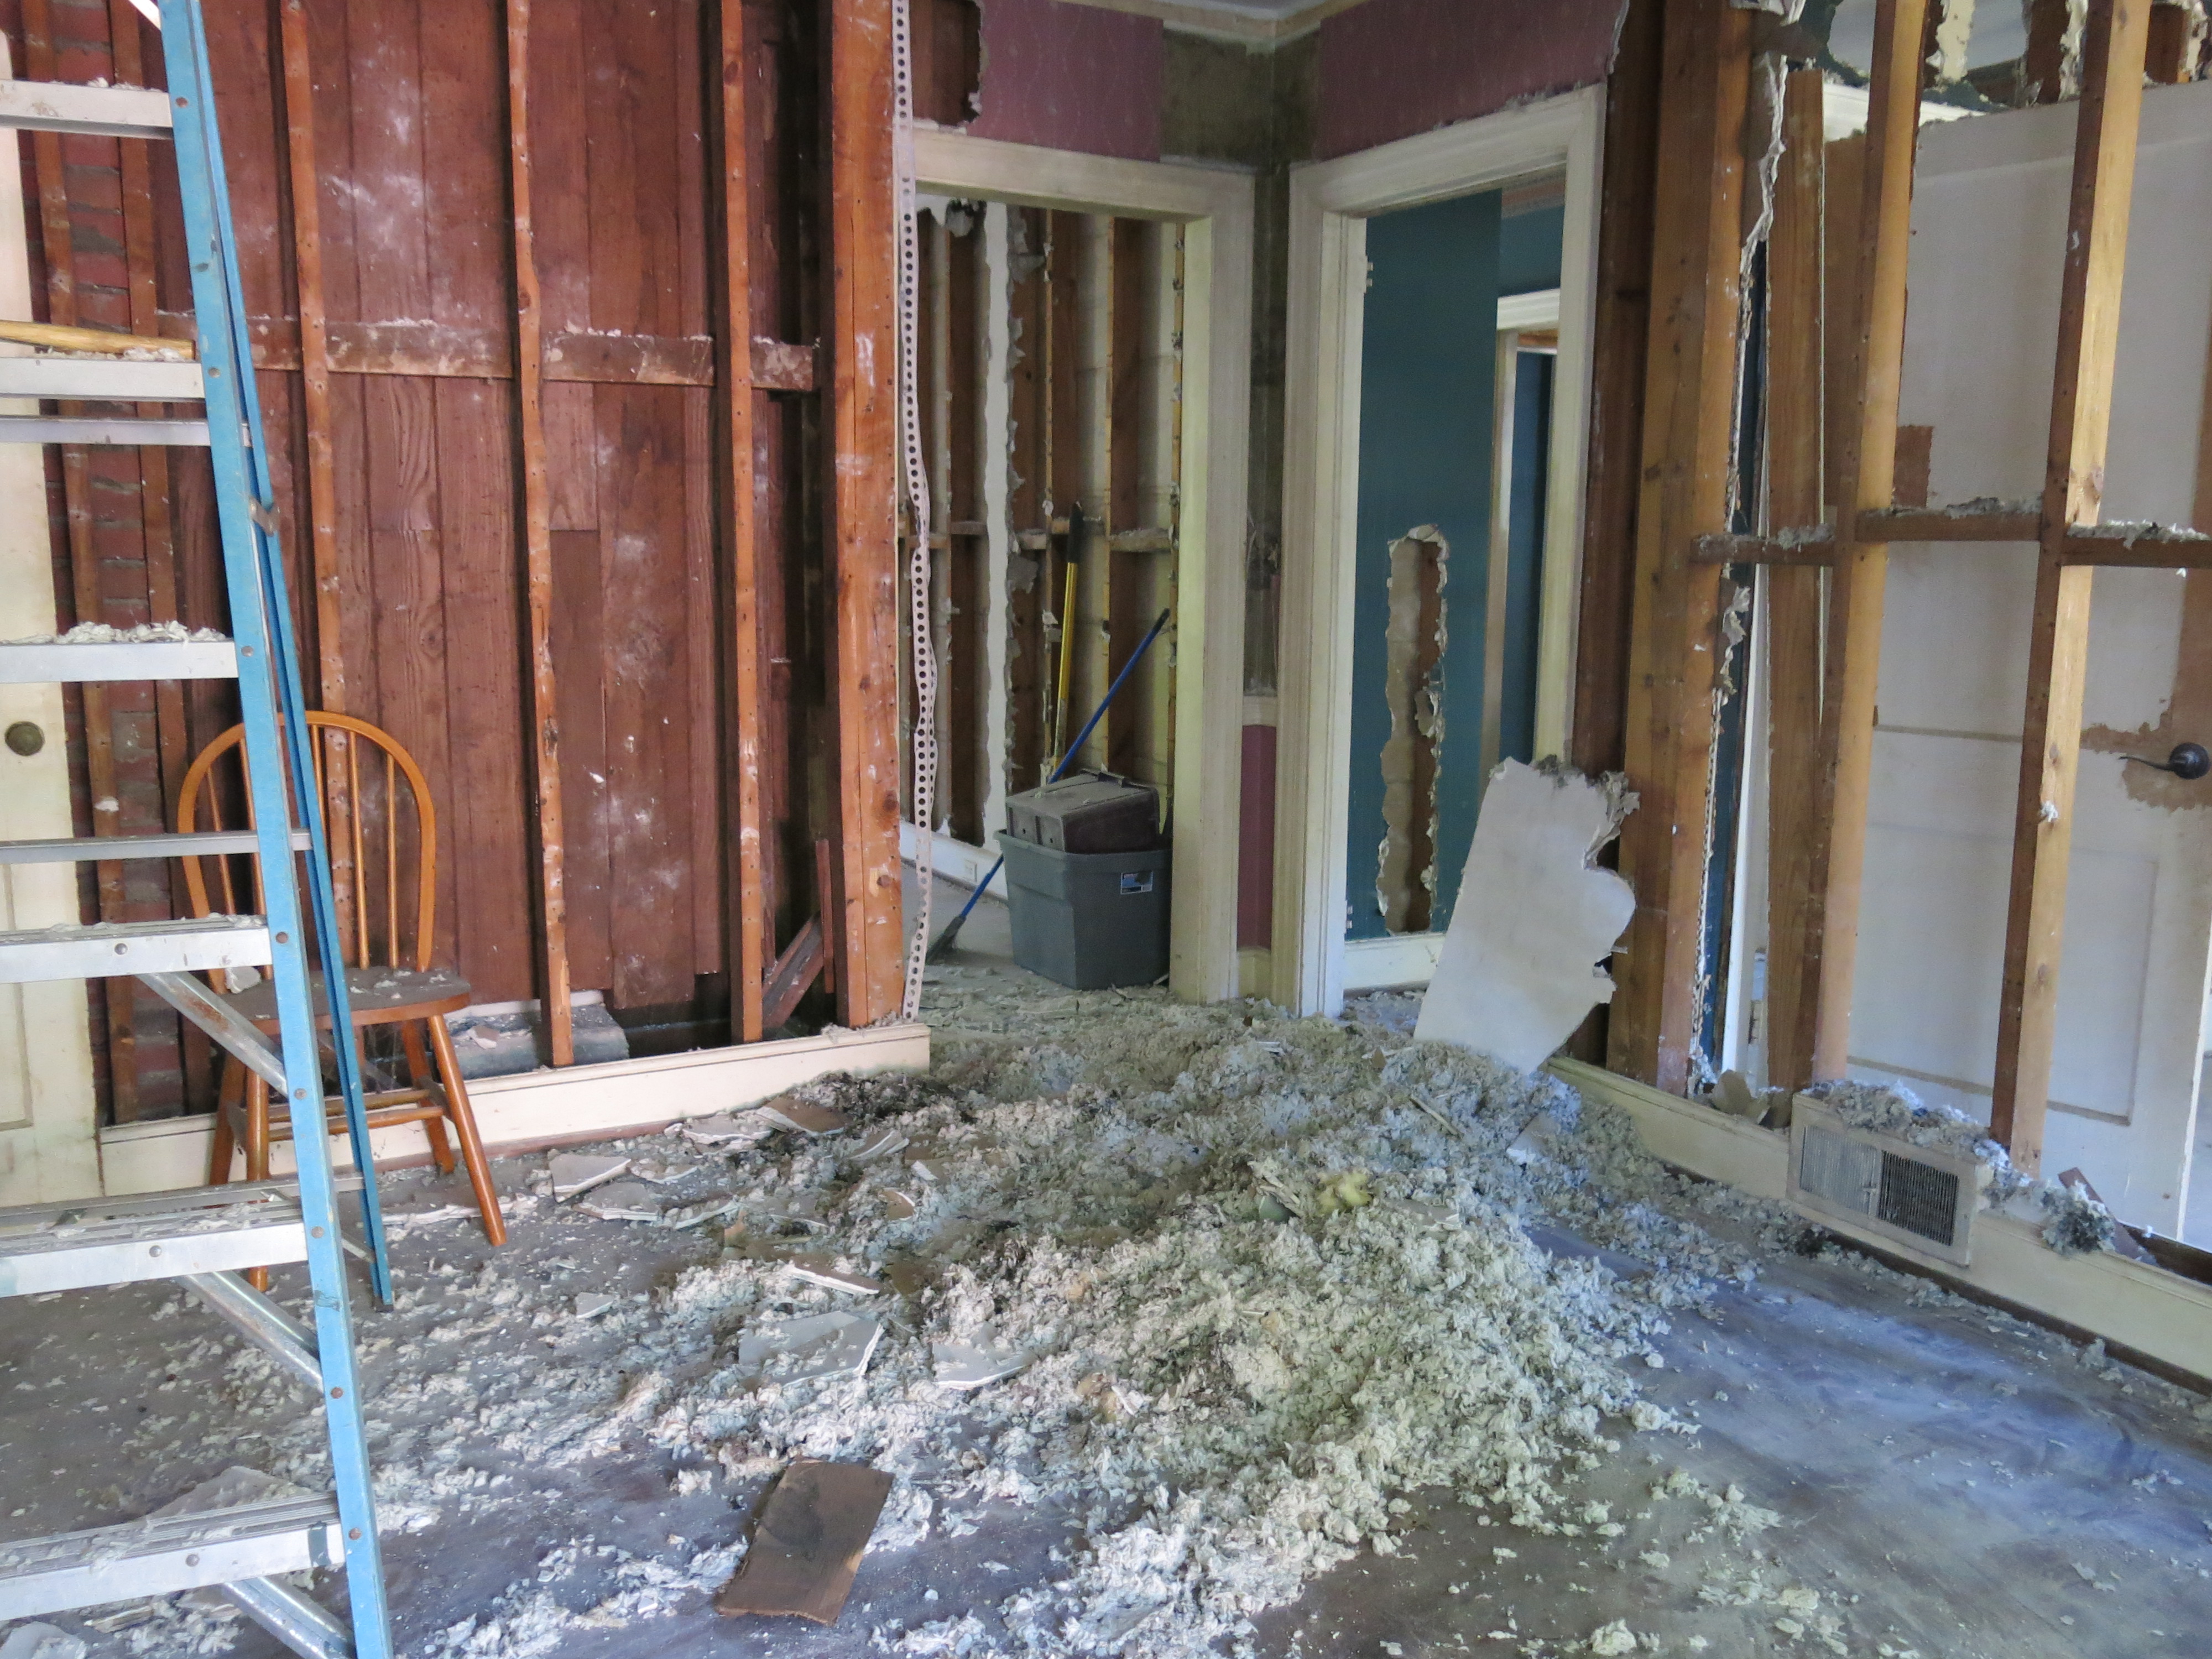
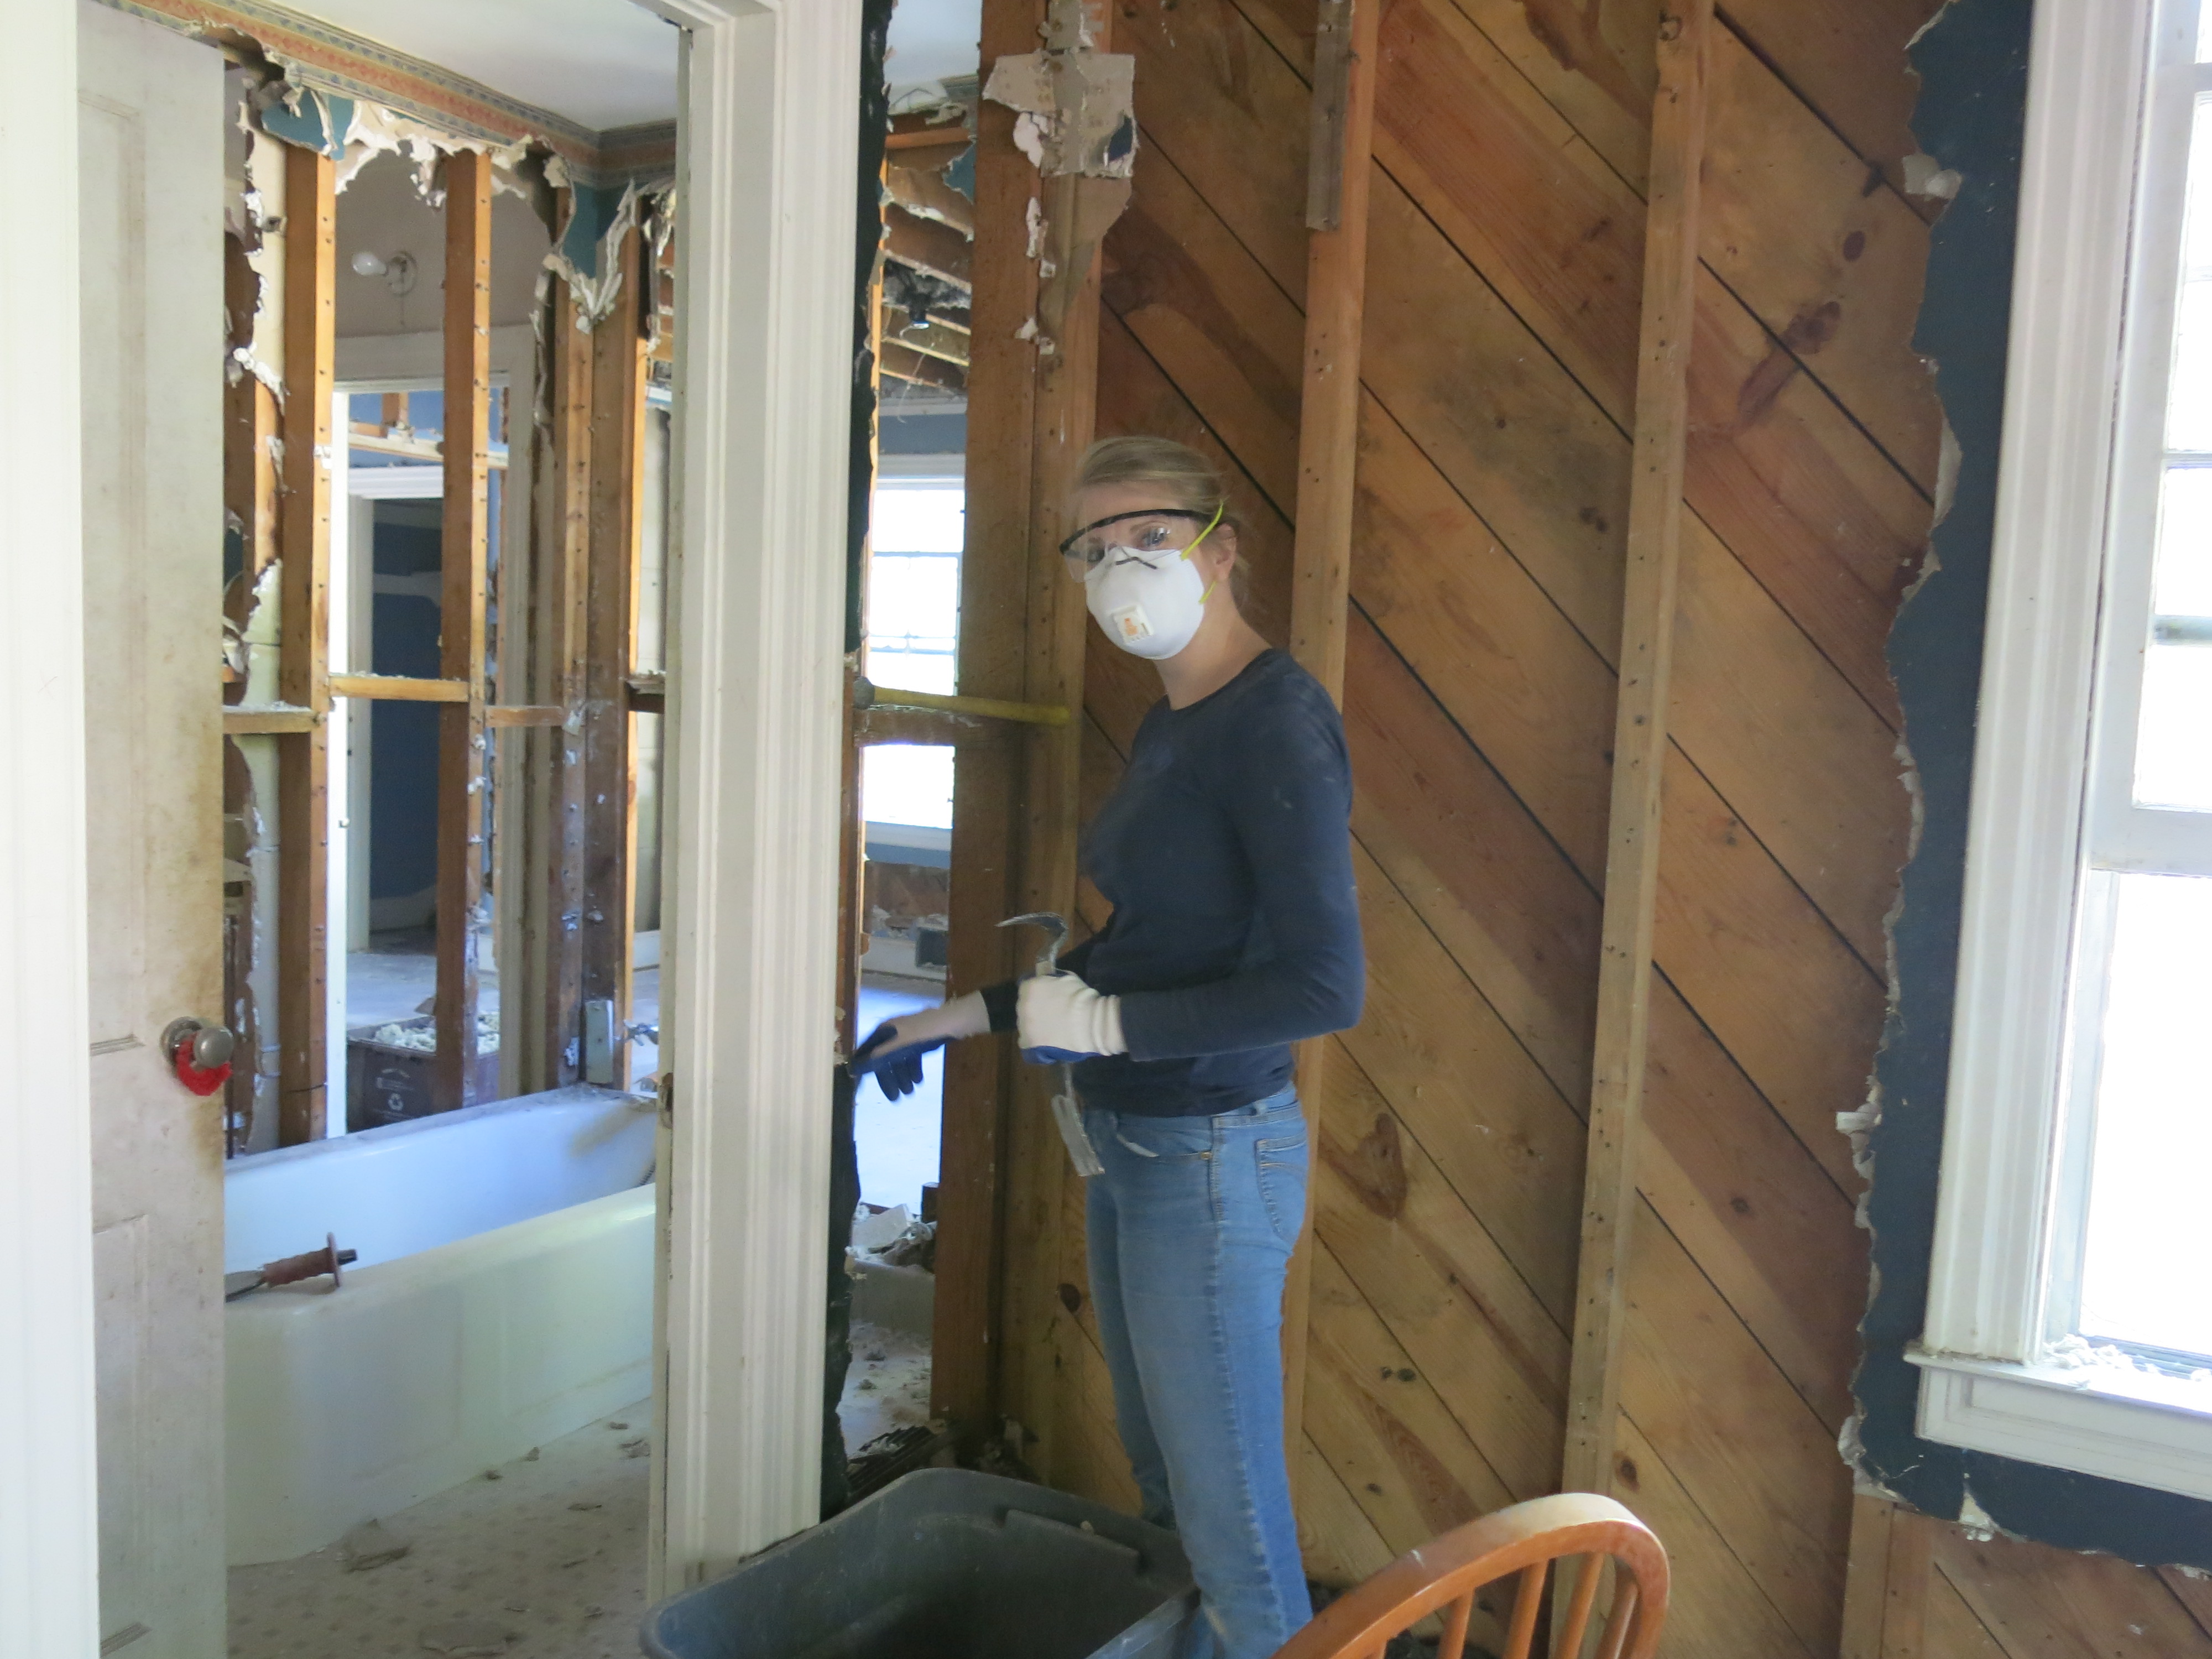
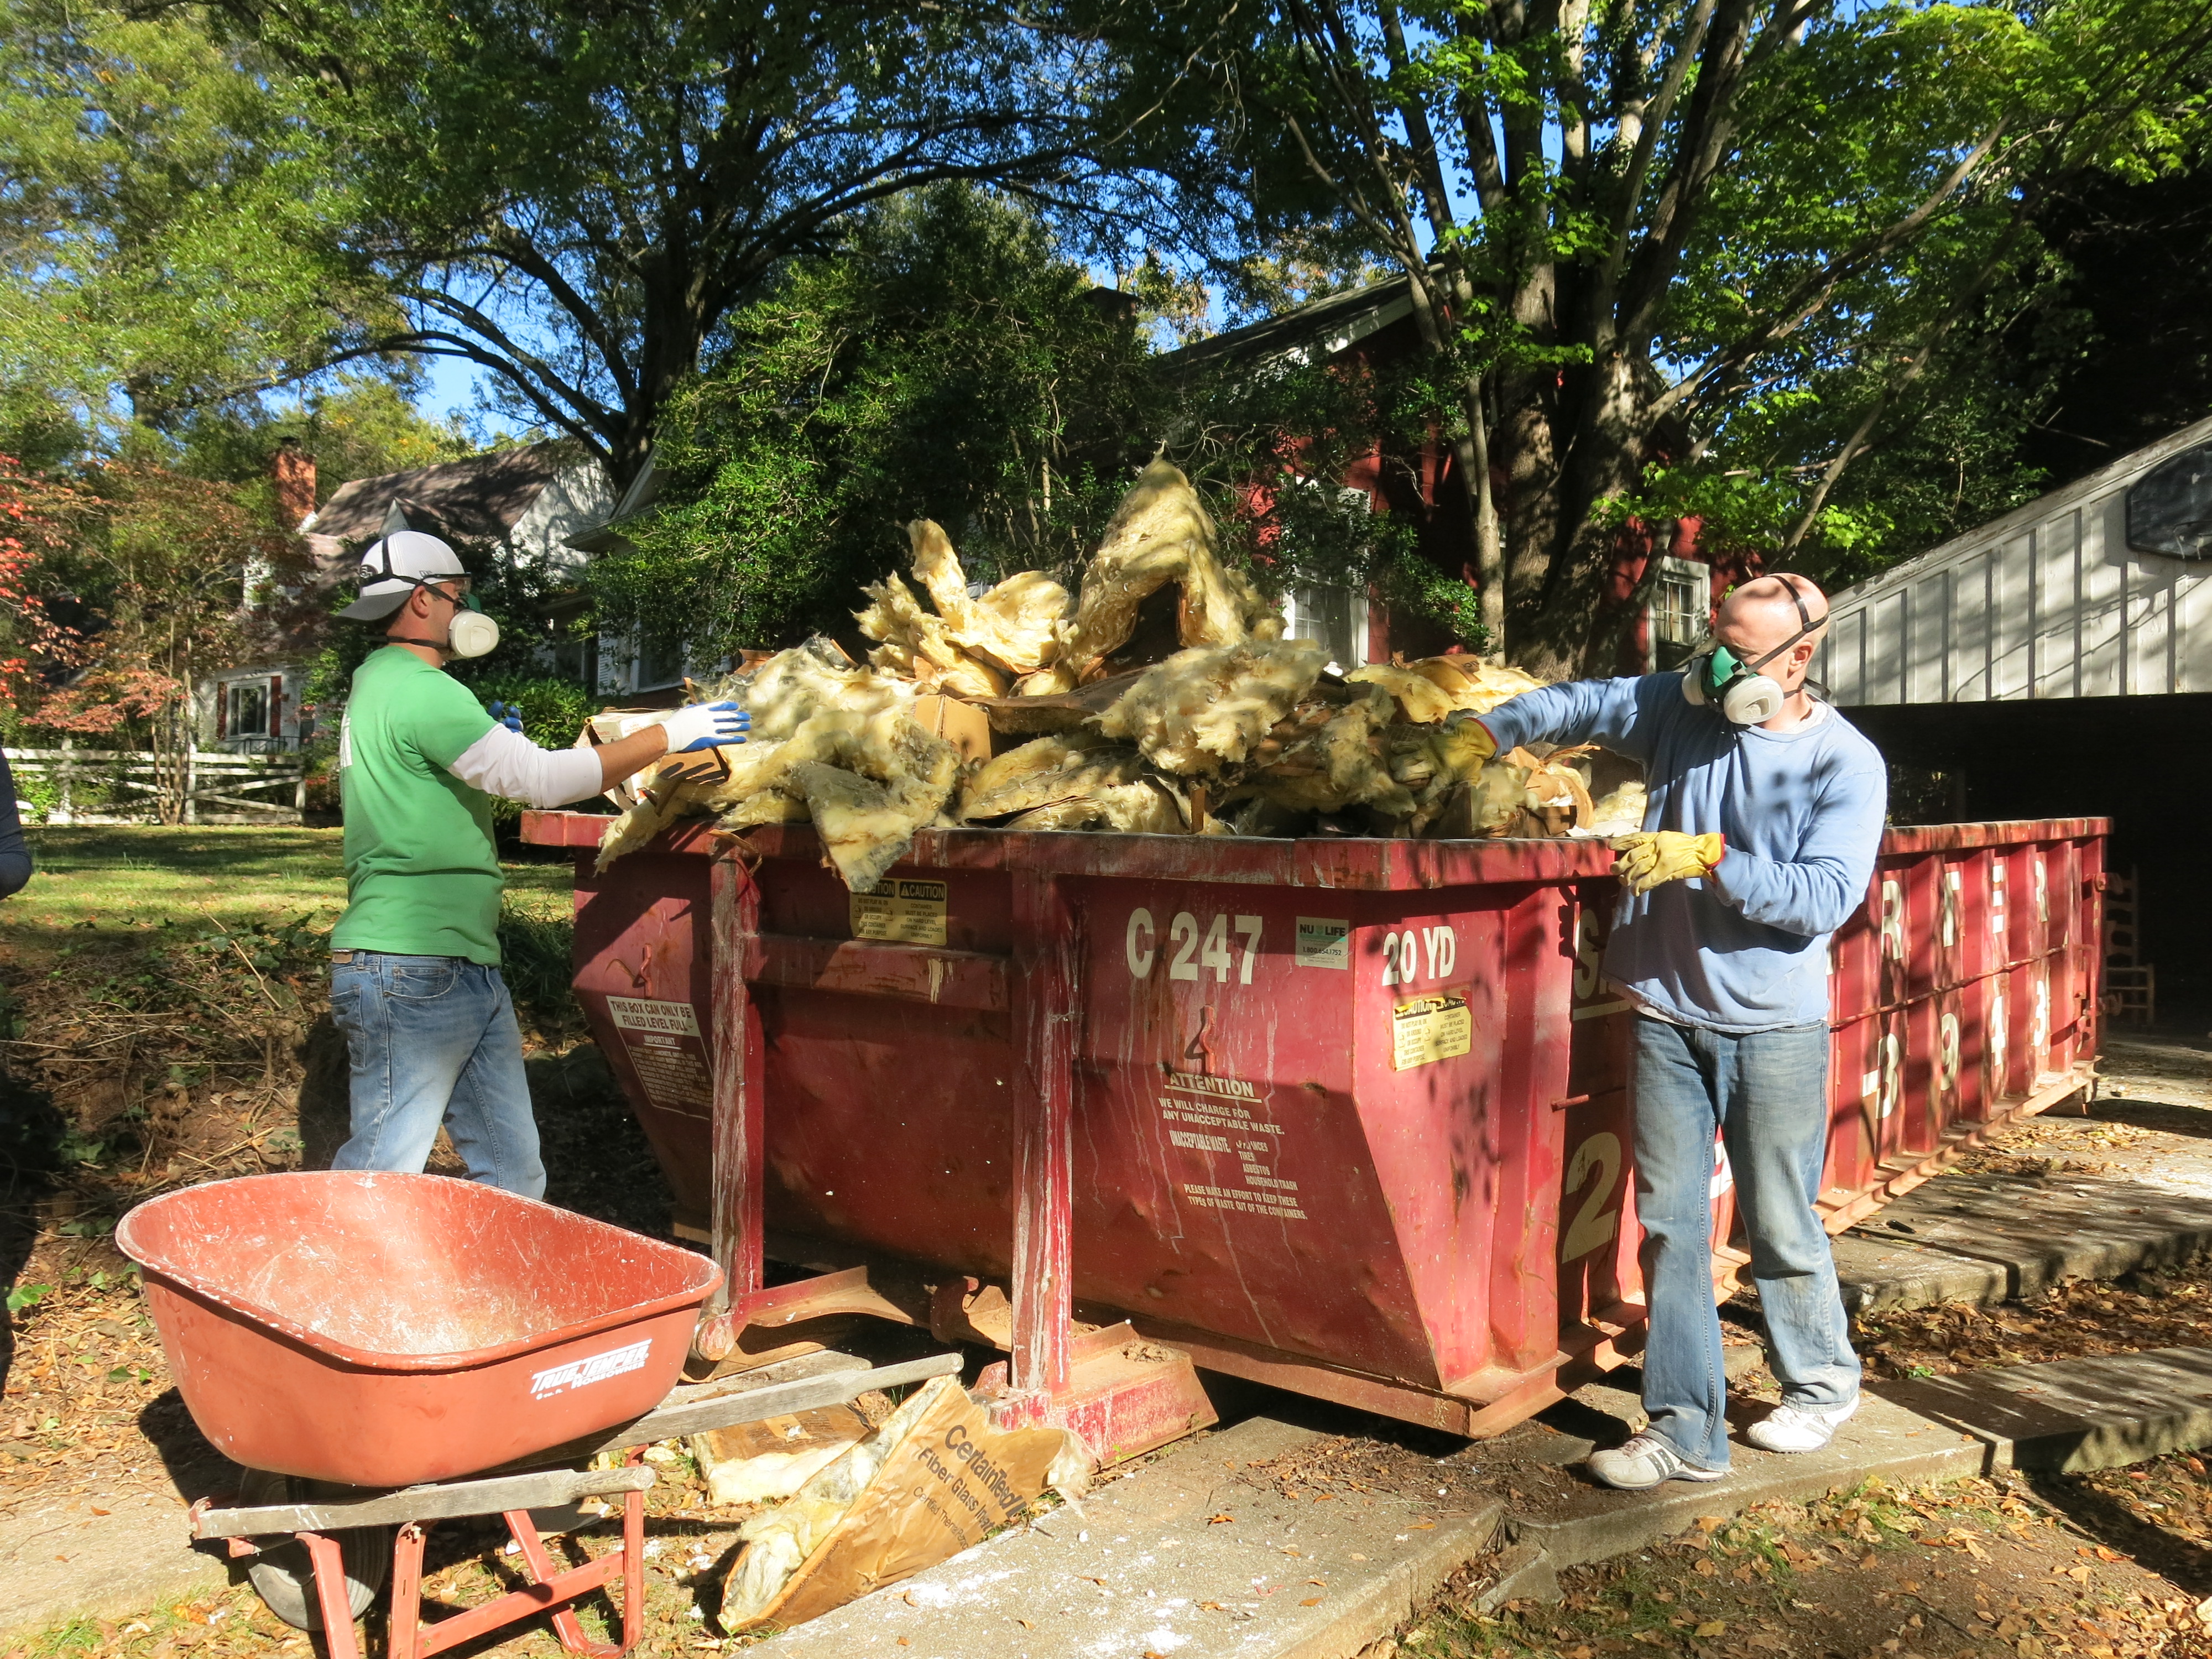
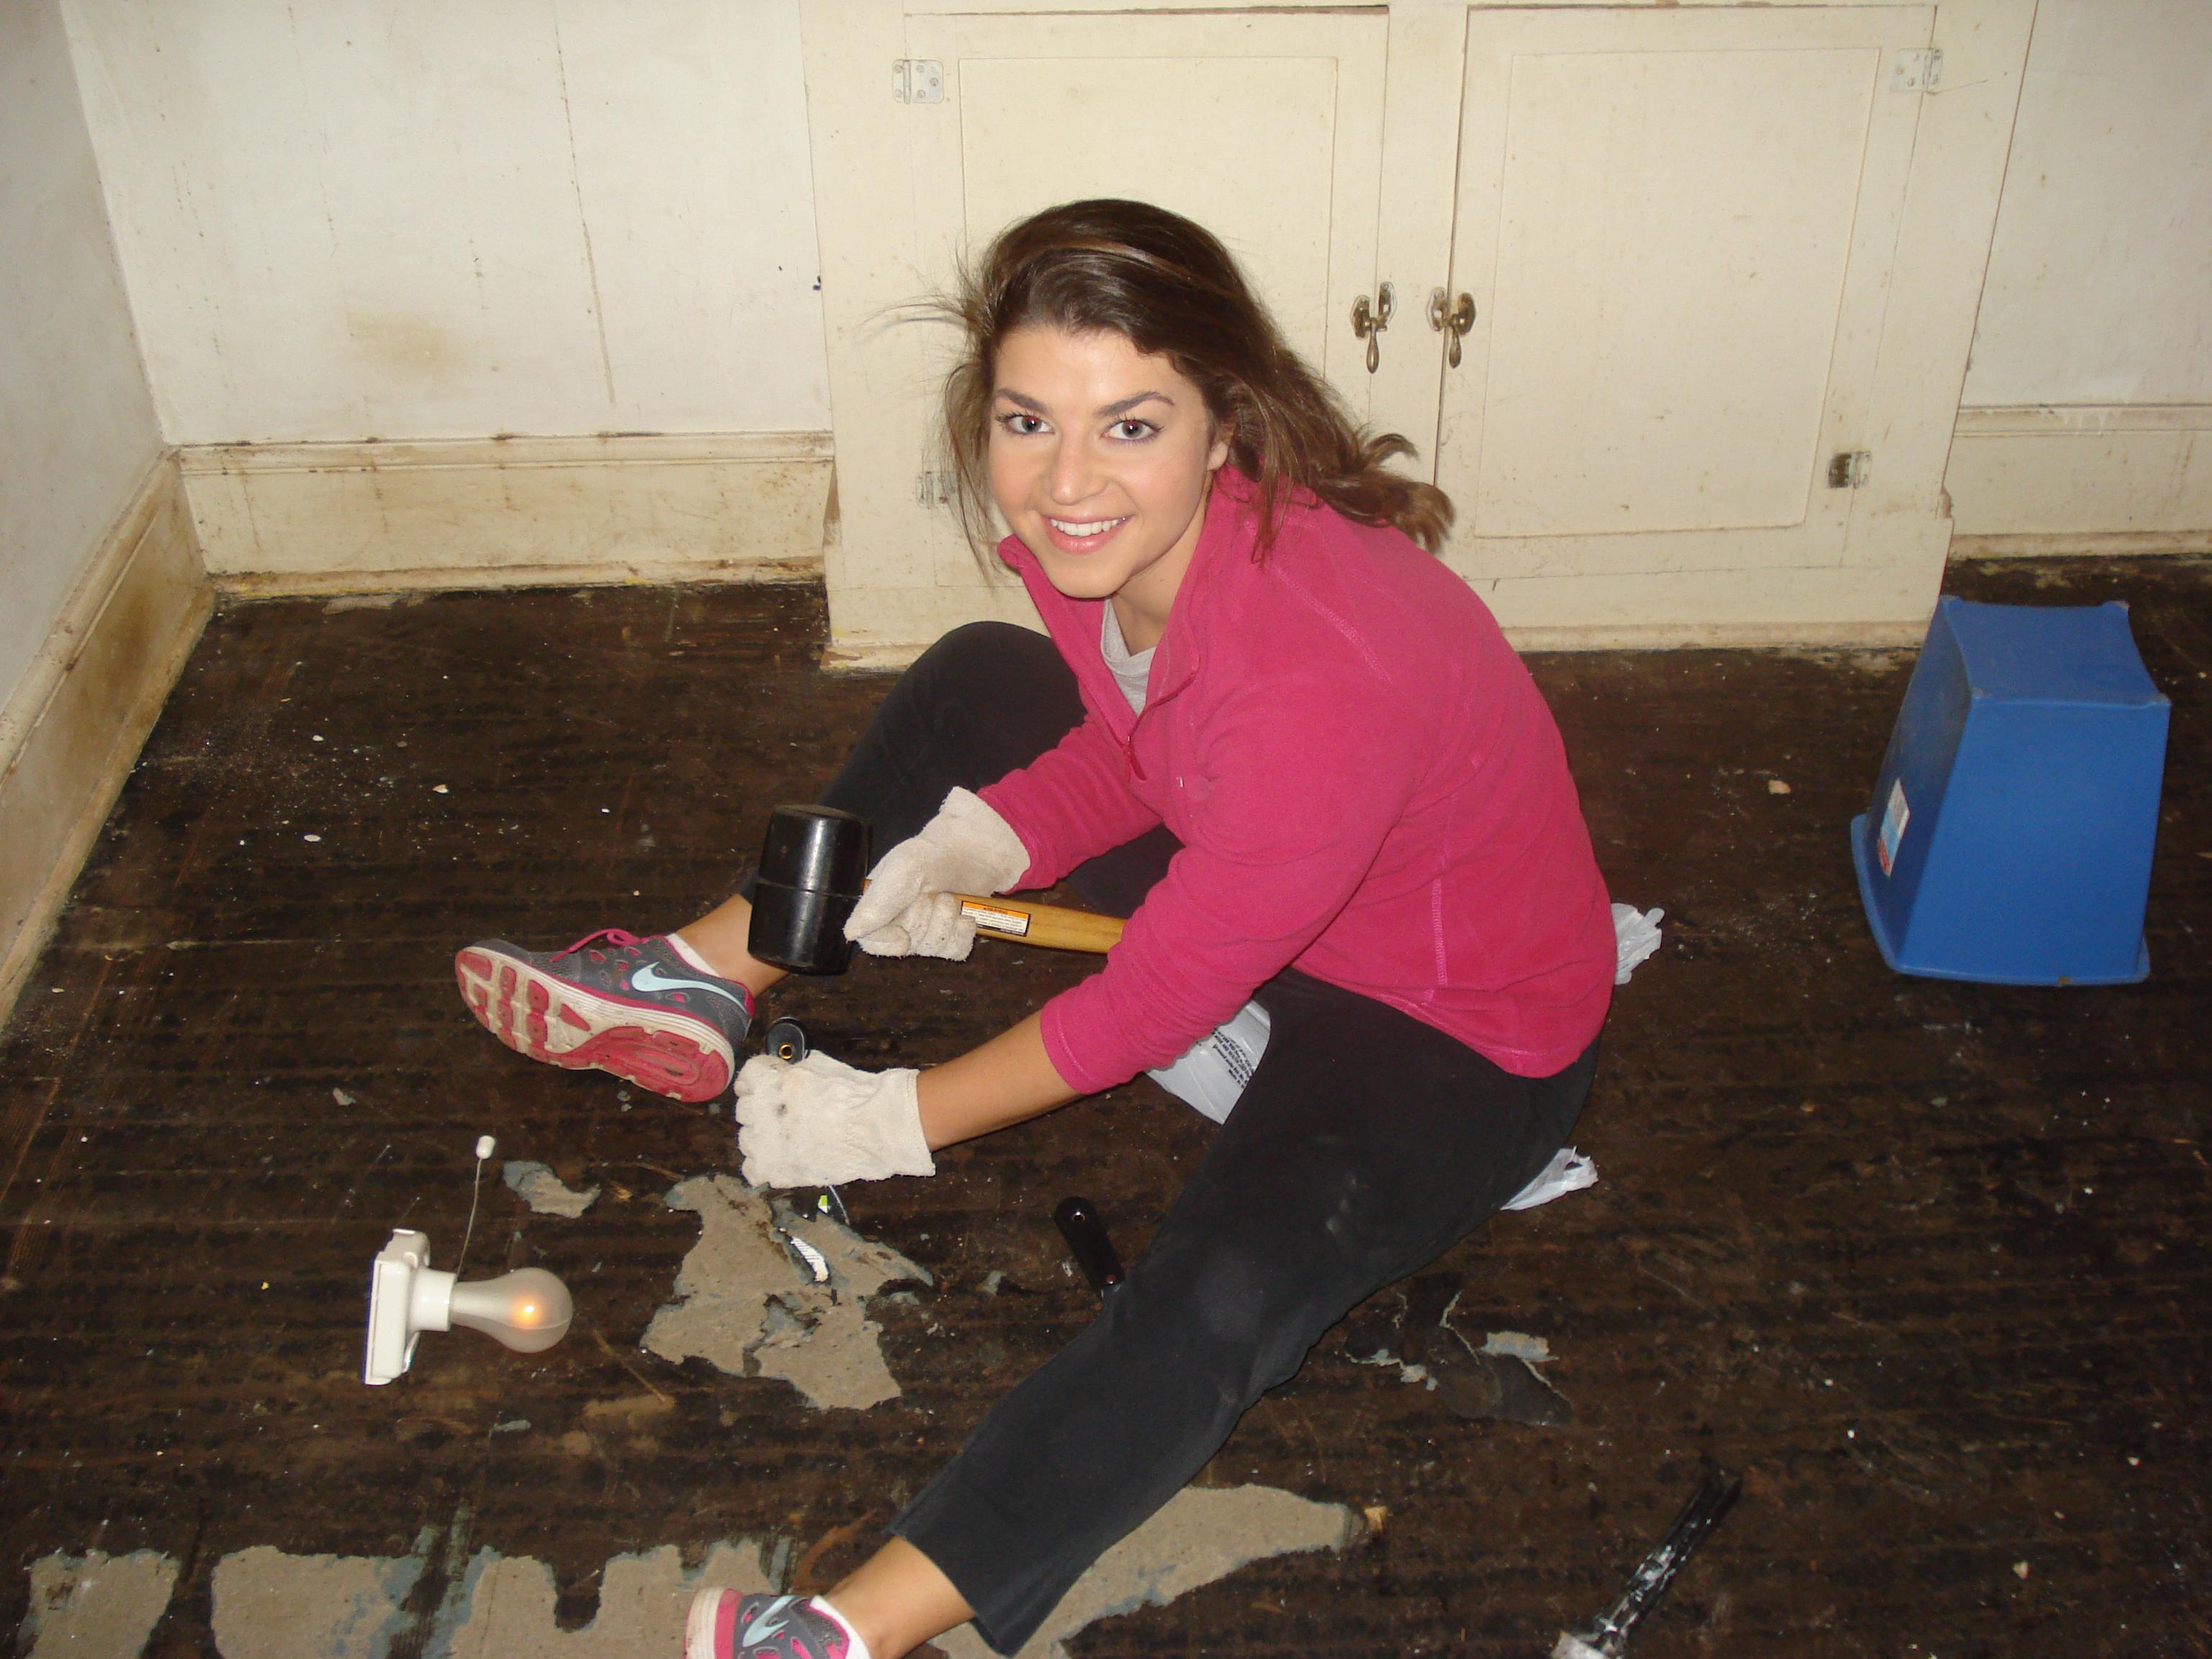
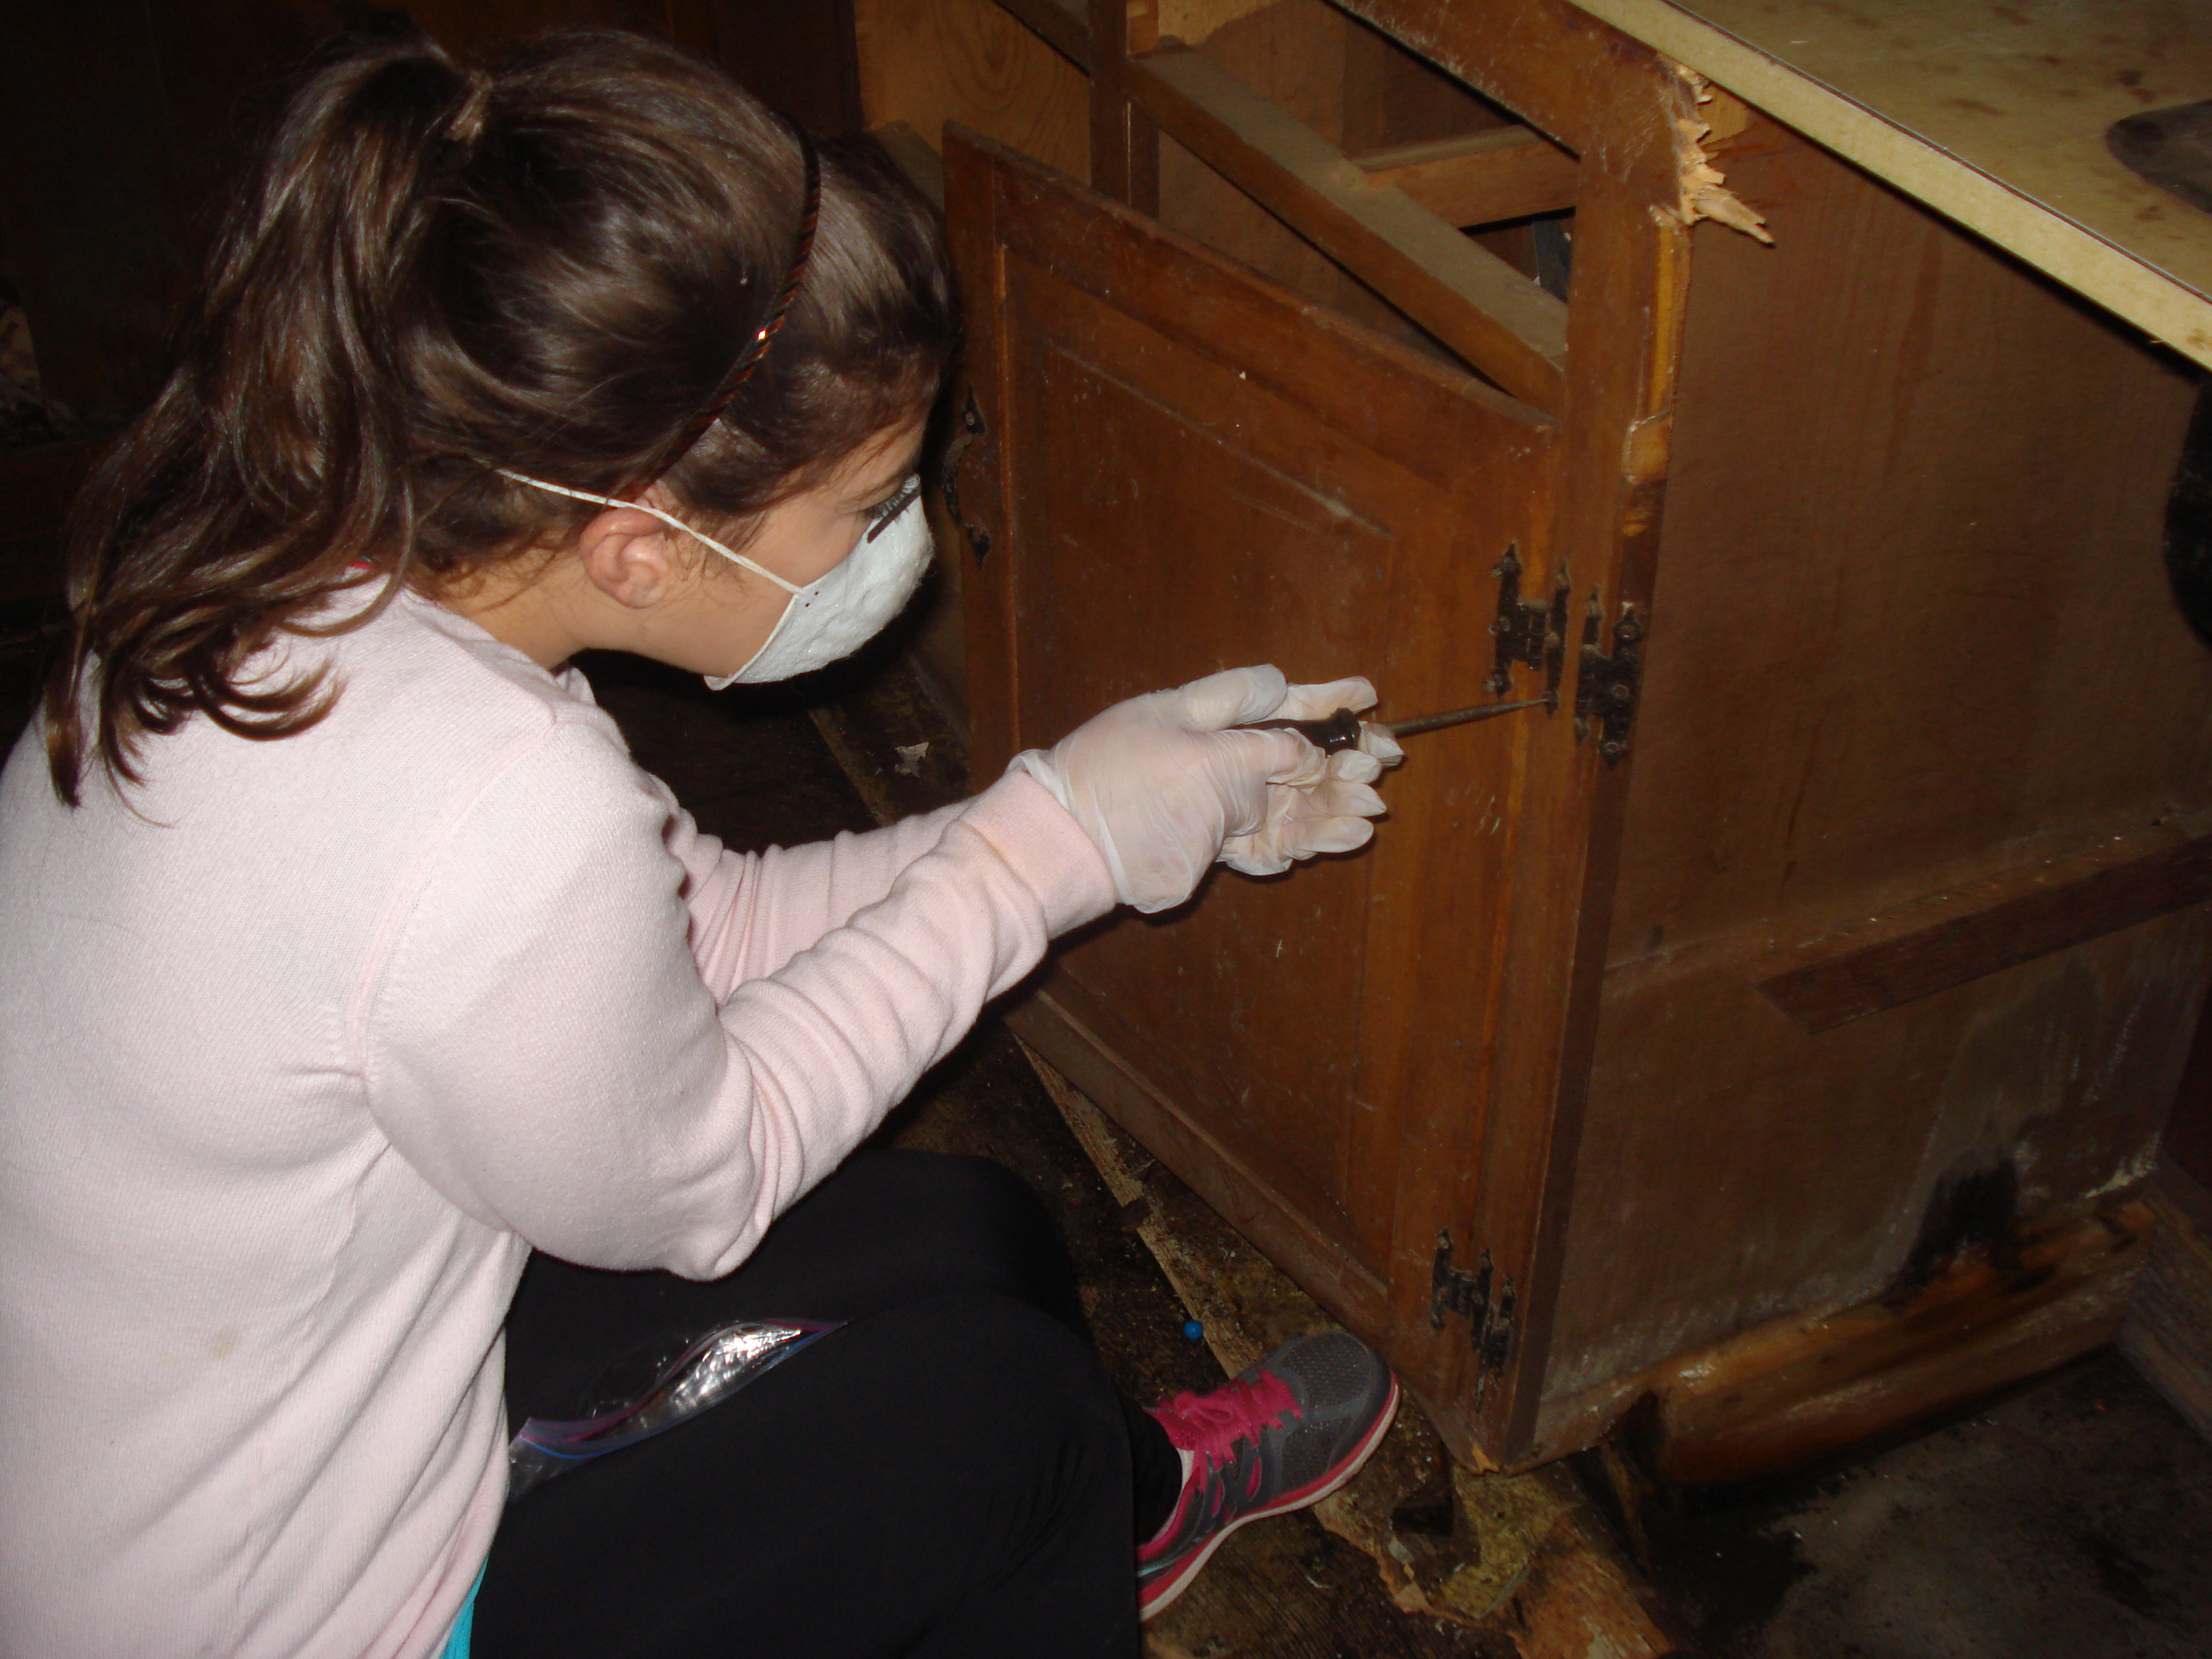
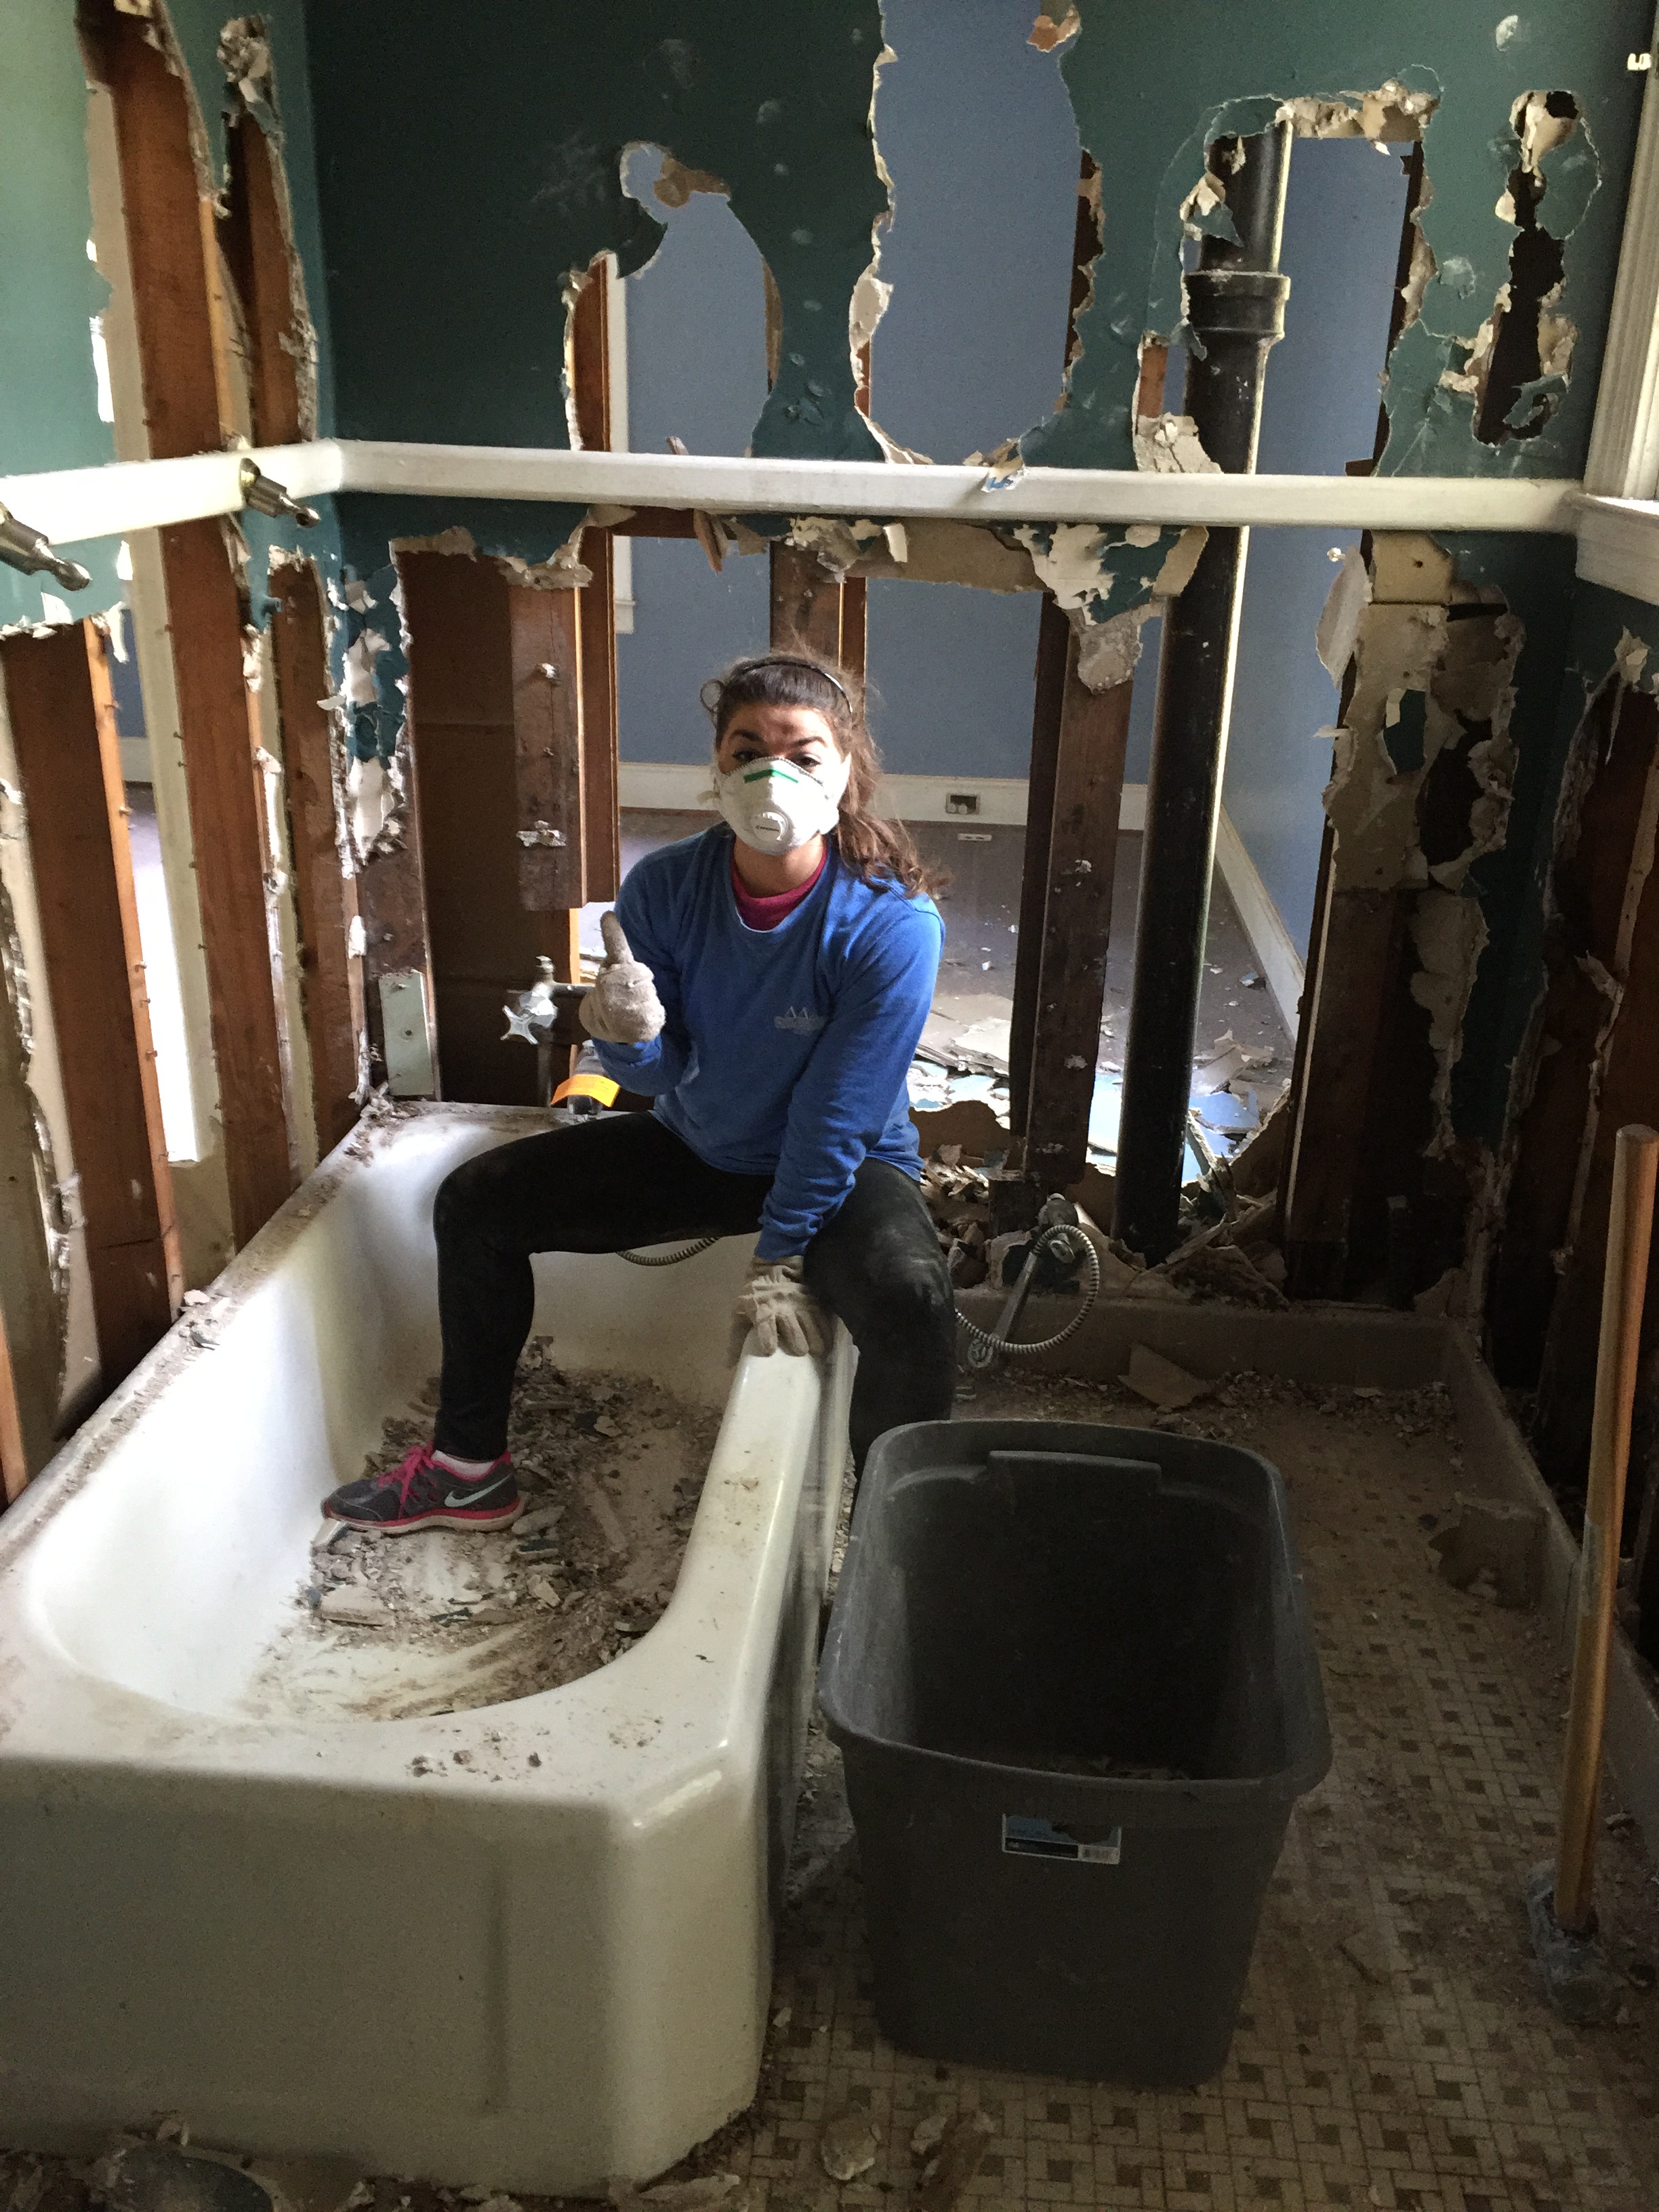
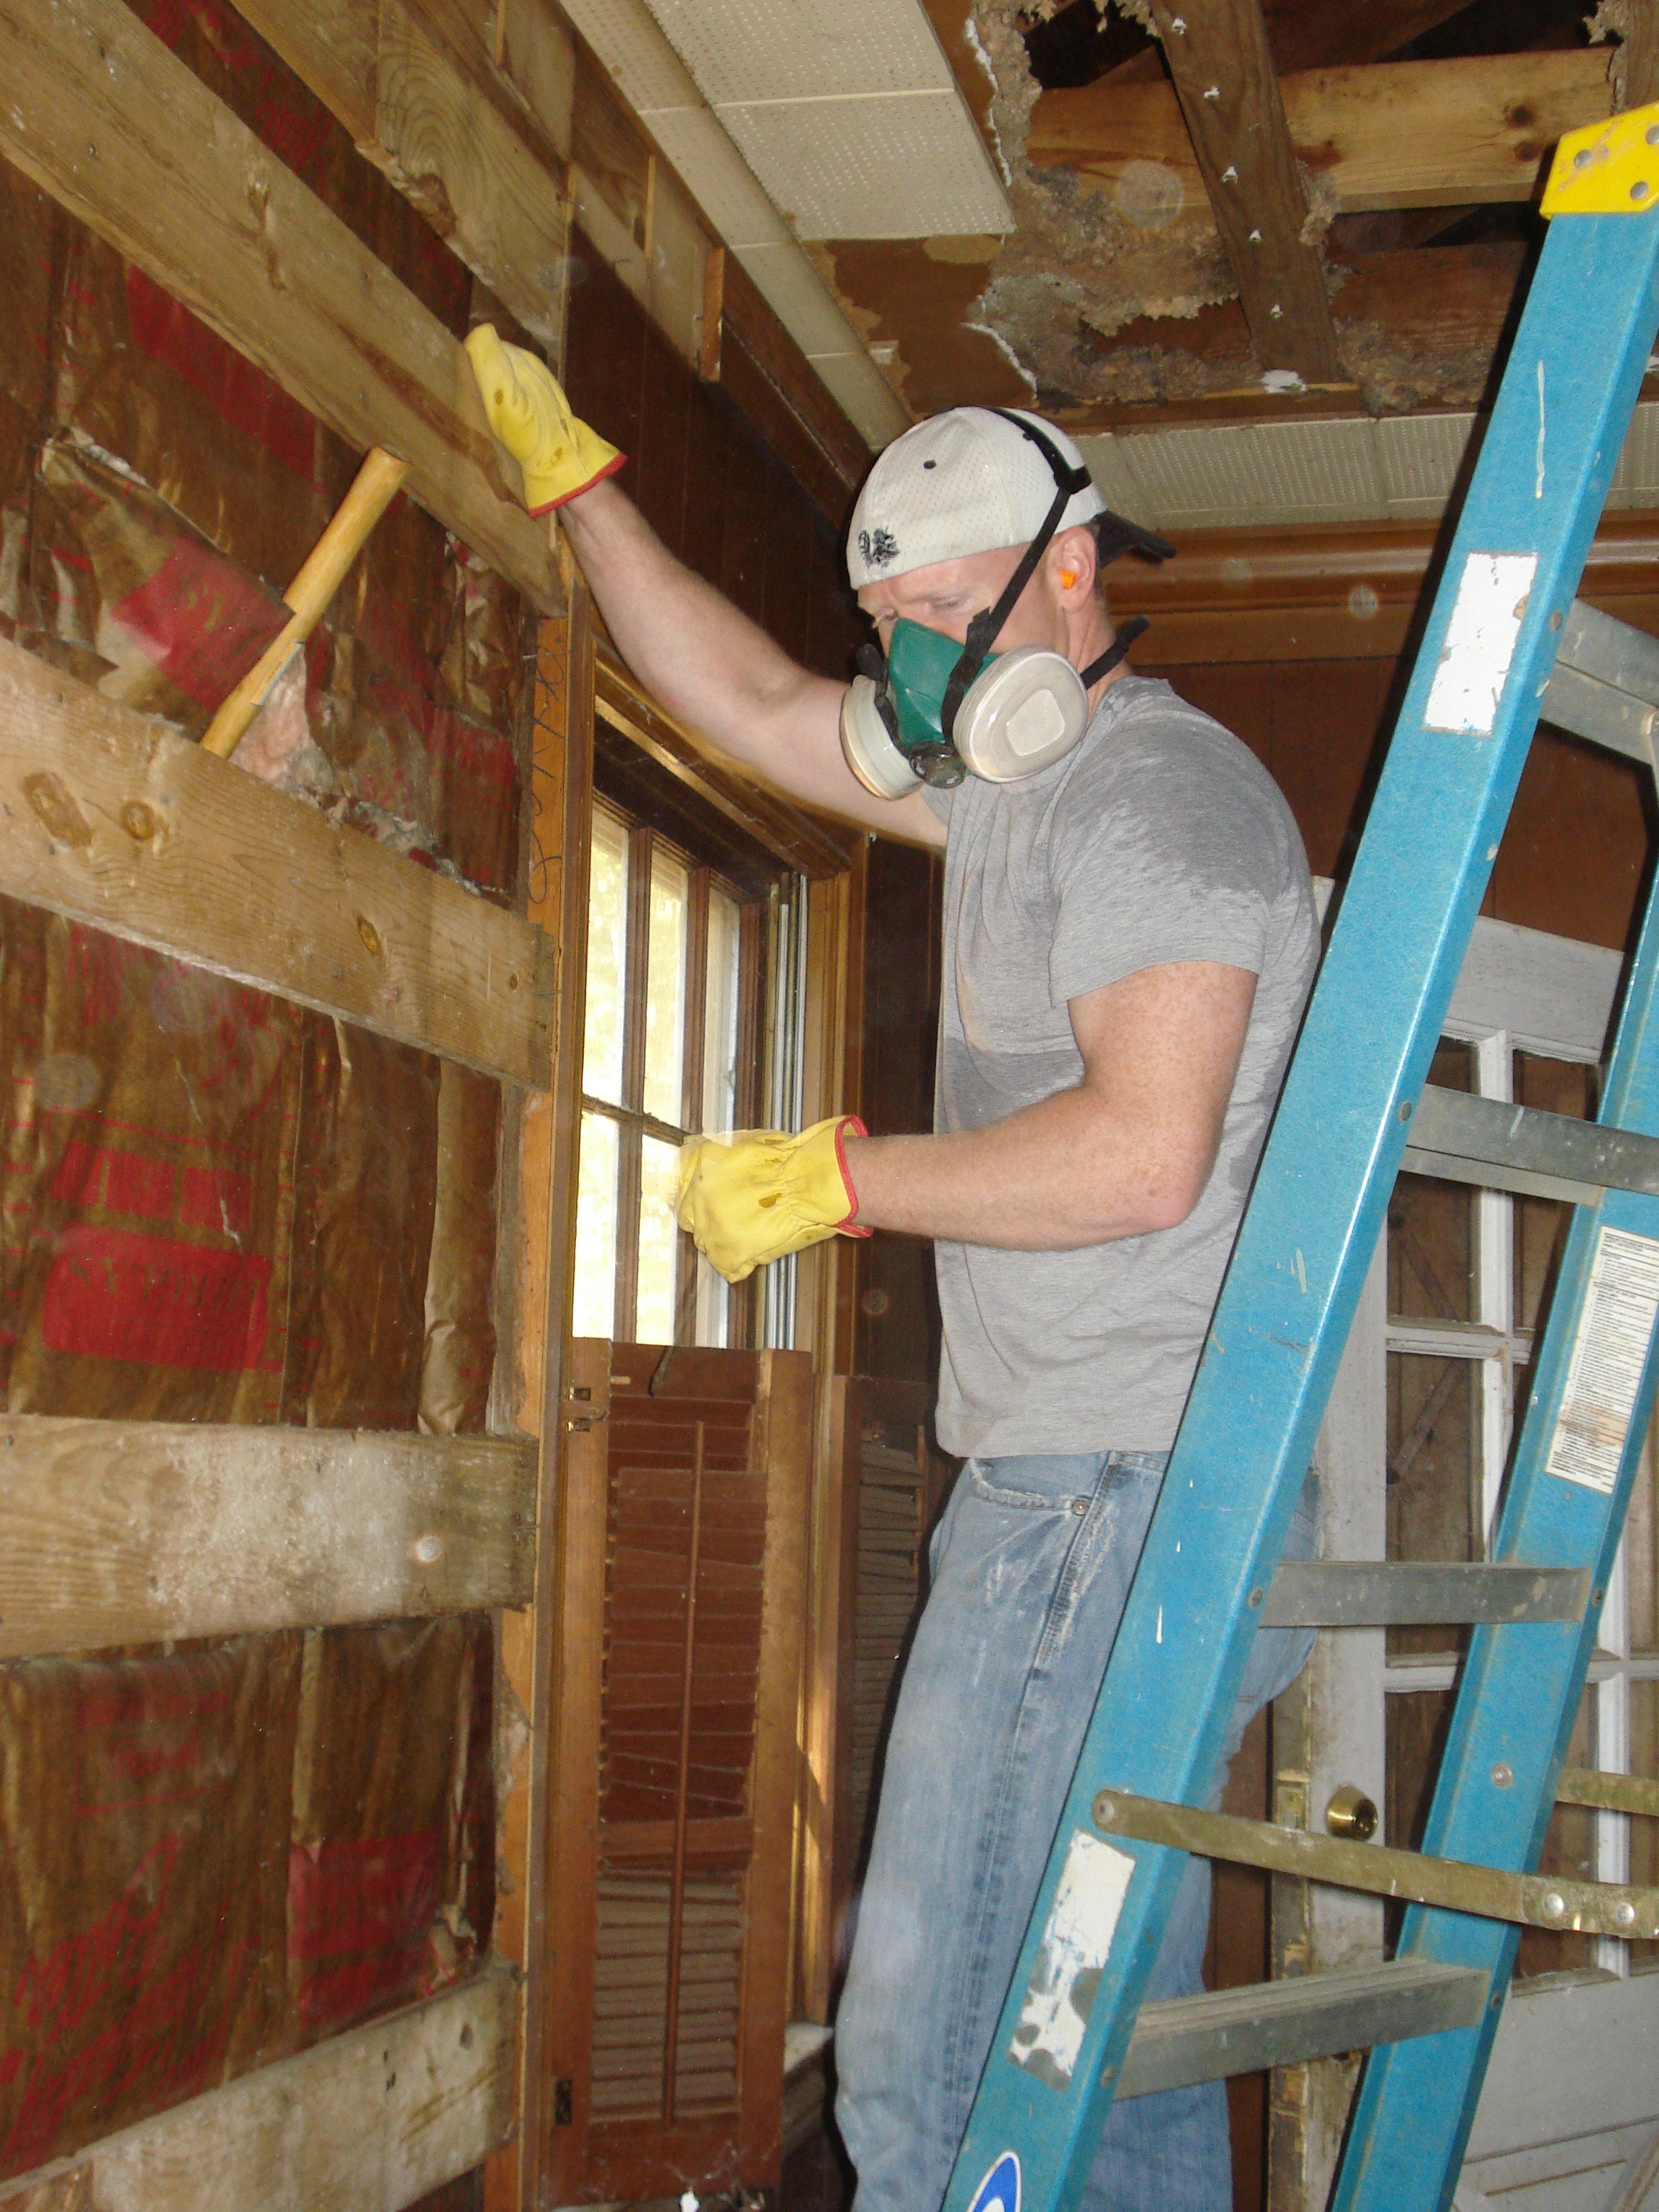
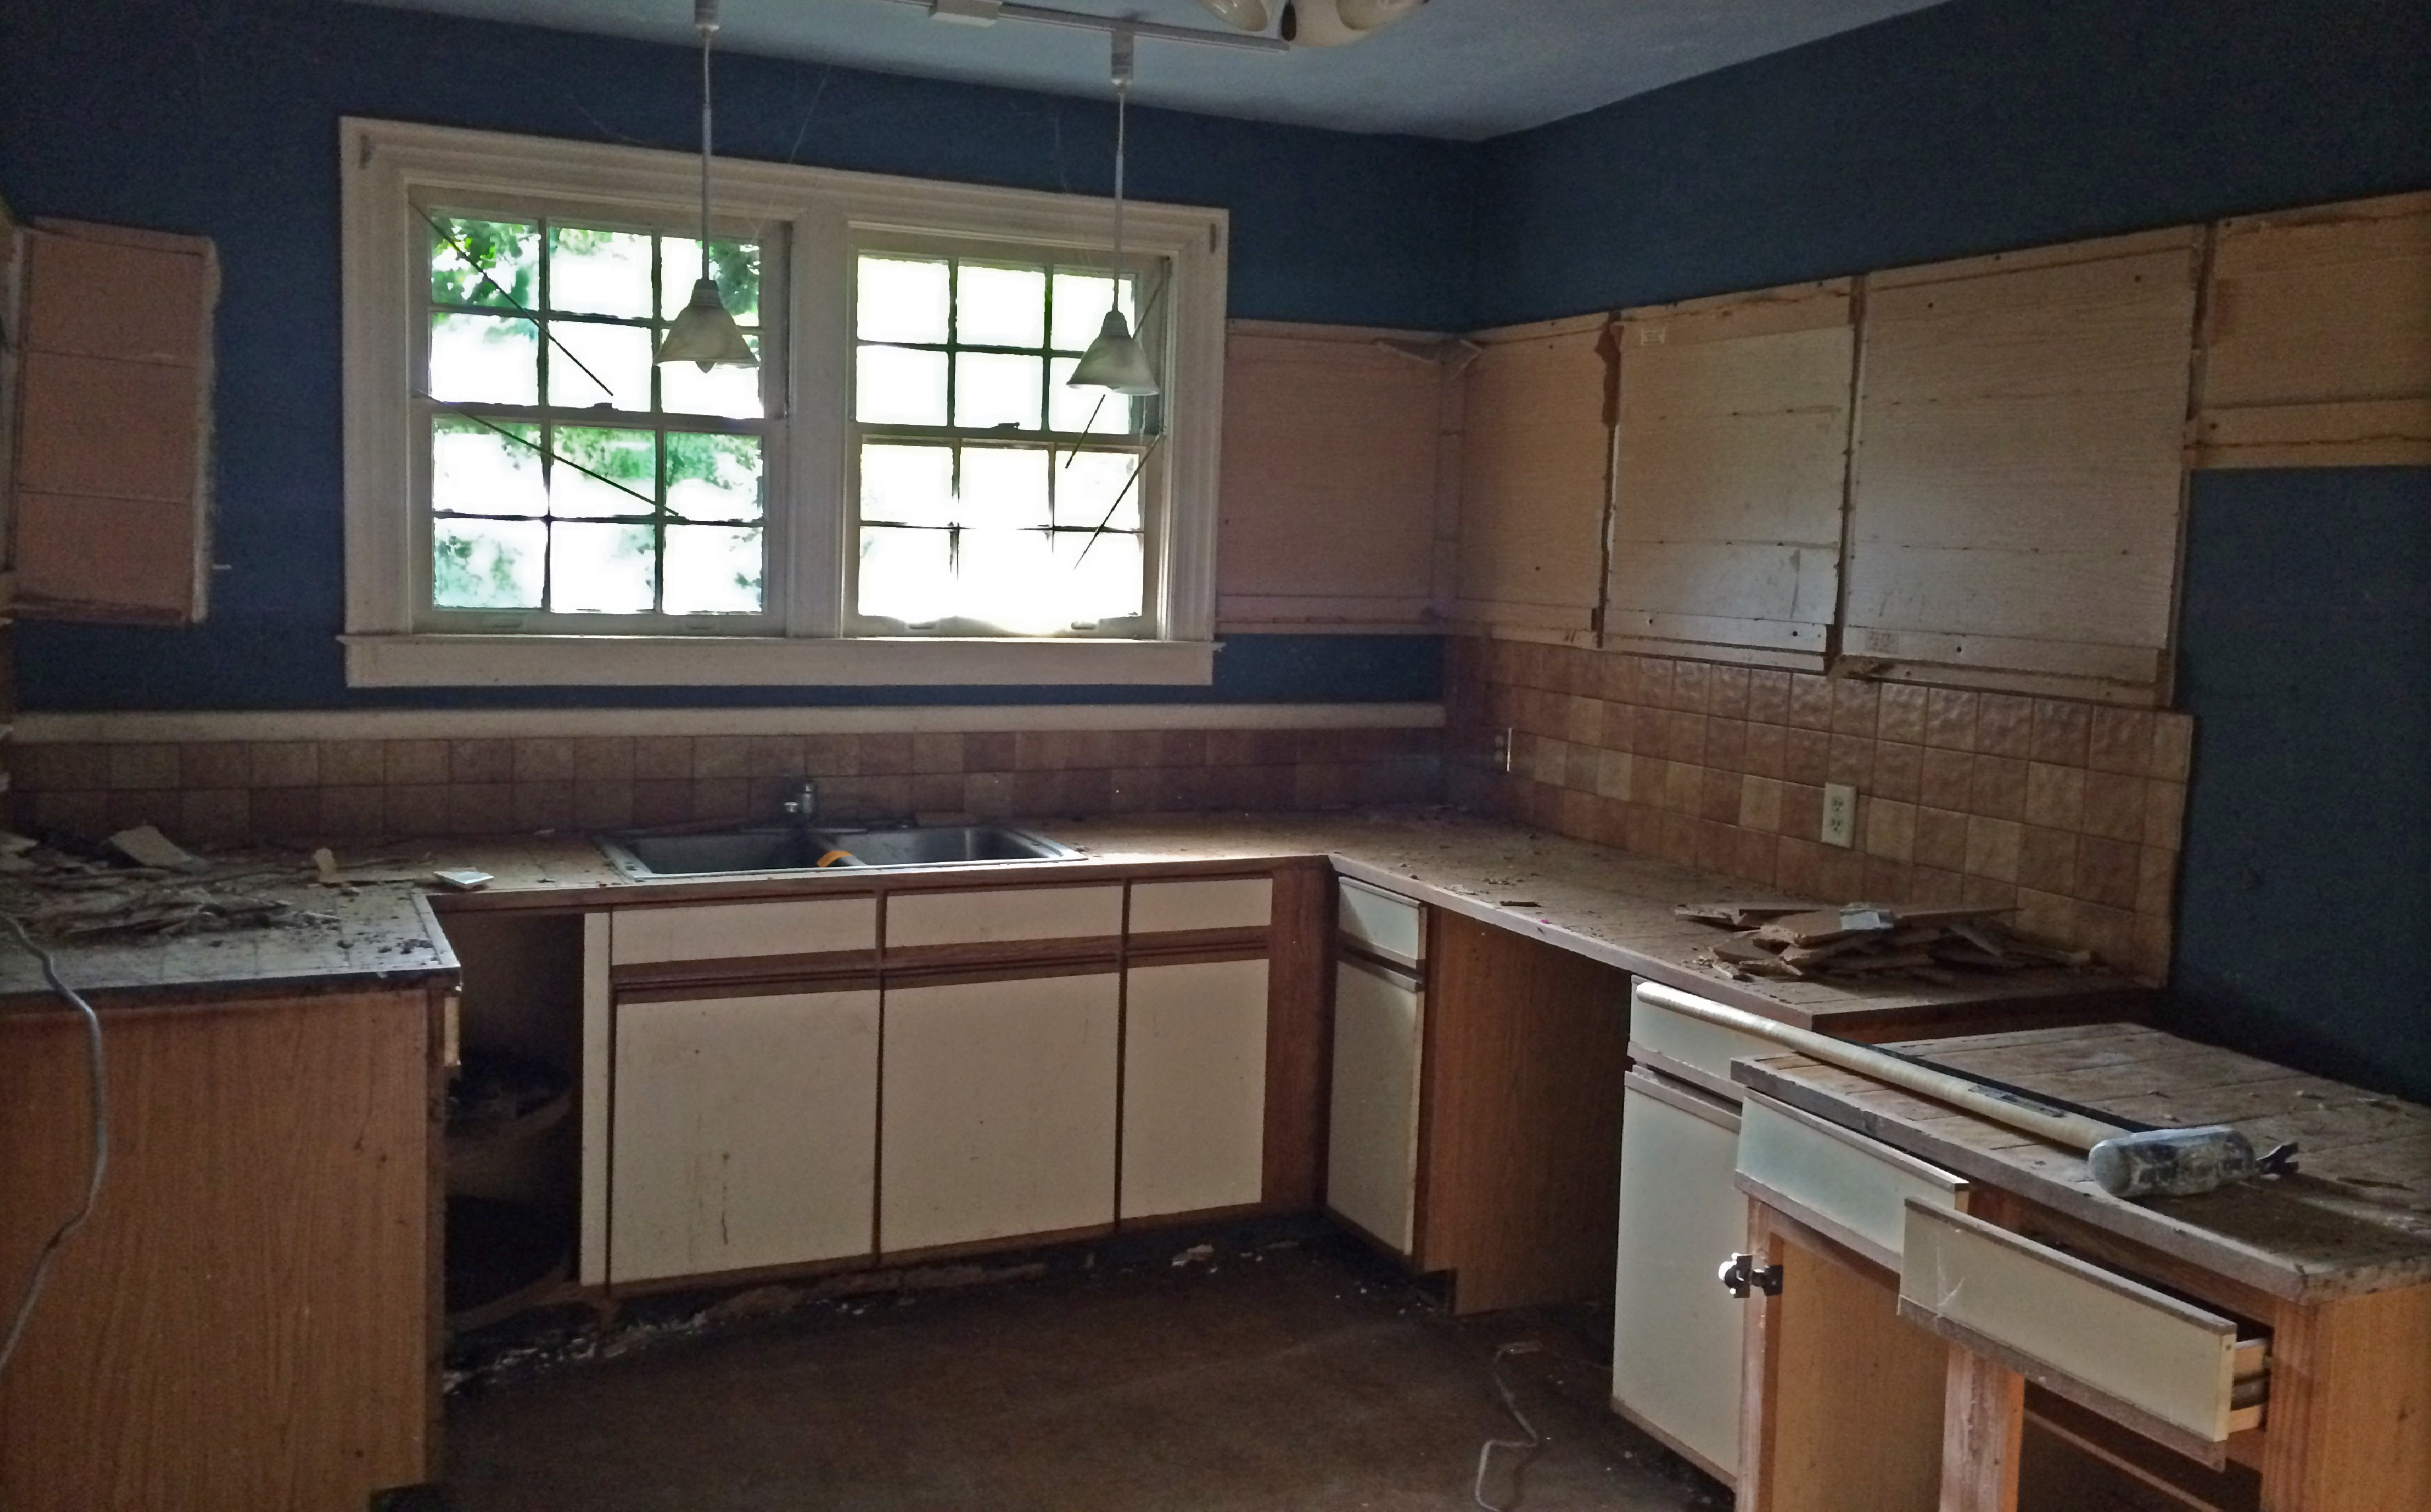
First on our list was fixing the weak links. Because of the age of our home and its state of disrepair, we had a few trouble spots to address where there were rotten or otherwise compromised studs and/or support joists. Many of these places were around windows that had begun to leak slowly over the years and underneath the super-heavy cast iron tubs in the bathrooms. Common theme: water. Don’t let it fool you; water can be the destroyer of worlds if you leave it unchecked! Thankfully, we had mostly superficial, ugly-but-not-serious damage. We only had two relatively small “surprises” where floor joists needed to be shored up from underneath the house…both cases in the bathrooms underneath three and five hundred pound tubs. (Can’t say I’m surprised that a few of those poor joists needed some reinforcements after carrying weight like that for 70+ years.)
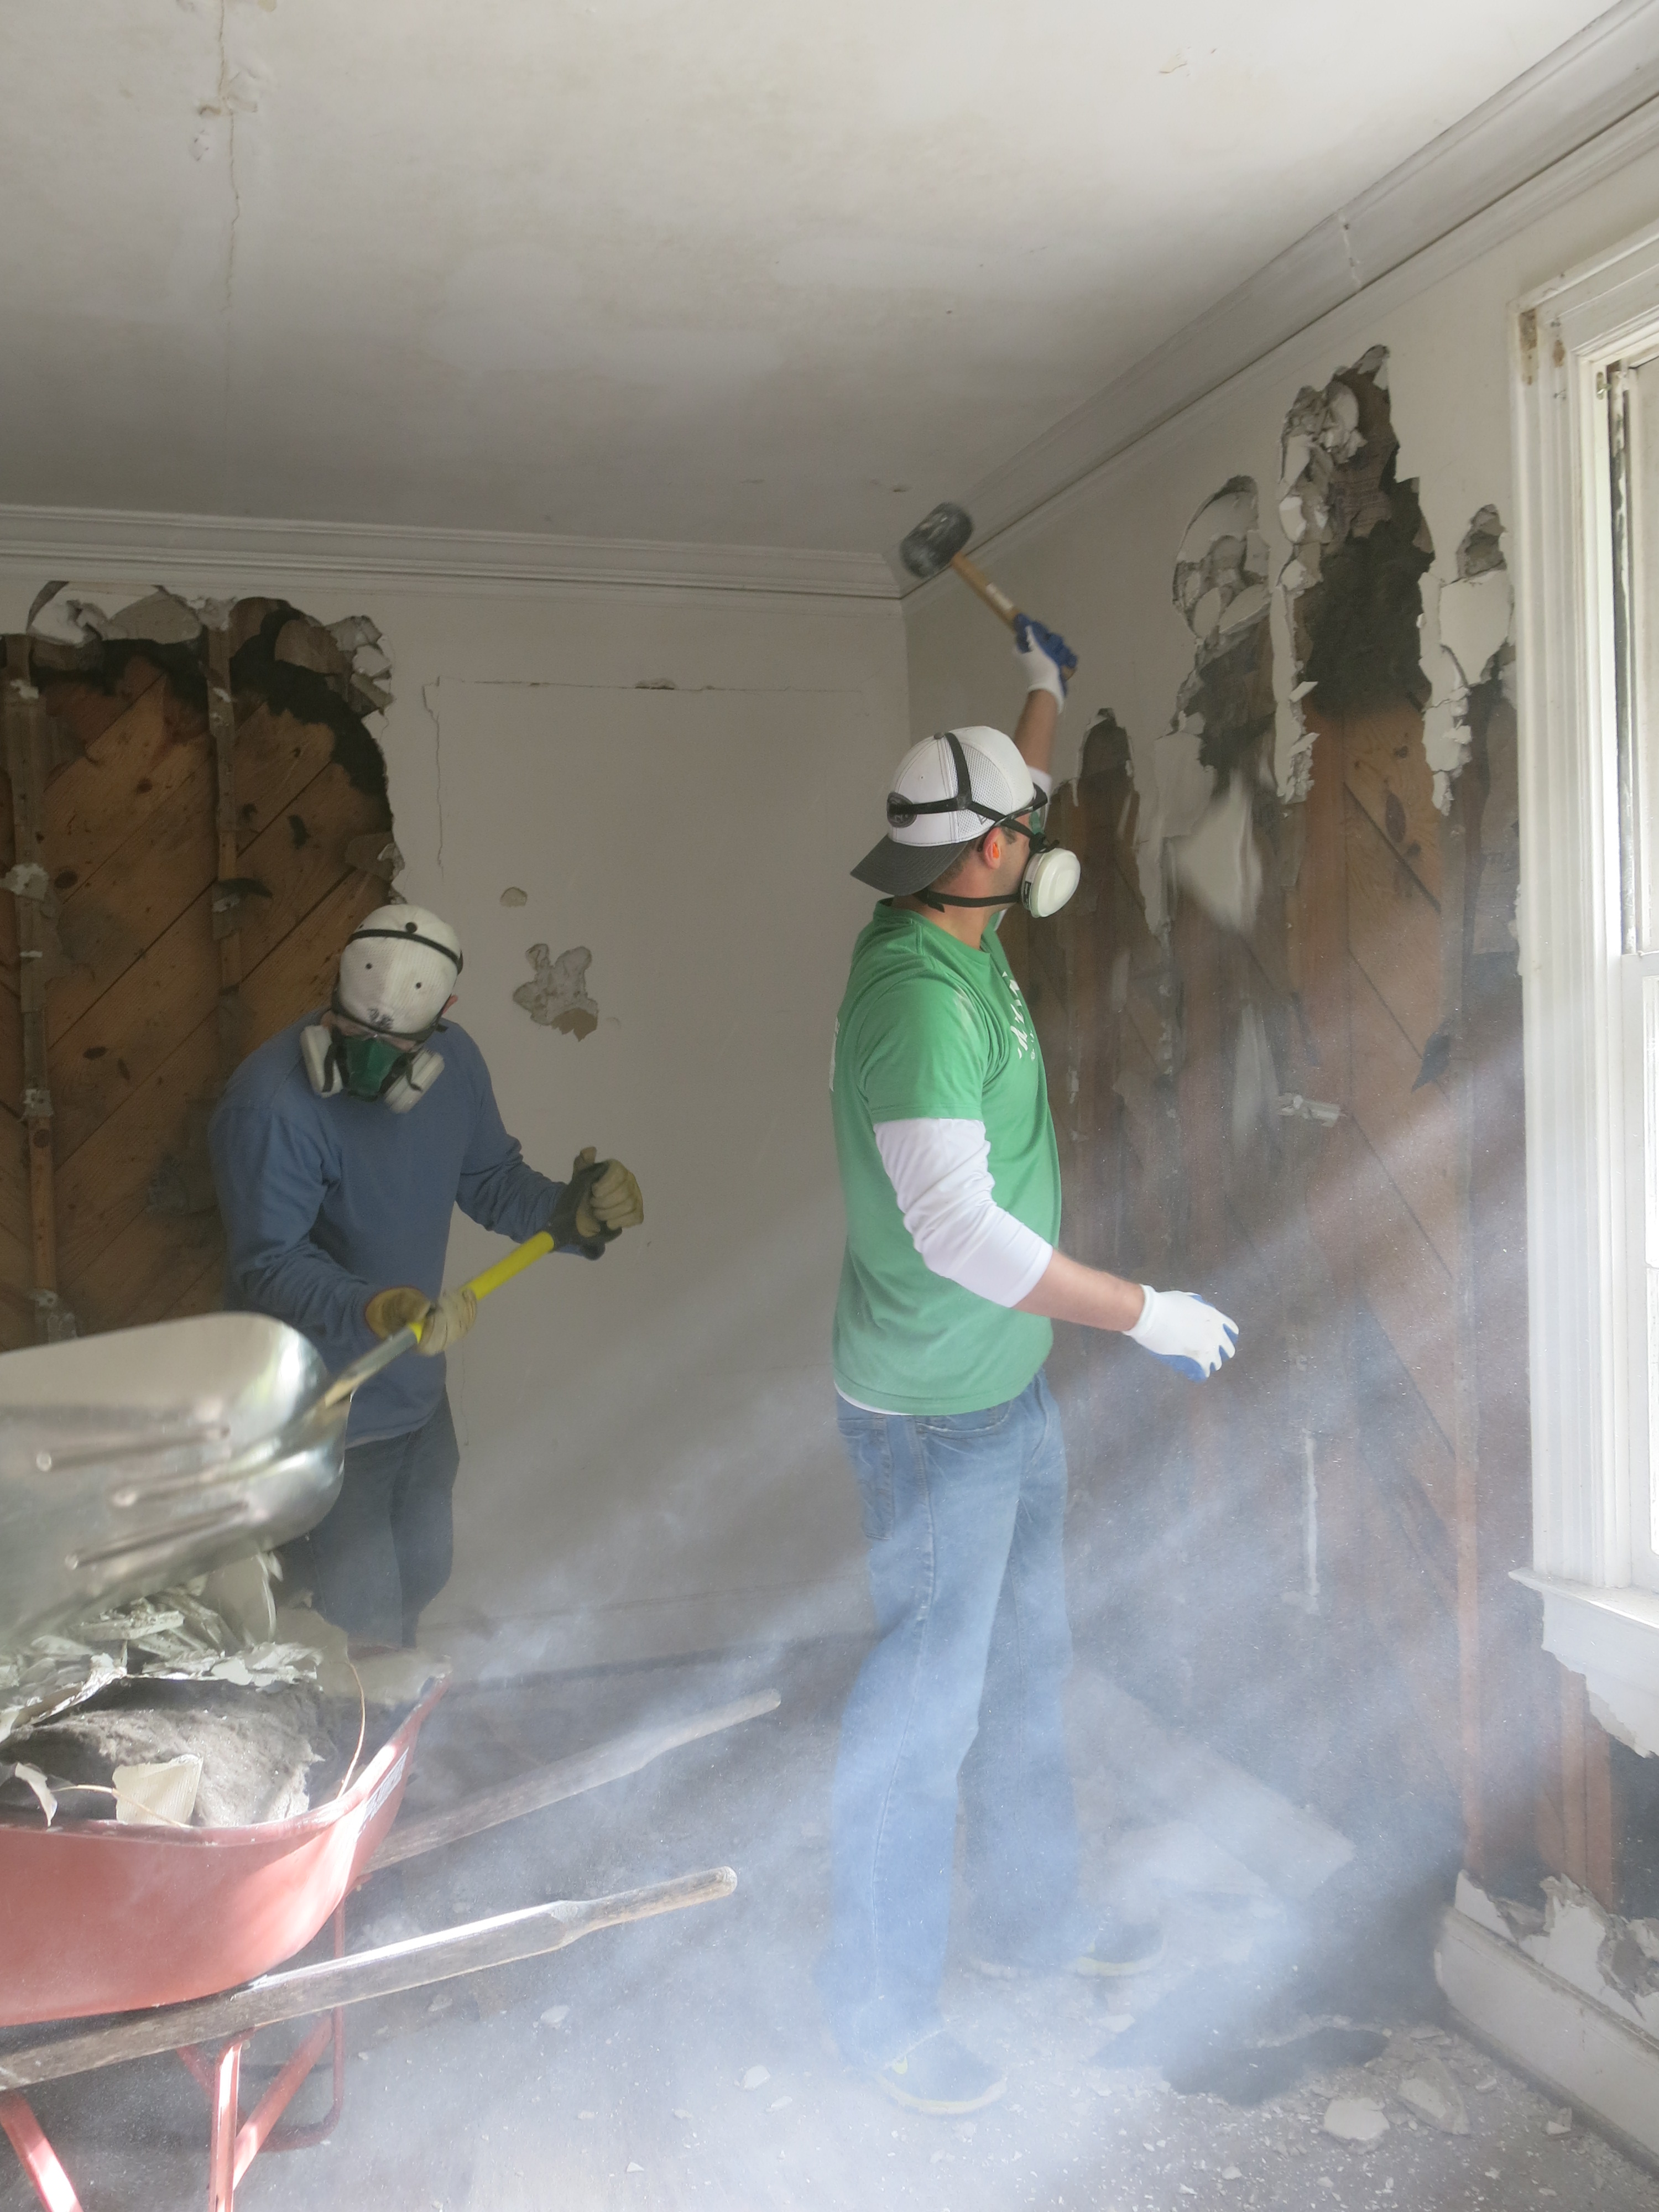
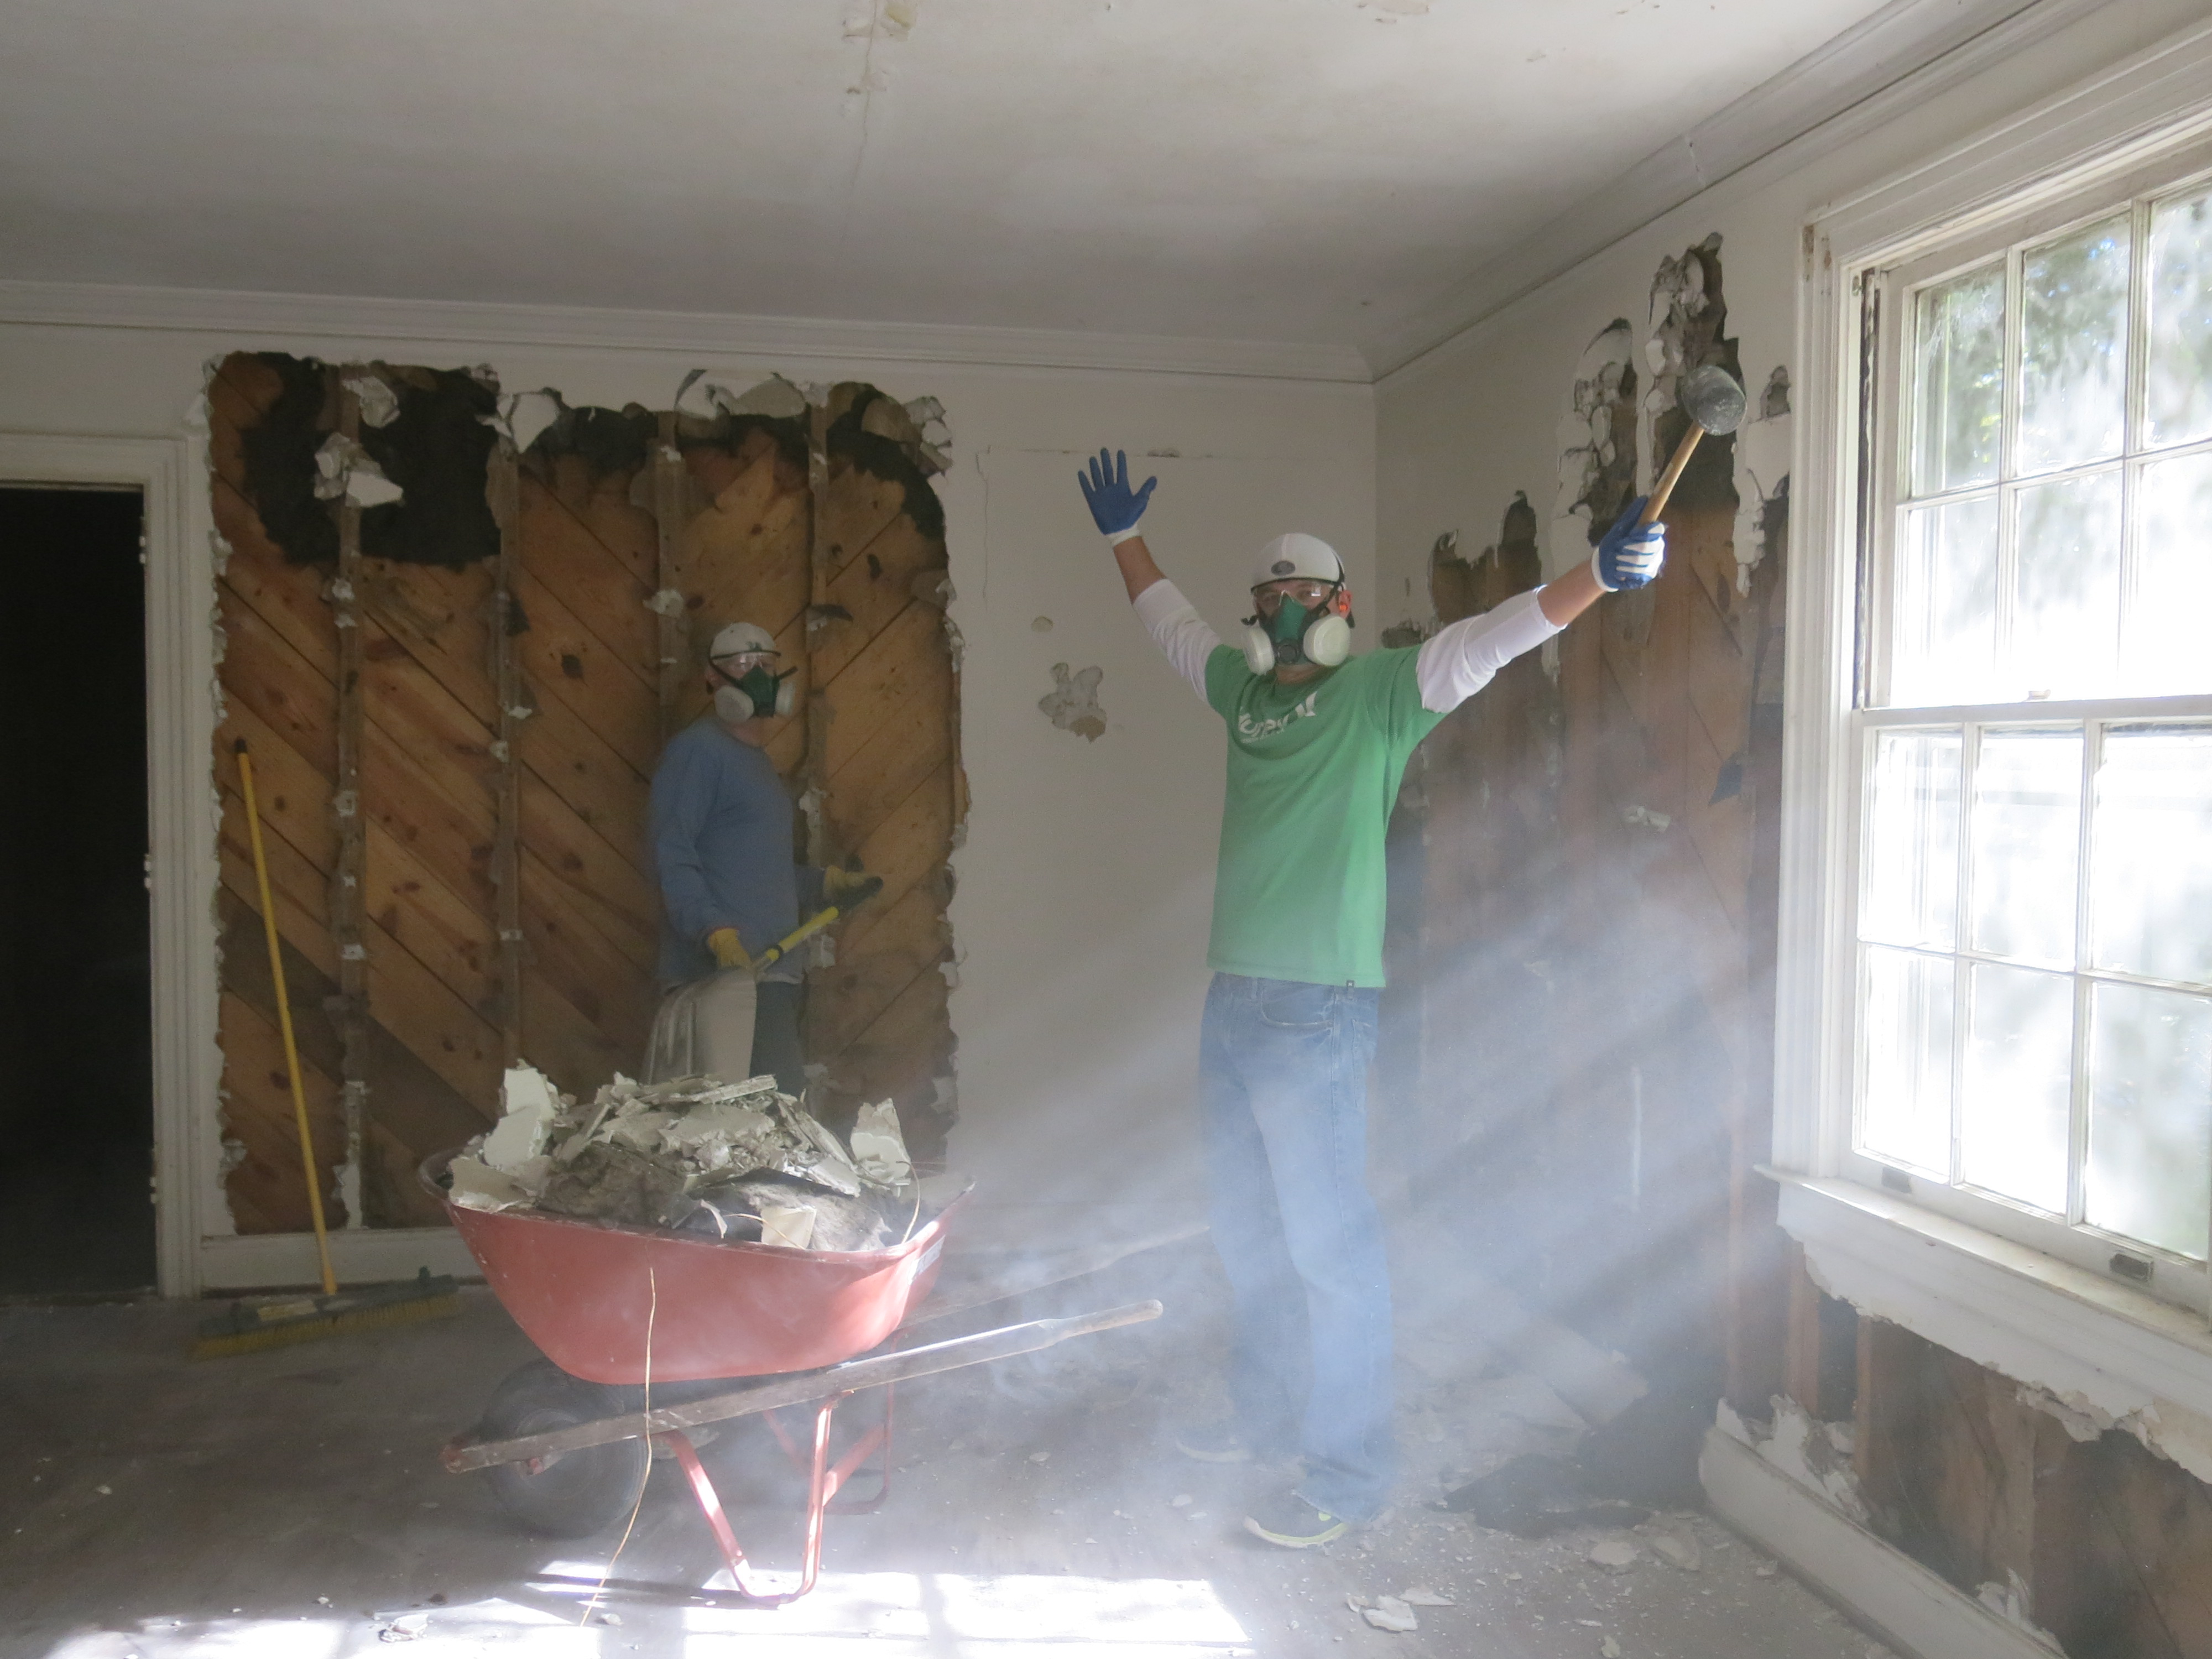
Damage control:

A couple of nasty rotten spots caused by slow leaks.

Two front doors? Nope! Repairing the joists under the master bathtub/beside the front porch.

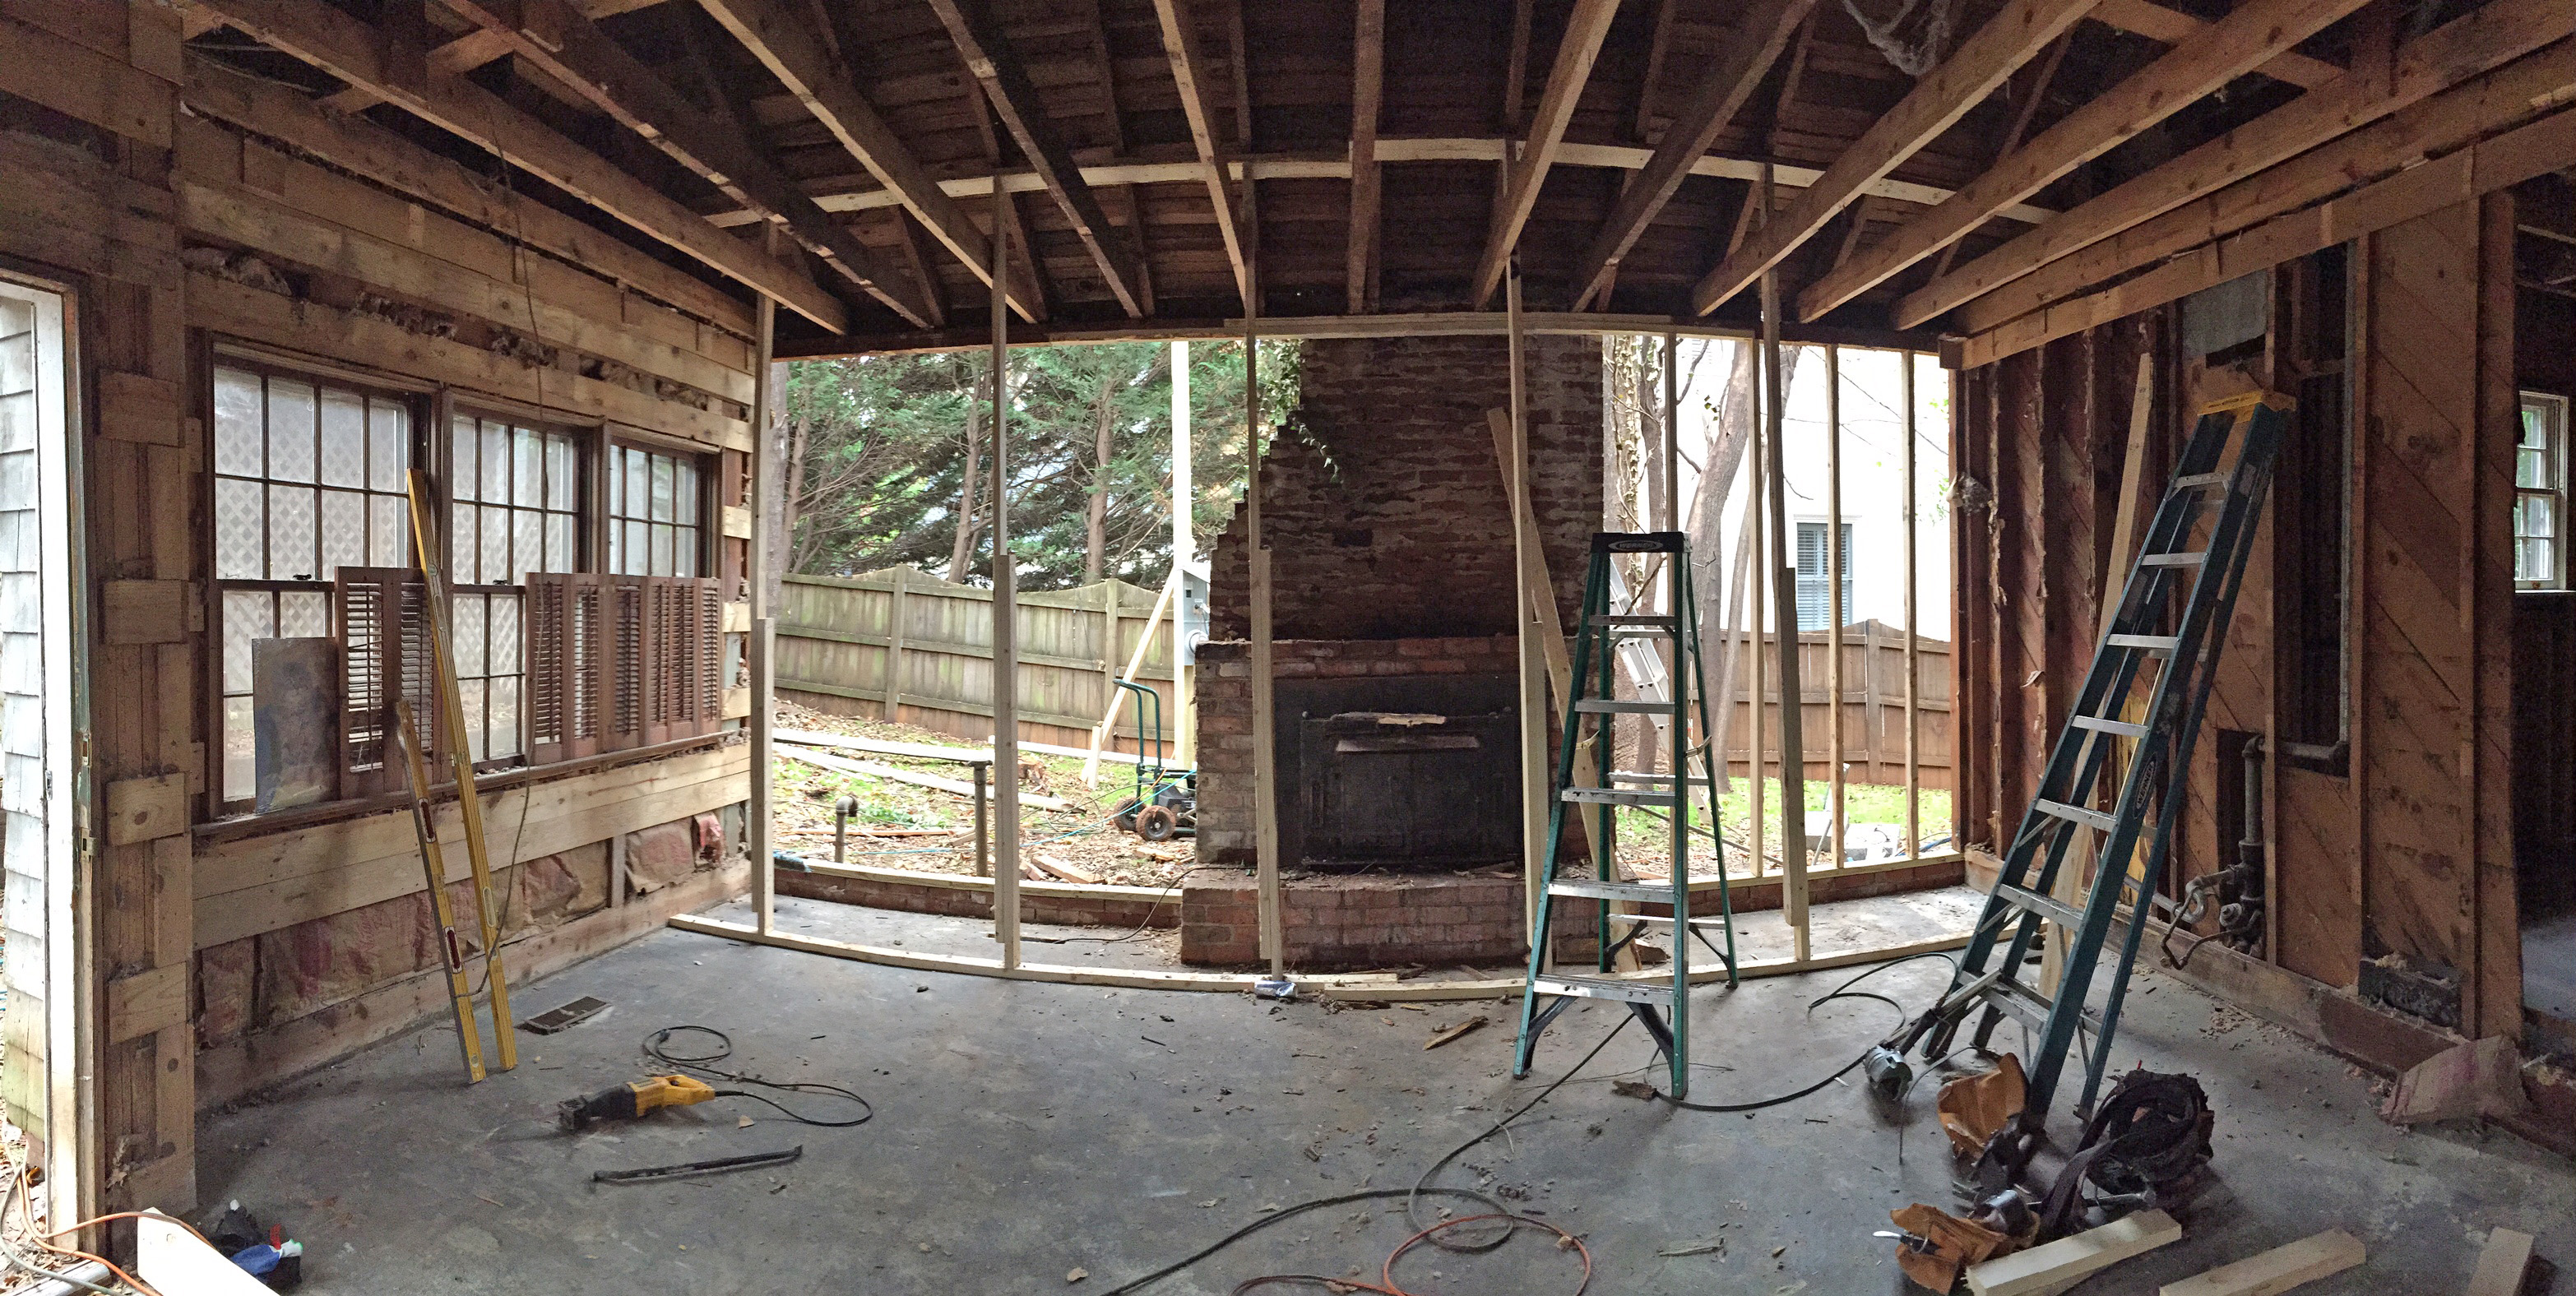
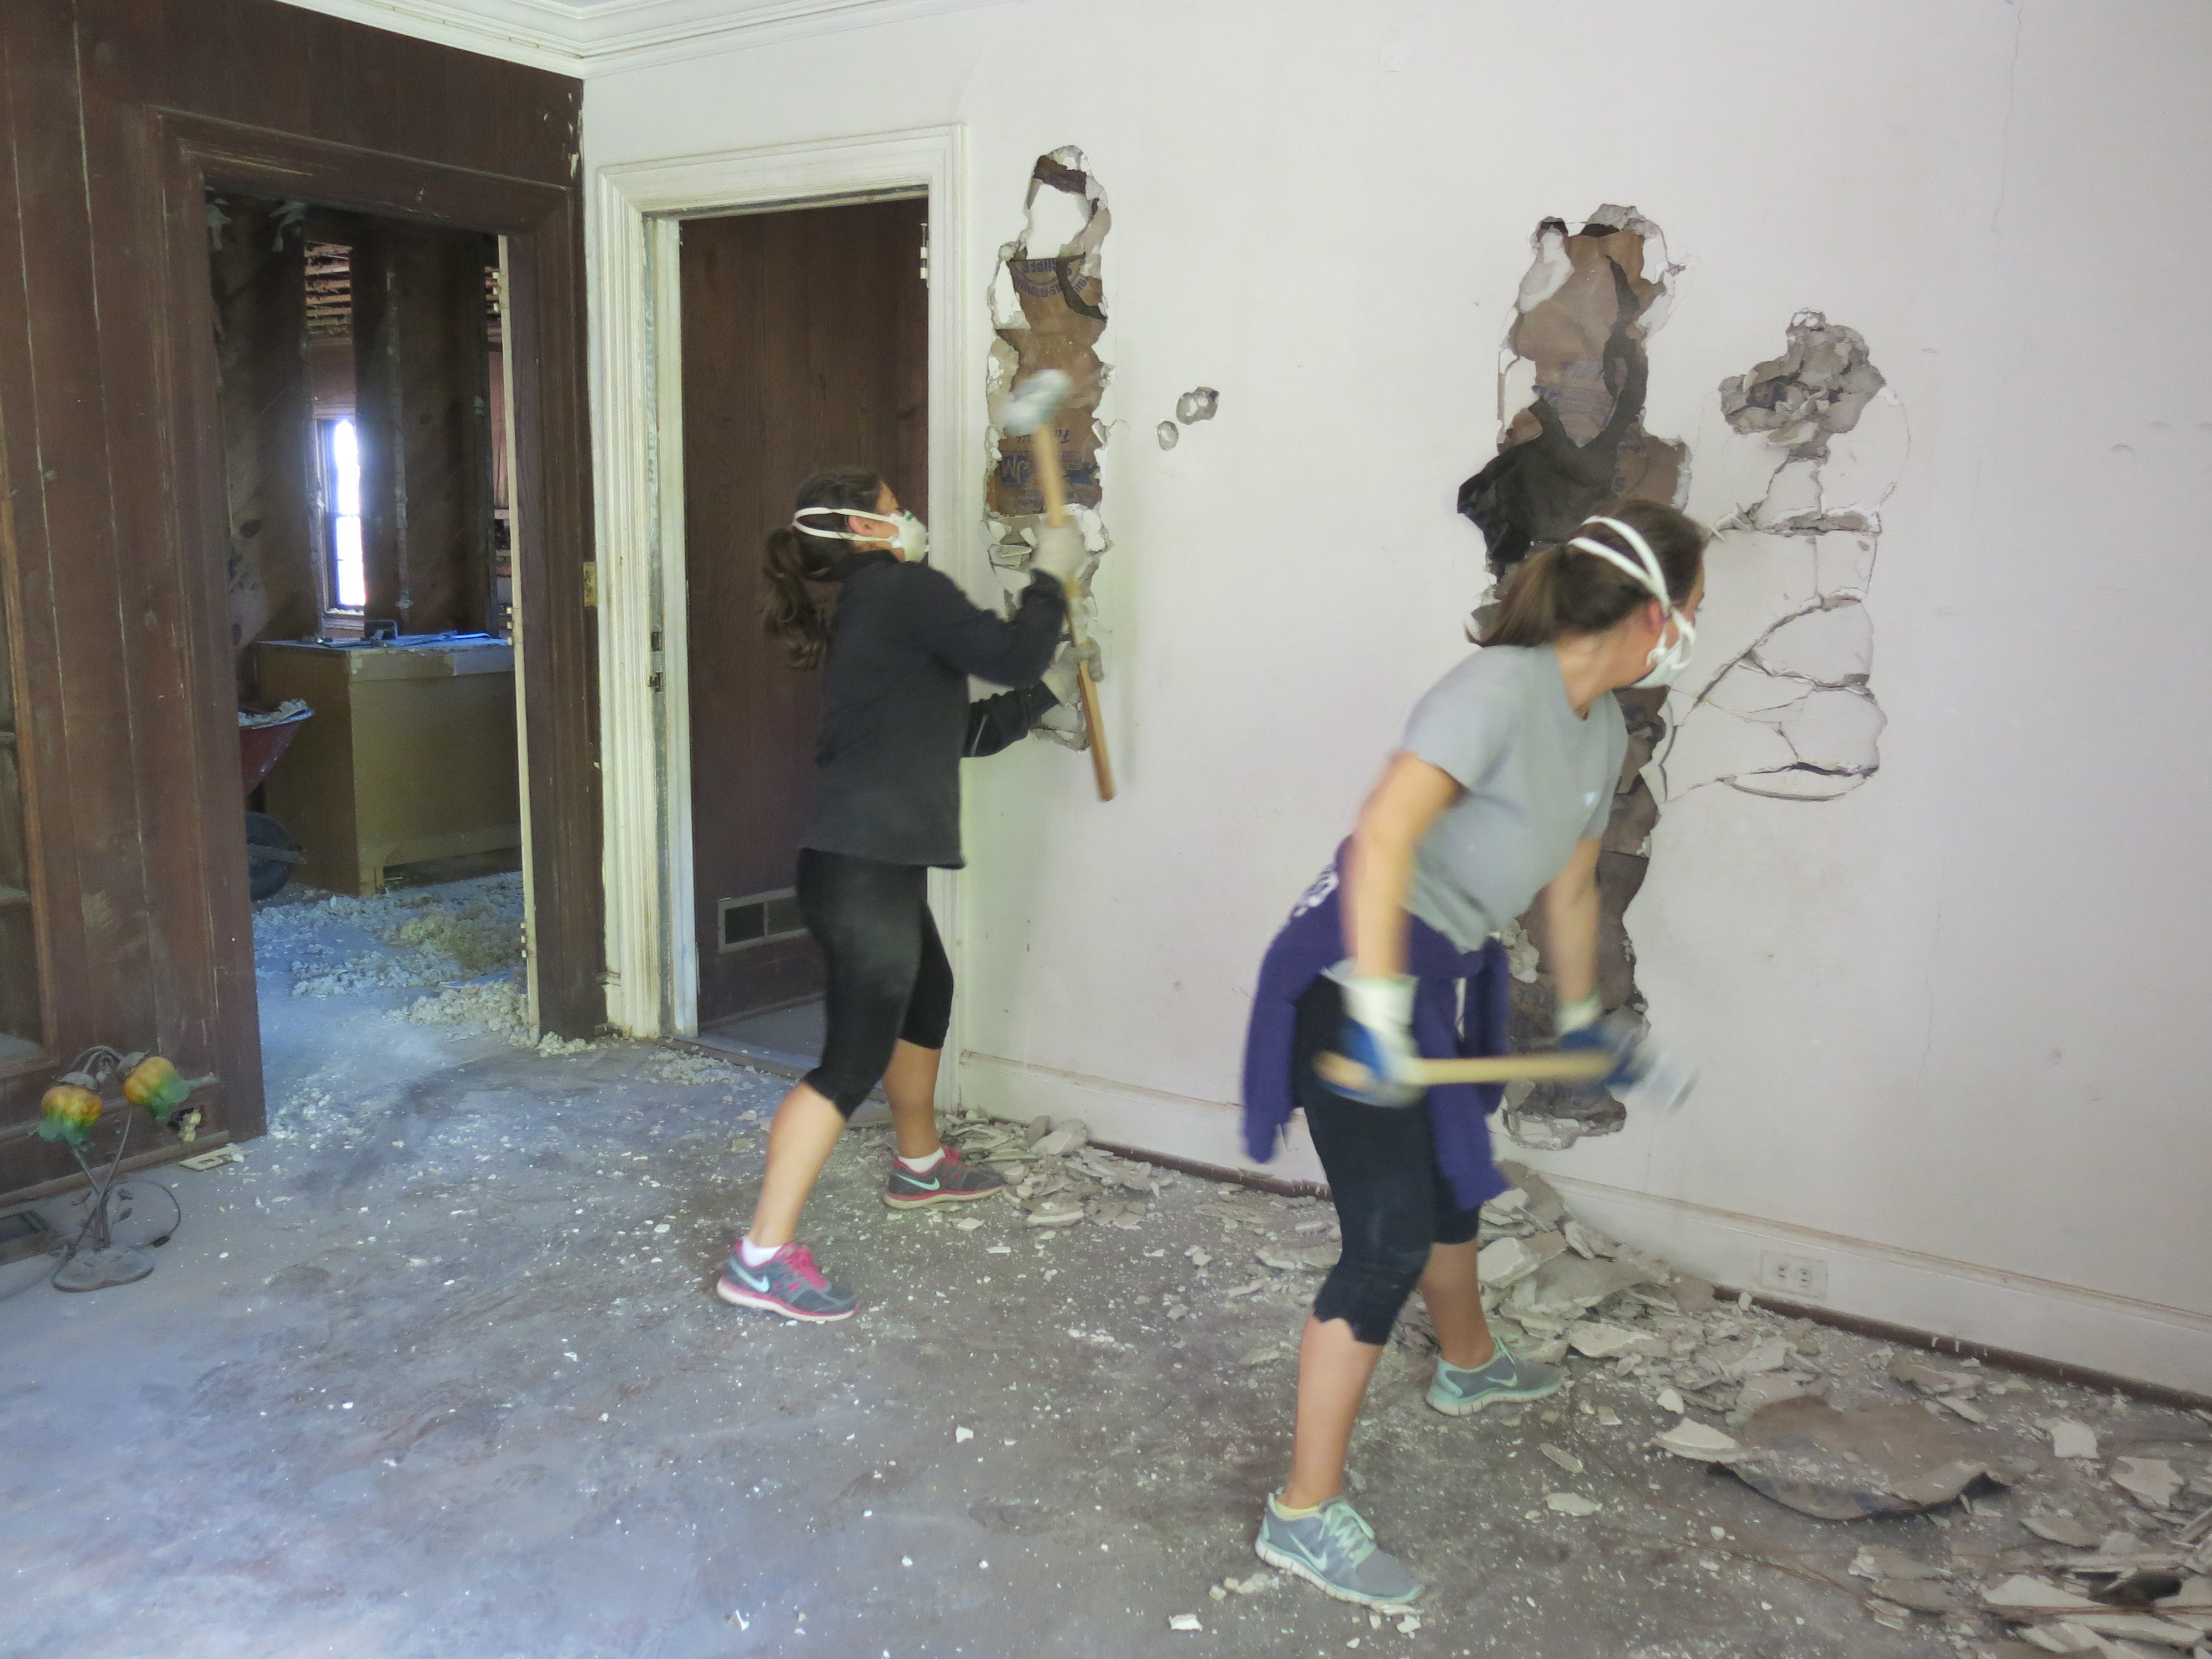
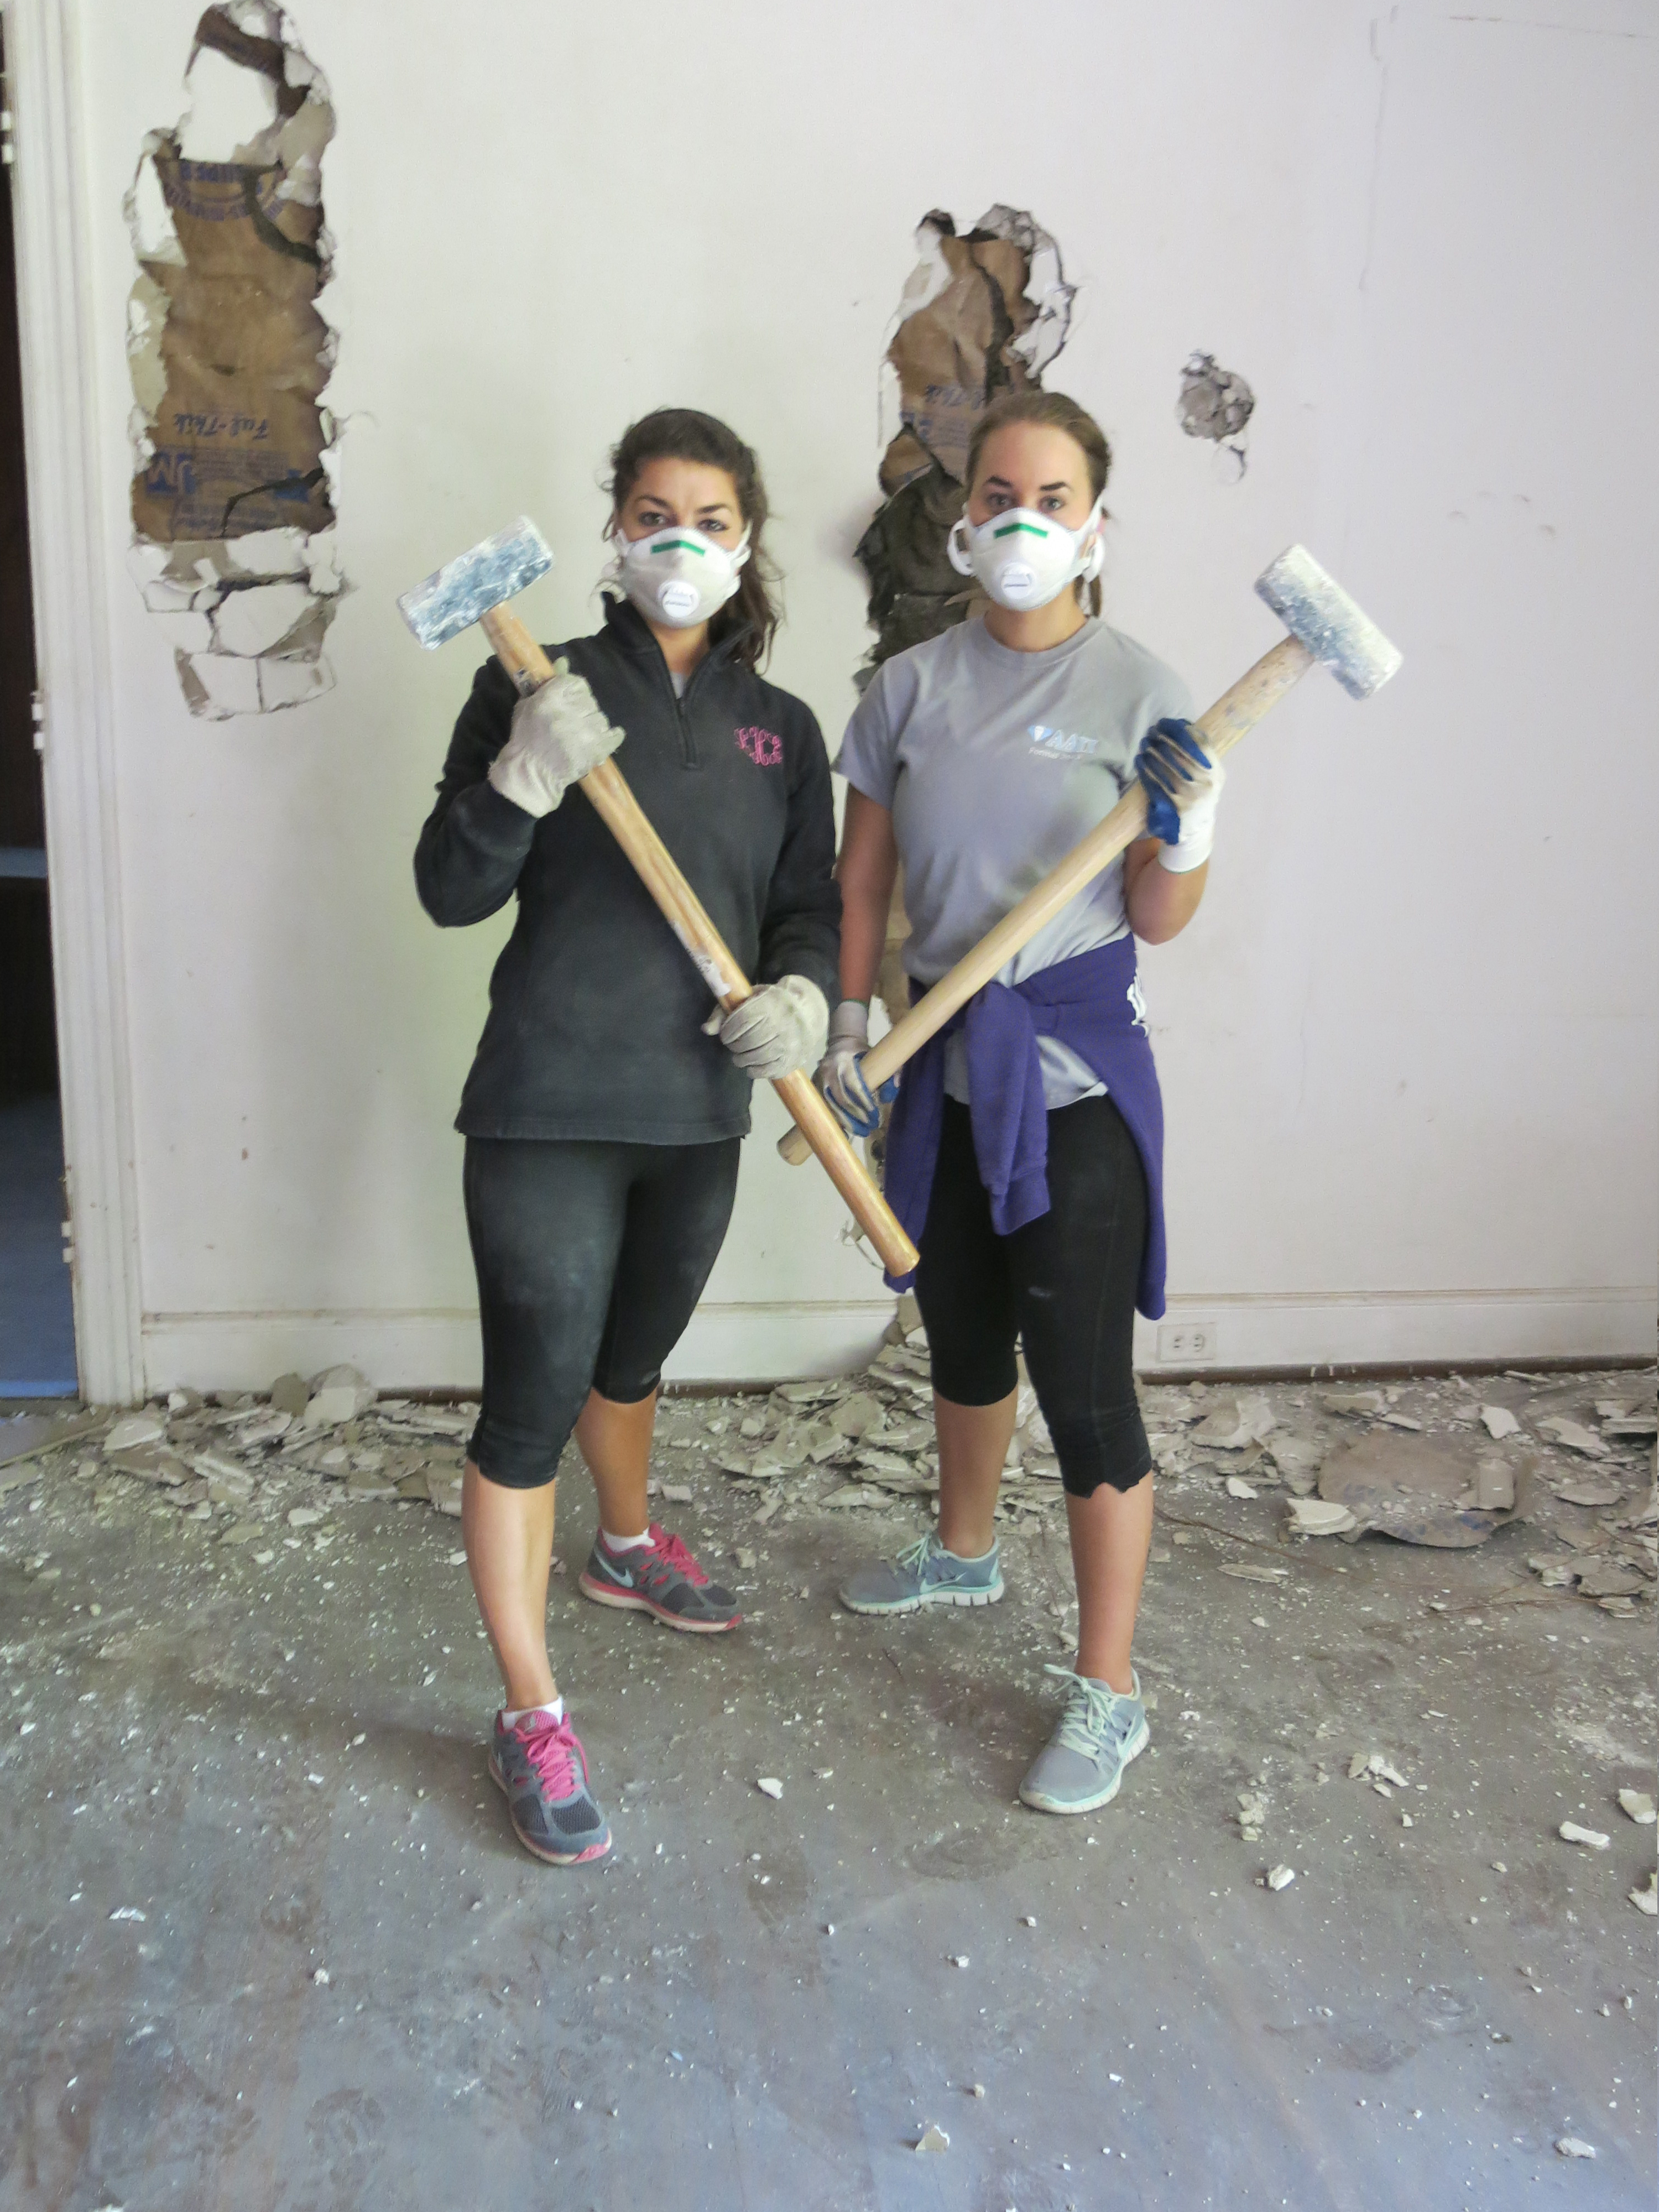
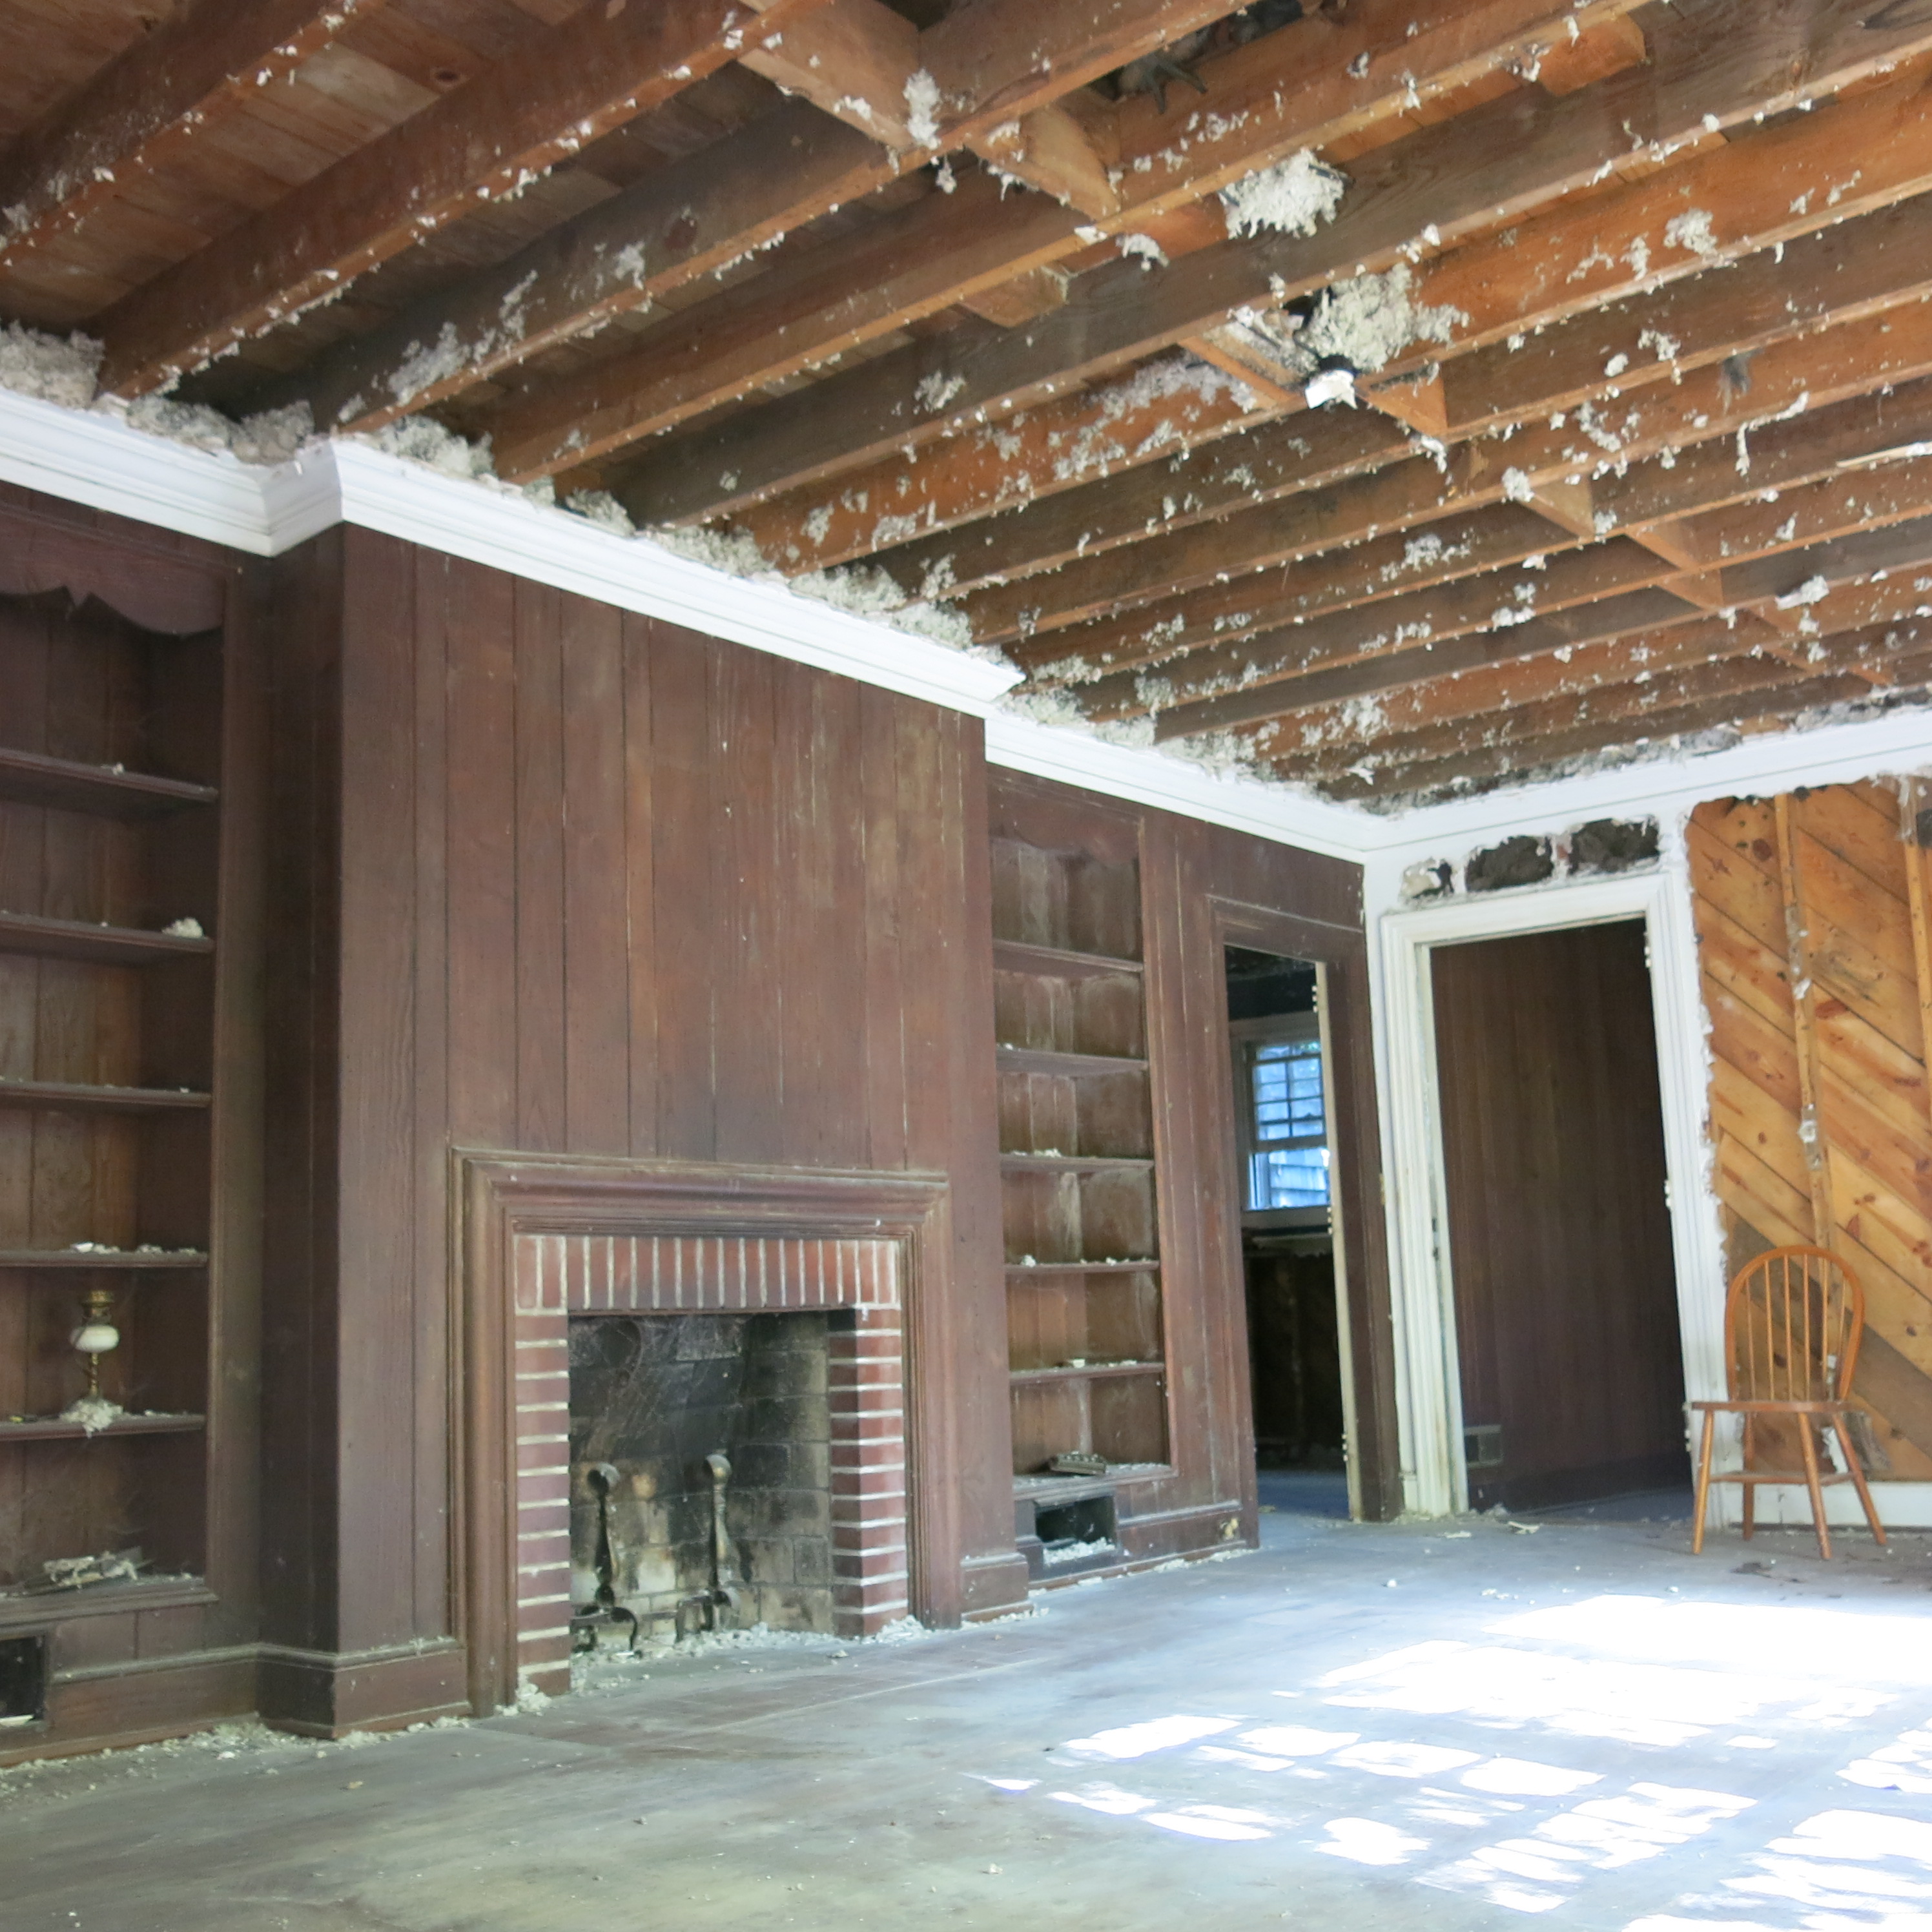
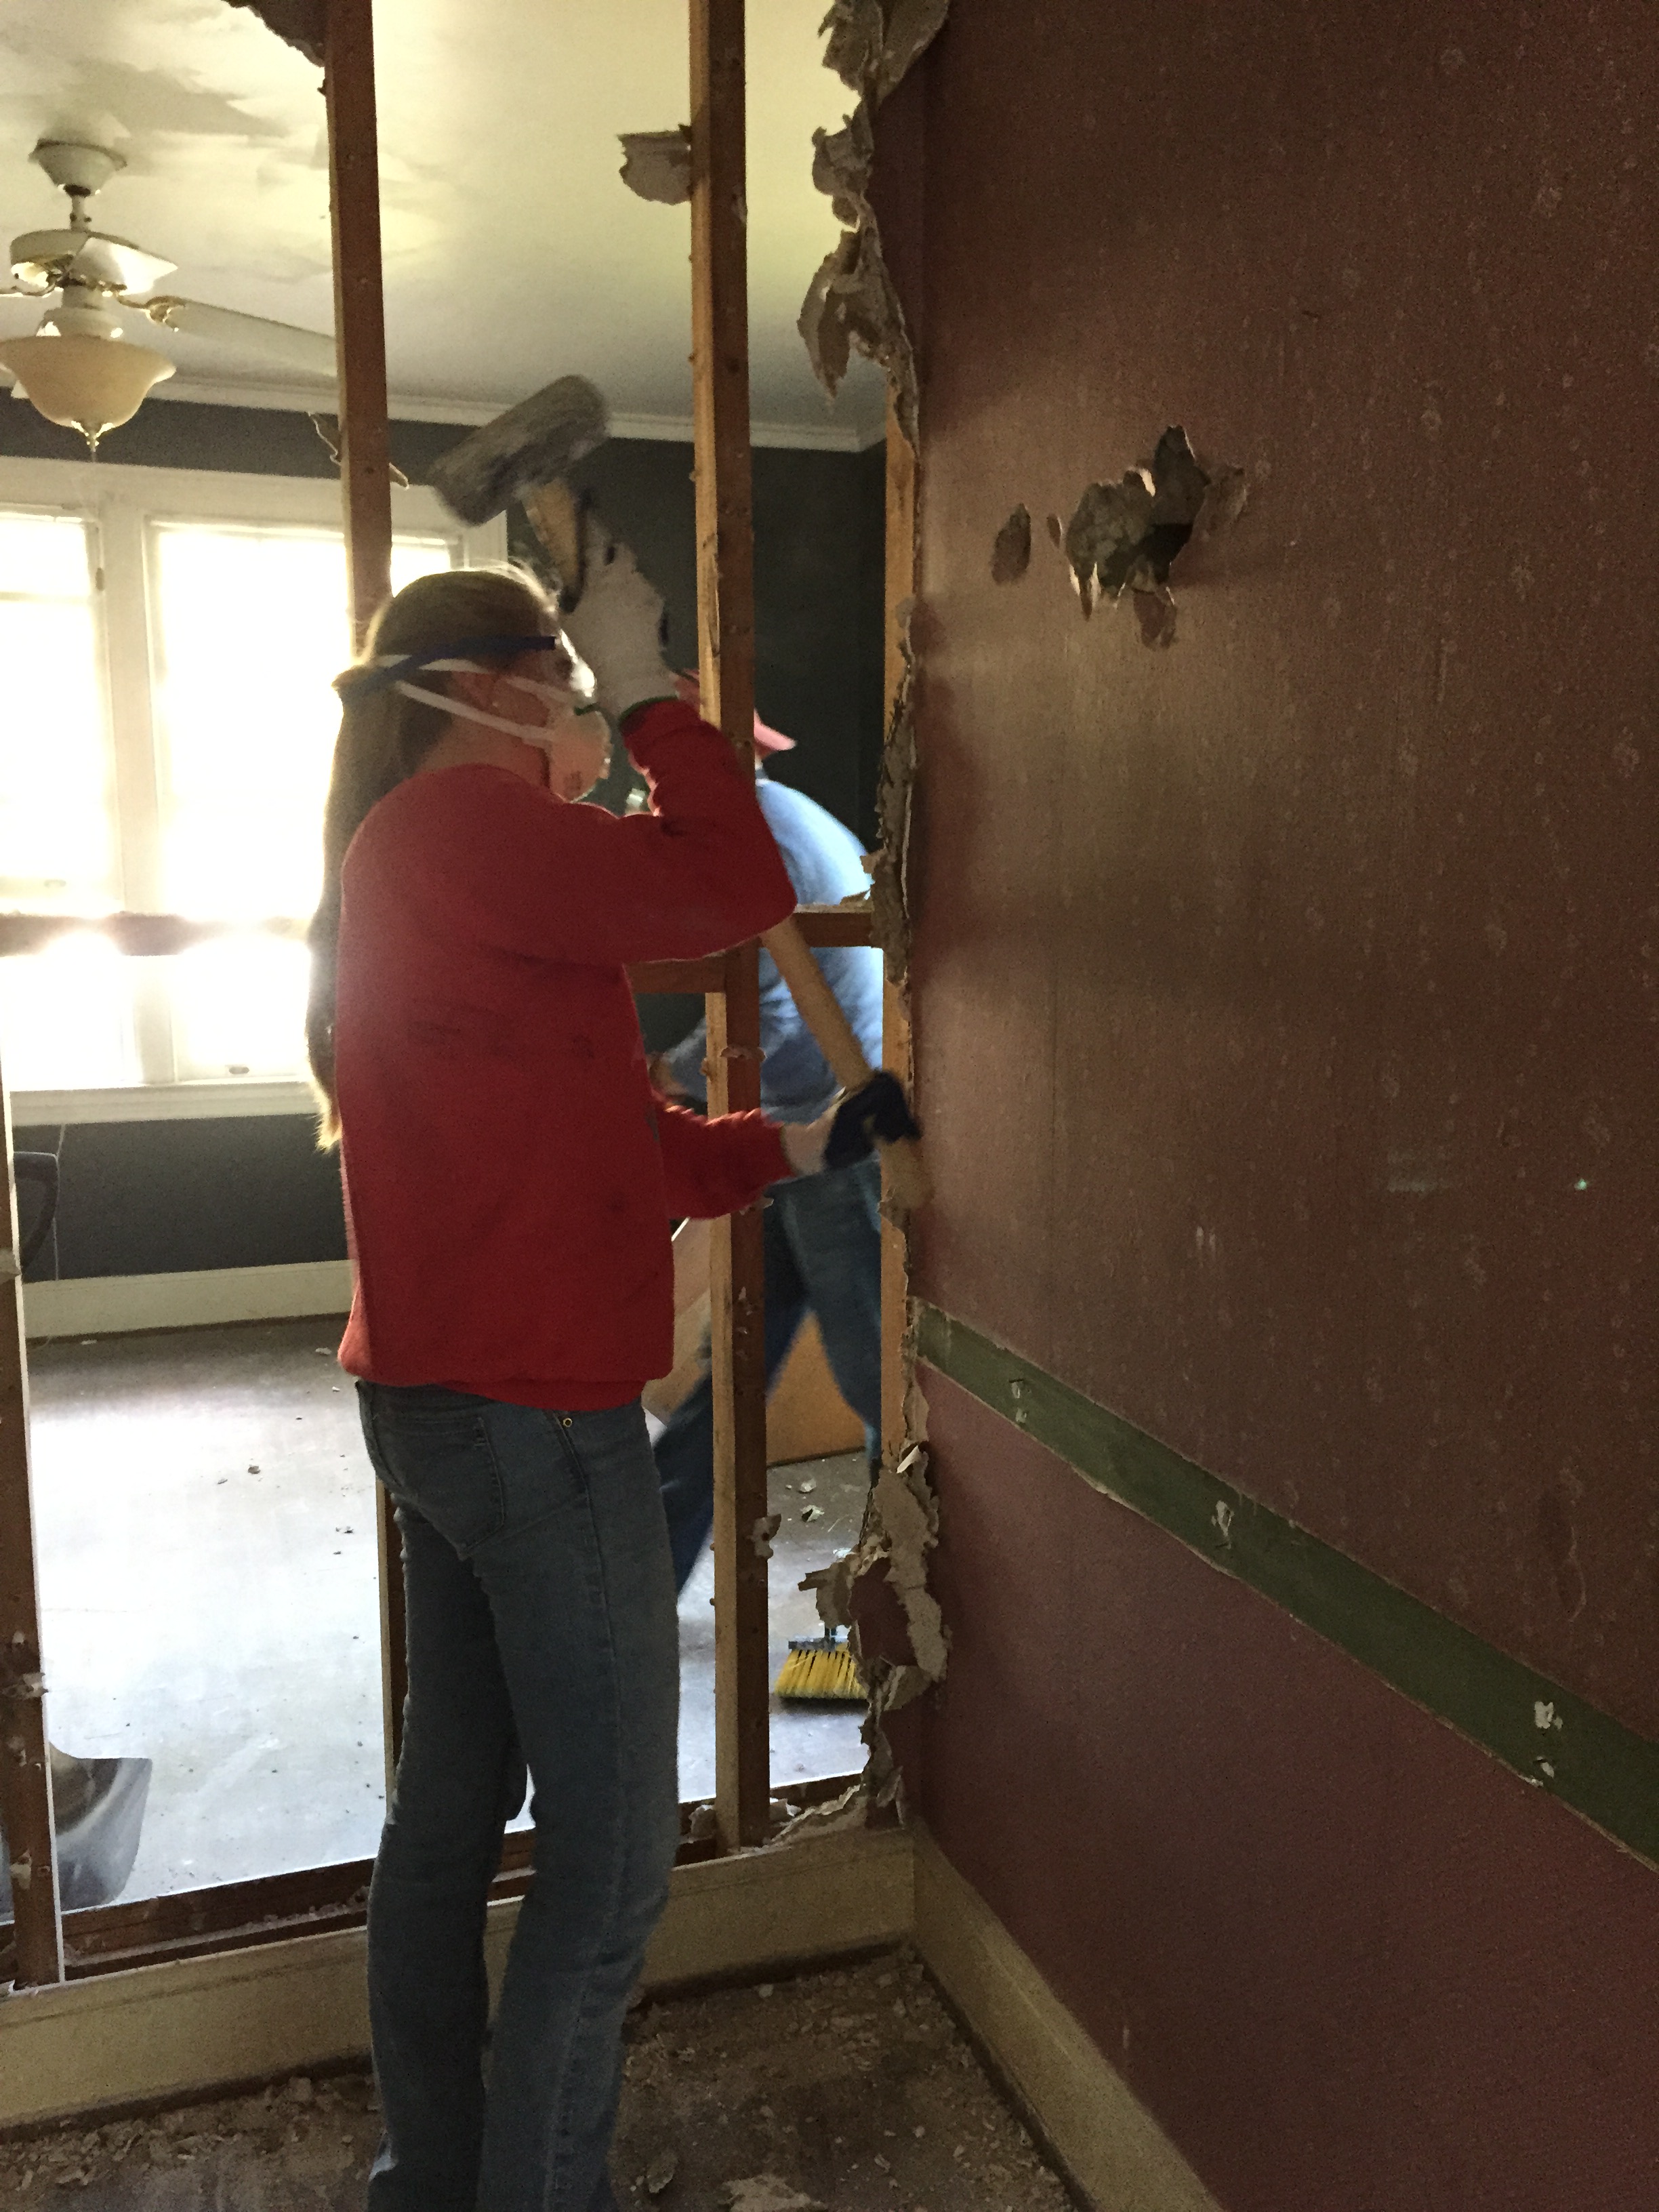
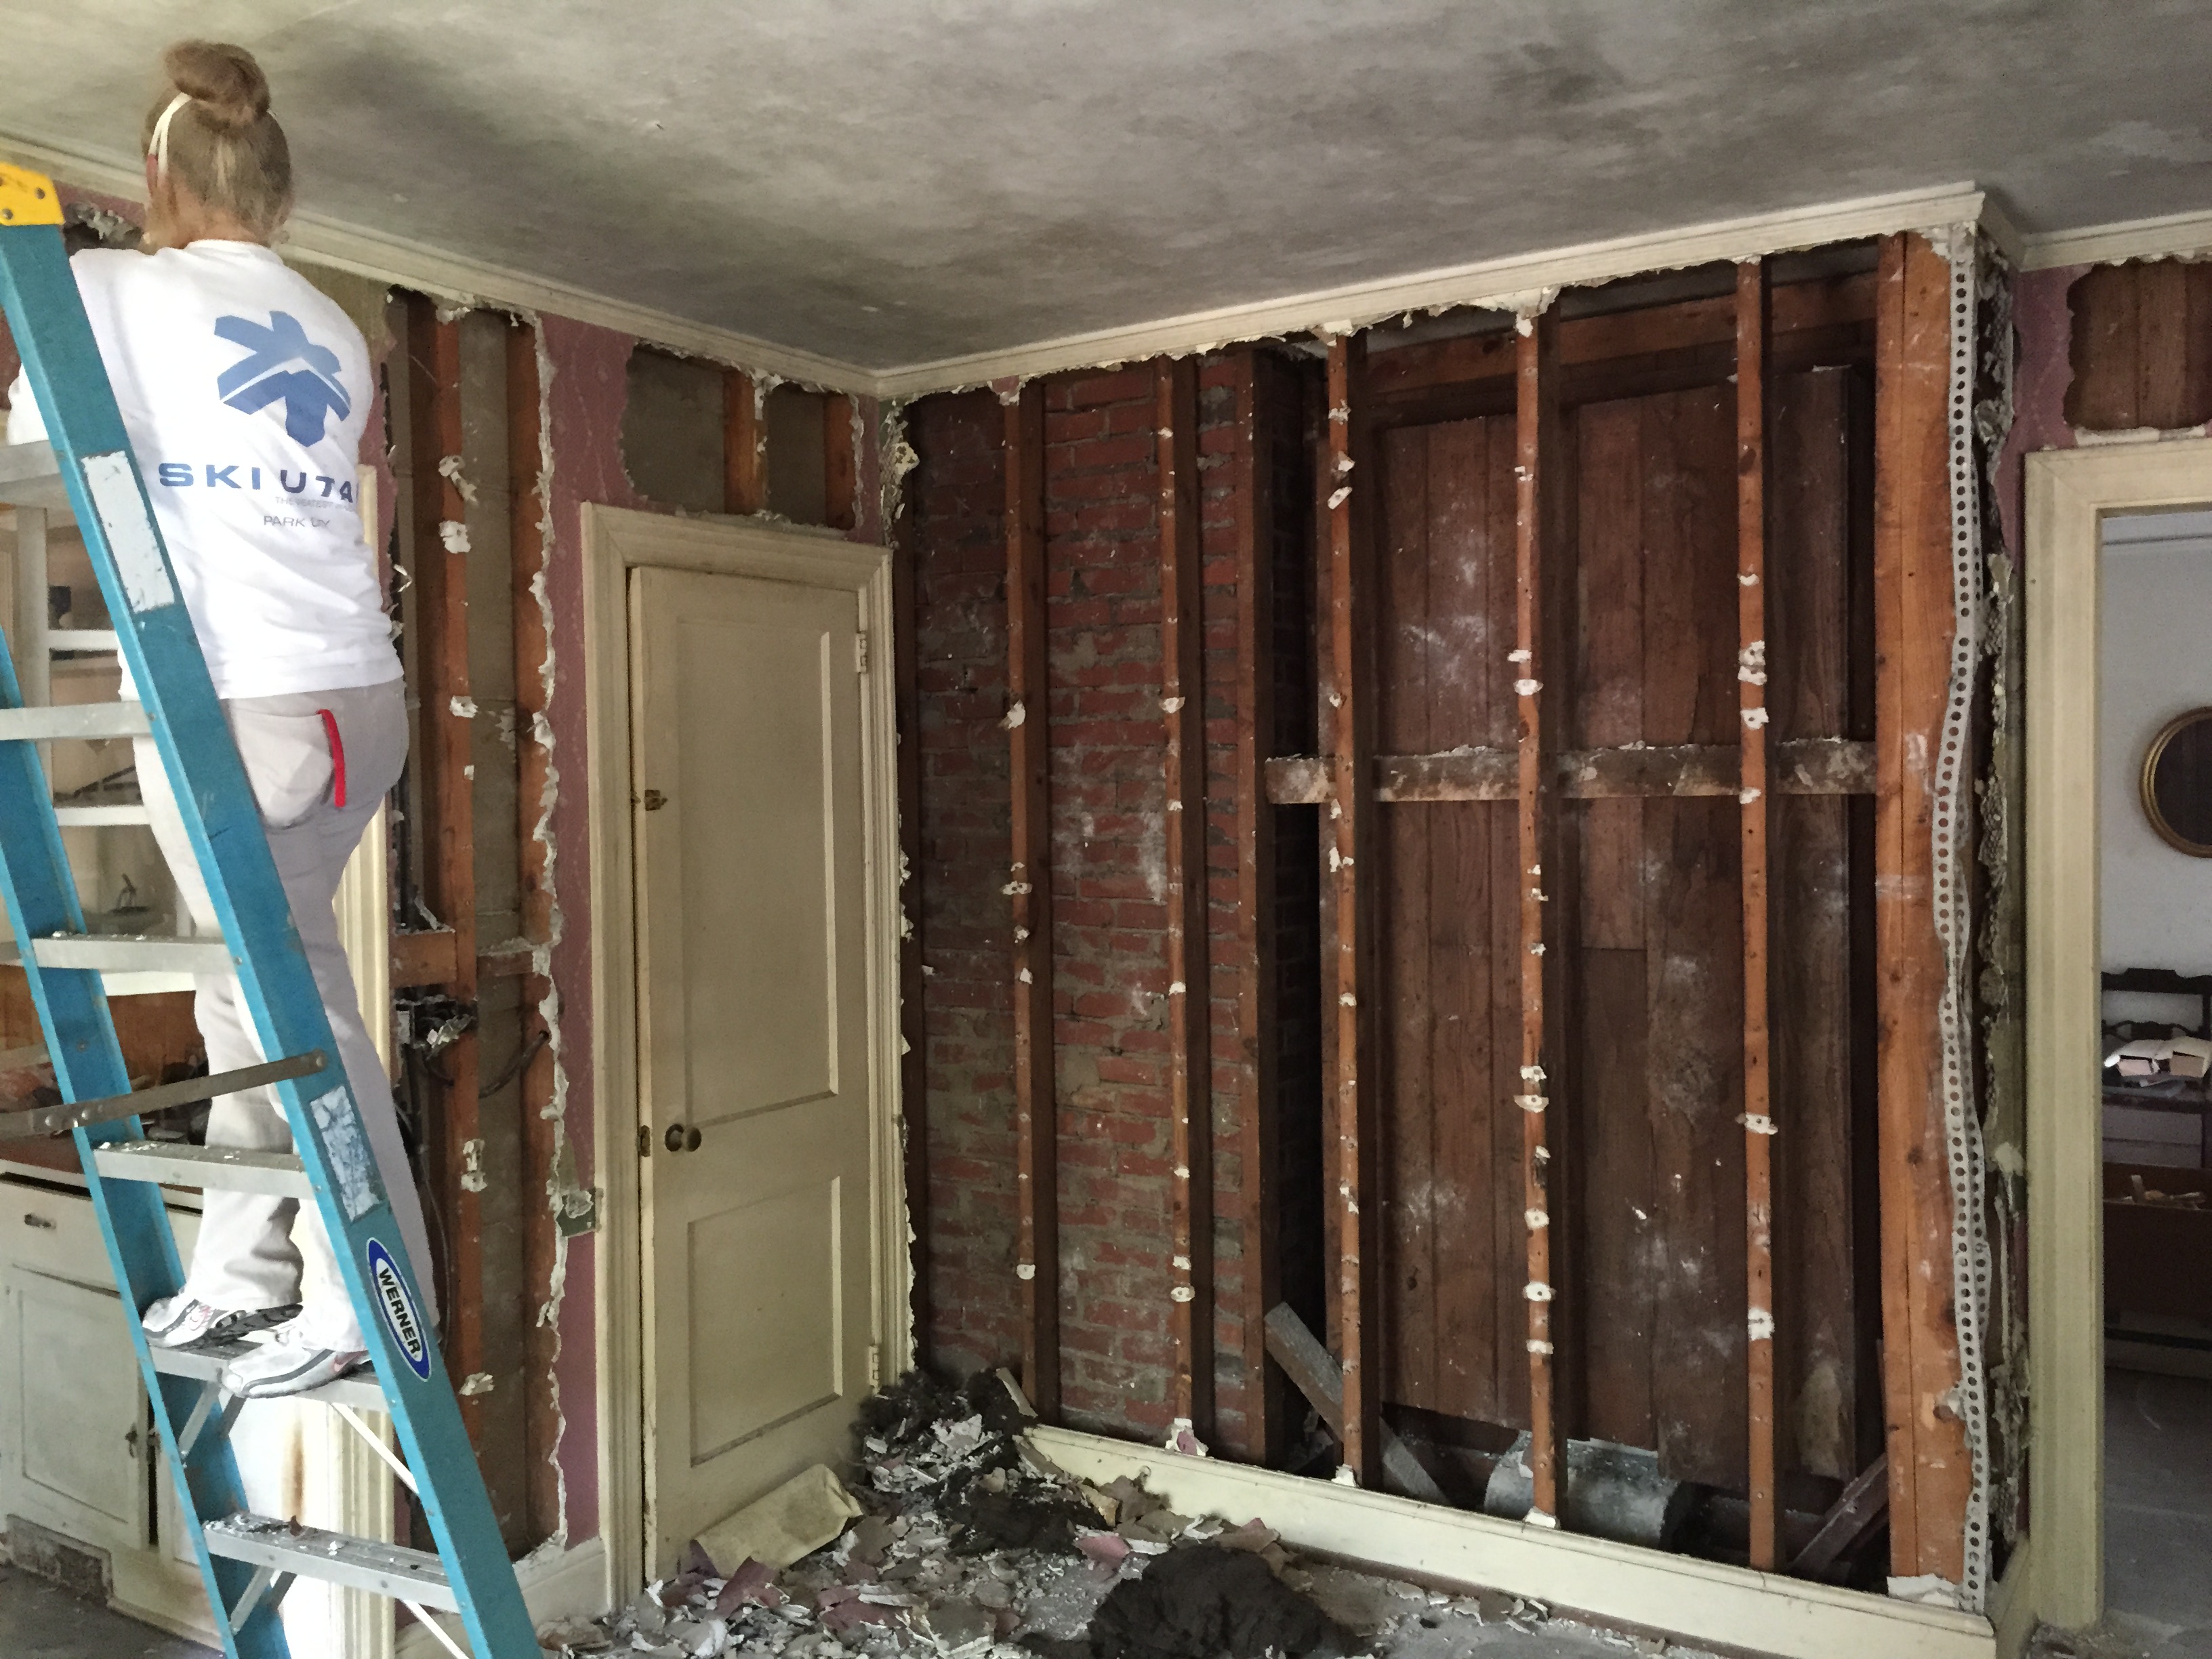
Worst water damage of all… the wall in the great room slowly separated from the chimney around the fireplace, creating such serious water damage that the entire wall had to be rebuilt. (Luckily, this was once a garage that was closed-in to make a den, so the floor is concrete and was not compromised.)

Wowzer! It’s pretty clear where the water was coming in…
Okay, now on to the fun stuff…
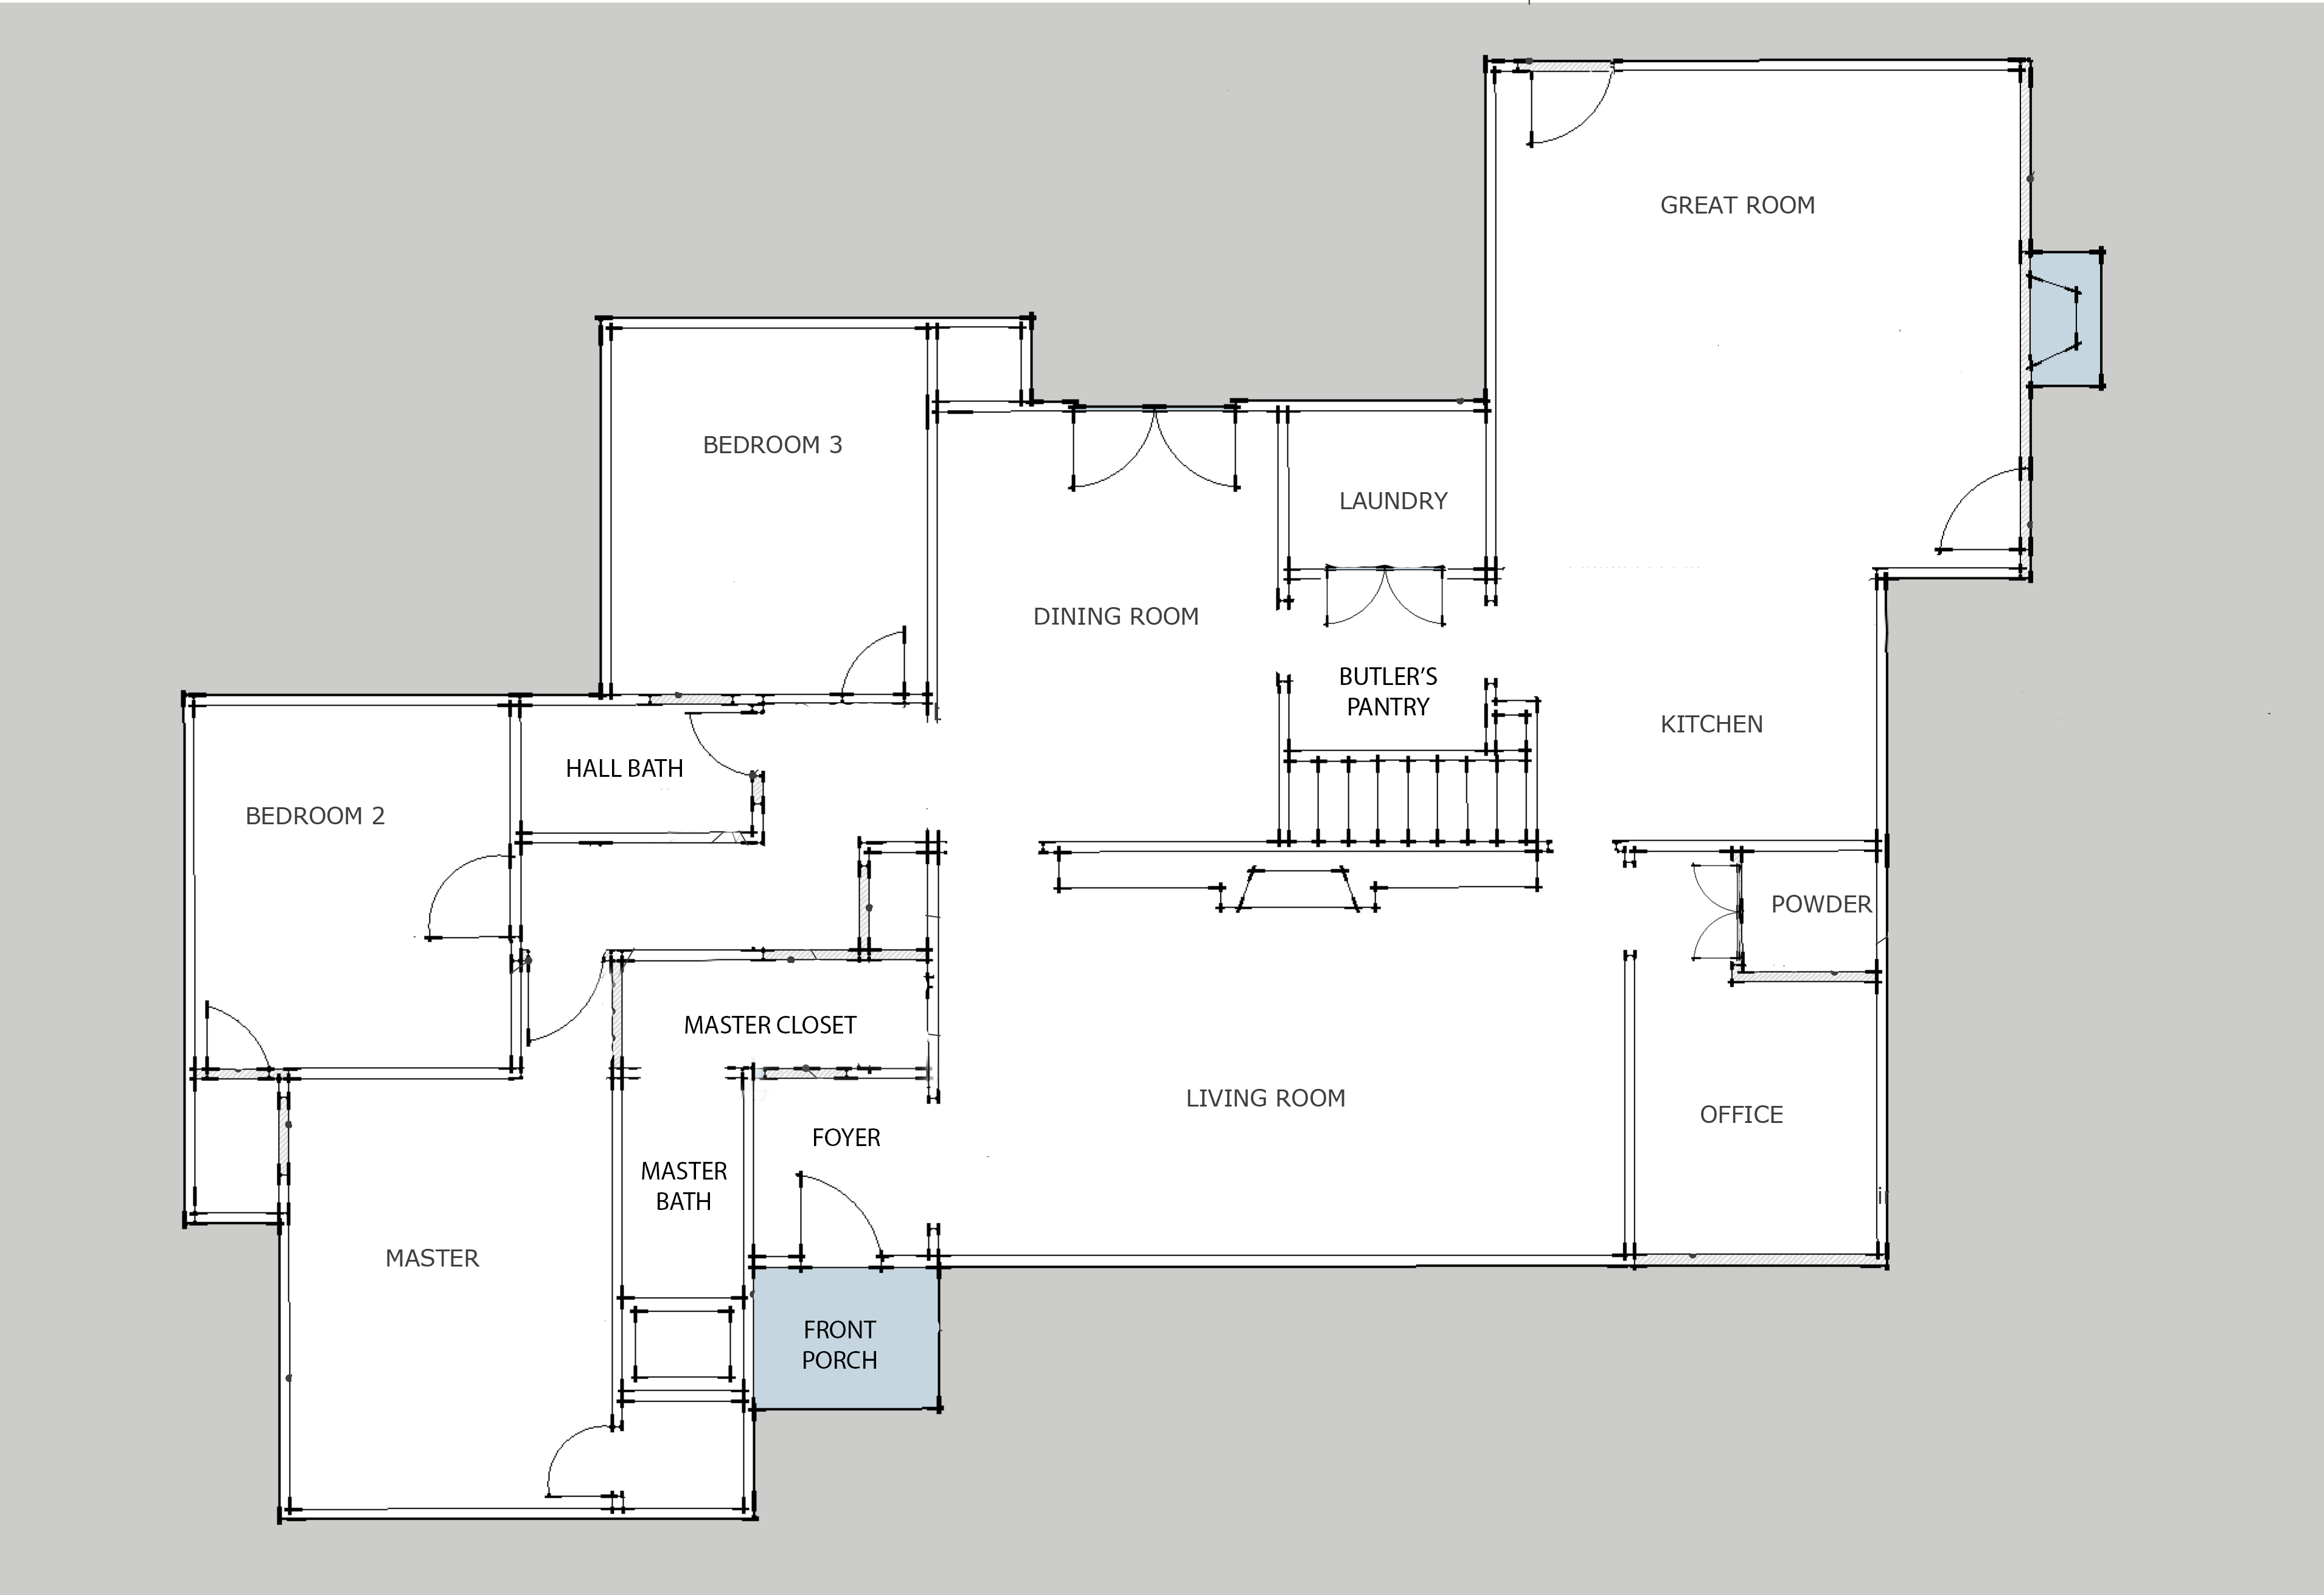
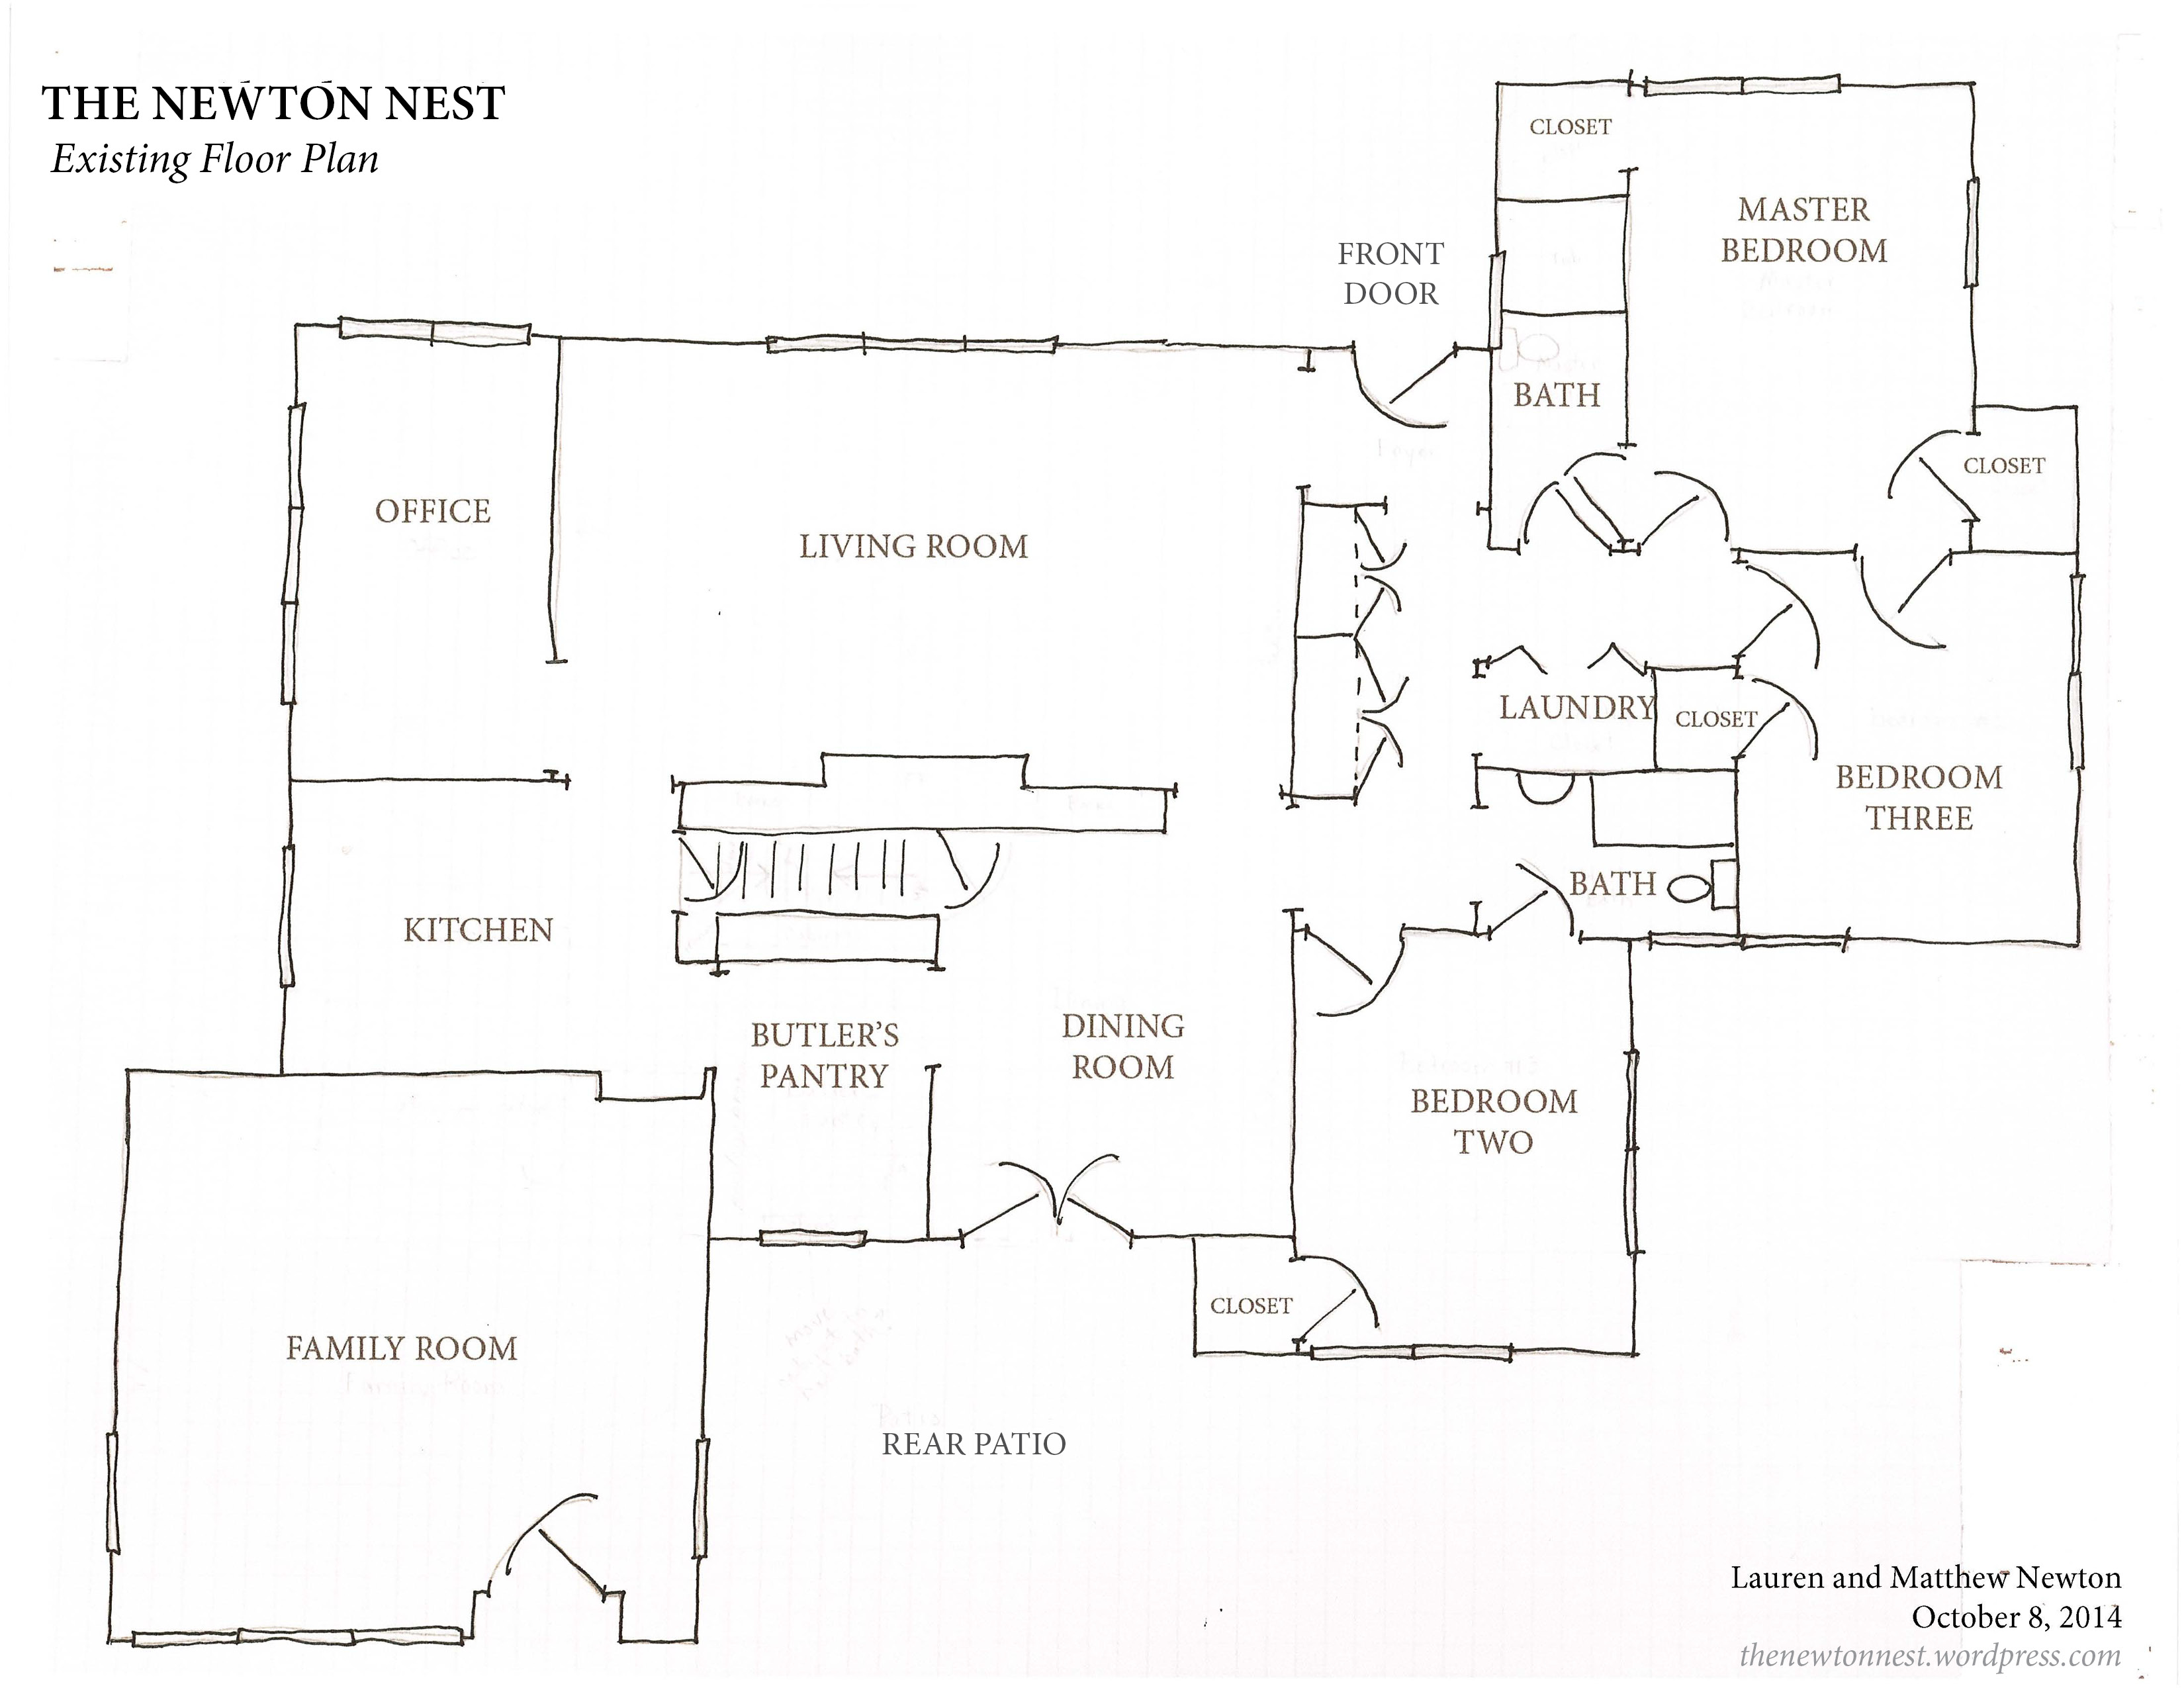
You may remember from the Best Laid Plans post that we decided to make minimal structural changes to the floor plans, but these small tweaks bring pretty substantial rewards, making our house a lot more functional. So, now that framing is complete, here’s the bird’s eye view of our nest’s anatomy.

Notable tweaks: opening up the kitchen to the great room, creating a powder room within the office, splitting the butler’s pantry to make a laundry room, and reconfiguring the bedroom hallway to create a true foyer, more privacy and a large closet for the master suite.
Pretty good bones, am I right?
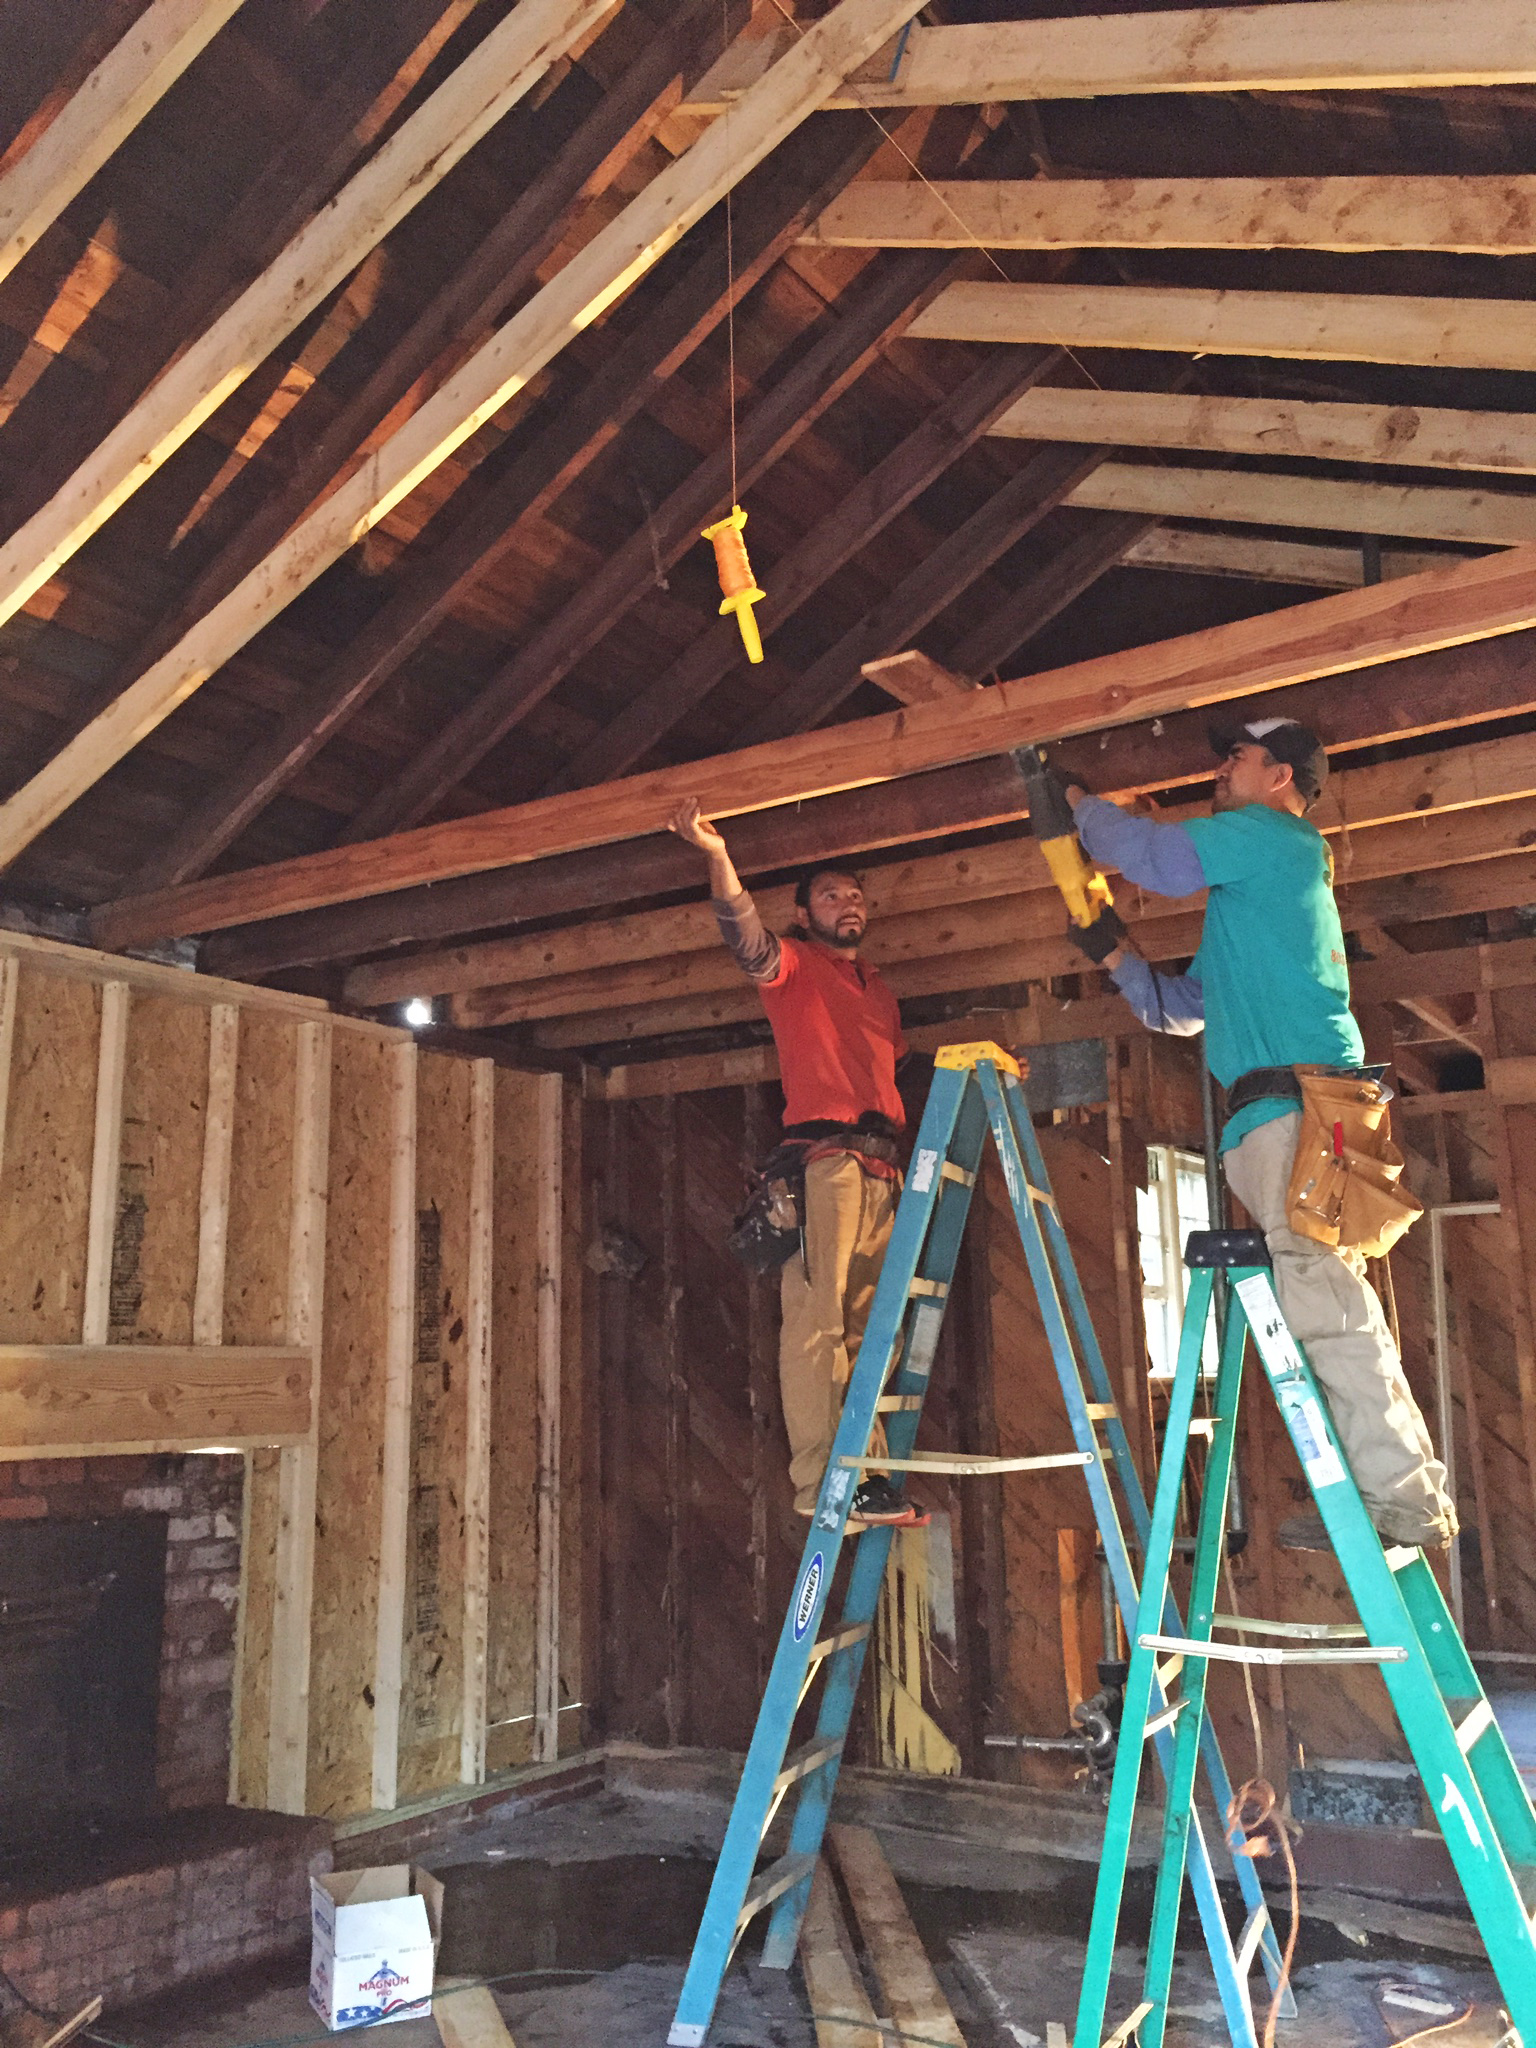
The most exciting part of this framing expedition – something you can’t see on a 2D blueprint – is that because of some unusable attic space and a little creative thinking, we were able to vault the ceiling of the great room…and, as a special surprise… our MASTER BEDROOM! Yay! Talk about a transformation…
You just have to see it for yourselves, y’all! Here goes:

Laundry room is framed!

Prepping the office for the addition of the powder room…we are losing one window in here, but totally worth it!

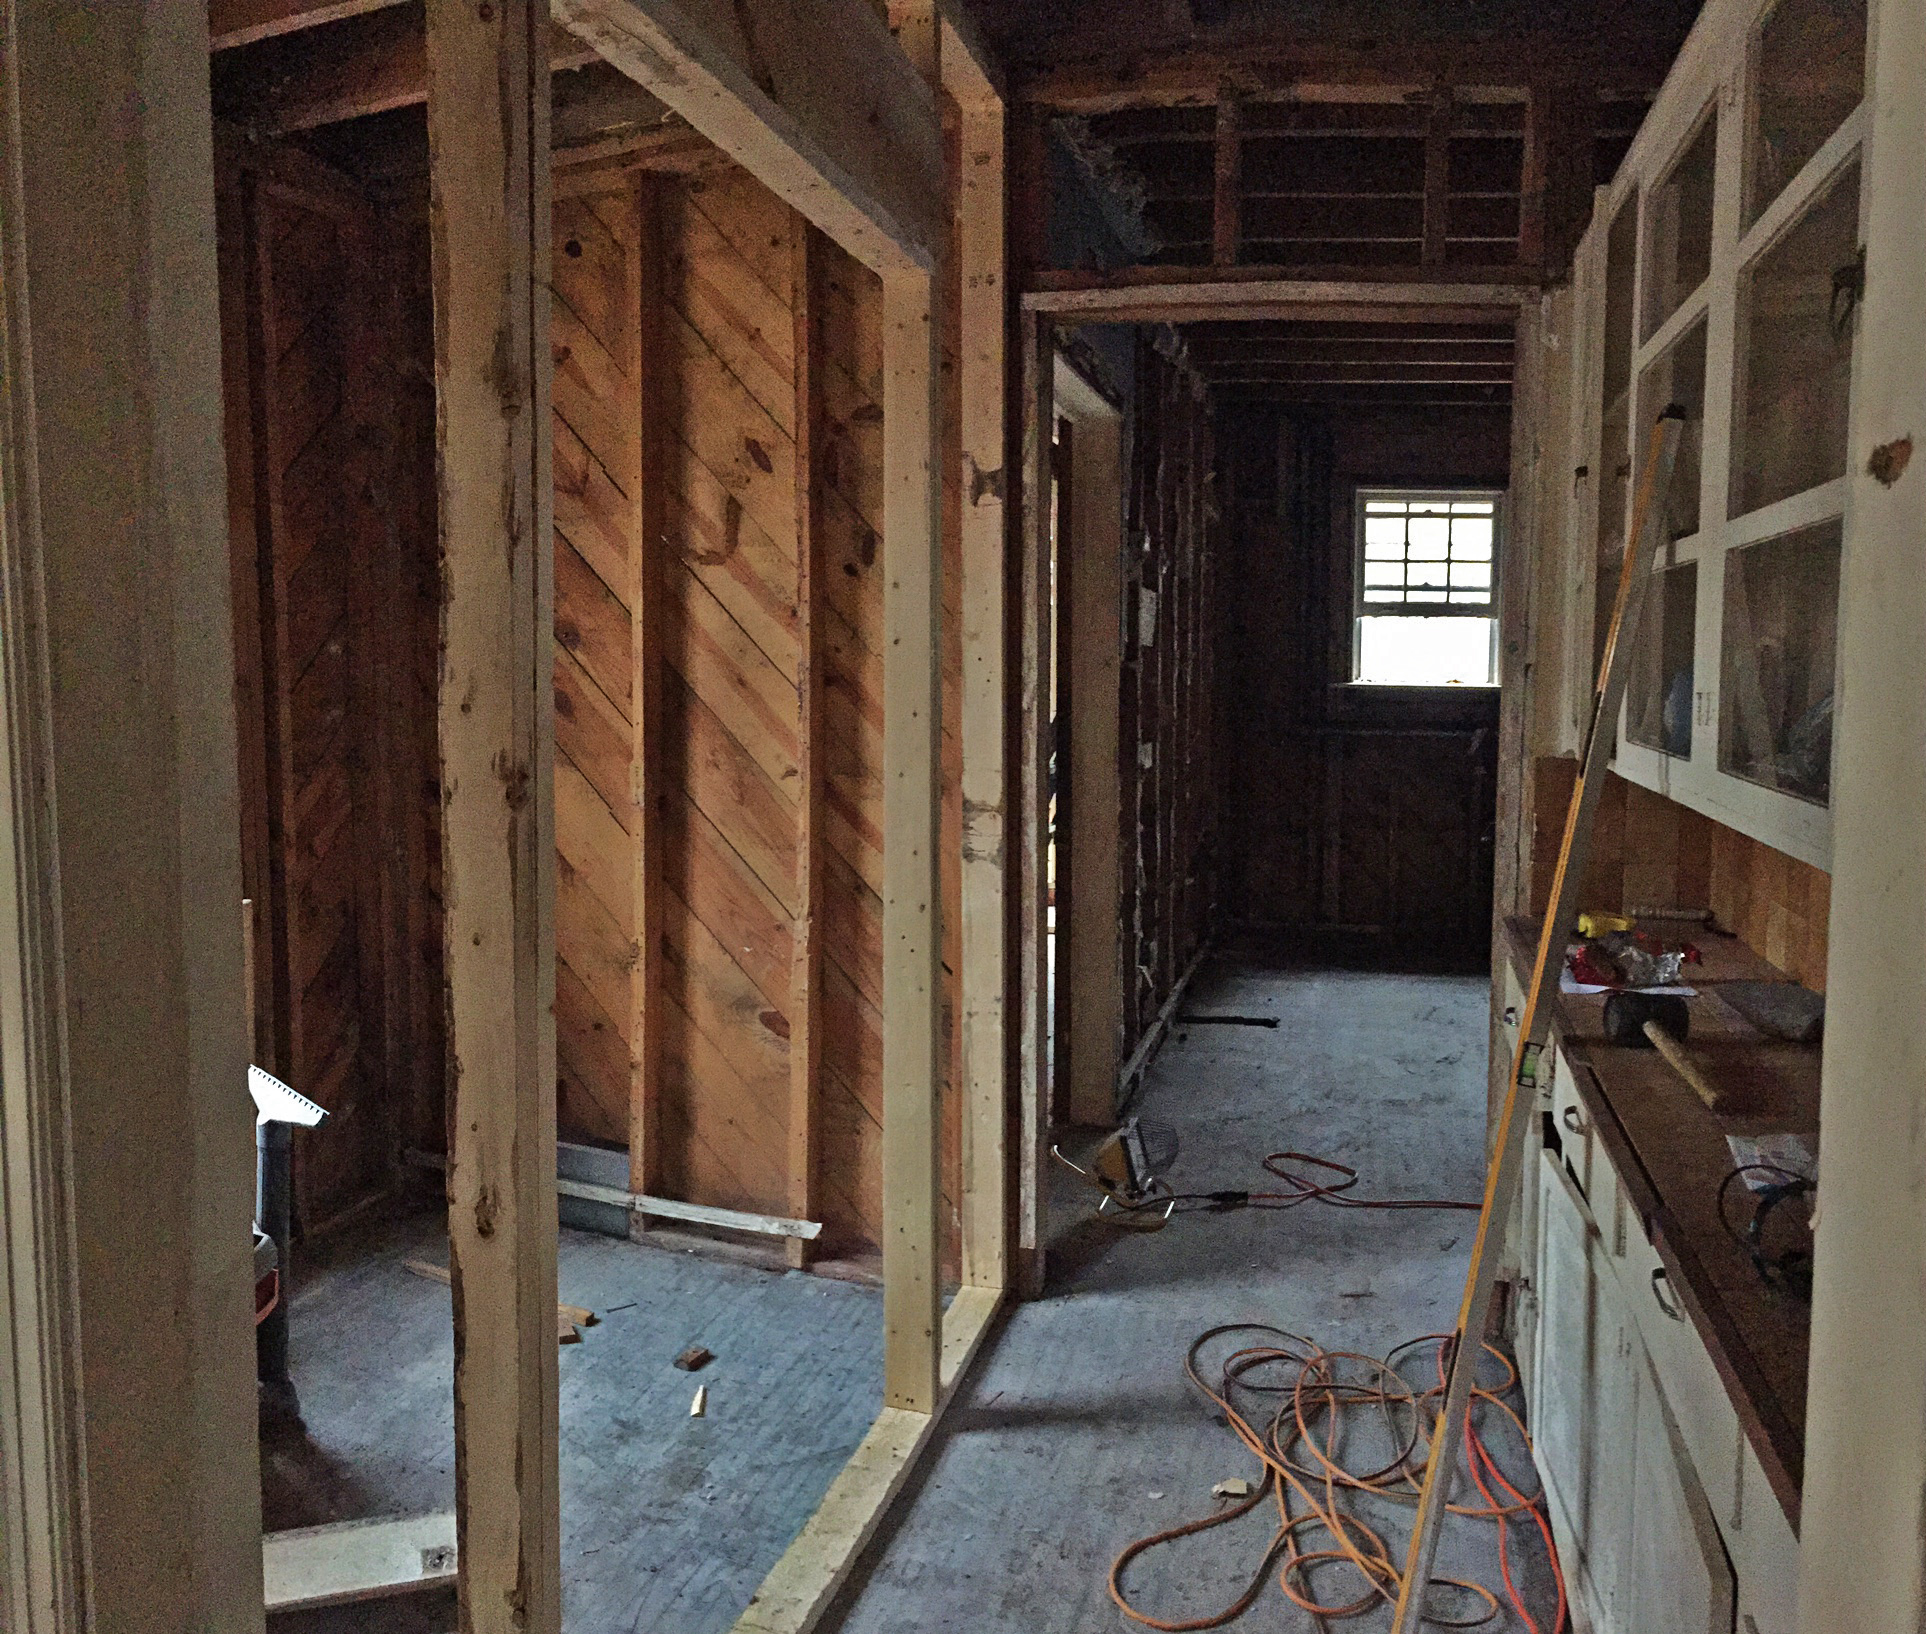
New hallway (through old laundry room and a guest bedroom closet).

Hello, powder room!

Putting in the LVL support beam before removing the kitchen wall.

New scissor joists are in the ceiling, so the old cross beams are coming out!

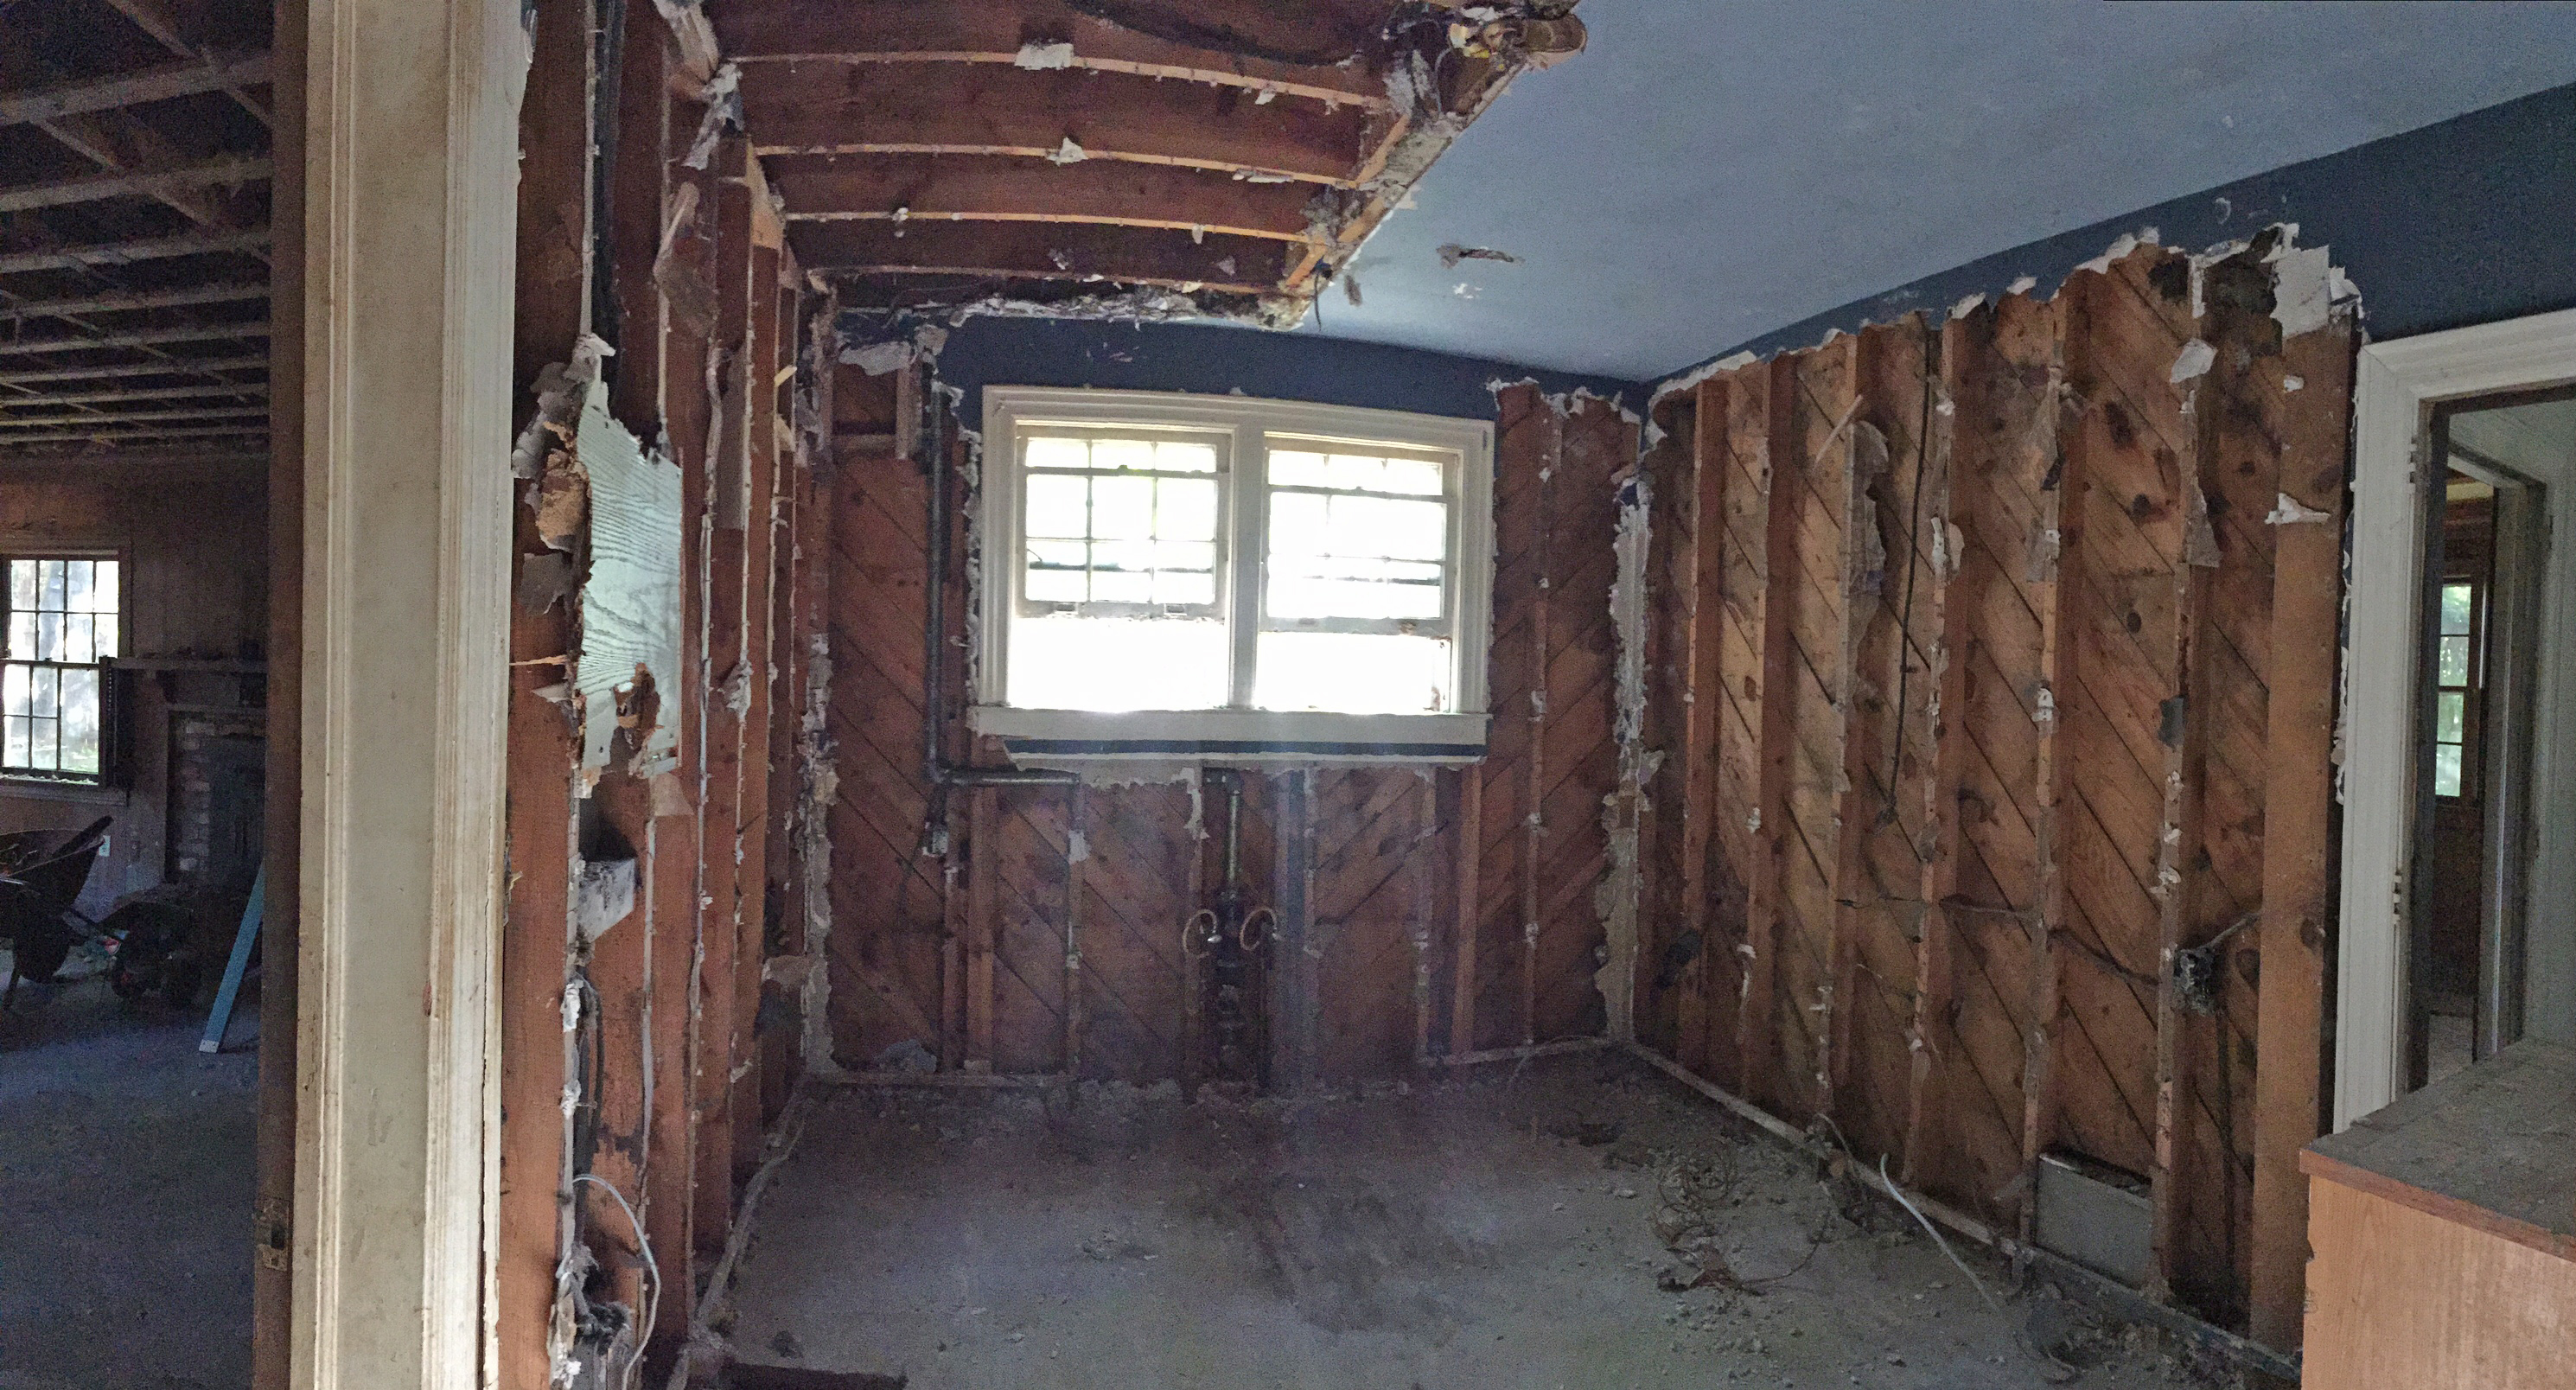
Ta-dah! Our new and improved kitchen space, now open to the great room with vaulted ceiling.

Great room view from the back door looking toward the kitchen.

Master bedroom with new vaulted ceiling!!!!! We love that the little round window in the peak is now visible from the inside, too.
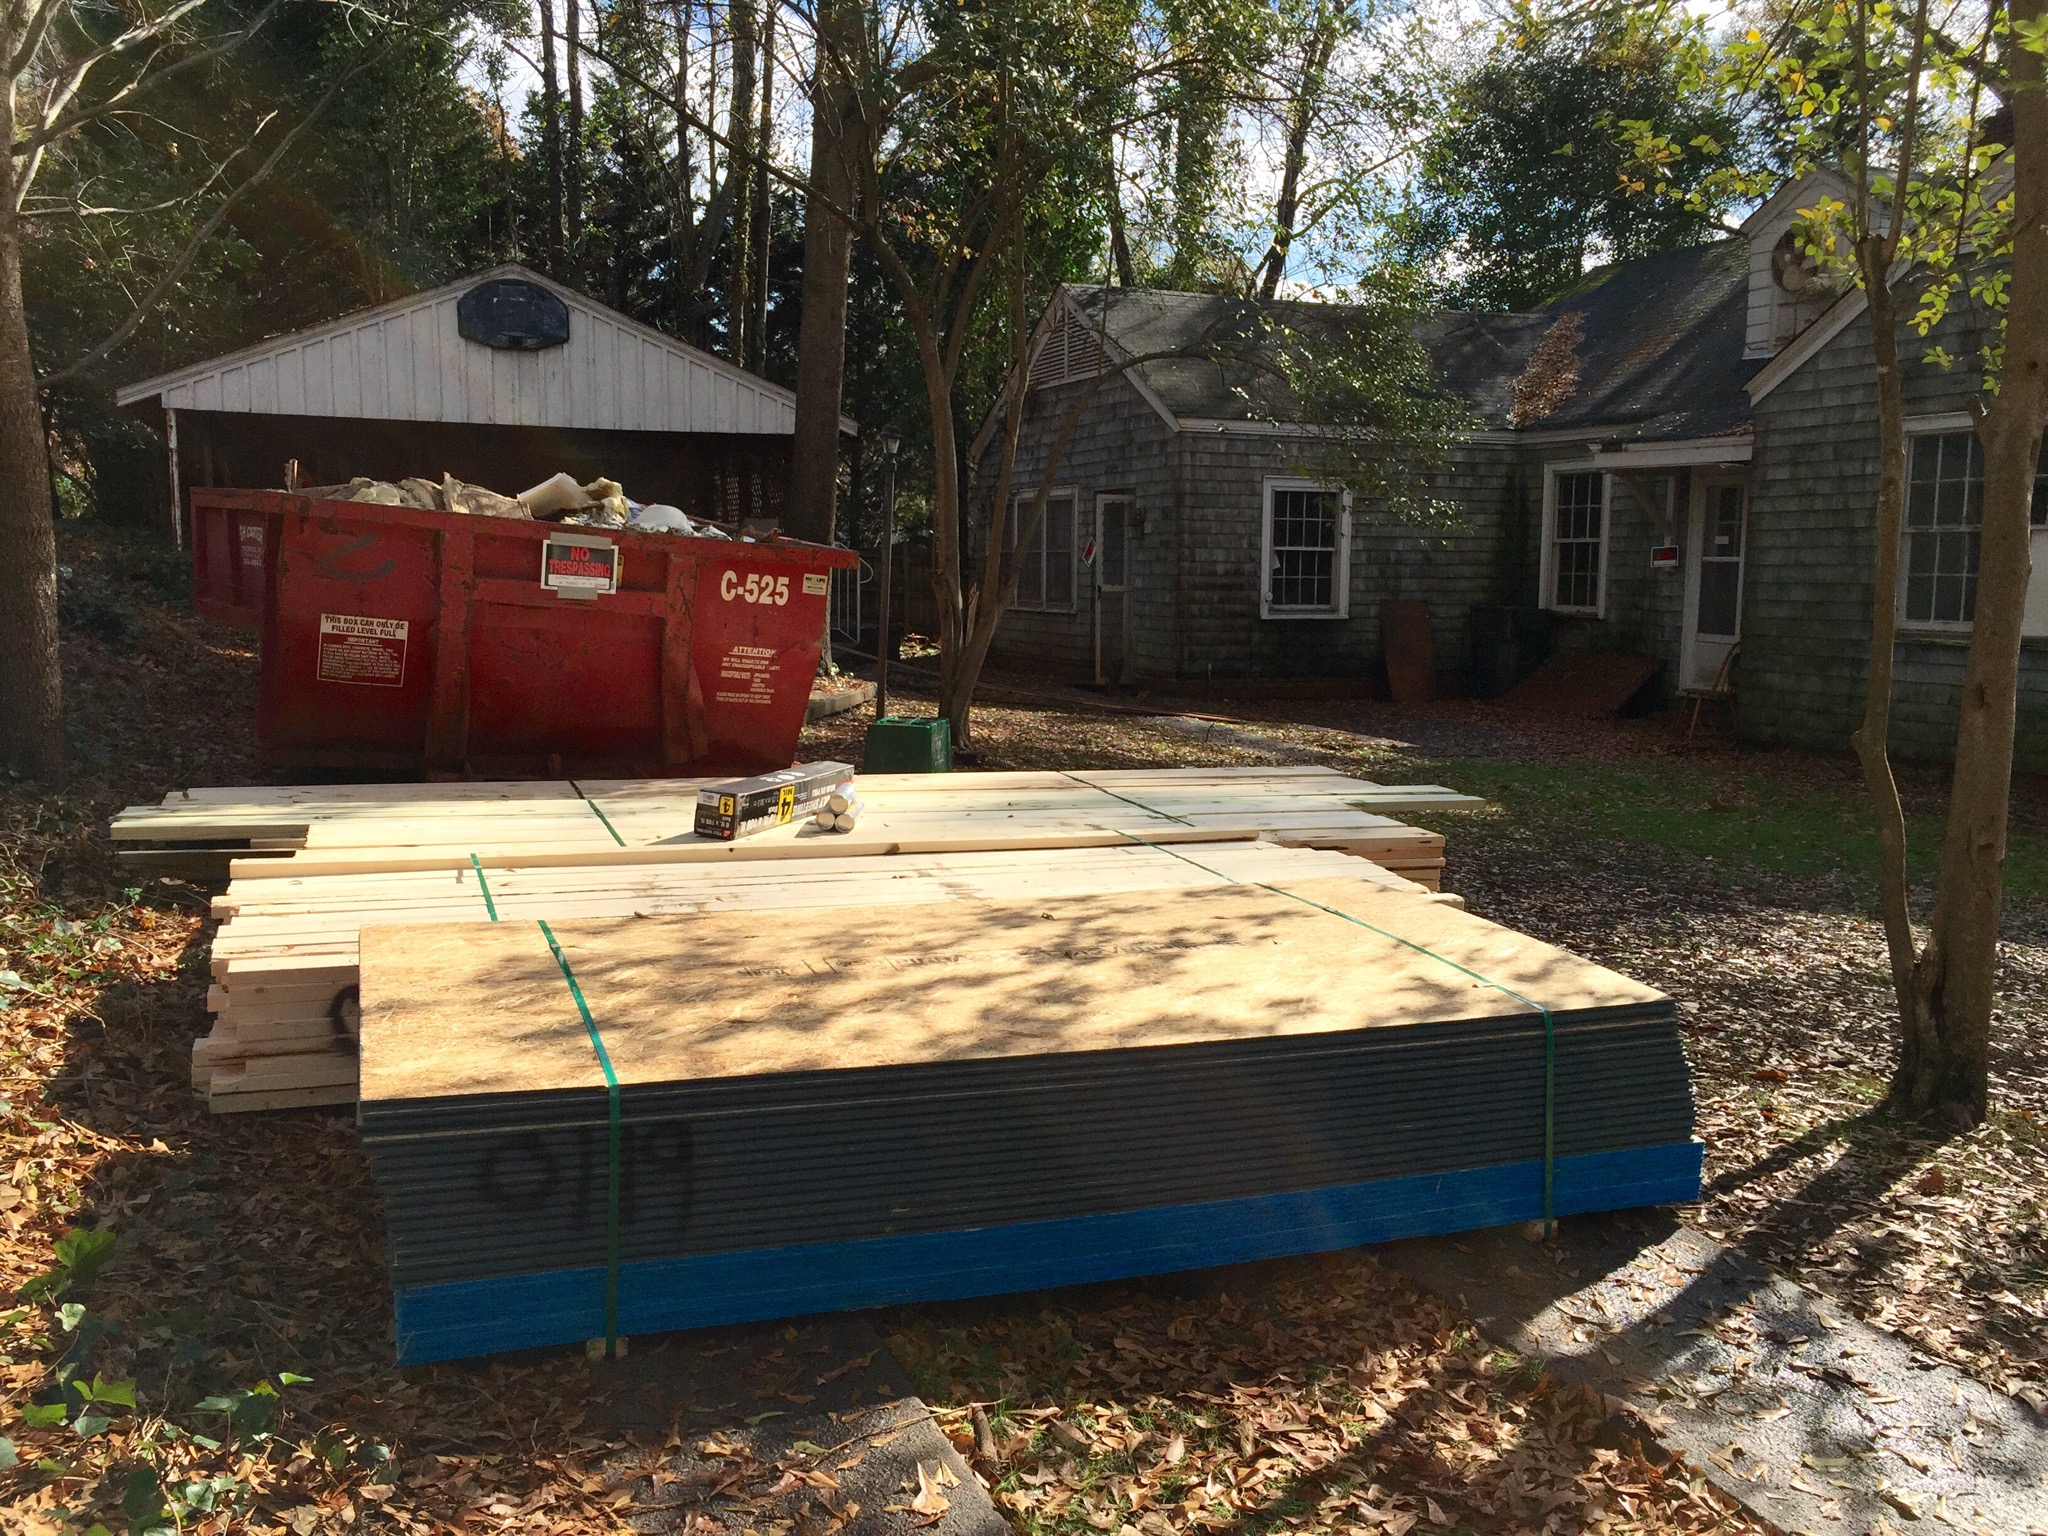
Next steps in our Nest Building adventure:
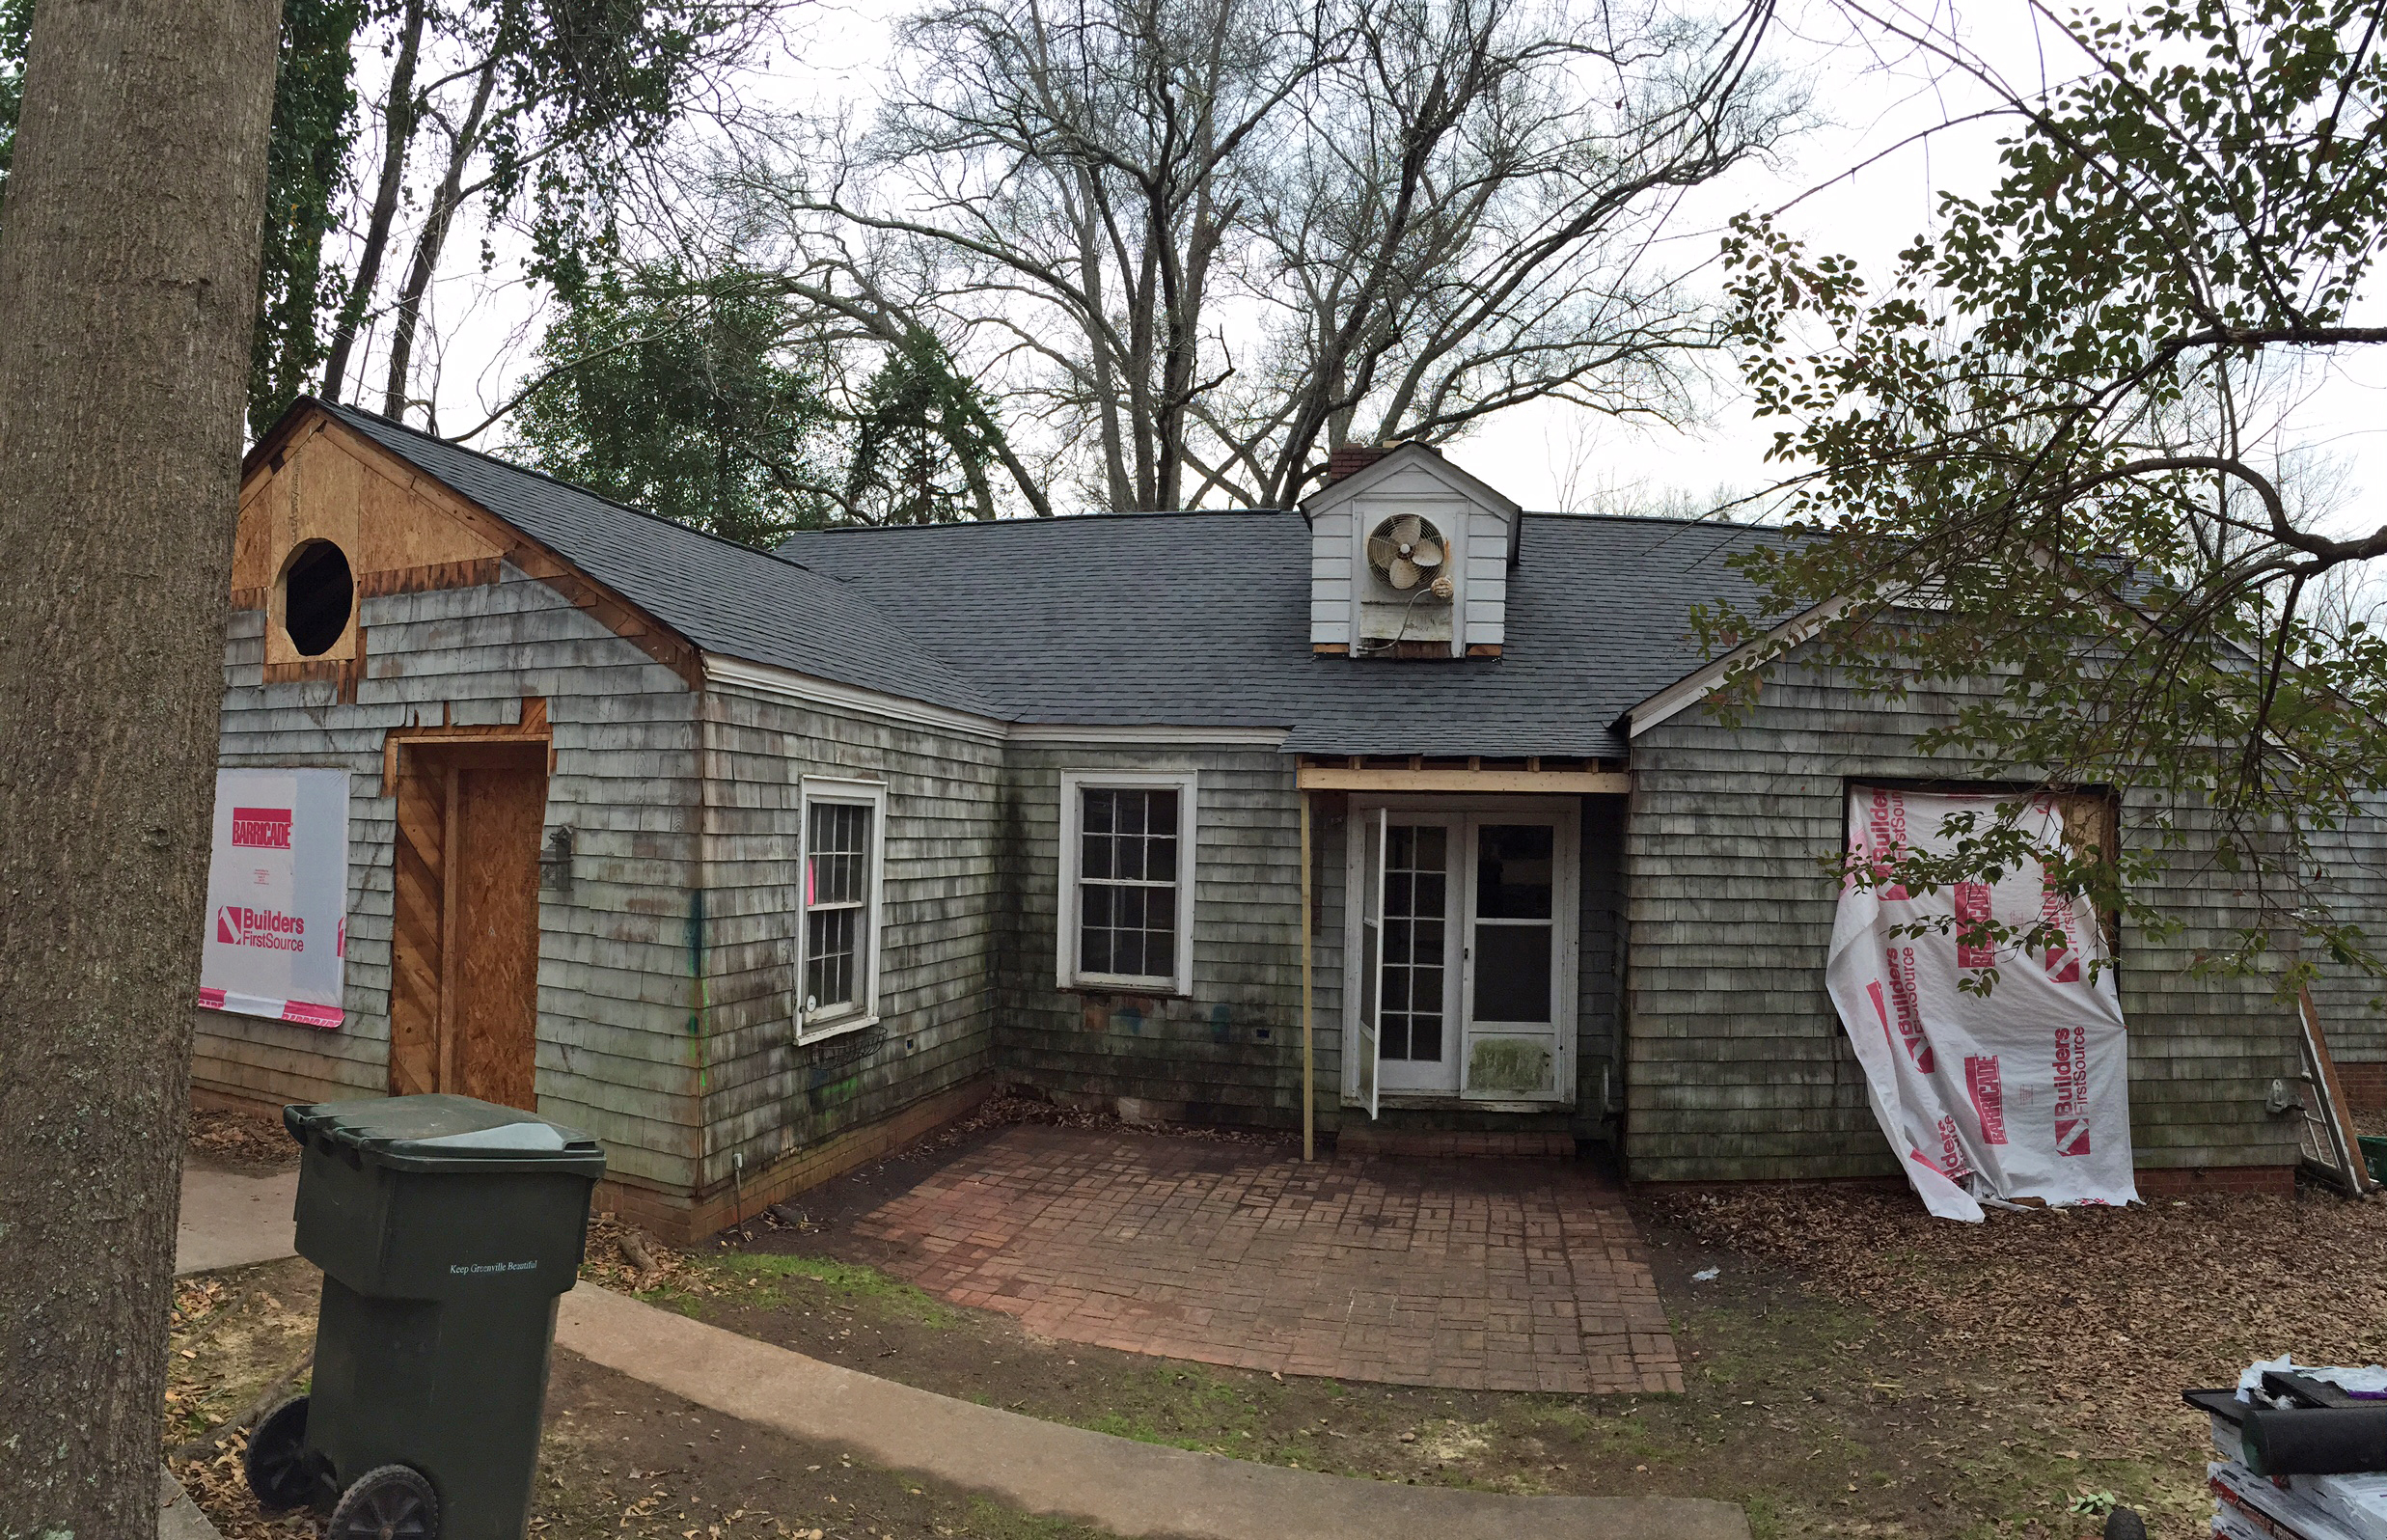
Exterior improvements
– Siding Repair
– New Windows
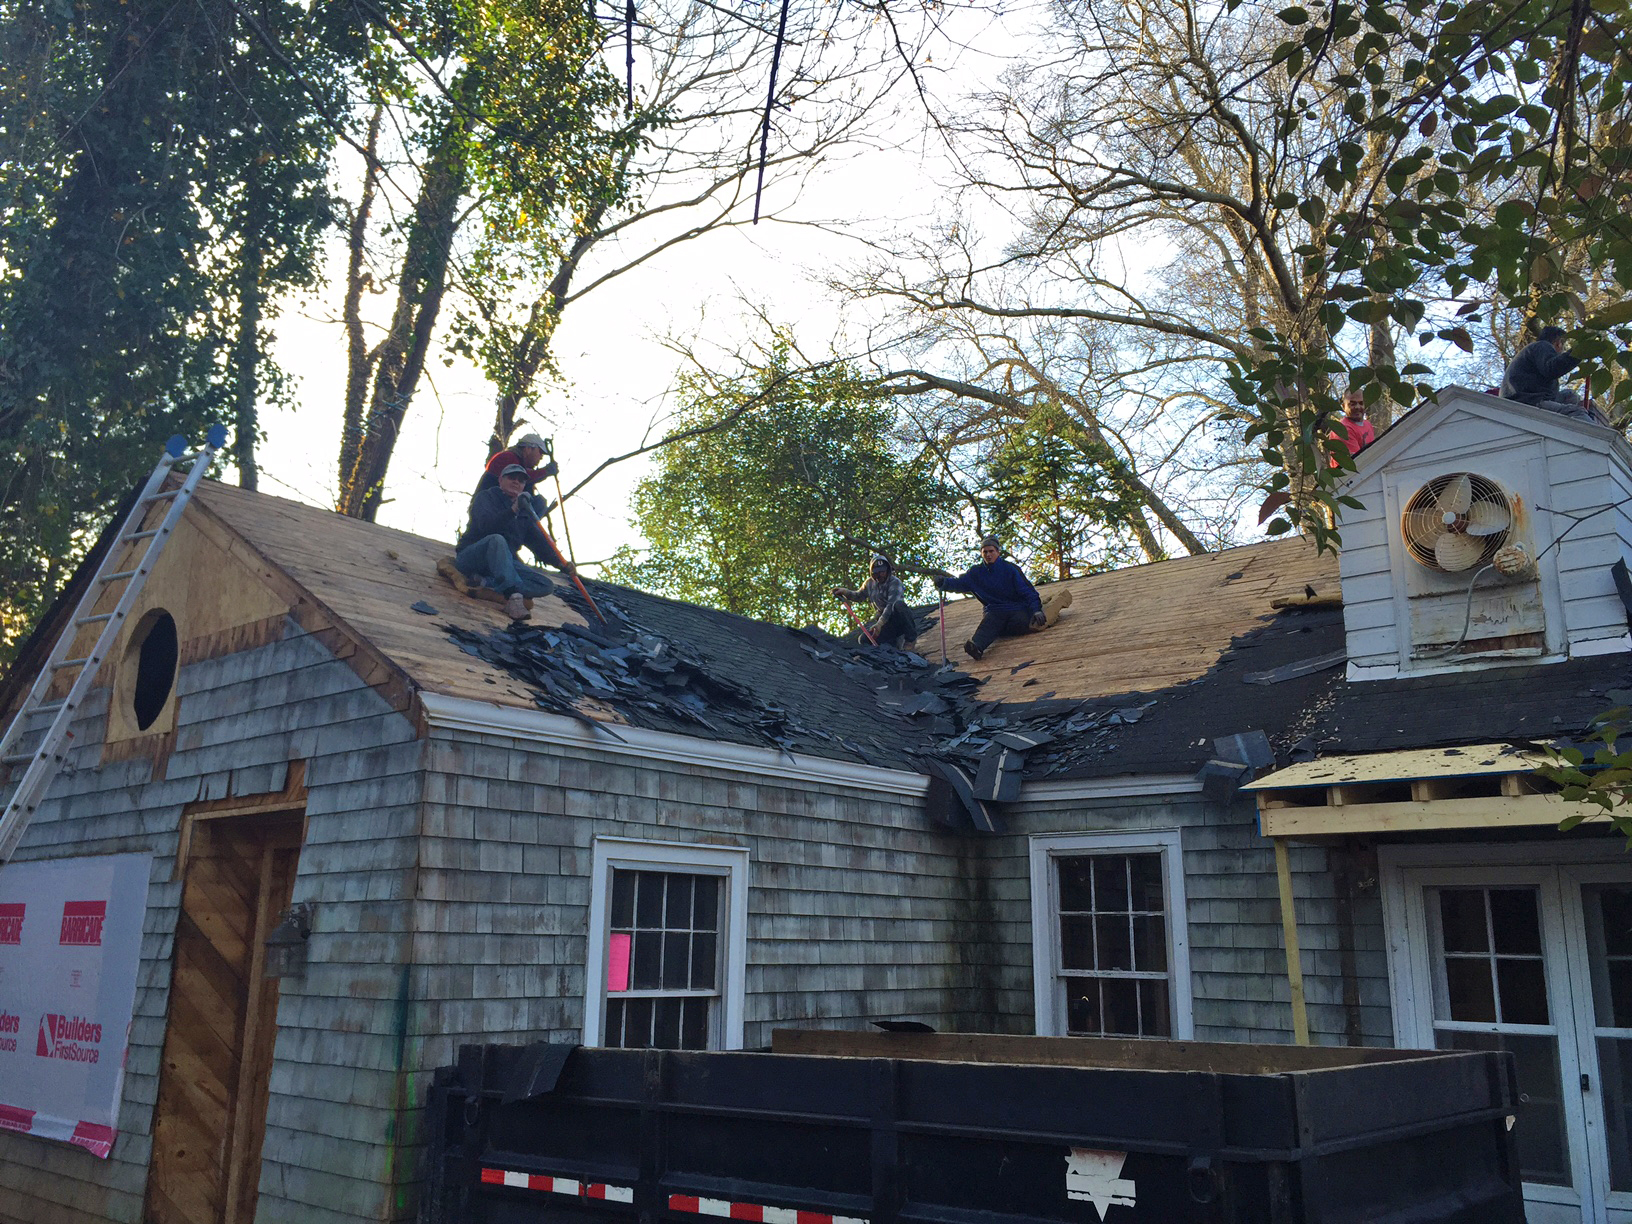
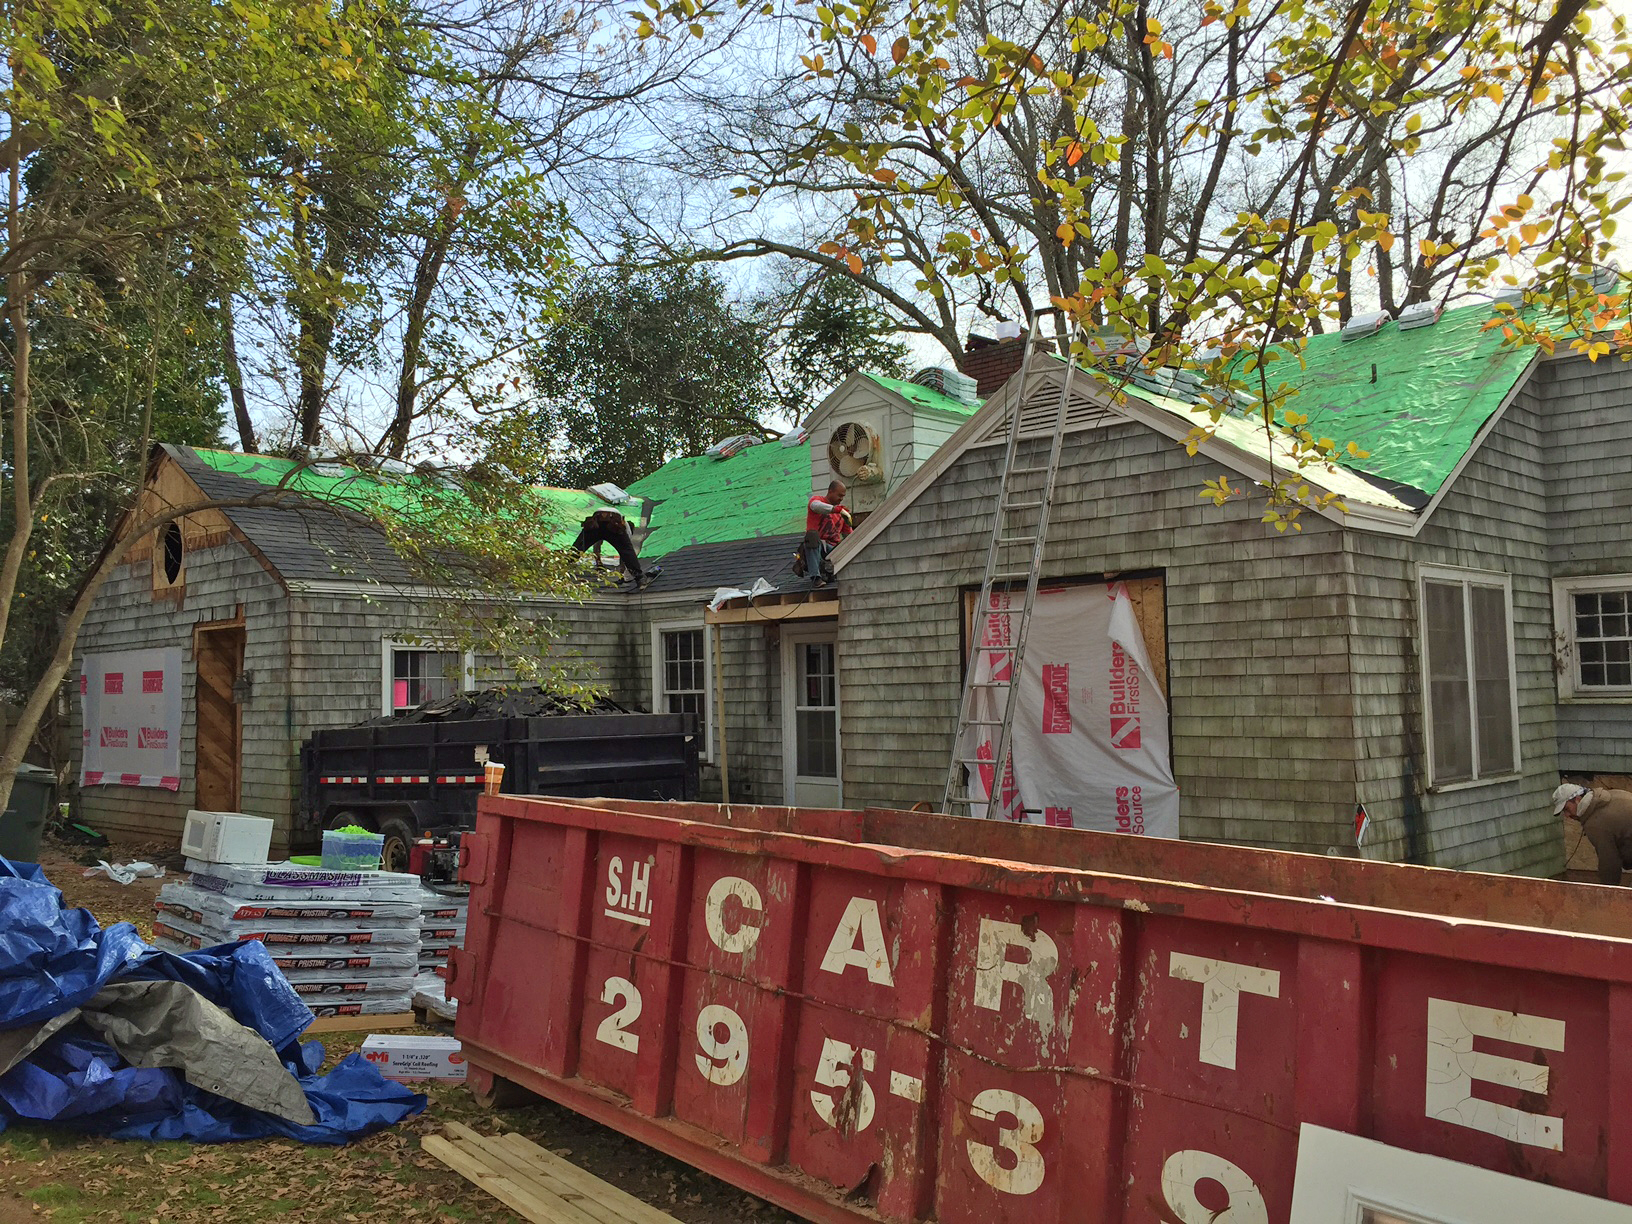
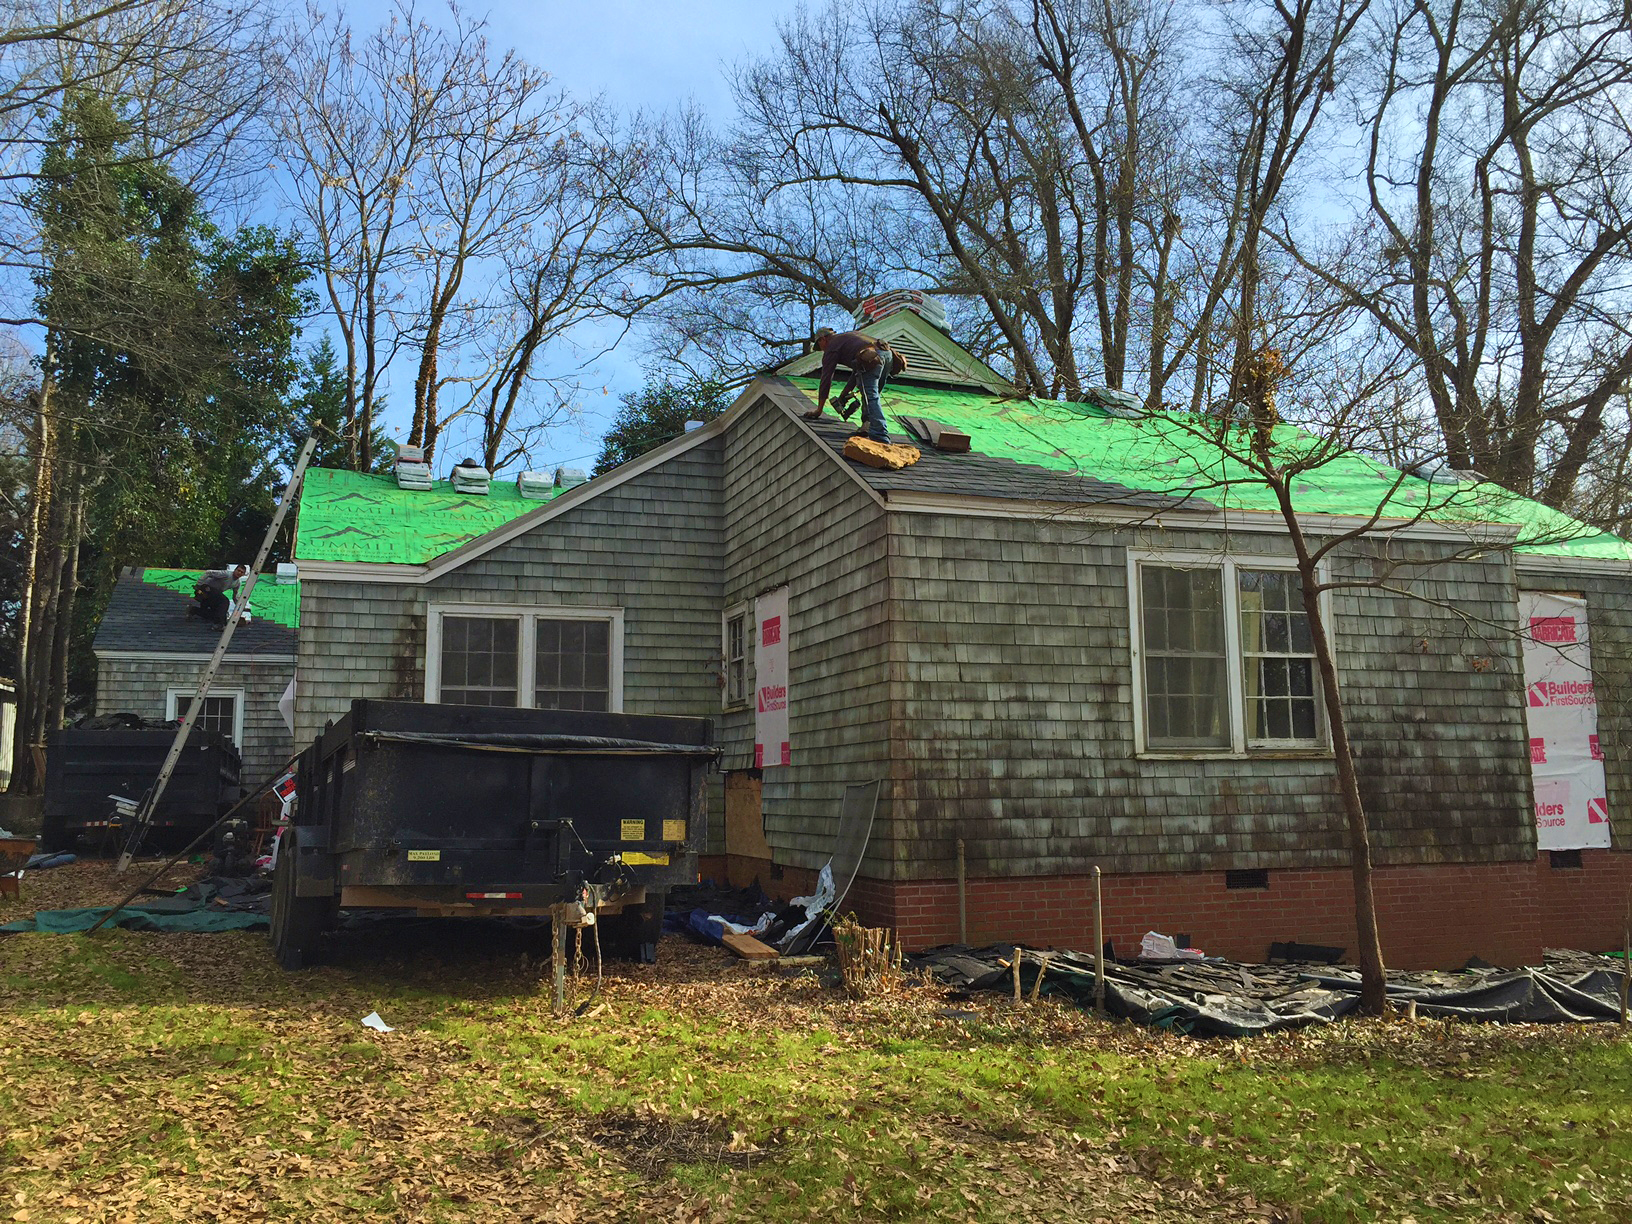
– New Roof
Interior essentials
– Electrical
– Plumbing
– HVAC
…then we can close up the walls. Hooray!
Make our day! Share this post: